Forum Discussion
Golden_HVAC
Jun 30, 2015Explorer
Why?
You really do not need to 'fiddle' with the solar system anymore to draw out every last peak watt of power. You can buy a 140 watt panel for $229. Save your money for solar panels, and spend $35 or less for a 20 amp PWM controller, not $100 for the MPPT type. Mount the panels to the roof flat. Keep it really simple, mount them with about 1" of air under the panels to allow air to keep them cool as possible.
Do not worry about the extra 10% more power you might collect by pointing the panels toward the sun, and angle them to the correct angle all the time. Have fun sightseeing! Leave them flat, do not go up on the roof more than required.
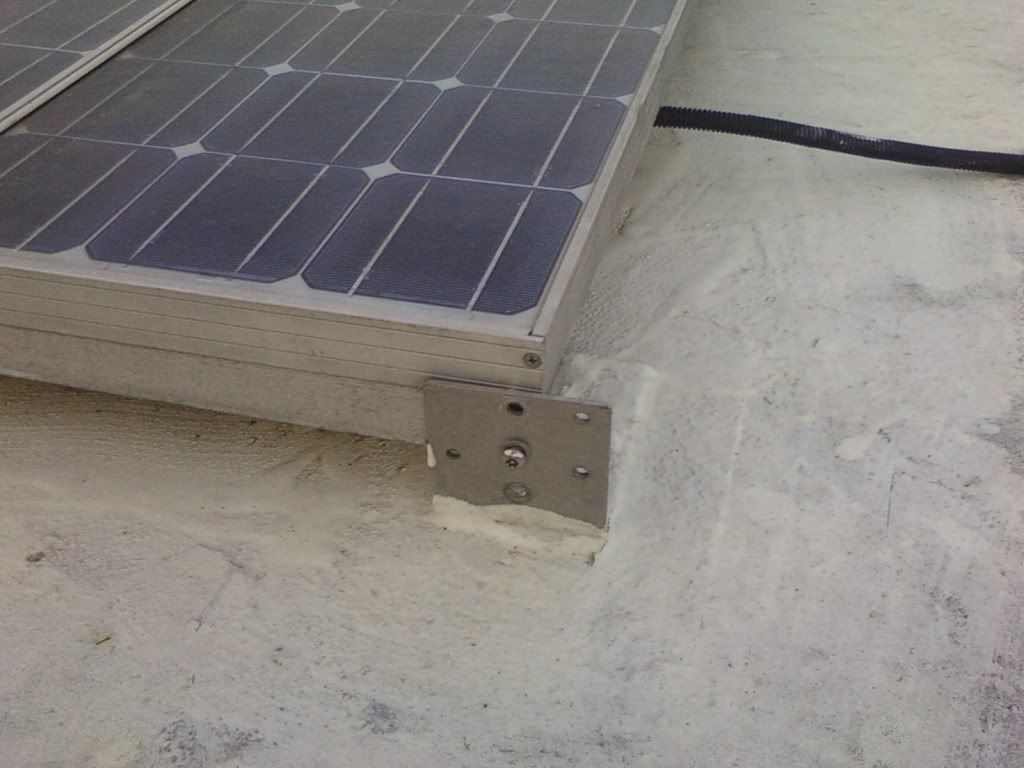
Here is my post from a few days ago. It shows the mounts, made from 6" long piece of 2" angle aluminum. Less than $10 for the 4 mounts!
You really do not need to 'fiddle' with the solar system anymore to draw out every last peak watt of power. You can buy a 140 watt panel for $229. Save your money for solar panels, and spend $35 or less for a 20 amp PWM controller, not $100 for the MPPT type. Mount the panels to the roof flat. Keep it really simple, mount them with about 1" of air under the panels to allow air to keep them cool as possible.
Do not worry about the extra 10% more power you might collect by pointing the panels toward the sun, and angle them to the correct angle all the time. Have fun sightseeing! Leave them flat, do not go up on the roof more than required.
Here is my post from a few days ago. It shows the mounts, made from 6" long piece of 2" angle aluminum. Less than $10 for the 4 mounts!
Golden_HVAC wrote:
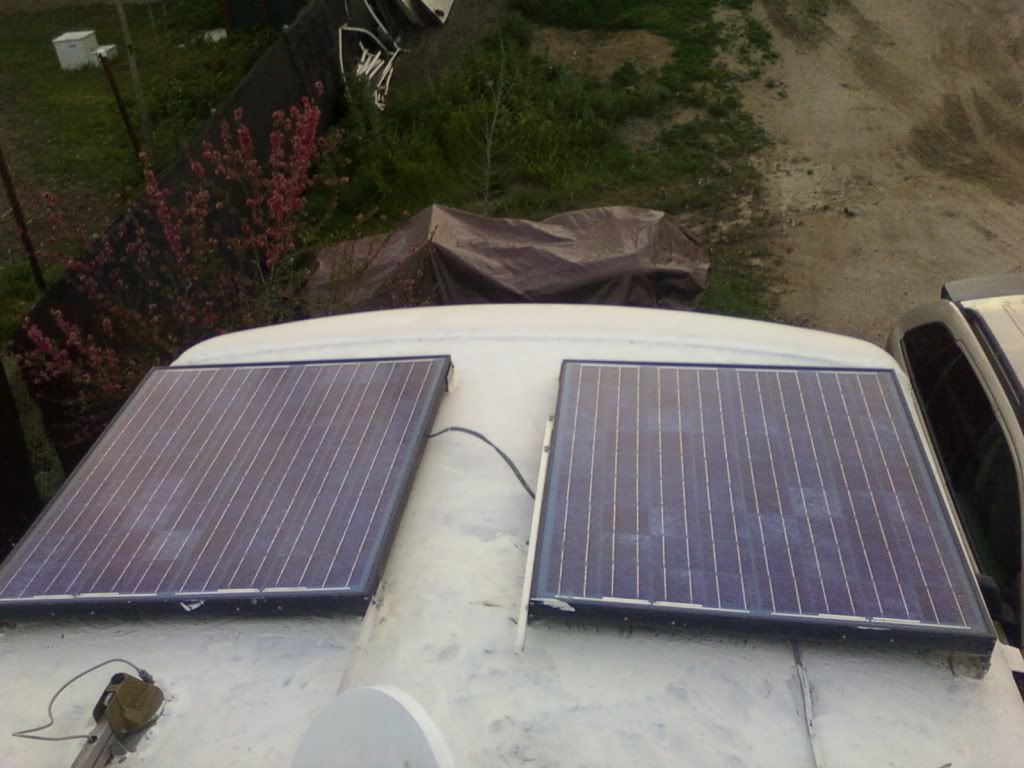
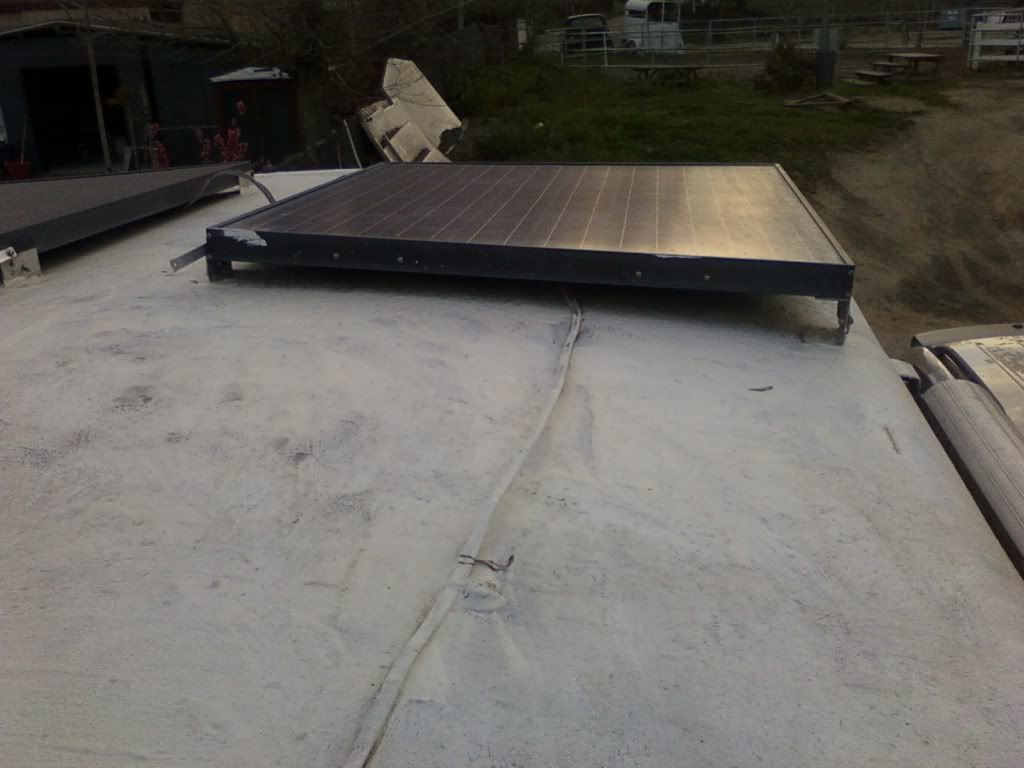
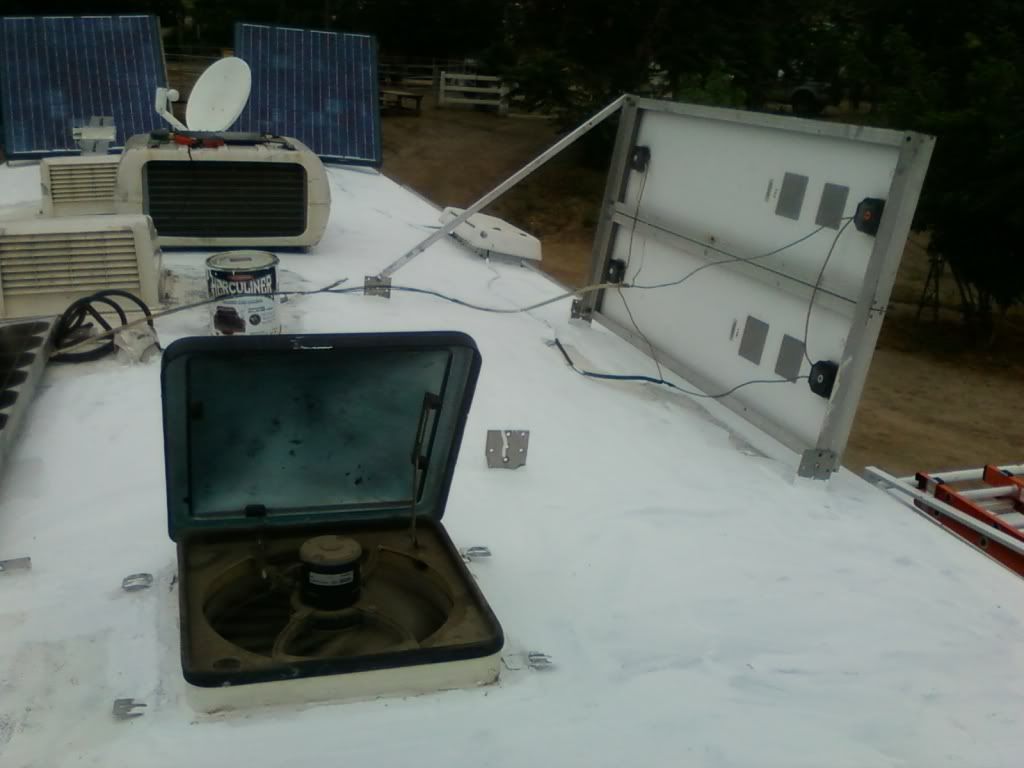
Here is a picture of my roof coating on my Bounder. it has close ups of the solar mounts, and shows one of the larger and much longer tilt arms on the small pair of panels. (so it is tilted about 90 degrees while I was working under it).
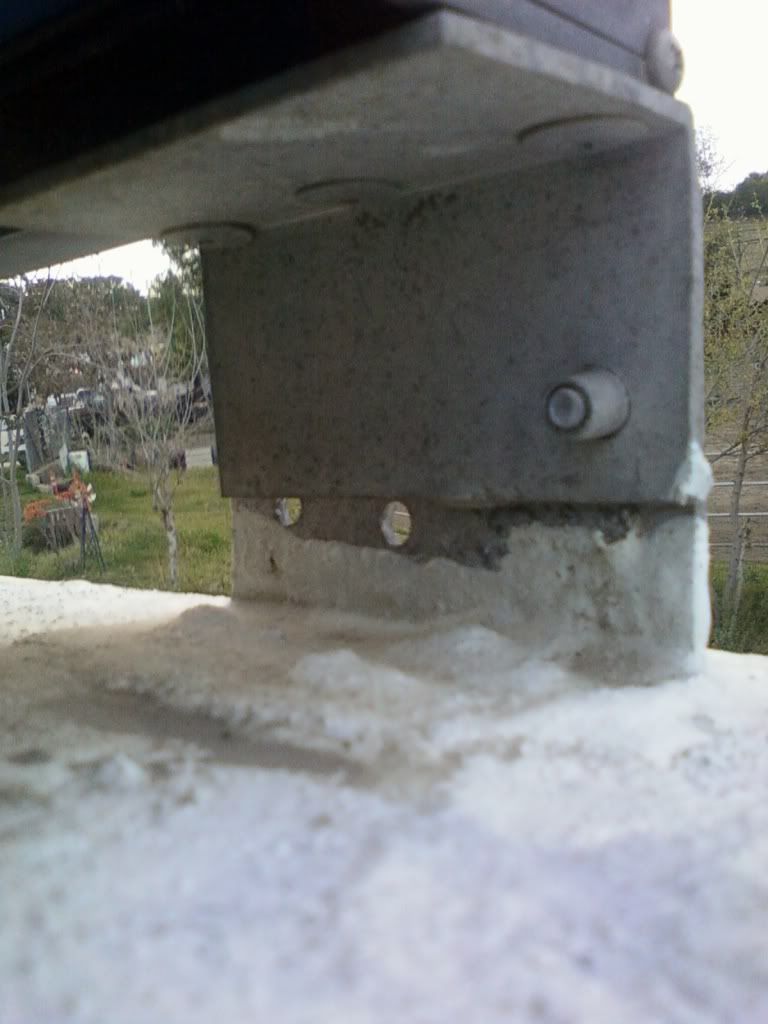
It also shows the tamper resistant 1/4-20 stainless steel bolts and 'nutserts' that are riveted into the panel frames. You can google Nutsert on Youtube and see how they are installed. You can buy nutserts at Grainger.com
I had to rivet a bracket onto the front solar panel near the sidewall, so that it makes up for the extreme roof taper to the sidewall, due to them being so close to the side of the RV. 120 watt panels are 'huge' in the front. I can not imagine how large a 200 would be up there.
The air under the panels helps keep them much cooler, and you get more amperage from them when they are cooler. Best amperage I ever got was at Thanksgiving at 4,500' elevation, with light snow on the roof reflecting additional light onto the panels, that where tilted south at about 45 degrees.Golden_HVAC wrote:rickthescot wrote:
Sounds like a great idea. I guess asking for pictures again is not going to persuade you though. We are visual creatures and I don't think 1000 words will accomplish what one image will. You can do it, just one pic.
More pictures that I took a few days ago to post pictures of my solar panels, and their mounts. Some pictures are really close up pictures of the solar panel mounts, and give a clear picture of howrough the surface is.Golden_HVAC wrote:
Hi,
This is my front pair of panels. 120 watt mounted on a curved roof, 102" wide.
This is the mount it is held on with three rivets into the frame, and then the bottom half is 6" long aluminum, with nutsert in the upper piece, bolt you can not see from the outside edge pointing inward.
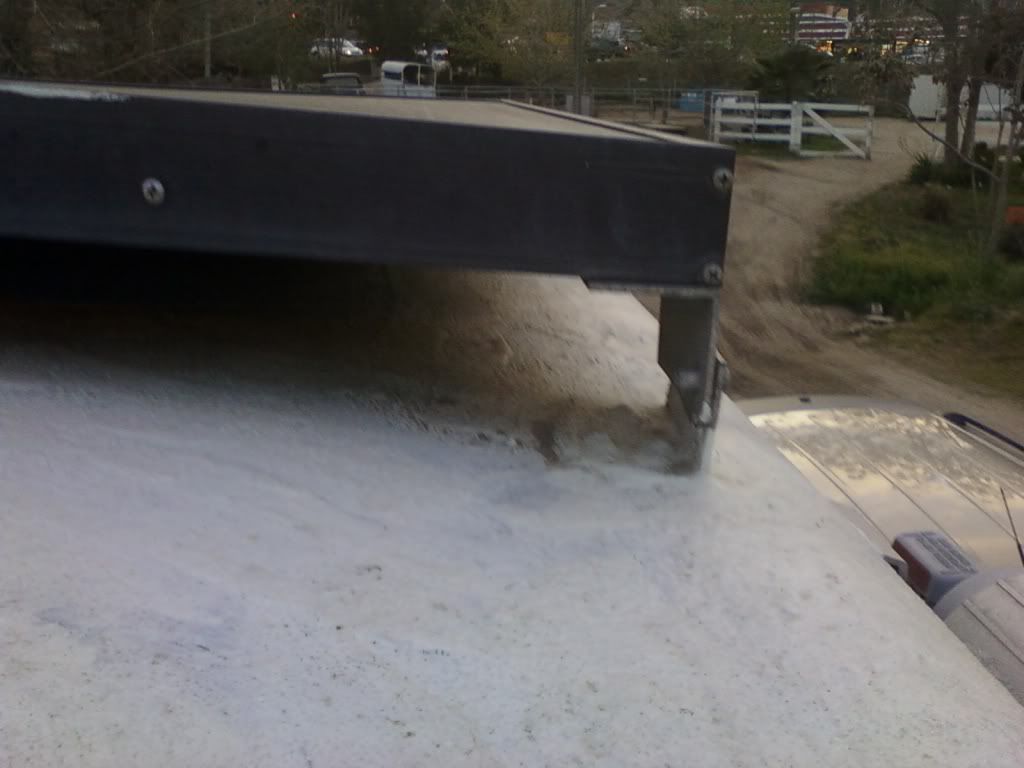
This picture shows the bigfoot panel mount sold by RvSolarElectric for $35 a set back in 1994. I wonder what they cost today?
This picture shows the panels tilted while I was working on the roof.
Fred.
About DIY Maintenance
RV projects you can tackle on your own with a few friendly pointers.4,408 PostsLatest Activity: May 09, 2026