Forum Discussion
fulltimin
Aug 13, 2022Nomad
Forgot to post this last night. Duh! Lol.
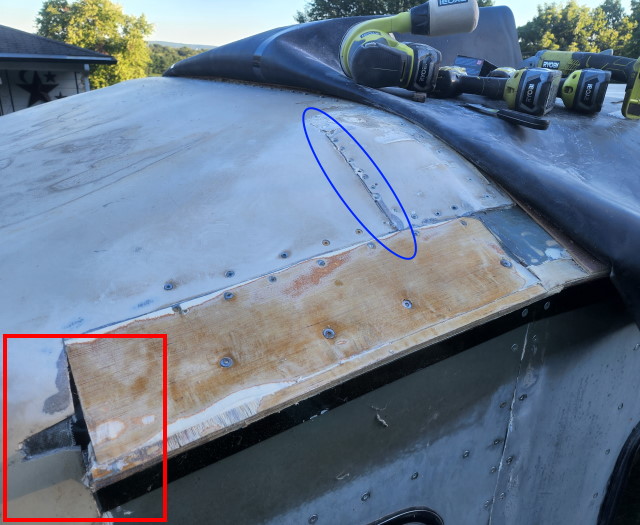
Anywho.... The previous post shows the inside of the fiberglass cap above the pilots seat area in the "corner" area.
This pic shows what this ugliness looks like on the outside of the cap.
The lower left corner, (red square), is the same area as prior pic.
The rest is where I had to cut out the fiberglass cap so I could get to the steel framing when taking this puppy apart.
Since the roof/front cap area no longer has the same contour, I had to cut and remove a small section to make it bend the way I wanted it to. (blue oval).
I added a piece of wood inside the cap to screw the fiberglass to, in order to make it conform to the shape I wanted.
Add a bunch of screws, after countersinking the holes, and a bunch of sanding, and I am soon ready to begin adding new fiberglass to make this look a bit smoother, and water tight.
Hope that makes sense.
About Motorhome Group
38,773 PostsLatest Activity: Apr 25, 2026