Forum Discussion
8,453 Replies
- I stuck this gun in between 2 pieces of rubber and added some heat from the gun, and after several seconds, stuck them together and waited for them to cool.
After they cooled, it was near impossible to separate them. There was no glue involved, just the rubber and heat.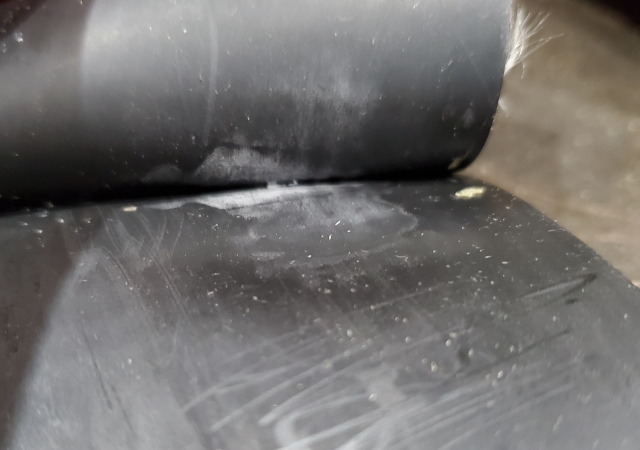
- Next tool for use. I didn't buy this, it's our son's. We were using it on another project, and I discovered a use for it on my project.
There's nothing special about it. It's just a Wagner heat gun. 2 different settings. Temps are about 800 to 1200 degrees or so.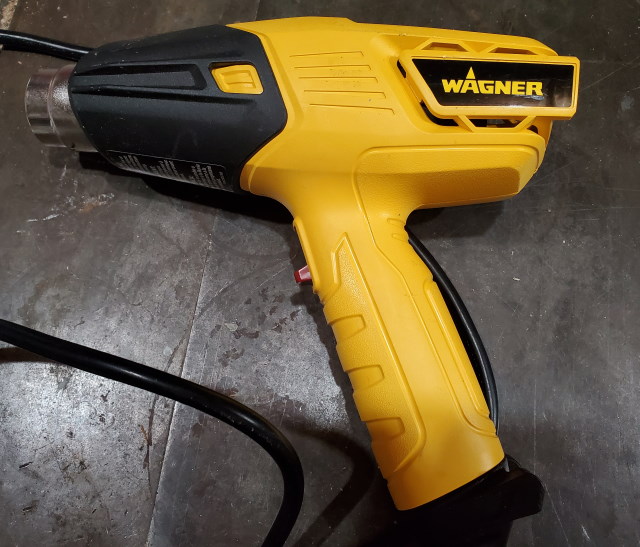
Bill.Satellite wrote:
Our remodel, update, upgrade story can be told in a much shorter format. We just dropped off our bus, wrote a check and now have a remodeled, updated, upgraded bus. Easy Peasy!
Moved up from a 1988 to 1998 but stayed with Country Coach.
Big smiles all around.
Congrats! :) Bill_SatelliteExplorer IIOur remodel, update, upgrade story can be told in a much shorter format. We just dropped off our bus, wrote a check and now have a remodeled, updated, upgraded bus. Easy Peasy!
Moved up from a 1988 to 1998 but stayed with Country Coach.
Big smiles all around.- Gotta love the rain! Lol. I think I'll have an update tomorrow.
BurbMan wrote:
Wow 3 1/2 years! That's a project! I'm sure you got the award for longest thread from the Mods...
That partition is typical construction, done to keep the weight down. Using wood glue and/or PL construction adhesive adds considerable strength with no weight penalty. FYI on window installation...ChemLink is a good choice for sealant but not so good if you ever need to replace that window. It's also easier if you have the interior paneling installed, the inside trim ring is designed to be the clamping pressure on the window so you don't need actual clamps.
Looks like the project is coming along nicely though!
There are longer threads on here, not sure about rebuilding and remodeling though. It's a project that got out of hand a long time ago, so I might as well just finish it. Lol.
Agreed on the partition from another rv. Unfortunately, when they are put together at the factory, strength isn't always at the top of their list.
As far as the windows go, I just hope I am not the next guy to have to remove them. Although, taking a sharp knife and cutting through from the inside, and under the outside would probably make it a lot easier.
The way that stuff sticks, I doubt that will leak for a long time to come.
The project is coming along, much slower than I like, but sometimes life just gets in the way of what I am doing! :) Lol.
Thanks for the post. BurbManExplorer IIIWow 3 1/2 years! That's a project! I'm sure you got the award for longest thread from the Mods...
That partition is typical construction, done to keep the weight down. Using wood glue and/or PL construction adhesive adds considerable strength with no weight penalty. FYI on window installation...ChemLink is a good choice for sealant but not so good if you ever need to replace that window. It's also easier if you have the interior paneling installed, the inside trim ring is designed to be the clamping pressure on the window so you don't need actual clamps.
Looks like the project is coming along nicely though!- I's another rainy night in Georgia,..... I mean... Pennsylvania.
Wasn't supposed to, but it rained 'bout all day.
Not fully sure what the week holds, because the forecast keeps changing.
One thing that is probably accurate is, it will be cooler this week than it was last week.
I think the high temps are something like in the 50's. Hey, it beats 90's or single digits.
Anywho..... I did get a pic of the roof today, rain and all. If you look closely at the pic, you can see the section in the center where the edges of 4' the wide piece of plywood are tapered.
So, at this point, that will keep everything dry up there.
I am glad that is glued down and can work on the rest as time and weather permits.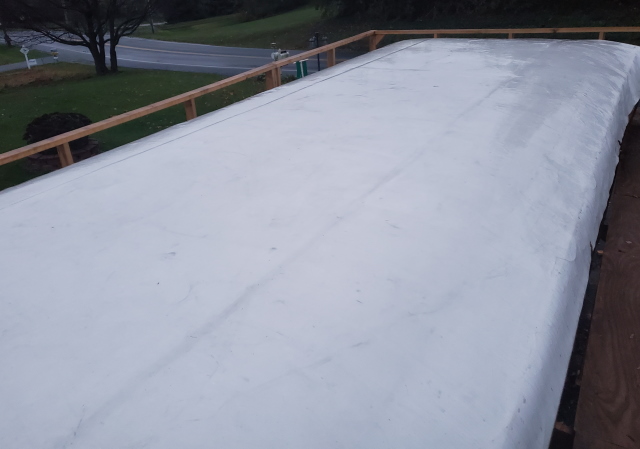
- I do have an update tonight. Unfortunately, I do not have any pictures. By the time we finished, it was well past dark.
Our son came over today, and we glued the TPO down to the plywood.! Wahoo.
It's glued down on the top all the way down to the sides, but not wrapped around the bottom, so it's not completely finished.
The adhesive we used, is supposed to be used on both the TPO and the substrate, so when putting them together, it's pretty much instant.
It doesn't leave room for much error, and it can't really be pulled back up to correct for any errors, if there are any.
I'll try to get a pic tomorrow. - Here you can see the angle from side to side that that was created. It worked fairly well, and did not take long to cut the plywood with this setup.
A few extra minutes with the grinder, and we are good to go.
Wahoo!
About Motorhome Group
38,769 PostsLatest Activity: Apr 24, 2002