Forum Discussion
8,453 Replies
LouLawrence wrote:
No toe kick space?
Yes and no. That's clear as mud.
Will it be a traditional kick space? No.
I will be adding a little extra to the counter top, which will stick out a couple of extra inches, and will also help to keep things from rolling off of the counter.
Since the counters are already deeper than normal, plus the extra I will be installing, I figured I didn't need to add more at the bottom.
I may add a brass or copper piece at the bottom of the last drawer just for a little extra protection for the drawer fronts.
Between the extra counter overhang, and "my overhang", kicking the cabinets should not be a problem.
Anyone else have a little extra "overhang" in the front? Lol. Not expecting any answers to that question. Just rhetorical.
Our son came over today, and we worked on the 5th wheel for several hours, so I never made it to the moho. I should have some time tomorrow to work, though. LouLawrenceExplorer IINo toe kick space?
- It could be worse. I could be attempting to fulltime in a rig like this! Lol.

Yes, I actually saw this rig in a nearby store parking lot! - ALRIGHTY! I moved the drawer slides down just a little bit today for the bottom drawer, to keep the spacing correct.
That looks a lot better to me.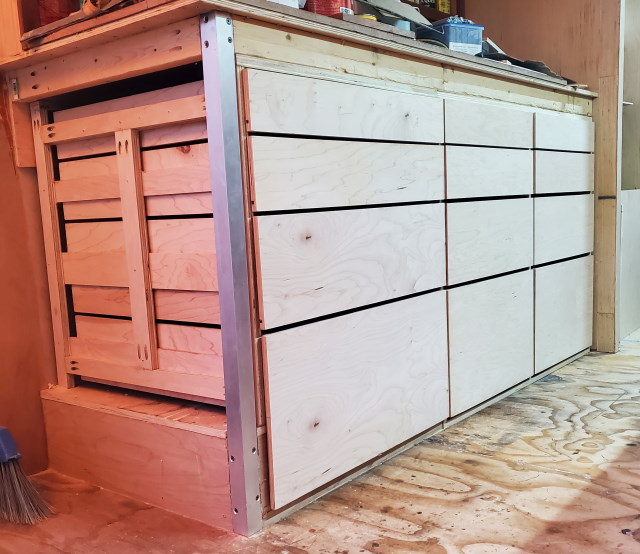
Finally done with the preliminaries for these drawers. Wahoo!!!
Listen, I get it. You're probably tired of hearing about these drawers. So am I. Lol.
Even though I am not completely finished with these, it's time to do some additional work on other things for a little while.
(Ok, the cheering can die down now)! LOL!
I do thank you for hanging in there with me. :) - At that point, I installed the 4th drawer. OOPS! Looks like somebody mis-measured just a touch.
Spacing between the number 3 and 4 drawer is off just a bit.
By the time this happened, it was past quitting time. Ah well, that will be corrected tomorrow.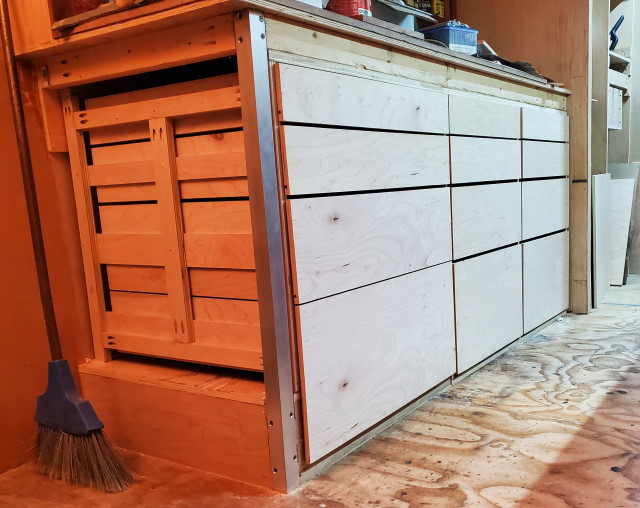
- I finished cutting the parts for the last 3 drawer slides. After cutting the dovetails and fitting them to the drawers, I installed the second and third drawers.

As you can see, the slides are installed for the last drawer, but I haven't put it into place here yet. - Time for another episode of "how to not build a motor home". Lol.
Did you ever wonder what would happen if you cut a small sliver of wood of of a piece of plywood?
No?
Me neither. Then, I needed a thin shim, so I cut a piece off of a piece of 1/2" thick ply.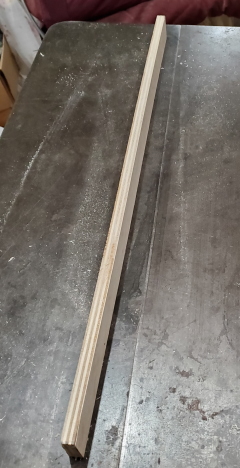
That was a piece like the one I cut.
After cutting the top ply off, and just a touch of the second ply, plus the cut from the blade, this is what happened. Who knew?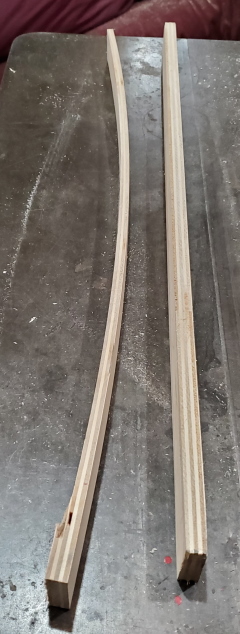
They were both straight before I cut the one. Ok, then. - I also fastened the back and the bottom of the cabinet frame to get ready to install the top drawer.
The drawers below will indexed from the top drawer, so it was critical to get the top one correct.
There we go. Top drawer installed, and with a little furniture wax, slides like greased snot.
Ok, maybe I could have used a better term there, but you get the idea. Lol! :)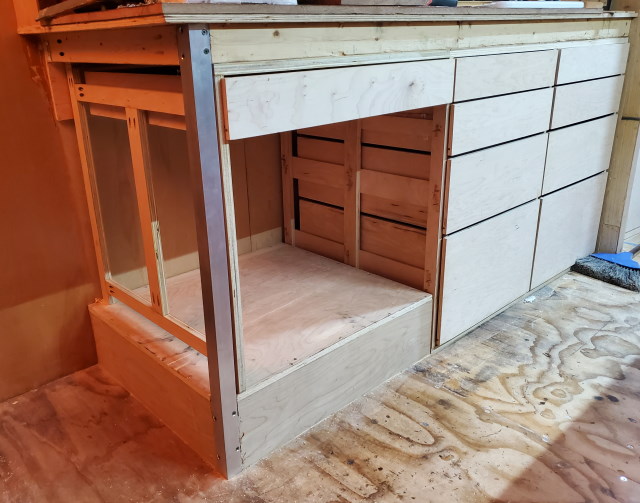
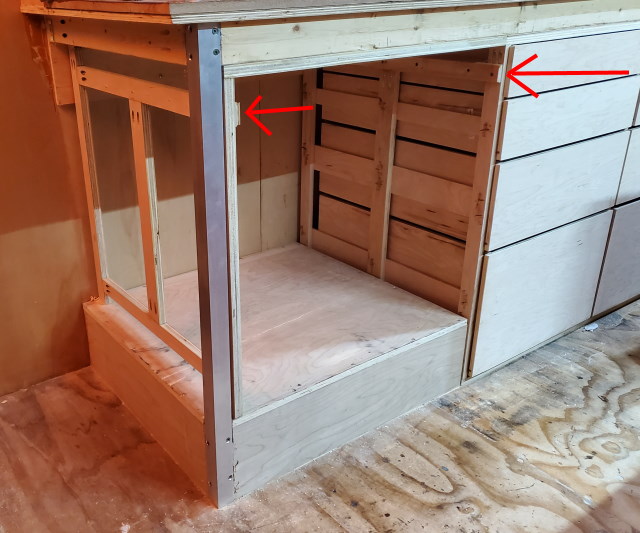
Wahoo! 3 to go! - Next up was to create the male portion of the slides, and position them correctly for the top drawer. (red arrows).
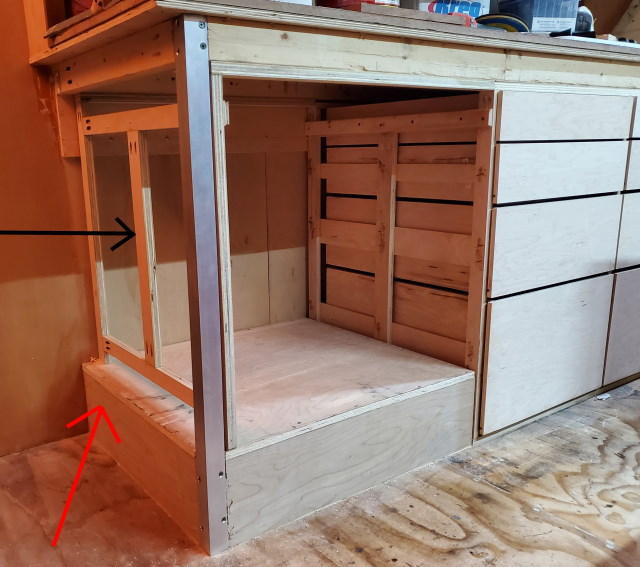
- I had to remove the end of the passenger side counter cabinet today (red arrow), to allow access to install the framework to hold the drawer slides, (black arrow).
About Motorhome Group
38,768 PostsLatest Activity: Nov 21, 2015