Forum Discussion
8,453 Replies
- Tip 'o the day. Pulling out the ole board stretcher. Ever have a couple of boards that were just a few inches too short? Well, I have.
Here's one way I dealt with it.
3 and 1/2" wide board.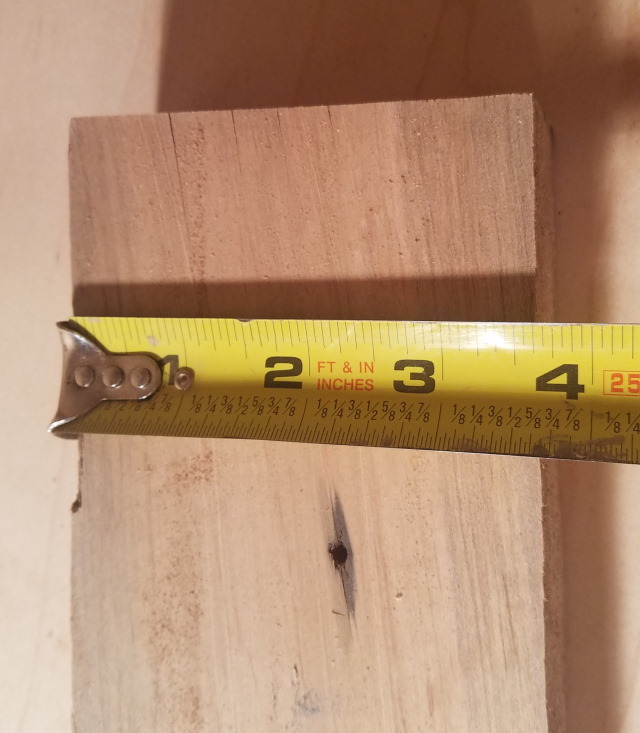
Well, a pair of them, actually.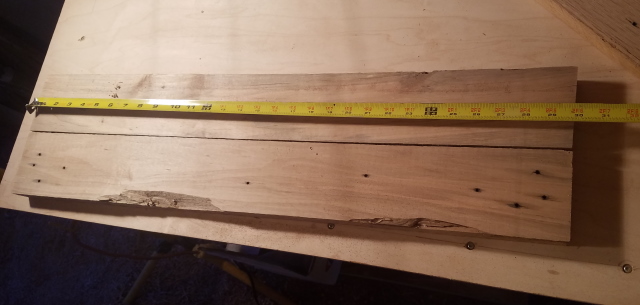
They are 30" long.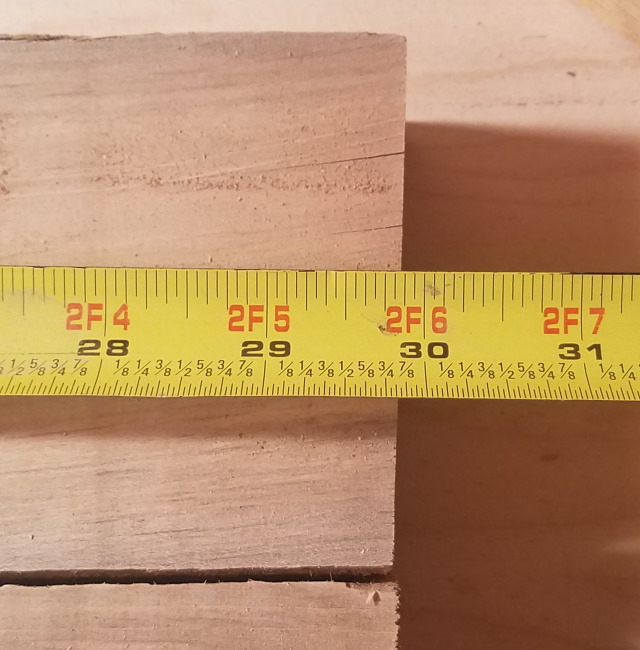
- Hey, Hey, Hey!!! Got a little work done today. Some of it was even for the motor home. Wahoo!
I turned a whole bunch of stuff that looked like this .....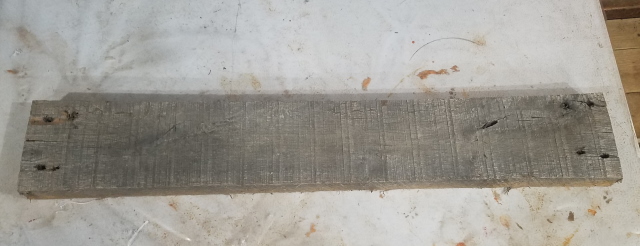
Into stuff that looked something like this .....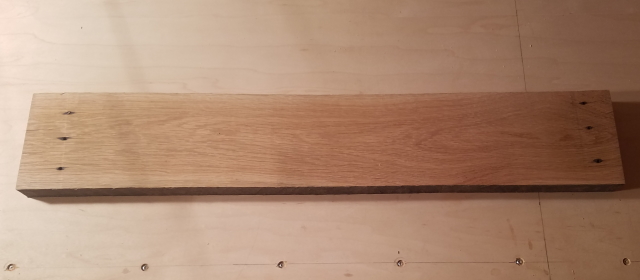
Ya gotta love free pallet wood, and a nice planer! - Here is the paper towel that I used to do the staining. I could have used a paint brush, which would have taken more stain, and made the stain on the wood a little darker, but I chose to just use the paper towel.
A nice soft cloth also works well.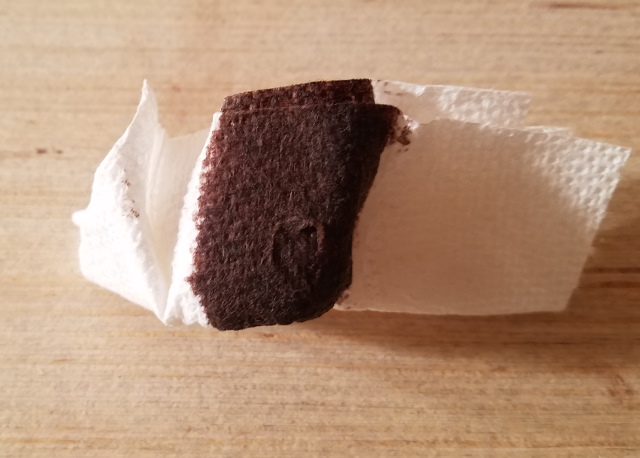
This is the paper towel I used to wipe off the excess stain from one of the test boards. As you can see, it didn't pick up a huge amount.
Had I used a brush to apply the stain, the paper towel would have picked up a lot more stain.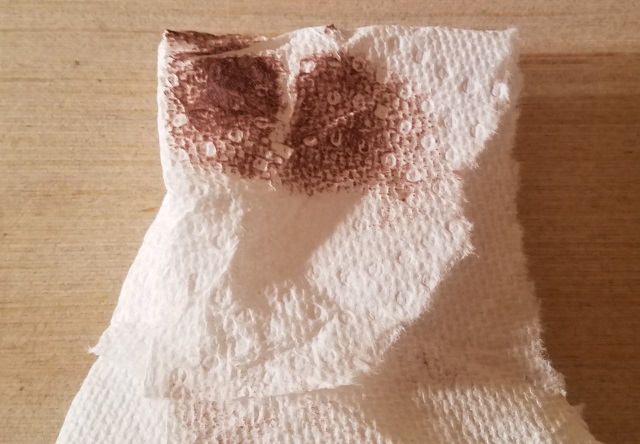
This are just the basics of using a stain, but, somewhere between no sanding and excessive sanding, is a happy medium for most folks.
Hopefully, tomorrow, I'll have time to actually get some work done. Wahoo!! - After going through the sanding process on the first piece, I stained it, again, and this is how it came out. Quite a bit different from the first time with no sanding! Lol.
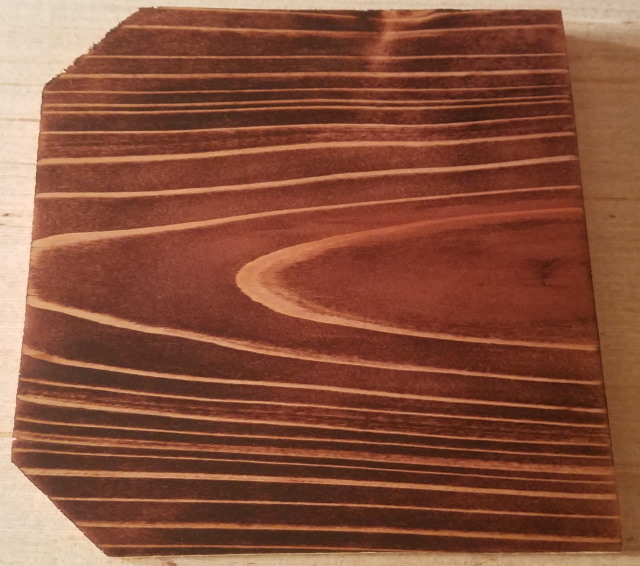
Here they are side by side.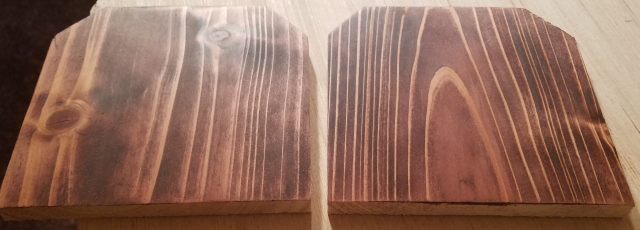
If you look close at some of the pics you can still see some swirl marks from sanding. I didn't spend a lot of time going from one grit to the next.
Adding to that, rough sandpaper will cut deeper in softwood than it will in hardwood, so I never got all of the marks out.
However, this gives an idea of how things work with stain. - So, I took the first piece, and sanded it until all the stain was gone, and we were back to raw wood.
I used 40 grit, then 120 grit, then 320 grit. That's not a recommended combination, but I was limited on time.
If I was going to do this more "correctly", I would have gone, 40, 80, 120, 220, and finish with 320, or just skipped the 40 altogether, and or skipped the 320. Lots of choices.
Totally depends on how fussy you are, and what you want the finished product to look like.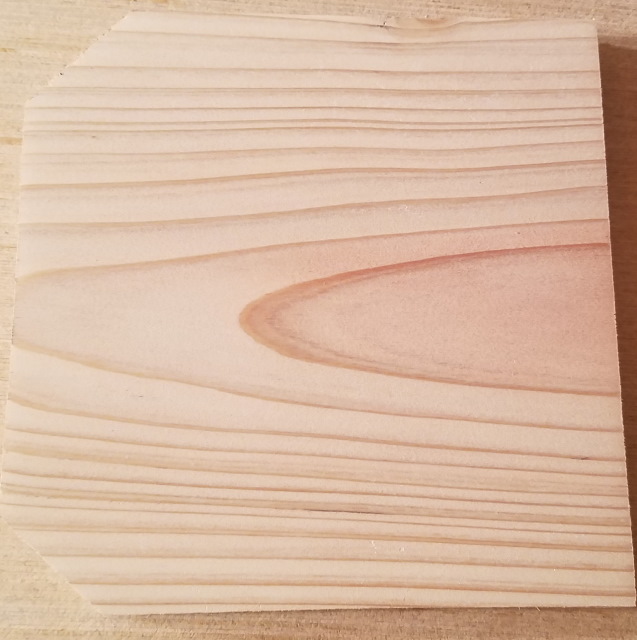
- Here you can see the stark contrast between the 2 test pieces.
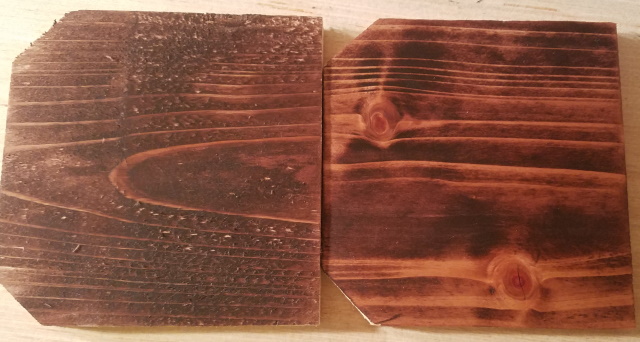
- Here is a second board that I did sand and then applied the same stain to. As is usual, different grain of raw wood will absorb stain at different rates. Some takes more, some takes less.
This is quite different from the first piece.
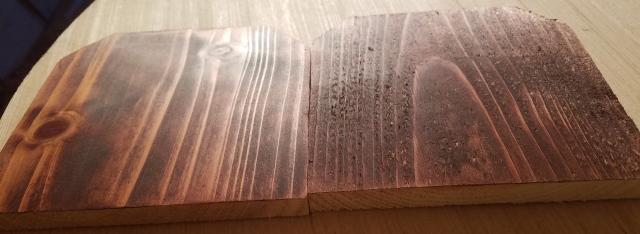
- Next step was just to apply some stain. I used some Minwax Red Mahogany stain. Just stain only. It is not stain and finish in one. This stain will require a coat of something over top of it, after the stain dries.
As you can see here, the stain did not absorb any way close to evenly, which was expected. I used a paper towel to apply the stain, and a few pieces of the paper town stuck to the rough areas of the board.
- After spending a couple of days working on computers, I finally got a chance to spend a few minutes in the motor home today. Not long enough to really get a good start doing anything, so I tested out some staining on a couple of pieces of cedar boards.
These are the ones I bought and planed and stacked up to dry out a little.
So, this first piece is one that was planed, but not sanded at all. As you can see, it is a little rough in places. Generally, no one would stain a piece of wood like this, but, I did it, just to show the effects.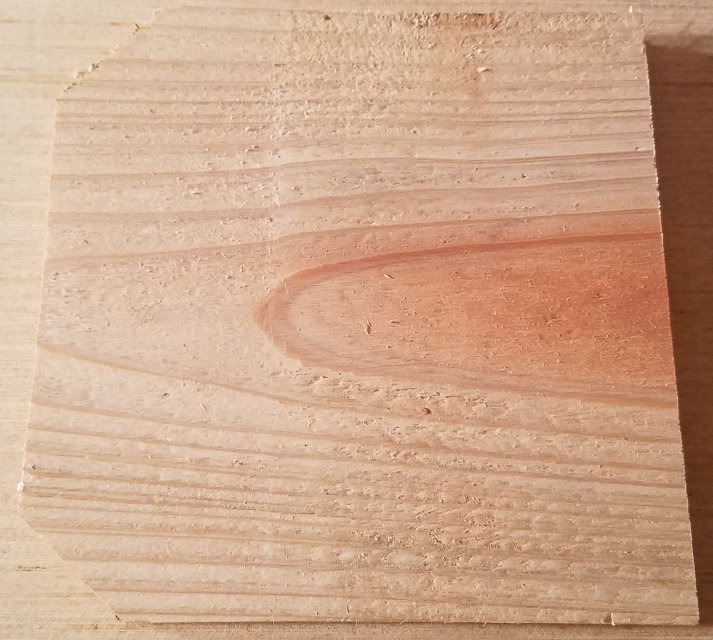
- I think I may use a color scheme similar to this for the kitchen side of the bath door. The dark center will go nicely with the walnut counter tops, and something light in color, will contrast nicely with the walnut.
Maybe something like oak, maple, or birch. Not sure yet on that.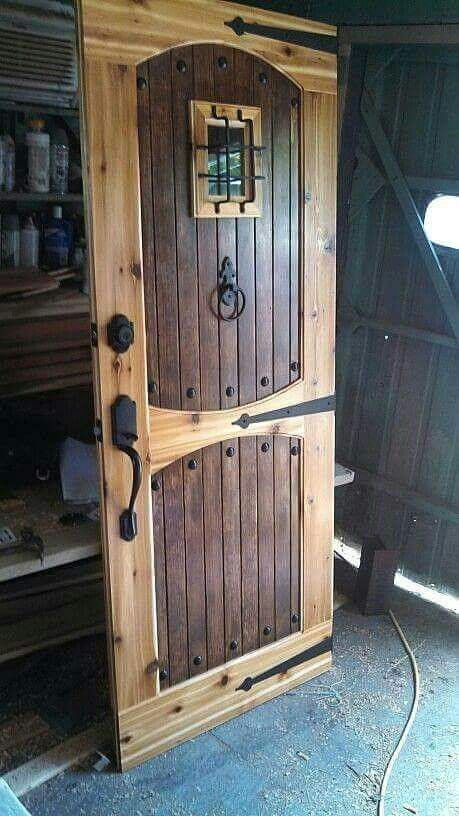
About Motorhome Group
38,771 PostsLatest Activity: Apr 18, 2026