Forum Discussion
8,453 Replies
Bill.Satellite wrote:
A fairly practical "range hood" would be the installation of a microwave or convection/microwave oven exhausted to the outside. Just a hood is just taking up space while the oven can offer utility and function.
Hopefully, I can add either a Microwave or the Convection oven up there. The "hood" would just be an added "touch".STBRetired wrote:
You know, if the weight distribution isn't too messed up and the additional swing is manageable, having additional storage added to the back of the MH might actually be a reasonable idea. Store things like the grill in there that you would never use inside. Have seen quite a few rigs with stuff on hitch carriers out the back.
I'll have to weigh it once I get it closer to being finished to see where the weights are. I'll need to weigh each corner, as weighing by the axle and dividing by 2, doesn't give accurate results. It's easy for one corner to be heavier than the one of the other side. Just like weighing the race car.
Here's a setup on a van with boxes on the back. They are hinged from each side, so the rear doors of the van can be opened.
It would be easy to add a board in between the opened boxes, to create a table/workbench back there as well.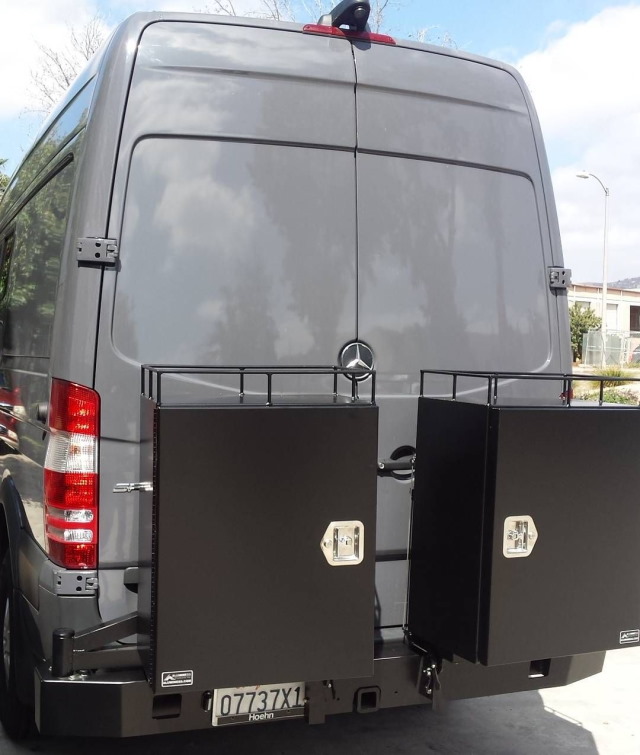
 PastorCharlieExplorerA Ranger Rover hood would be more in keeping with the Range Hood idea.
 Bill_SatelliteExplorer IIA fairly practical "range hood" would be the installation of a microwave or convection/microwave oven exhausted to the outside. Just a hood is just taking up space while the oven can offer utility and function.
 STBRetiredExplorerYou know, if the weight distribution isn't too messed up and the additional swing is manageable, having additional storage added to the back of the MH might actually be a reasonable idea. Store things like the grill in there that you would never use inside. Have seen quite a few rigs with stuff on hitch carriers out the back.
- I was talking to the wife a little today, and asked her the following question.
Since we will need a "range hood" over the stove, how about if I take a hood off of an old car, cut it down to size, and then we'll have a real "range hood"!
She, as usual, rolled her eyes, shook her head back and forth from side to side, and said quietly, "no". Bummer.
Well, I said, how about this. In some places in the world, the trunk of a car is called the boot. If we want some extra storage at the rear of the moho, how about if I make a oversize "boot" back there to store extra stuff in, and got the same reaction.
I'll tell ya, some days, ya just can't please some people! Lol. - In addition to working on that, I am making some final calculations on making the shelves for the counter tops, as well as figuring out exactly what dimensions to use for the gray, black, and fresh water tanks.
Add to that, hunting for roofing material, without spending a fortune, also trying to figure out what I am going to use for siding, along with finalizing the dimensions for the sofa, which turns into a bed, for the living area.
And the list goes on, and on, and on.... Lol.
Some days, if I'm not careful, it can be a little overwhelming. I have to back up, and get my mind on exactly what my next move is, while still spending a little time on the other stuff that will be needed shortly.
I am not complaining, but at this stage of the game, mistakes are just not a good thing, as they are too hard to correct, so I just want to get it right the first time. - I had a couple of 4 x 4's, 8' long that I had bought at Lowes. These were made of Doug Fir, nice and straight, and didn't have a bunch of knots in them.
One of the cool things about having some tools to work with wood, is, if what you have needs to be a different size, it's easy to make it into whatever you want.
I didn't say it's always quick. It's not just difficult.
The wood in the middle of the pic, was cut from the 4 x 4's. I planed them smooth on all 4 sides, cut them to length, and then ripped them in half on the table saw. That new Diablo saw blade I bought made easy work of ripping them.
After ripping them in half, I ran them through the planer one more time, just to make sure that they were all the same thickness.
There are 3 piles there, 4 pieces high on each pile, and they are exactly the same height. Nothing like having all the pieces for the next project the exact same size. Wahoo!
I'll keep the results of assembling those pieces a secret, until I'm done assembling them. It'll be a surprise.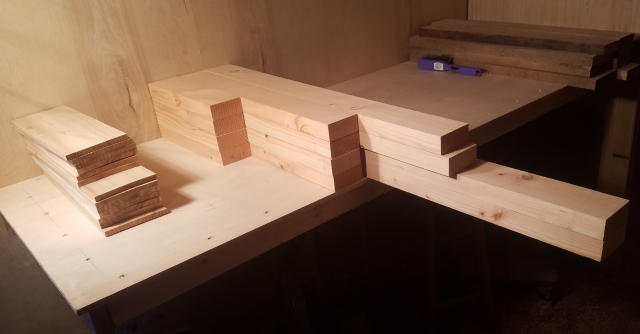
- Slide one board to the side, and using the red glue, (I mean, red line indicates glue), glue them together, like this.
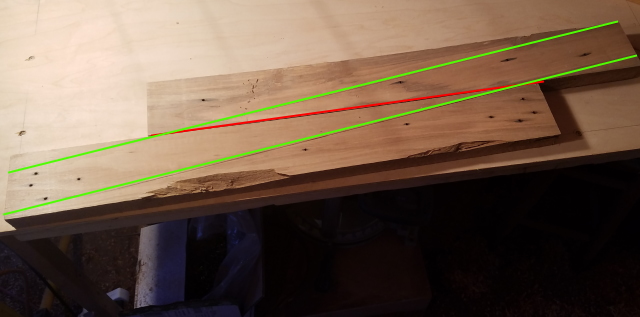
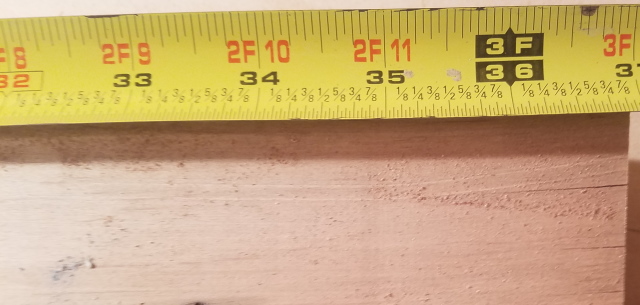
After the glue dries, we can then cut the boards along the green lines, and we now have a board that is 36" long.
No, the wood grain, does not run 100% straight up and down, but it this isn't in a structural use, it doesn't really matter.
Therefore, I end up with a 36" long board, that is now about 2 1/2" wide, like this.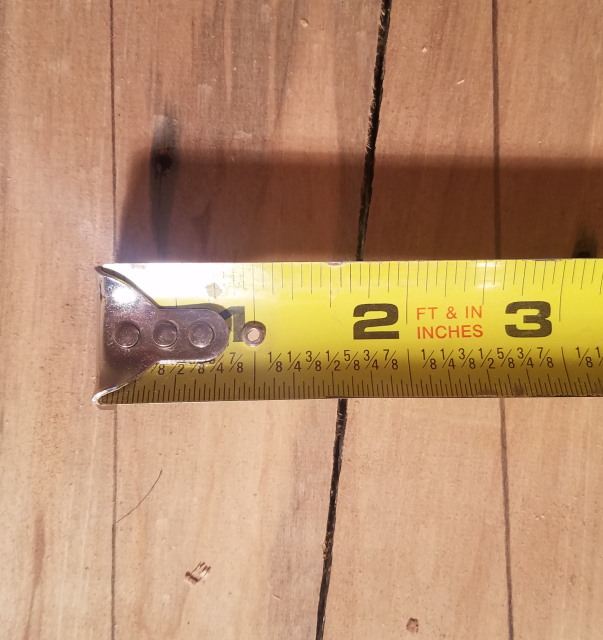
This can be either edge joined, or use a tongue and groove joint, pocket hole joined, along with glue, if you want some mechanical fastener along with the glue.
Depending on whether you are going to stain or paint this, the grain may not be visible.
Anyway, just another trick to use in certain situations, hopefully not many. - I need one that is 36" long, and not wanting to purchase more wood, or any one of a dozen other reasons. Maybe it's something special, and it's tough to get. (add your excuse here).
So, what to do?
About Motorhome Group
38,771 PostsLatest Activity: Apr 15, 2026