Forum Discussion
8,453 Replies
 BrobExplorerDo you have a plan on when you may have the opportunity to permanently install the TPO roof?
Any more thoughts on using it for the siding?- Unfortunately, no update tonight. Ugh! Tomorrow is another day.
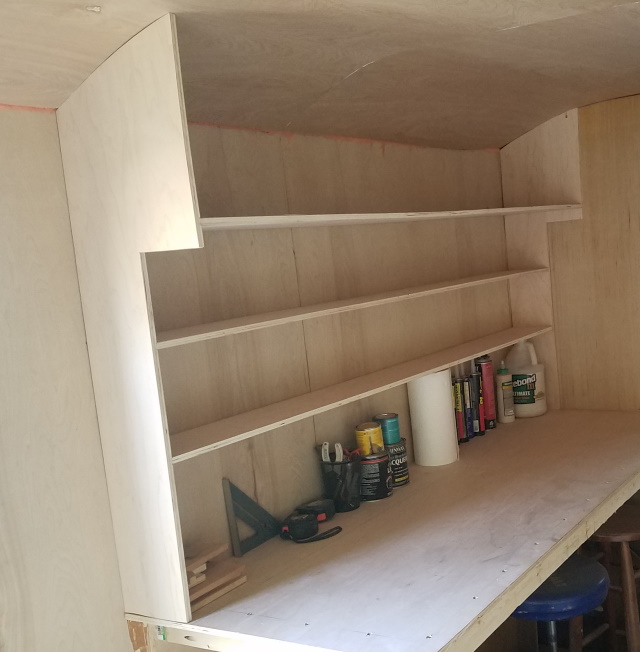
- At the end of the day, I ended up with these. Wahoo!
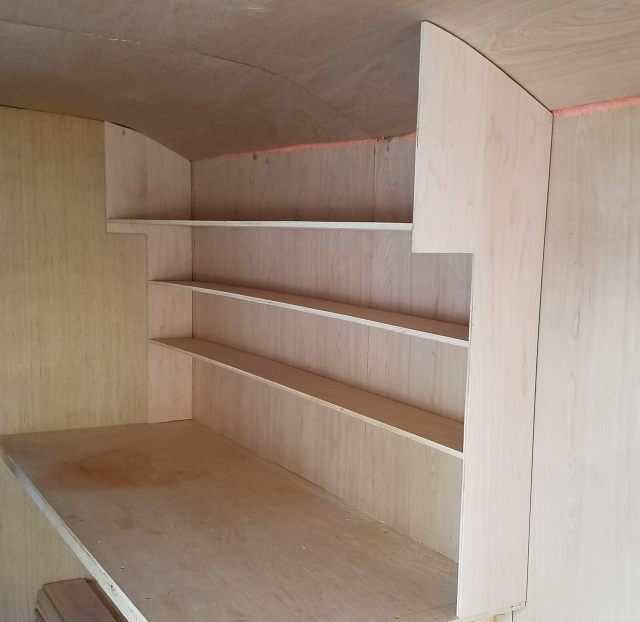
These shelves are not permanently attached yet. I only have one screw holding these shelves in place, while the glue sets up. - I have never liked using just a standard butt joint, with or without screws, so even though this has very little depth of dado, it still adds some mechanical advantage, in addition to the glue, and the Kreg screws.
Between the 3, the joints should last for a long time.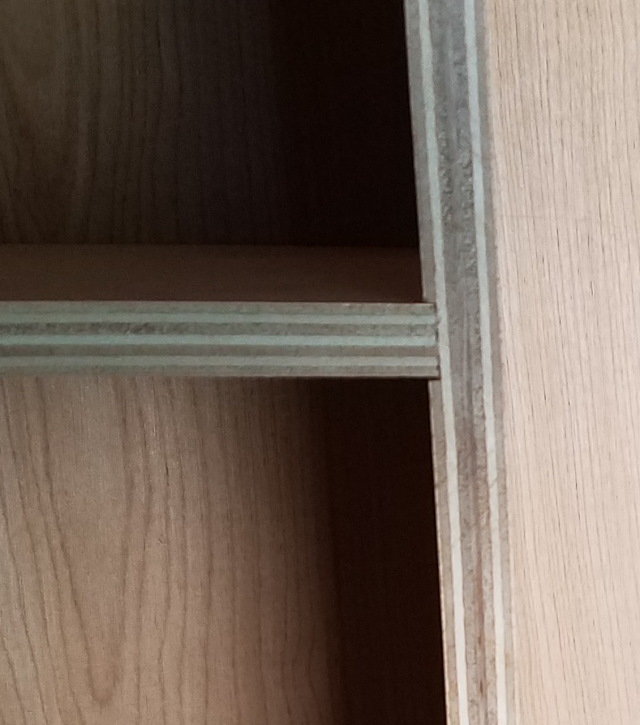
- Next was to install the screws in the shelves. I did back the drill off about 1/16", to make up for the dado depth, to make sure I did not have screws protruding on the outside of the shelf ends.
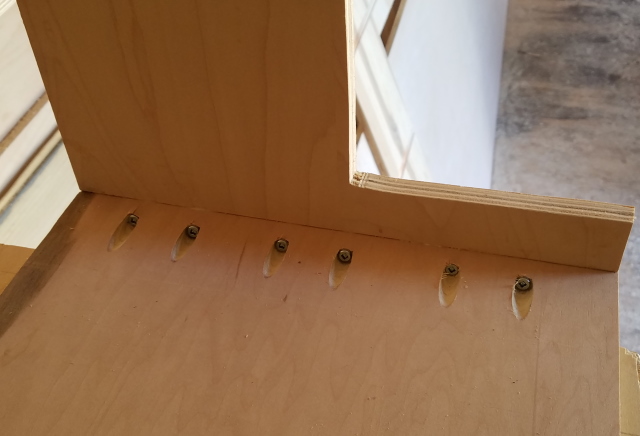
- After cutting the shelves, it's time to drill some holes for the Kreg screws. Since the shelves are longer than the distance I have between the counter and the ceiling, I decided just to use the Kreg jig in a vertical position, instead of horizontal. Works just as well.
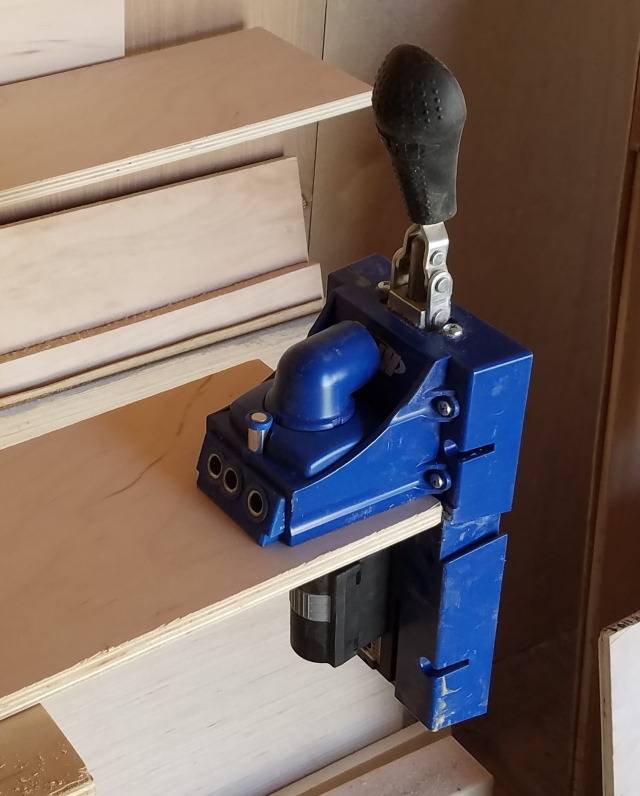
- Then I removed the 1.5" piece of plywood, and voila, I now have the exact distance from the fence to the first side of the plywood shelf. Lining up the plywood with the lines on the shelf side, is easier than trying to measure every time I want make a dado.
Cut the dado, and it's in the exact position that I wanted it.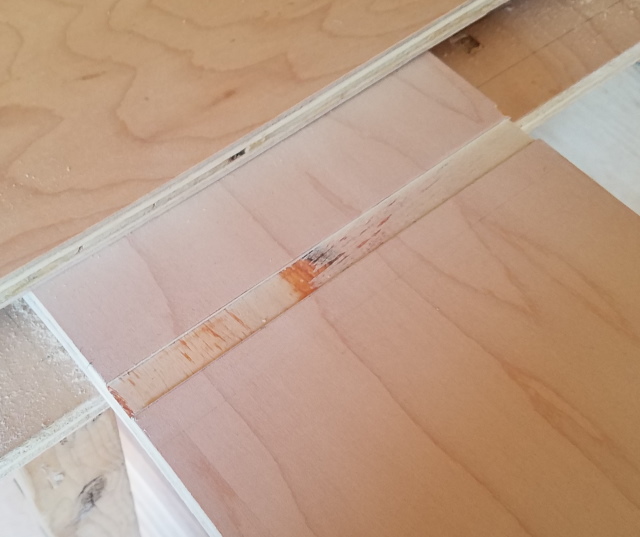
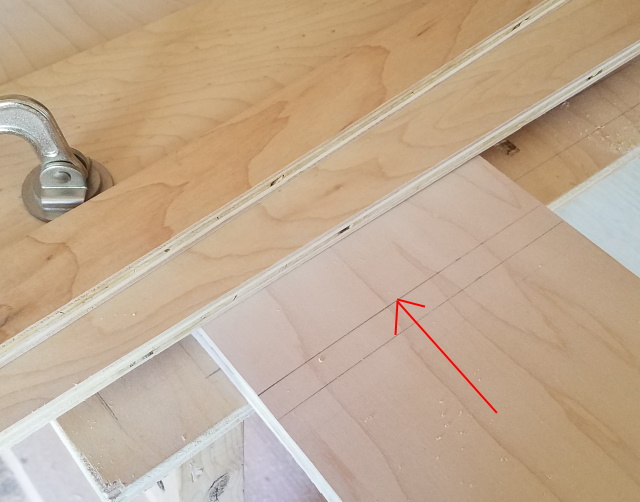
- Next was to mark where the dado was going to be in the end panels. I wanted the exact location of where the shelf would be, shown here at the end of the red arrow.

Then I cut 2 pieces of plywood. One of them was 1.5" wide, which was exactly the measurement on the router, from the base to the bit.
I clamped the larger piece of plywood crosswise, and just lined up where I wanted the cut to be.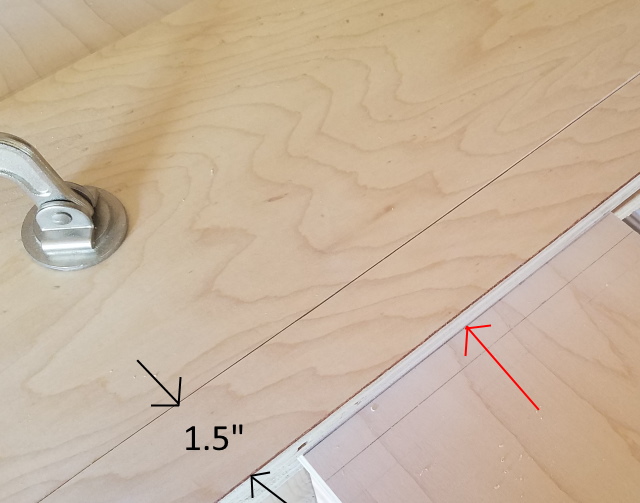
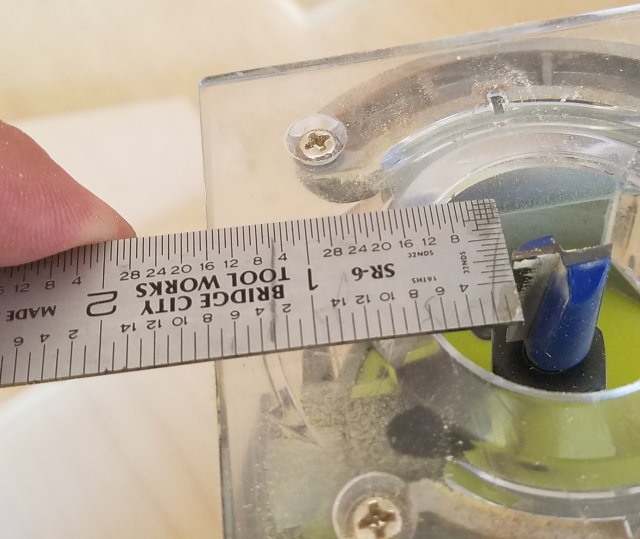
- My first step was to measure the distance from the base of my router to the edge of the router bit. Ends up at 1.5".
- After cutting all of the shelf pieces to width, and length, I wanted to cut dado's in the end pieces, for holding the shelving.
The picture below is what I wanted to end up with, and did. The depth of the dado is only about 1/16 of an inch. It is not very deep, but will offer some extra strength.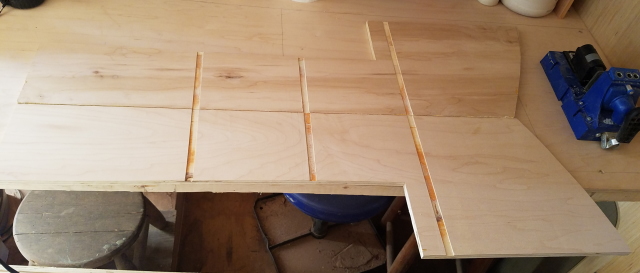
This is a slightly closer version of the above picture. Both ends line up at the same height, as they should.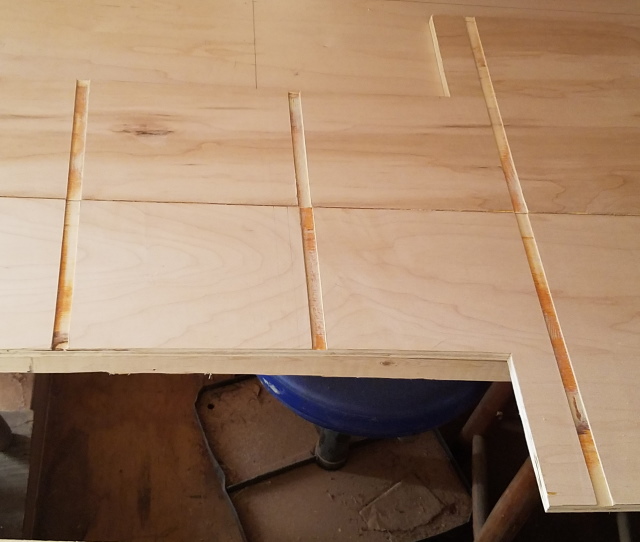
About Motorhome Group
38,770 PostsLatest Activity: Apr 12, 2026