Forum Discussion
8,453 Replies
 Bill_SatelliteExplorer IIUnless you have a grand desire for a new phone, you can replace the screen only for a whole lot less money!
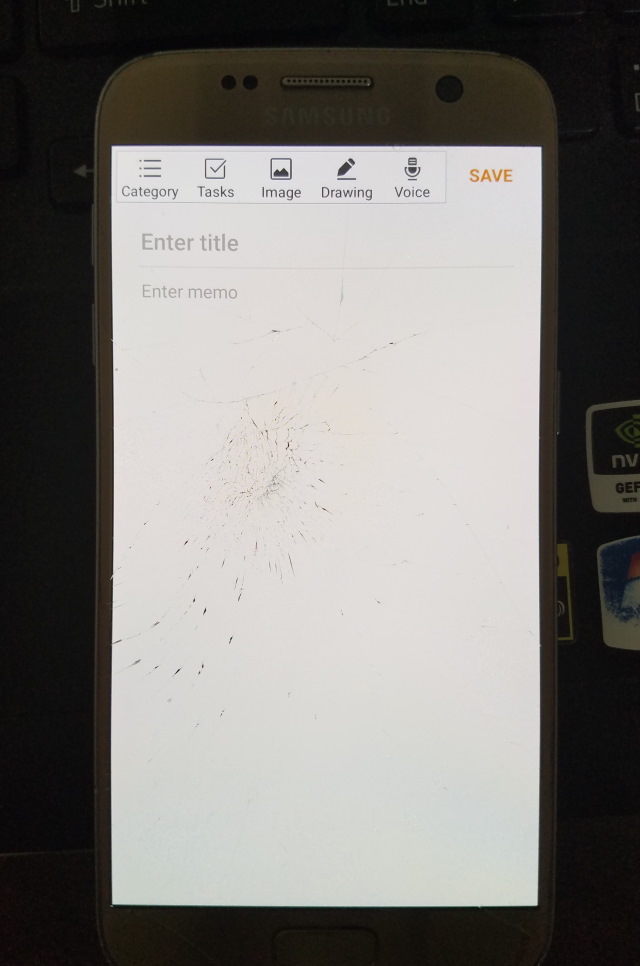
- Here is a shot of how easy it is to read the screen underneath the cracking. The screen is now pretty smooth, rather than the really rough surface after the cracking.
Now it's just mildly annoying, and nothing like it was. I would say that the screen is about 80% better than it was before using the windshield repair.
I still plan to replace the phone, but this buys me a little time to look around for one to replace it, and see if there are any special deals coming up for the 4th of July.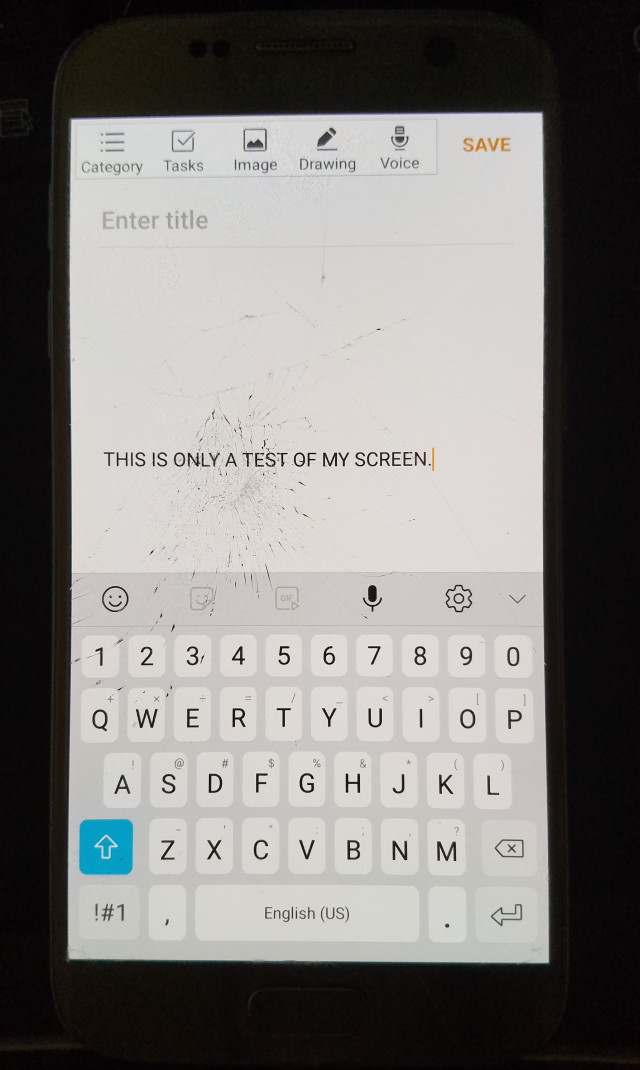
- Here's a pic with the phone on, and you can see some of the cracking still evident, but nothing like it was.
- After following the instructions in the kit, the screen looked like this. If you notice, the numbers in the center look much easier to read.
- Couple of things about this. The screen on this was cracked. The screen consists of a top layer of glass, with a digitizer beneath it, which is adhered to the glass.
If the digitizer is messed up, either sections of the screen will be seriously discolored, parts of the screen will not work when touching it, or part of it will be totally either black or white.
In that case, what I did will not work. Only the glass was cracked on mine. All the icons worked, no discoloration, or anything like that, so I was just working with the glass portion.
Enter........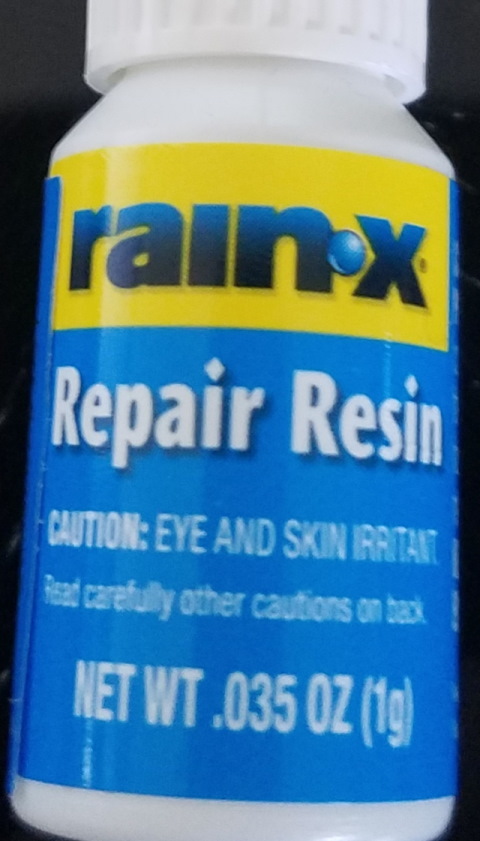
This is part of a windshield repair kit that I bought at Wally World for about $11. I figured I have nothing to lose. fulltimin wrote:
Hopefully, I'll have an update tomorrow.
Here's one, but not the one I wanted.
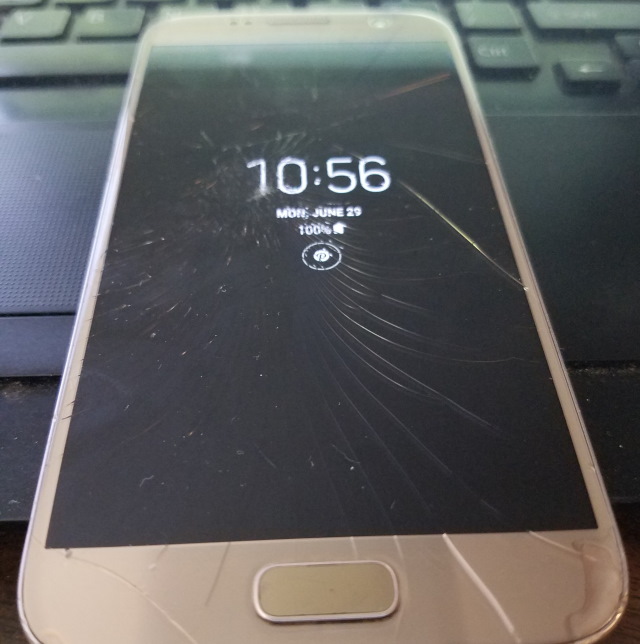
Since I didn't get to work on the moho today, here's something I did recently, and was kind of surprised and happy that it worked as well as it did. I cracked the screen on my phone, pretty badly.
Looked like this.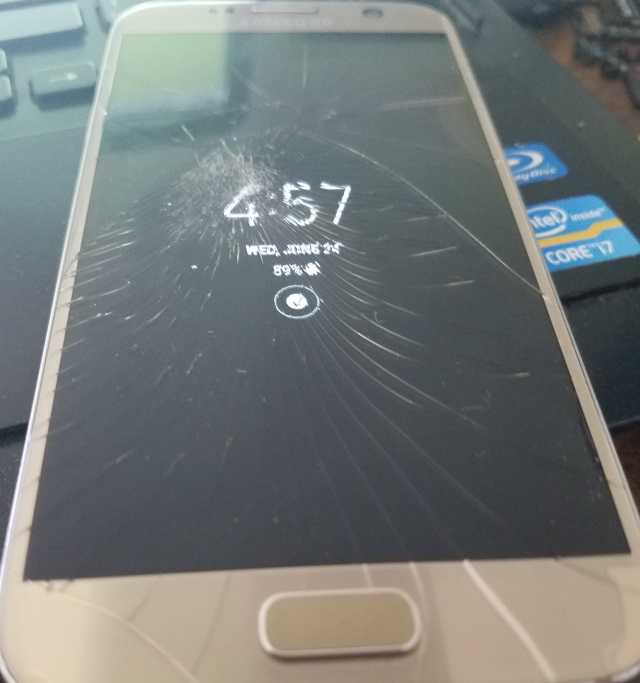
If you notice the numbers in the center are difficult to read.PastorCharlie wrote:
fulltimin wrote:
PastorCharlie wrote:
I would think there would be more concern with what the black walnut is treated with than the walnut itself. Some finishes will off gas and are very flammable.
I would think it would be a little tough to light up a counter top just from off gassing.
Then again, I suppose stranger things have happened. I've used a lot of Lacquer over the years, and fortunately never had a problem, and never want to.
Some of the inside will get Lacquer, but it probably won't be all at once.
Murphy's Law: "If it can, it will" :B
But, what if some of us like living on the "edge"? Lol.
Hopefully, I'll have an update tomorrow. PastorCharlieExplorer
fulltimin wrote:
PastorCharlie wrote:
I would think there would be more concern with what the black walnut is treated with than the walnut itself. Some finishes will off gas and are very flammable.
I would think it would be a little tough to light up a counter top just from off gassing.
Then again, I suppose stranger things have happened. I've used a lot of Lacquer over the years, and fortunately never had a problem, and never want to.
Some of the inside will get Lacquer, but it probably won't be all at once.
Murphy's Law: "If it can, it will" :BSTBRetired wrote:
In the S&B, the sink and the cooktop are opposite each other. In the MH, the sink and stove are on opposite ends of the same counter. Both configurations work just fine. I would move the sink about 6" or so closer to the wall. You don't really need the space between the sink and the wall and the added room between the sink and cooktop would be more useful.
BTW, where are you going to put the trash bin? We have found that having the trash bin directly below the prep area is very convenient. A lot less messy to just scrape the scraps into the trash than to pick them up and carry them to another location.
After showing this setup to the wife, it looks like we'll go back to what I had in the beginning, which is the stove on the passenger side towards the rear.
Hadn't thought about a trash container yet. Guess we'll have to figure that one out. Good idea.Bill.Satellite wrote:
Also, where is that fridge going? I remember there was a drawing awhile back but I can't remember. Seems it was going to be in the back room or somewhere to avoid a vent out the roof.
The fridge will be on the passenger side, behind the wall, along with storage, plus the oven and microwave.
When the oven or microwave is in use, I can run a fan at the back, close, or nearly close the door, and all the heat and fumes from back there just go straight outside, and not in the coach at all.
I will need to add a vent for the stove, so that would be a good reason to put the stove on the passenger side counter, towards the back.
About Motorhome Group
38,769 PostsLatest Activity: Jun 25, 2013