Forum Discussion
8,453 Replies
- At this point, all I needed to do was to add a ladder on the one end, and ..... presto ..... access to the scaffolding.
The top of this ladder is sitting between the uprights that are supporting the end of the scaffolding, so it won't go anywhere, as well as having the handrail to hold onto when near the top of the ladder.
I took a little walk up there today, and it is indeed pretty sturdy. Overall, I am pleased with the way that has turned out.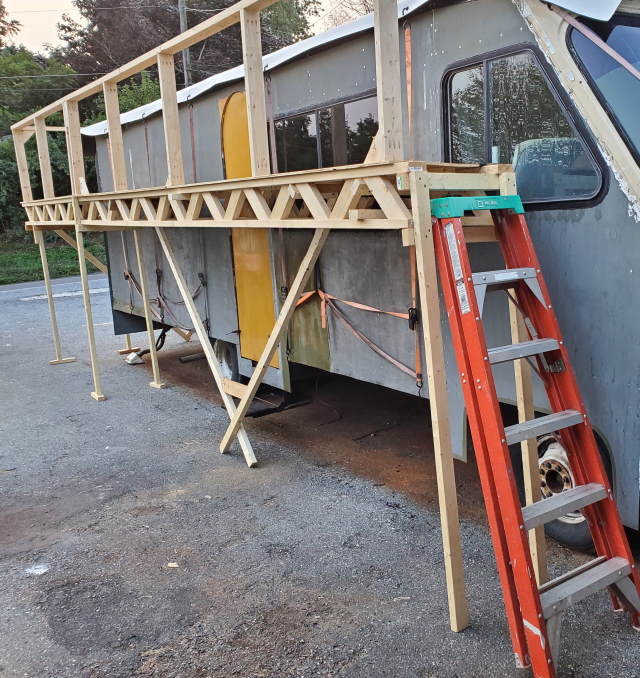
- Here's a couple of pics of corner bracing that I added. The first one is braced at the rear of the scaffolding, one on each side to help tie the side and rear railing together.
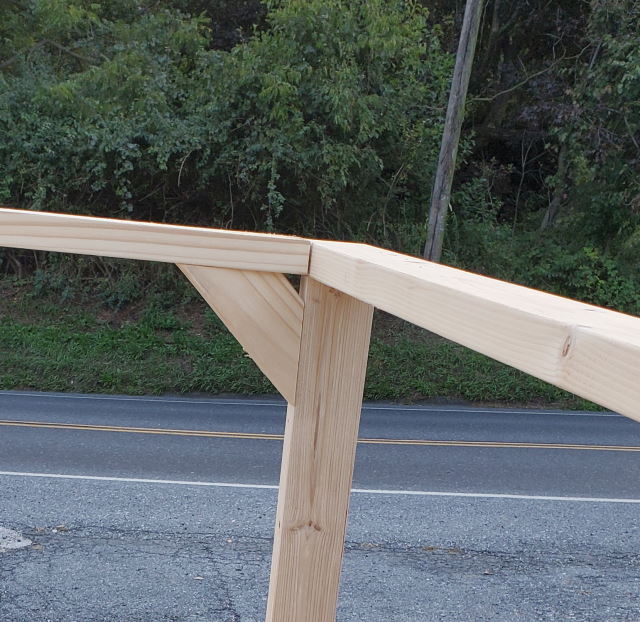
This one was added to one of the uprights that is supporting the handrails. I added 3 of these on each side, and they did help stiffen up the railings somewhat.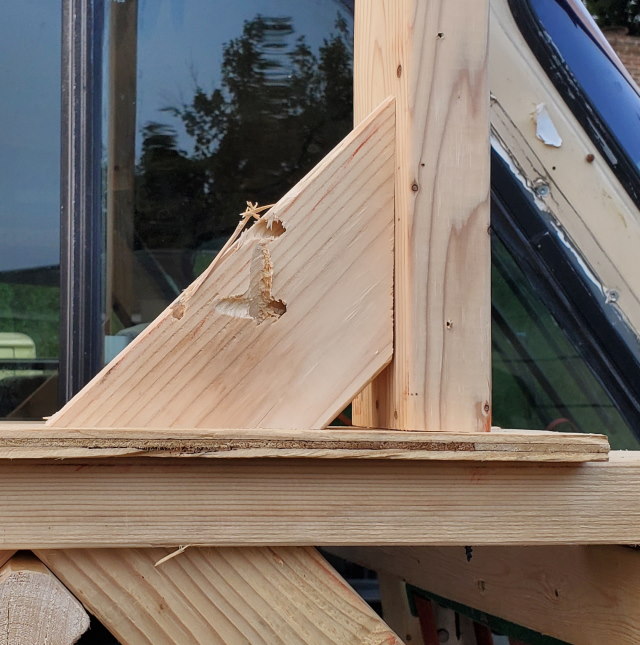
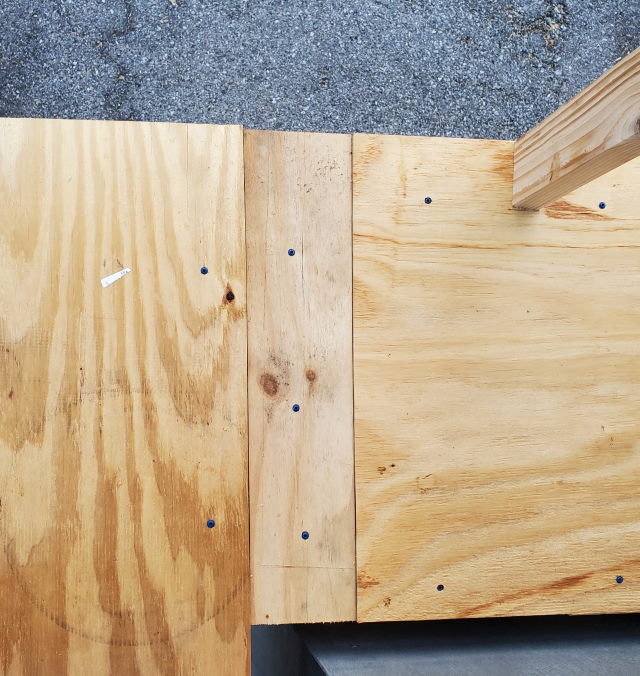
- Few minimal photos tonight. First is the extra piece of plywood that I added yesterday, at the back of the scaffolding.
Stanfordstander wrote:
share with us more
Is there something specific you are looking for? StanfordstanderExplorershare with us more
- And finally, I installed the railing on the passenger side as well.
YeeHaw!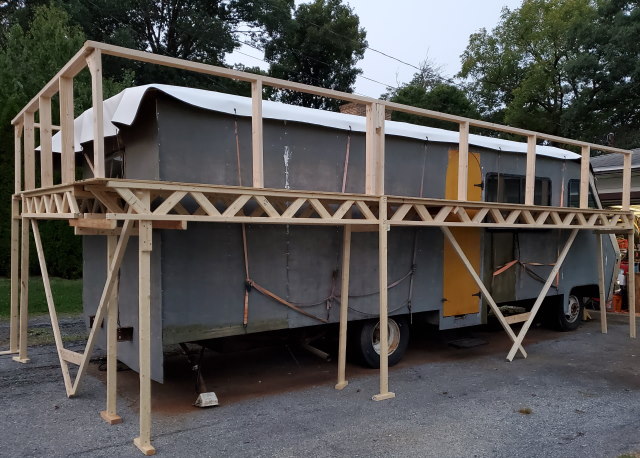
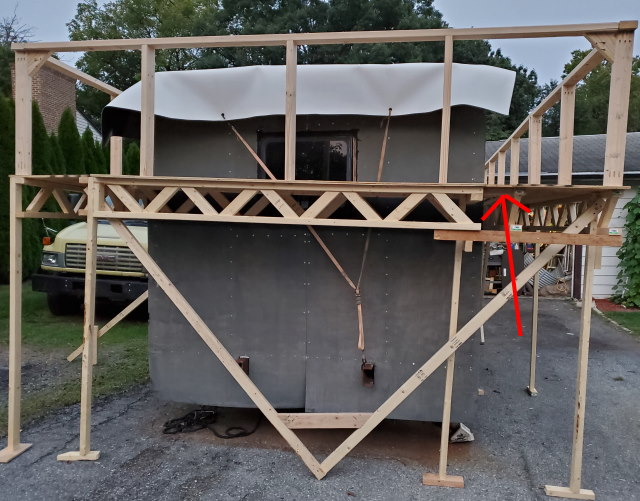
Almost ready to get started on finishing the roof. - I also added the railing across the back, and I needed to add a short piece of plywood - red arrow - to complete the floor. There was about a 6" gap there, which needed filling.
- Today, I added my "Y" bracing on the drivers side - red arrow.
I then proceeded to add the scaffold railing, which is 33 - 1/2 " high. Why 33 - 1/2? Because the 2 x 4's were 16 feet long, and by cutting them 32" long, yielded 6 of them from 1 piece of lumber.
Anything longer or shorter than that, would have resulted in a bunch of wasted wood. Add the 1.5" on top, and we have a railing 33.5 inches high.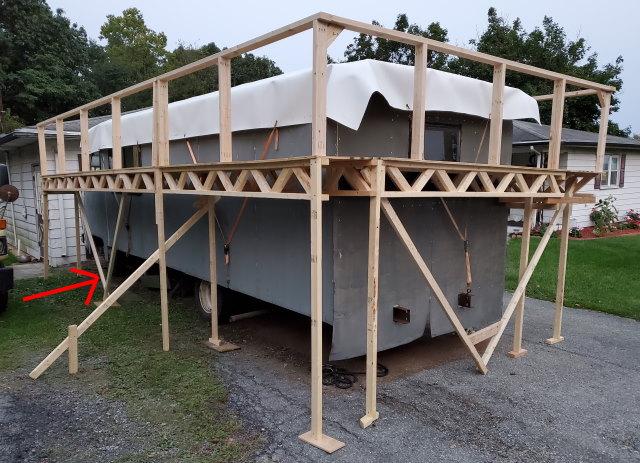
- When done properly, the 3 holes wind up looking like this.
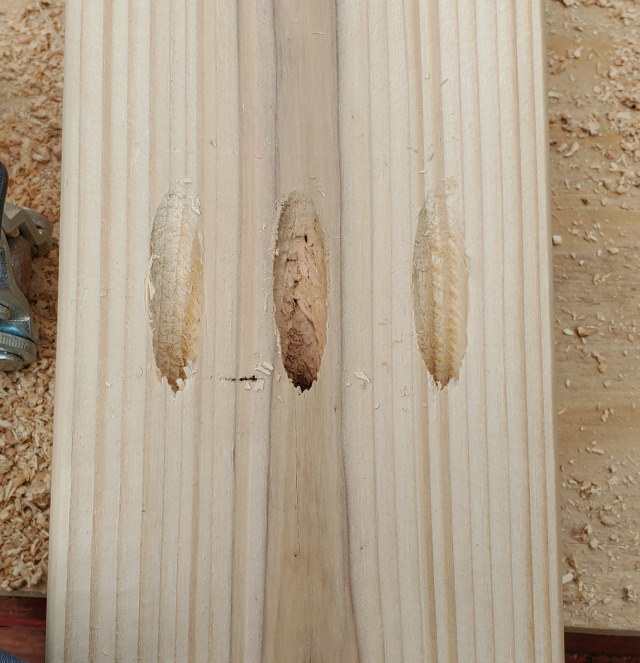
If, on the other hand, you're not paying attention to what you're doing, it ends up looking like this..... Oops....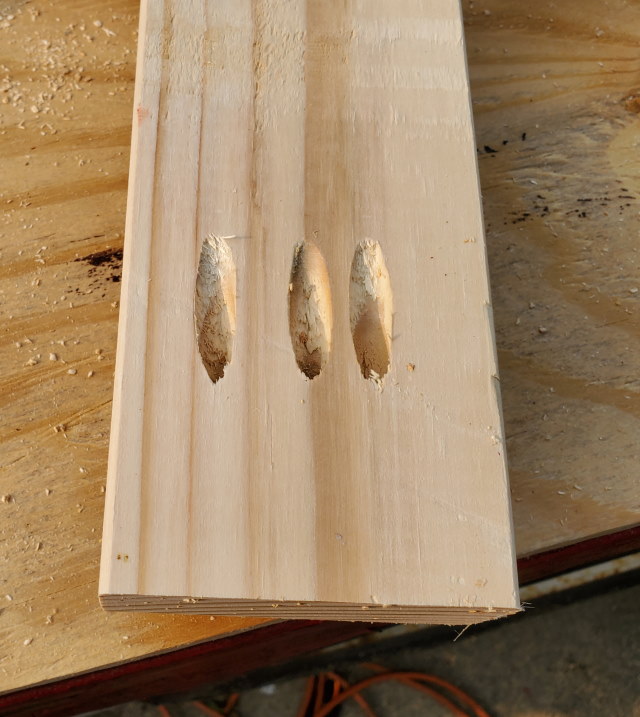
- Mount said 2 x 4 into Kreg jig. I lined up the 2 x 4 with the left side of the jig - red arrow.
I then proceeded to drill 2 pocket holes - yellow arrows.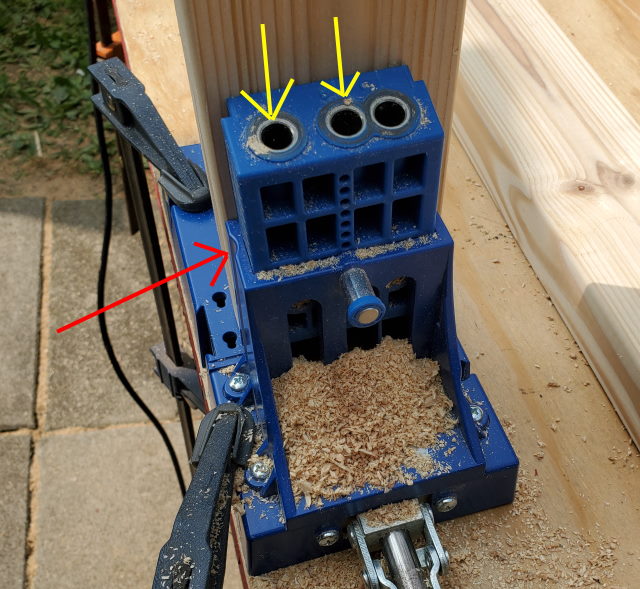
Next is to move the 2 x 4 to the left, and line up the right side with the jig - red arrow again.
Then I proceed to drill through this hole - yellow arrow.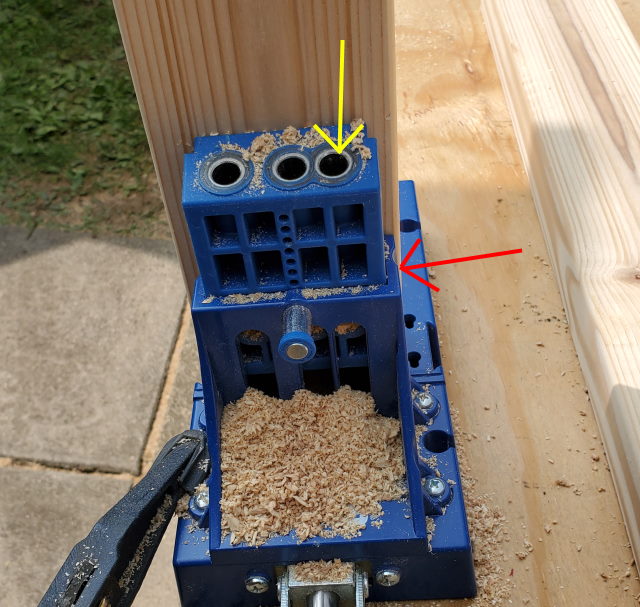
About Motorhome Group
38,769 PostsLatest Activity: Dec 31, 2014