Forum Discussion
8,453 Replies
- After it's installed, it fits the corner just nicely.
- Next up are the pieces of aluminum angle that I wanted to install on the corners of the 2 counters to secure everything together.
First thing I did was to remove some of the plywood on the corner of the wheel well. I took enough off, so the aluminum would be flush with the plywood, after installation.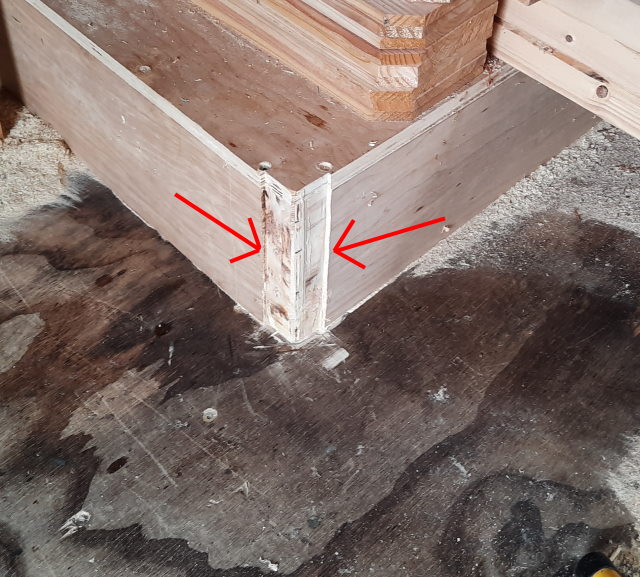
STBRetired wrote:
I would agree that 1 3/4" would be sufficient. Heat rises, after all. Make sure you secure the gas line to the counter in such a manner as it is impossible for it to contact the metal cooktop enclosure. I would be tempted to put a hard plastic sleeve of some sort there to prevent metal to metal contact. Just slightly paranoid when it comes to LP leaks.
Yea, copper to steel contact, with vibration, going down the road = Bad Idea! I'll put something in there just for some extra insurance, even if it's a brace to hold the tubing from moving. Thanks. STBRetiredExplorerI would agree that 1 3/4" would be sufficient. Heat rises, after all. Make sure you secure the gas line to the counter in such a manner as it is impossible for it to contact the metal cooktop enclosure. I would be tempted to put a hard plastic sleeve of some sort there to prevent metal to metal contact. Just slightly paranoid when it comes to LP leaks.
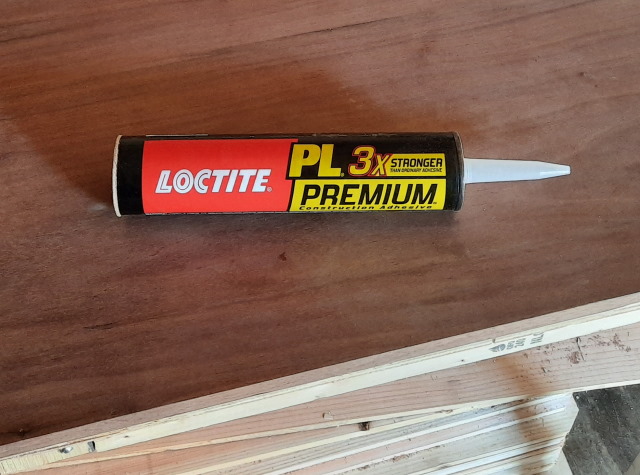
- I found a really cool way to unclog the end of my adhesive tube today. This is the Loctite, and as I said, it gets really hard, including in the end of the tube.
The red arrow shows the approximate area where the hard stuff ends, and the uncured, flexible begins.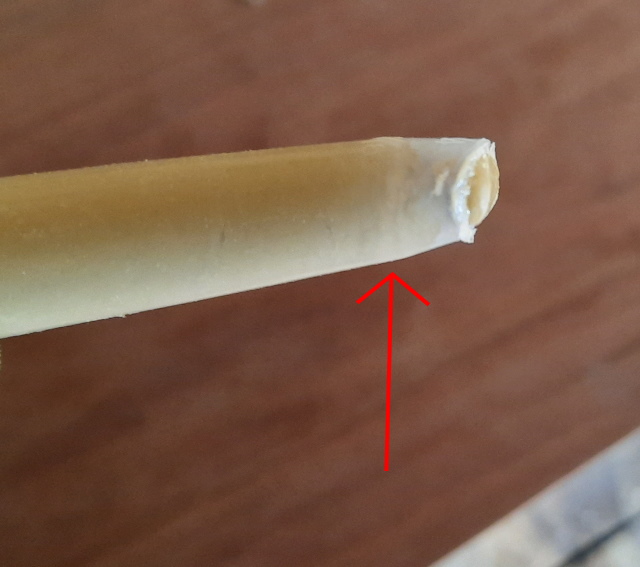
I grabbed my pliers, and squeezed the area right at the end of the hard adhesive, and, poof, it just popped right out. Problem solved.
I haven't tried this on any other adhesive, so I can't say it will work on all of them, but it did on this.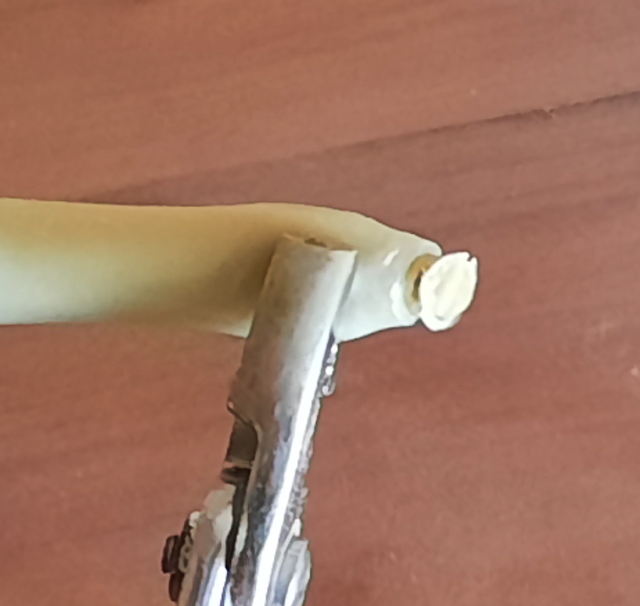
- I think I mentioned this before, but this is the adhesive I am using inside for some of the woodworking joinery. This stuff gets really hard, instead of staying flexible like the ChemLink.
- I put the piece that I cut out of the counter, on top of the stove, so I could measure how far the bottom of a pot would be from the counter.
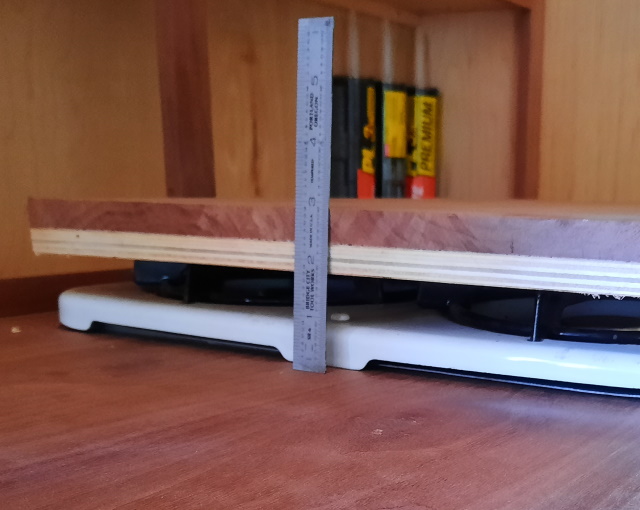
We've got roughly 1-3/4" from the pot bottom to the counter top. That assumes the pot is large enough to hang out over the edge of the stove.
If necessary, we can always cover the counter with something to protect the black walnut.
Those little silicone pot holders would do a wonderful job, and weigh almost nothing. Again, that's a last resort.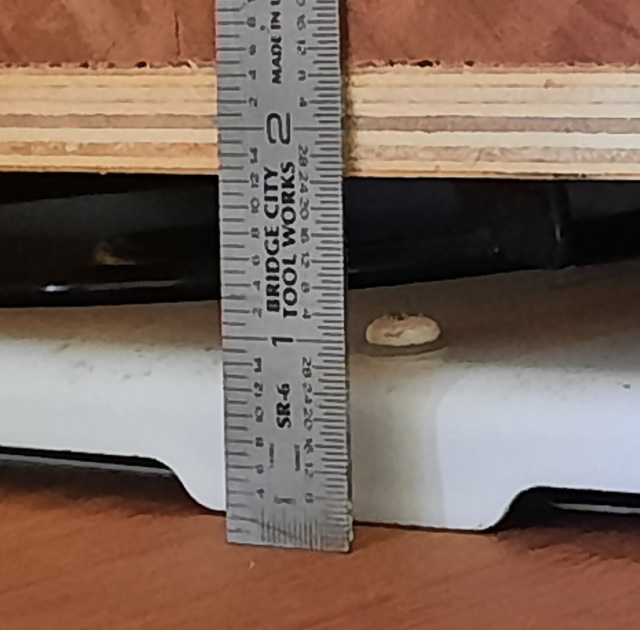
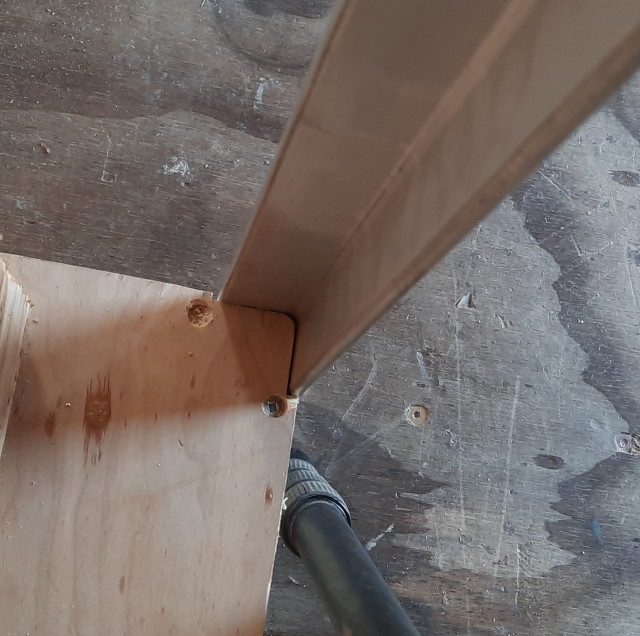
- After putting the bottom half of the stove back in place, it looks like this. Plenty of room for a hose or tubing. I plan on using copper tubing.
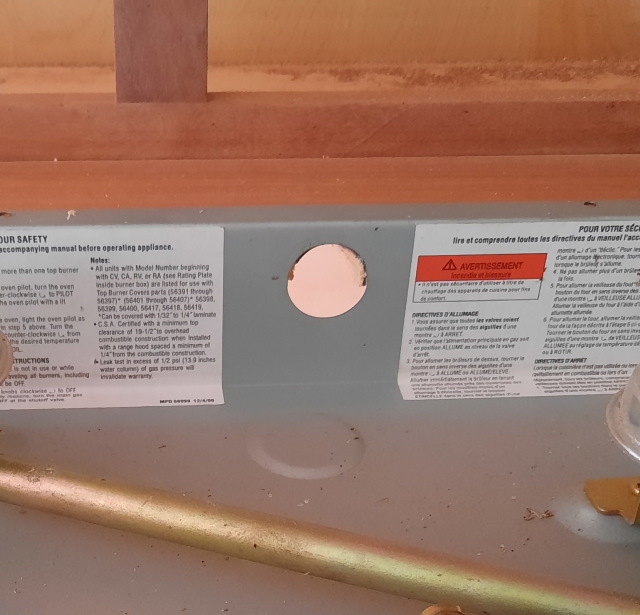
More info coming a little later, after I get done editing my photos. - Presto! We now have a nice size hole with plenty of room for the gas line to come through without touching anything. Yippee!
After removing the bottom wood, it looks like this.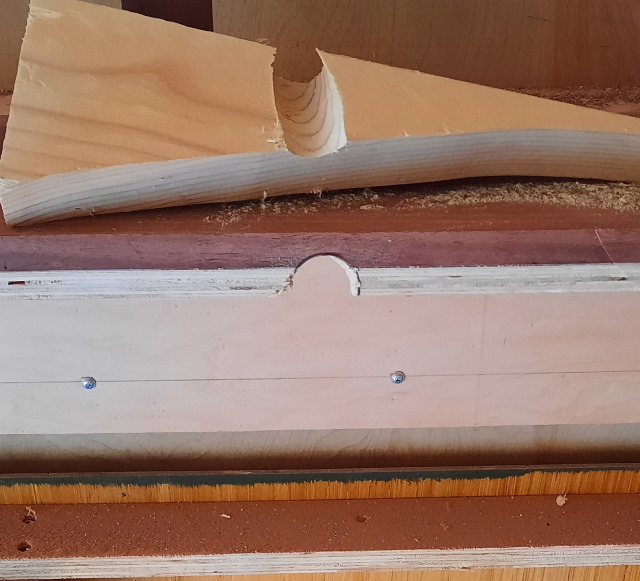
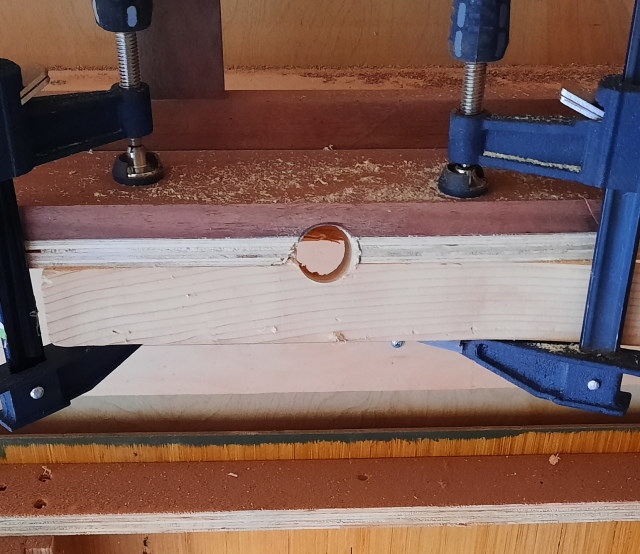
- So, what ya gonna do, what ya gonna do, what ya gonna do, when the drill won't drill?
Well, let's add some extra wood! I clamped a 1-1/2" piece to the bottom, so I would have plenty of wood to drill through, and it would appear to the drill bit, like it is one piece of wood.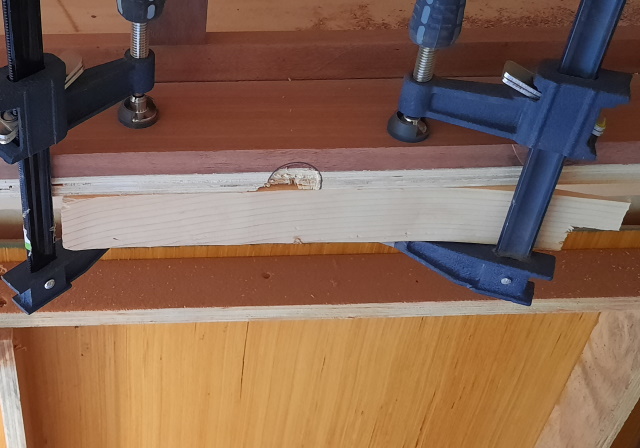
About Motorhome Group
38,769 PostsLatest Activity: Jun 25, 2013