Steve,
It looks like your frame is 6" wide (tall) and the square corner indicates channel iron. Take a pic of the inside of the A frame if you are not sure. And confirm the 6" tall.
If that is what your frame is, you actually have the same frame I do. And as such you will not have the tubular frame issues to work through, but you will have the channel iron needs to work through.
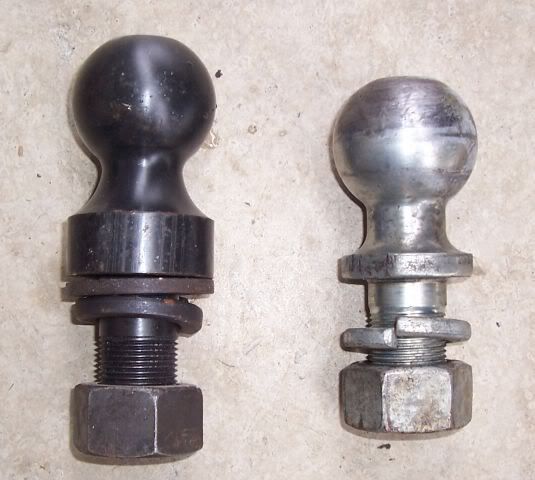
First off, you need a hi rise tow ball to lower the hitch head down to help prevent binding on the DC in a compound angle turn. The ball needs to be rated for the entire GVWR of the camper. Mine is a 25,000# goose neck tow ball. It cost about $25. You need at least a 1" rise and ideally a heavy 1/4" washer to get 1 1/4" out of it. See here, the hi rise next to a standard height
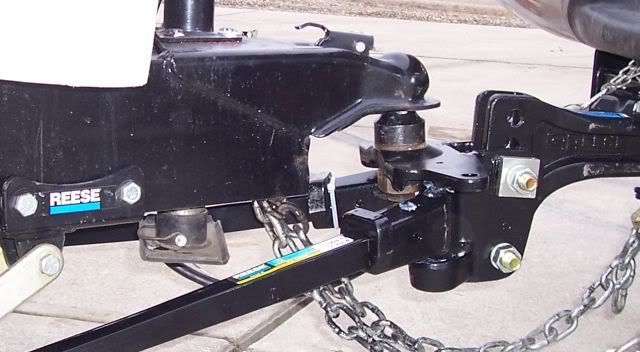
See here it lower the head down to move the WD bars down and not hit the frame also in a turn
The next is to deal with the square corner of the channel iron and the round bend radius of the DC frame bracket. See here the radius
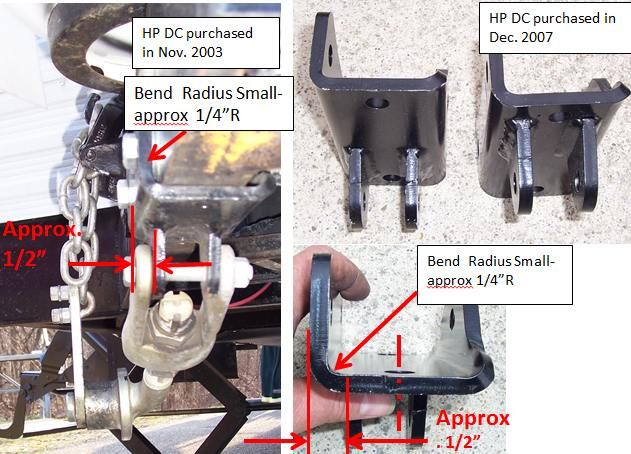
You need to use 1/2" flat washers to space out the frame bracket to not bind on the sq edge of the channel. See here. And you will bolt the frame bracket on use a minimum of grade 5, 1/2-13 hex bolts, nuts and lock washers. Do not use self-tapping screws. You can go grade 8 bolts too if wanted.
The frame bracket “must” be dead flat to the bottom of the frame before drilling/bolting.
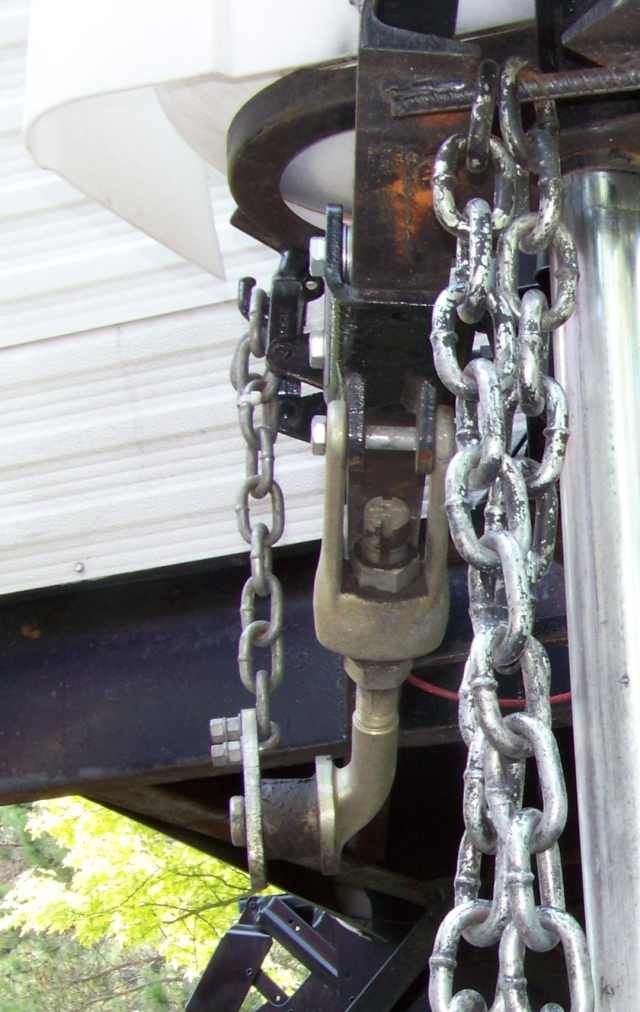
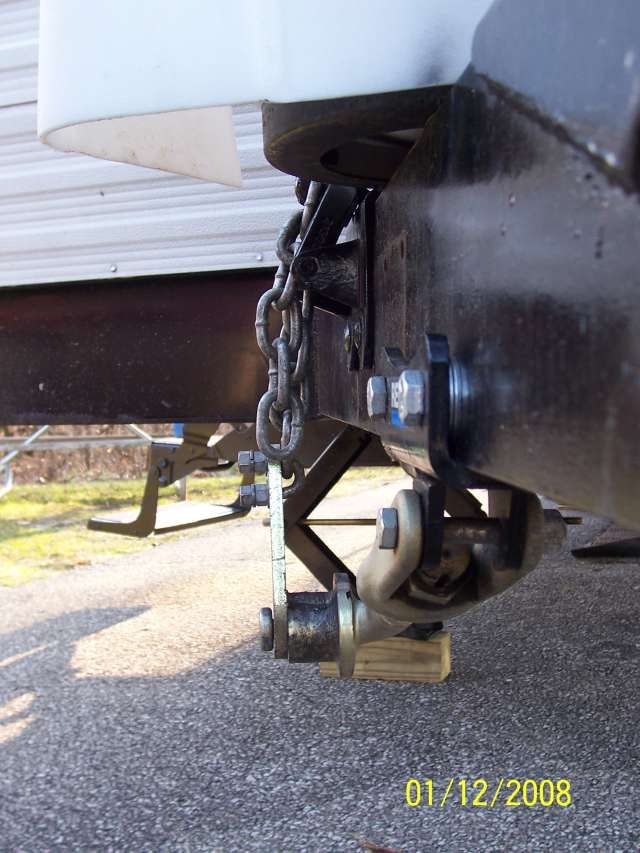
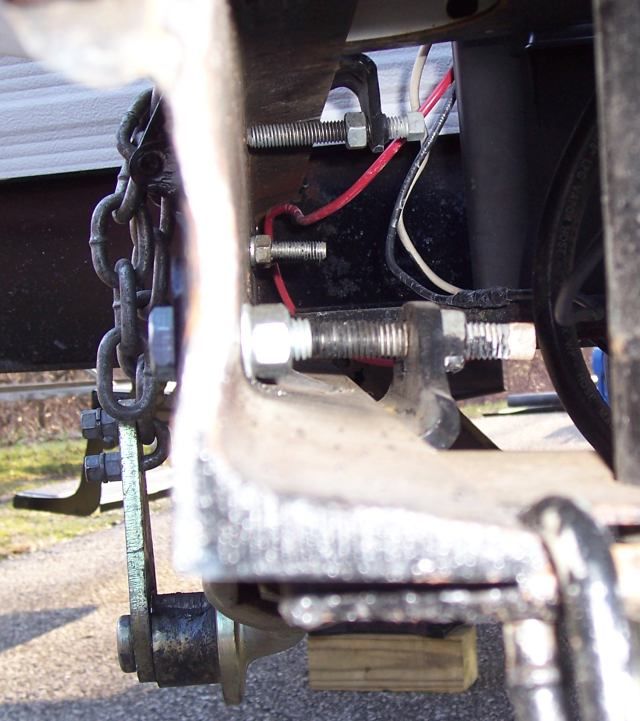
And clamp it tight like this
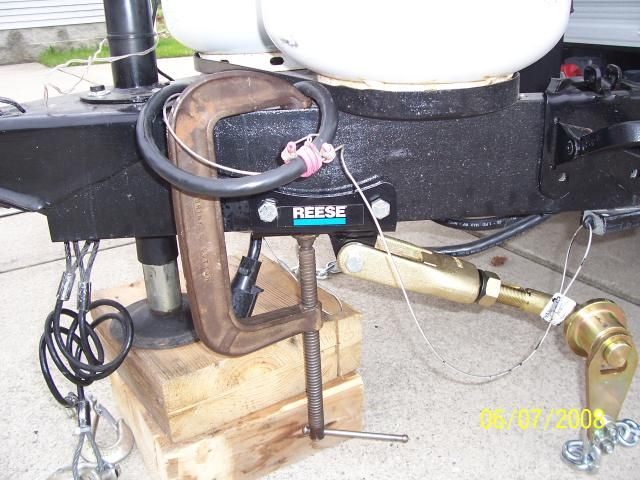
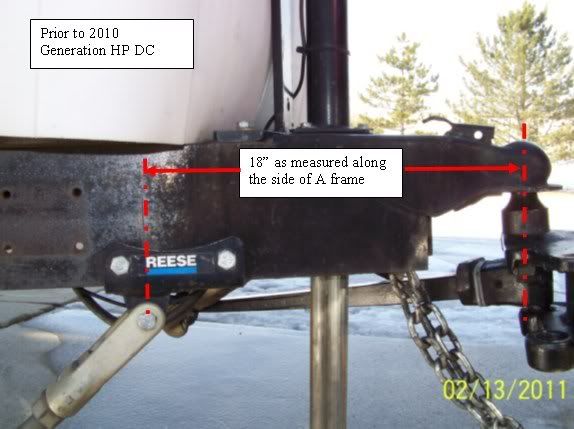
Before drilling, with the cams (vintage) you have, you need to verify the bracket is located correctly. This dimension on your frame and vintage hitch head and DC with a 1” hi raise ball will get you close to confirm. Center of ball, along the frame to the pivot bolt = 18”
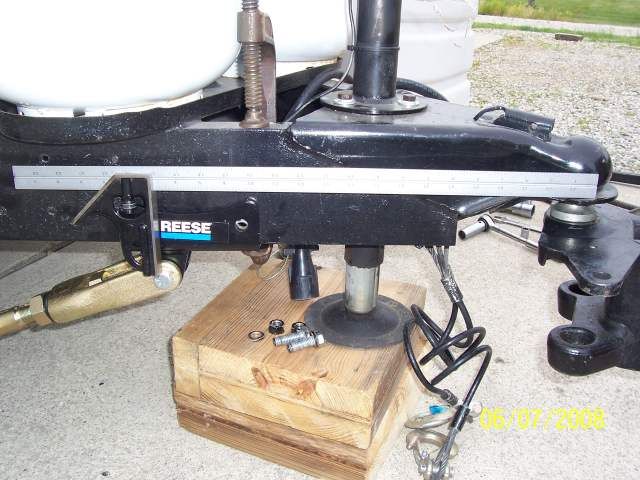
Clamp the DC bracket to frame with the cam arm in the center area of the adjustment. Do a mockup that the V notch on the WD bar to line up on the cam with 6 or 7 chain links under tension. You may have to adjust the Cam yoke to get it to be on center.
This pic was my older camper, not the one I have now but it shows the mock up principal
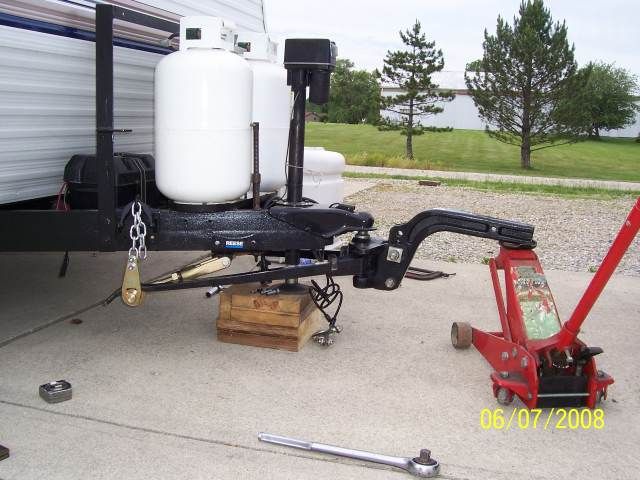
Once this is centered and you still have good adjustment on the cam arm for future tweaks in both directions, then drill to frame. You can slide the frame bracket for or aft from the 18" number if needed
Next, the snap up bracket “must” be bolted to the frame on day 1. Once the hitch is set up and under load on the truck, try and get the chains as vertical as possible. If the snap up hits the LP tanks, a slight angle will still work., If you do not drill these on, sooner or later you will spring open the snap up in a turn. Heavy TW’s can and do cause this snap up failure problem. But bolted the problem does not surface. Drill the holes so it favors the top of the snap up hole so the bolt stops any down slipping.
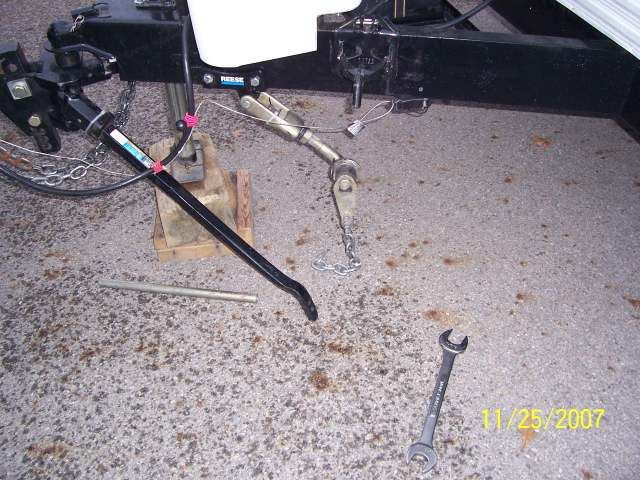
You can see the carriage bolts on my snap up in this pic
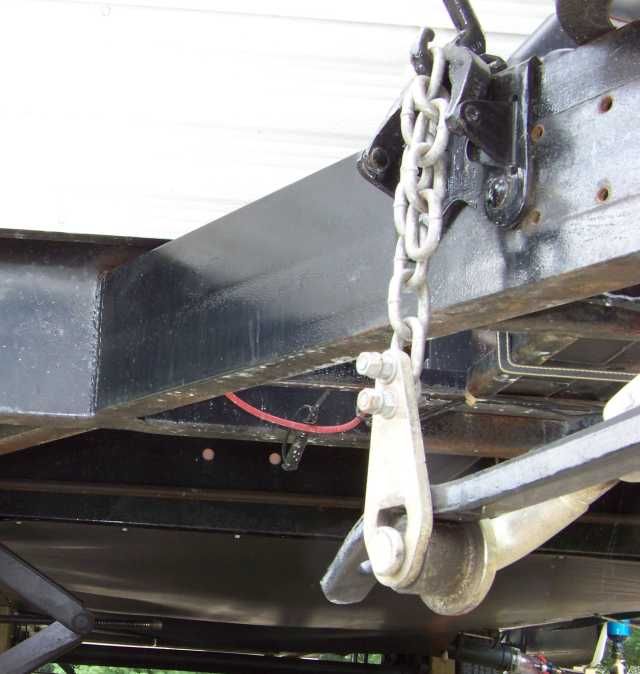
Use grade 5, and I “think” they were 3/8”. Check as I might have that wrong and they were 5/16”
If your camper is not yet loaded with all the weight up front it will have, you are going to have to consider 1,500# or jump to 1.700# WD bars. If you have a lot of gear in the truck aft of the rear axle, that affects the WD bars too so the jump to 1,700 can cover this. The 1,700# will need the 2 1/2 shank, it tapers down to 2” at the hitch head.
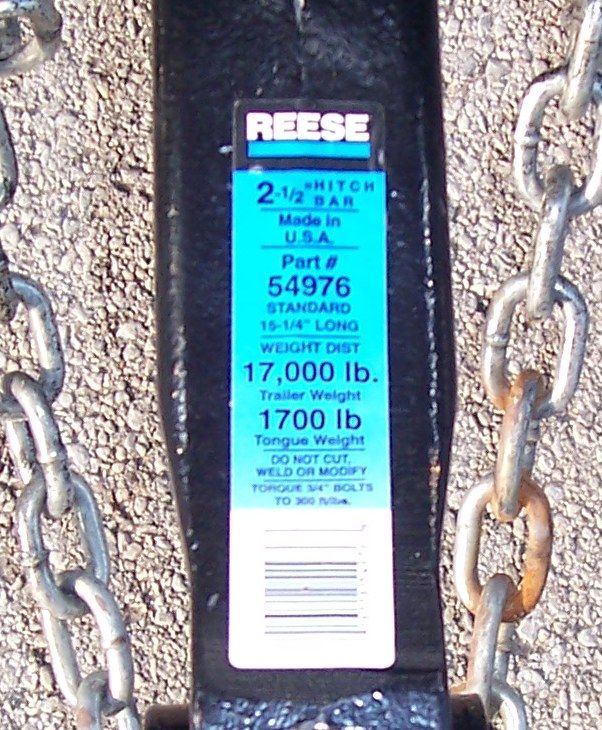
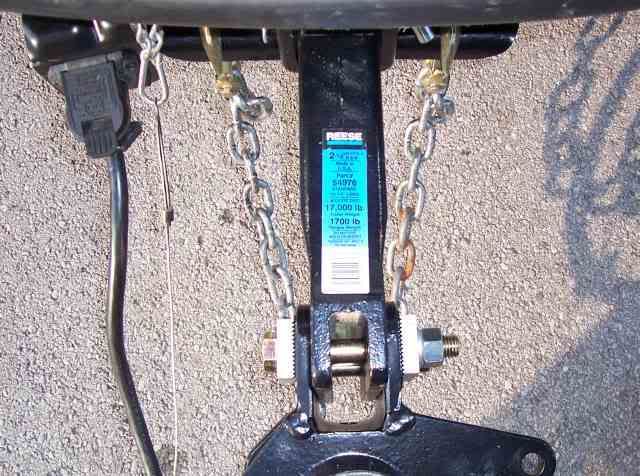
This then allows you to not have to use the adapter sleeve.
This may be more then you wanted to know right now…. But it is the start on how to get this setup right from the get go and shows you what you need to work through. Once you are mounted then we need to talk about adjusting the hitch and the DC.
Hope this helps
John


