Forum Discussion
BurbMan
Jun 15, 2020Explorer III
UPDATE 06.15.2020
Finally had some time this weekend to start rebuilding. I wanted to replace the inside paneling before doing the framing so I could make the seam behind the cabinets. So first I cut that piece to size, slid it in place and then added the new framing. I was able to find some very nice 1/8" plywood at the local big box that was perfect for this.
I don't have one of the very wide staplers that the factory uses for the butt joints in the framing, so I am using pocket screws. Every joint gets at least 2 of the blue-coated Kreg screws with some Liquid Nails added to the joint. Also, the paneling is glued to the framing with Liquid Nails making the entire assembly very strong.
Note the 1x6 that runs up/down, that diagonal piece is glued in and is in compression, sending weight back to the bottom on that 1x6. When that rotted away, that's what let the whole front sag 1-1/2".
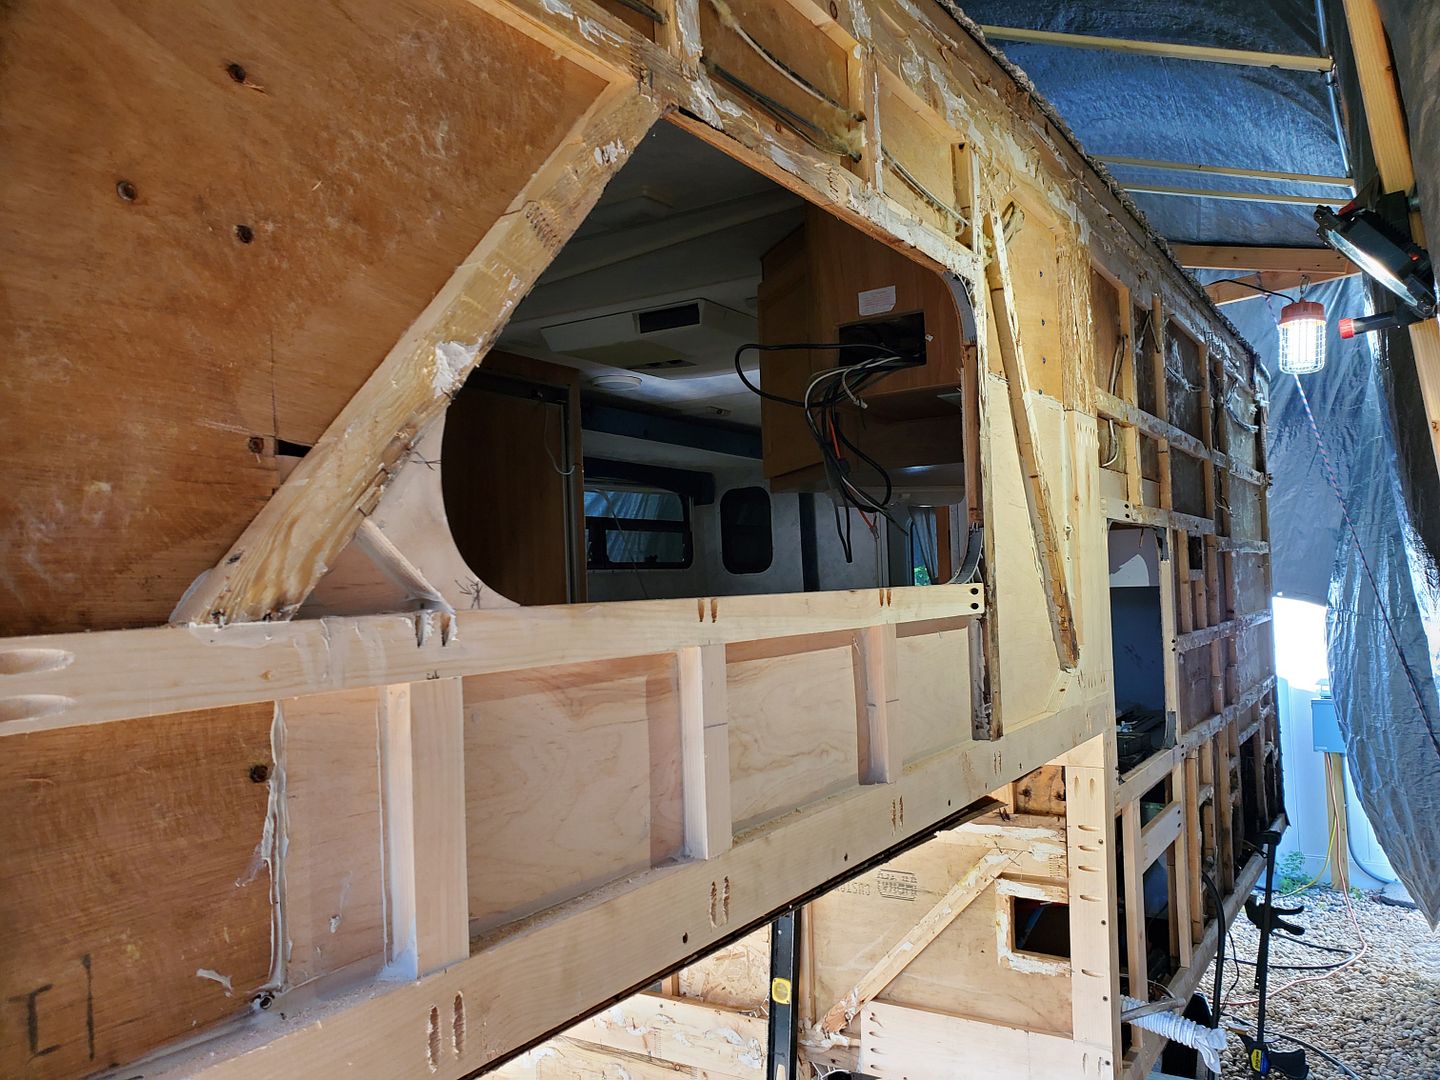
Here in the front I beefed up the bottom piece with a 1x6 to compensate somewhat for the seam. I wanted to catch the corner of that diagonal piece to give it a little more resistance to sagging. Best would have been to replace that whole 1x3 from side to side, but it's almost impossible to separate the framing from the interior paneling without destroying the interior paneling in the process.
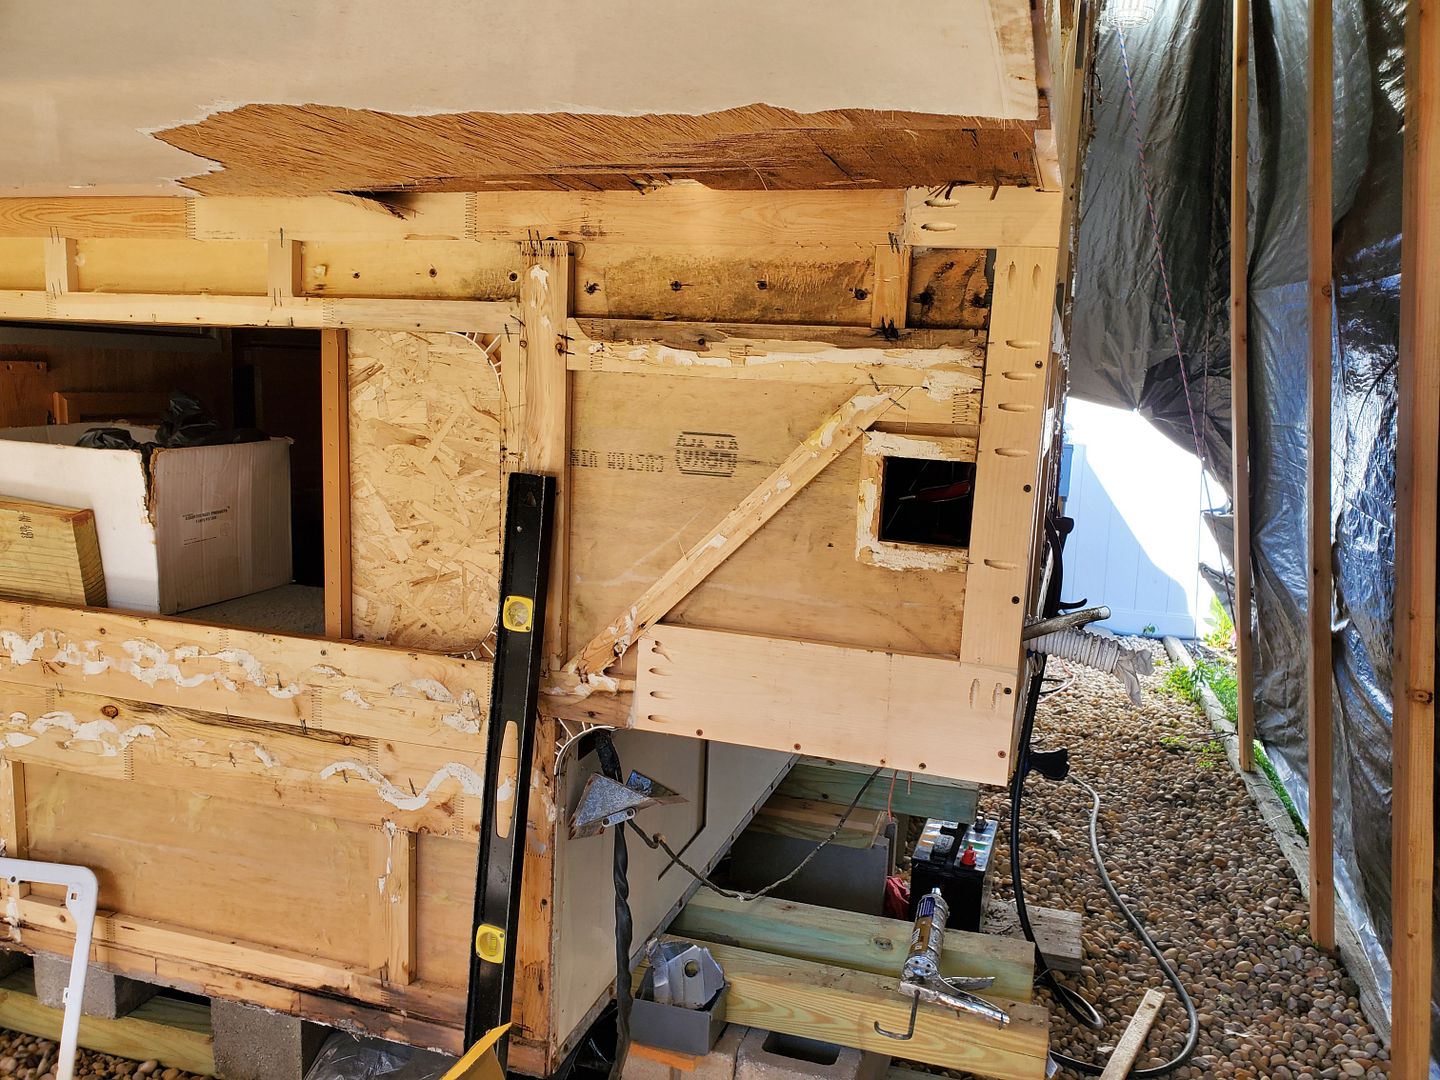
The kitchen window and framing for the hot water heater are done, now the plan is to work back long this side so that I can re-install the battery and get the power back on. I determined that the rot in the rear was caused by a missing cap and failed seal on the gray tank vent causing water to drip down along side of the pipe, combined with a leak somewhere in the outside shower set up.
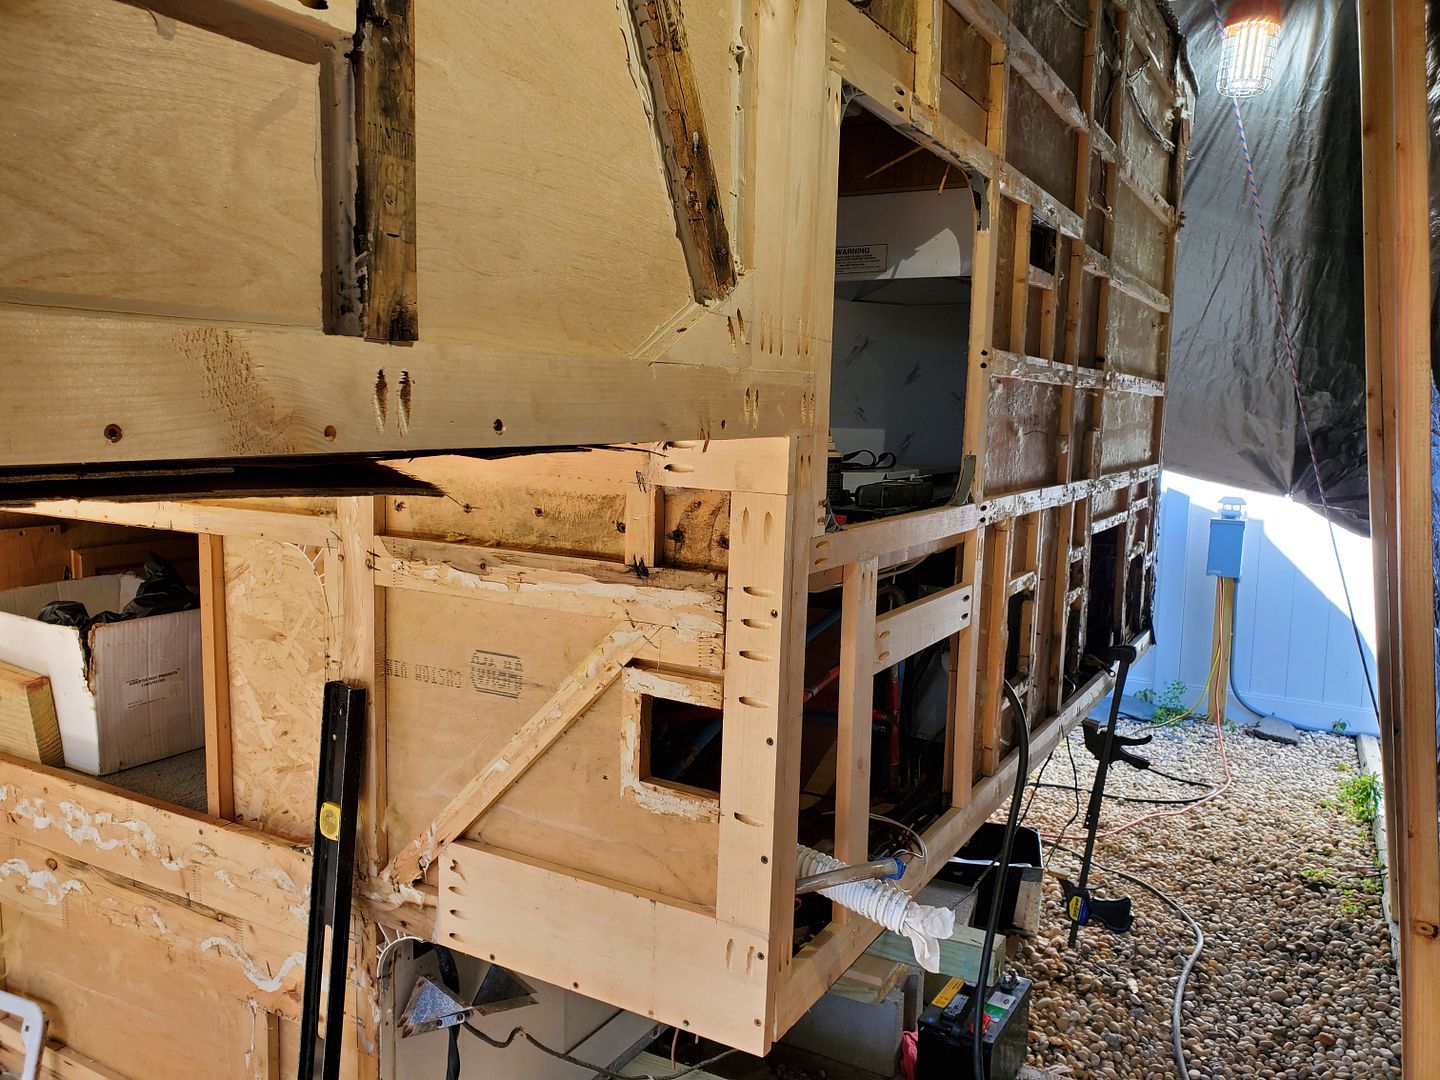
The plan after that is to finish the right side of the cabover, that should make it strong enough for me to remove the support and deal with the underside fiberglas.
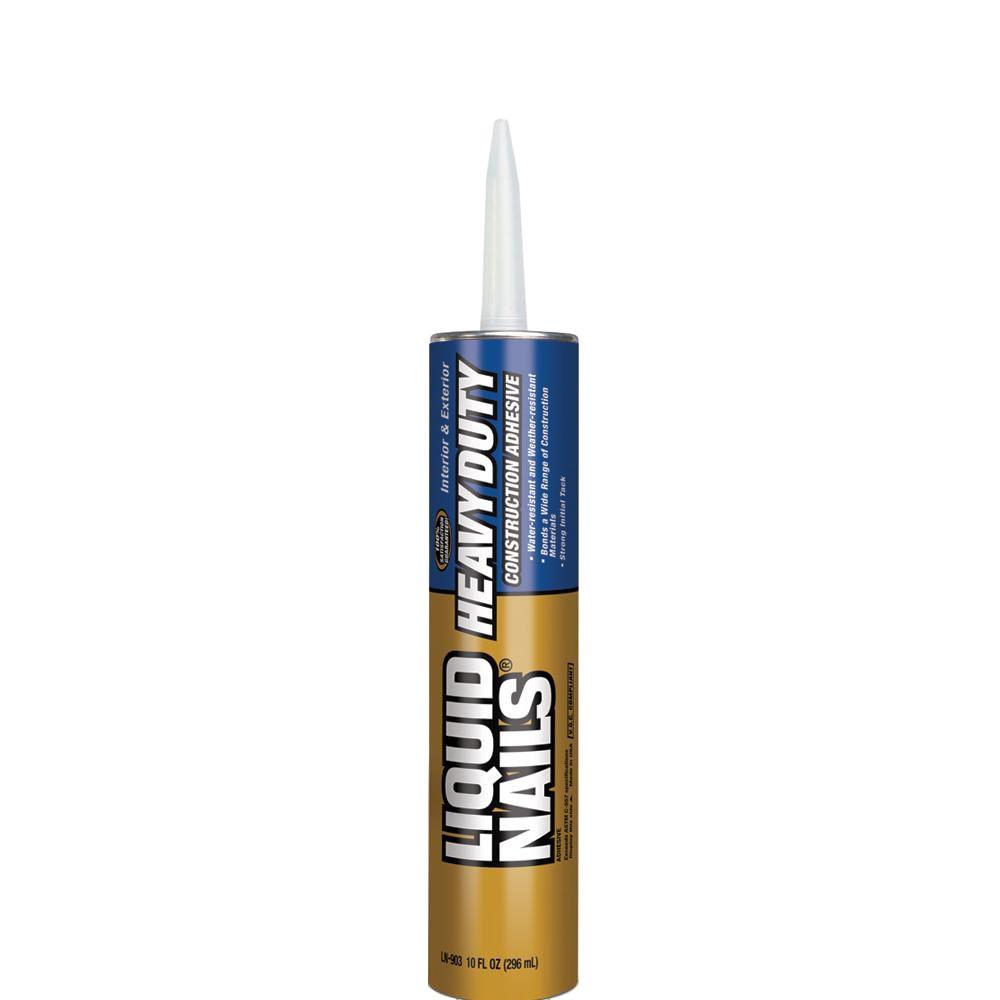
A word on adhesives...Lance tells me they use StaBond StaSeal 5000 to fasten the luan to the framing. Nobody carries this stuff. I called StaBond in LA and I was told minimum order was $200 and I needed a special pneumatic gun to apply it.
Lance was willing to sell it to me for $20 per 20 oz. bag....yes, per bag. It comes in a plastic wrapper like tollhouse cookie dough and their suggestion was that I cut the bag and smear it on with a putty knife.
After some research on strength tests, shear resistence, etc, I decided on good ol' LN HD from the home center:
 .
.
Finally had some time this weekend to start rebuilding. I wanted to replace the inside paneling before doing the framing so I could make the seam behind the cabinets. So first I cut that piece to size, slid it in place and then added the new framing. I was able to find some very nice 1/8" plywood at the local big box that was perfect for this.
I don't have one of the very wide staplers that the factory uses for the butt joints in the framing, so I am using pocket screws. Every joint gets at least 2 of the blue-coated Kreg screws with some Liquid Nails added to the joint. Also, the paneling is glued to the framing with Liquid Nails making the entire assembly very strong.
Note the 1x6 that runs up/down, that diagonal piece is glued in and is in compression, sending weight back to the bottom on that 1x6. When that rotted away, that's what let the whole front sag 1-1/2".
Here in the front I beefed up the bottom piece with a 1x6 to compensate somewhat for the seam. I wanted to catch the corner of that diagonal piece to give it a little more resistance to sagging. Best would have been to replace that whole 1x3 from side to side, but it's almost impossible to separate the framing from the interior paneling without destroying the interior paneling in the process.
The kitchen window and framing for the hot water heater are done, now the plan is to work back long this side so that I can re-install the battery and get the power back on. I determined that the rot in the rear was caused by a missing cap and failed seal on the gray tank vent causing water to drip down along side of the pipe, combined with a leak somewhere in the outside shower set up.
The plan after that is to finish the right side of the cabover, that should make it strong enough for me to remove the support and deal with the underside fiberglas.
A word on adhesives...Lance tells me they use StaBond StaSeal 5000 to fasten the luan to the framing. Nobody carries this stuff. I called StaBond in LA and I was told minimum order was $200 and I needed a special pneumatic gun to apply it.
Lance was willing to sell it to me for $20 per 20 oz. bag....yes, per bag. It comes in a plastic wrapper like tollhouse cookie dough and their suggestion was that I cut the bag and smear it on with a putty knife.
After some research on strength tests, shear resistence, etc, I decided on good ol' LN HD from the home center:
.About Travel Trailer Group
44,067 PostsLatest Activity: Jun 05, 2026