Forum Discussion
BurbMan
Jul 03, 2020Explorer III
UPDATE 07/03/2020
Lots of work happening on the Lance, last weekend we took a road trip to Elkhart with the new truck to pick up a roll of filon (shipping was $$$), also found a new fridge (scratch-n-dent at an RV fridge specialist), more to come on that stuff.
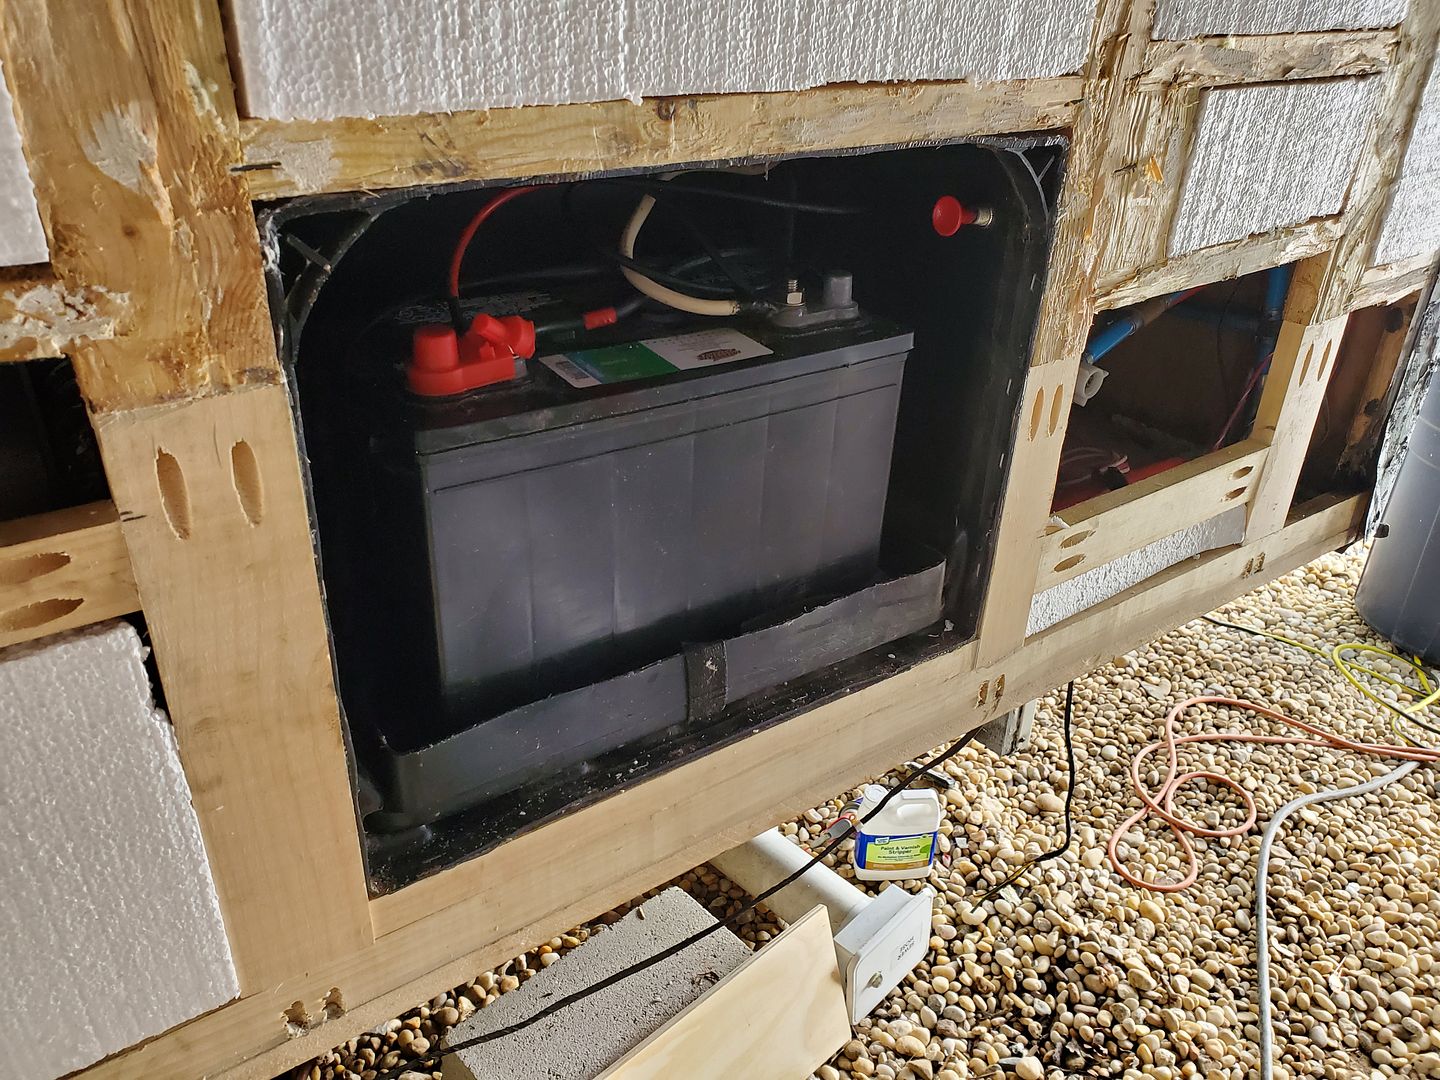
Finished the framing on the left side, got the battery box, outside shower and sewage hose storage back together
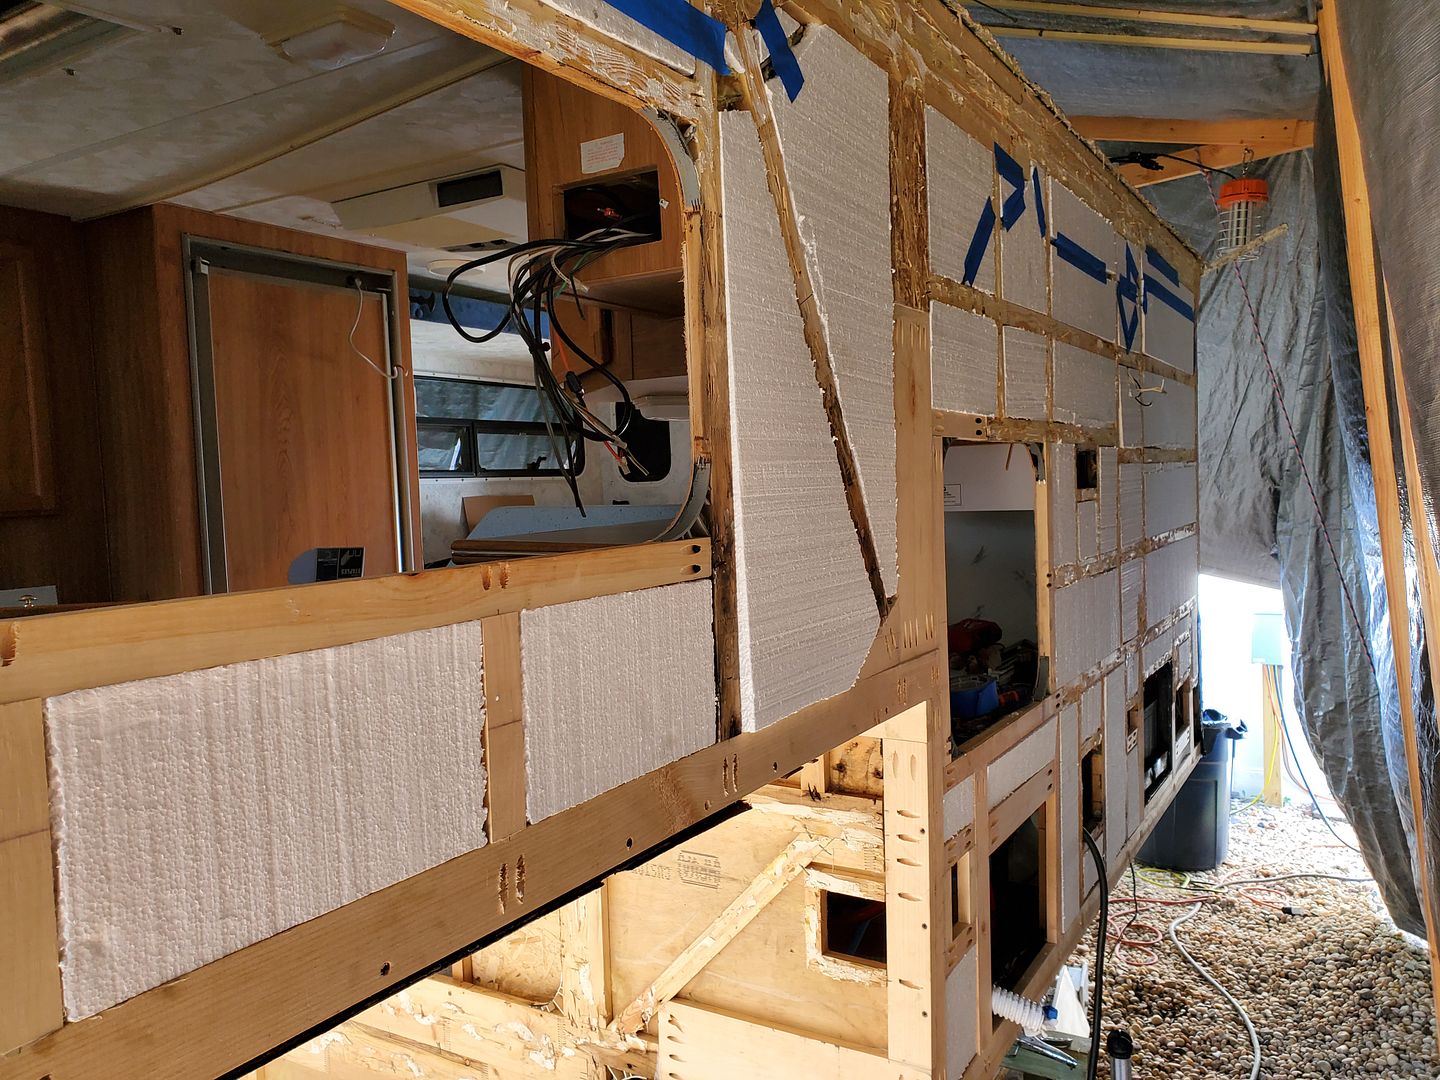
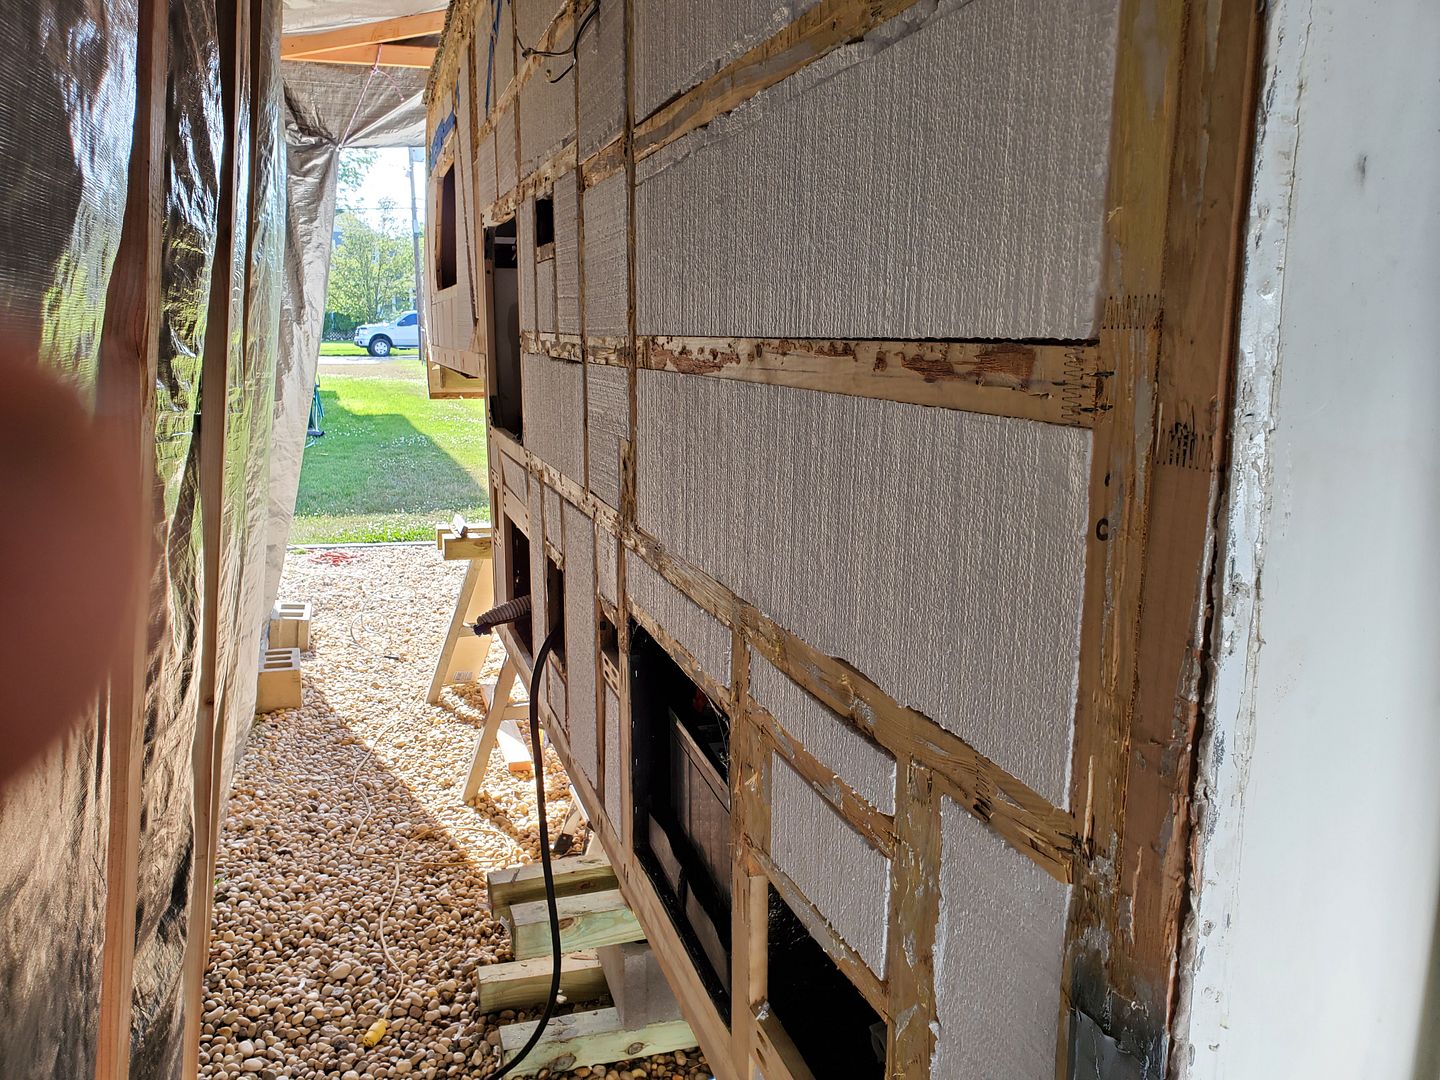
Once the framing was complete we re-insulated. I couldn't find either fiberglas batts or the pink board in 3/4" thickness, so we went with this styrofoam, it claims a slightly higher R value than the pink board
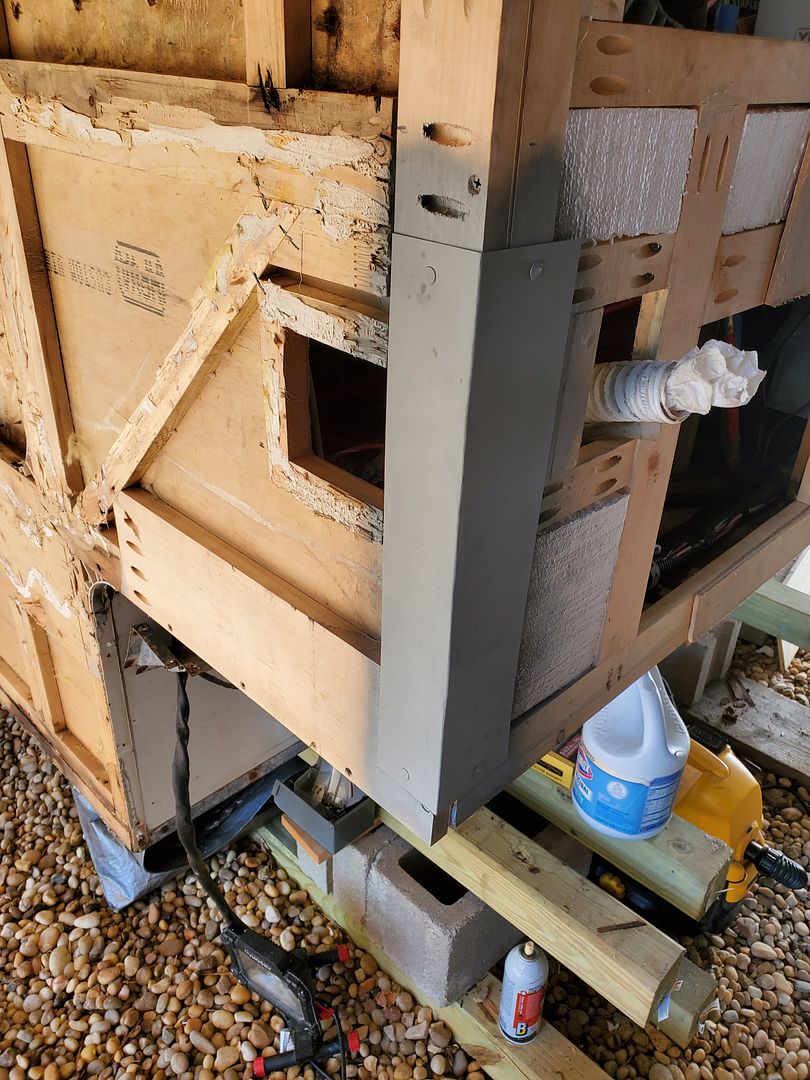
The factory also had a piece of steel sheet fastened at each corner where the jacks go. Not sure if that adds strength considering there is also angle iron on the inside, but I figured I may as well put it back. The piece that was there was rusted to nothing, so I got a piece at the hardware store and hit it with some cold galvanizing spray.
Something else we wanted to add was a separate faucet for the shower. Even thought it's a wet bath, having the shower hose draped across the sink looked pretty inconvenient.
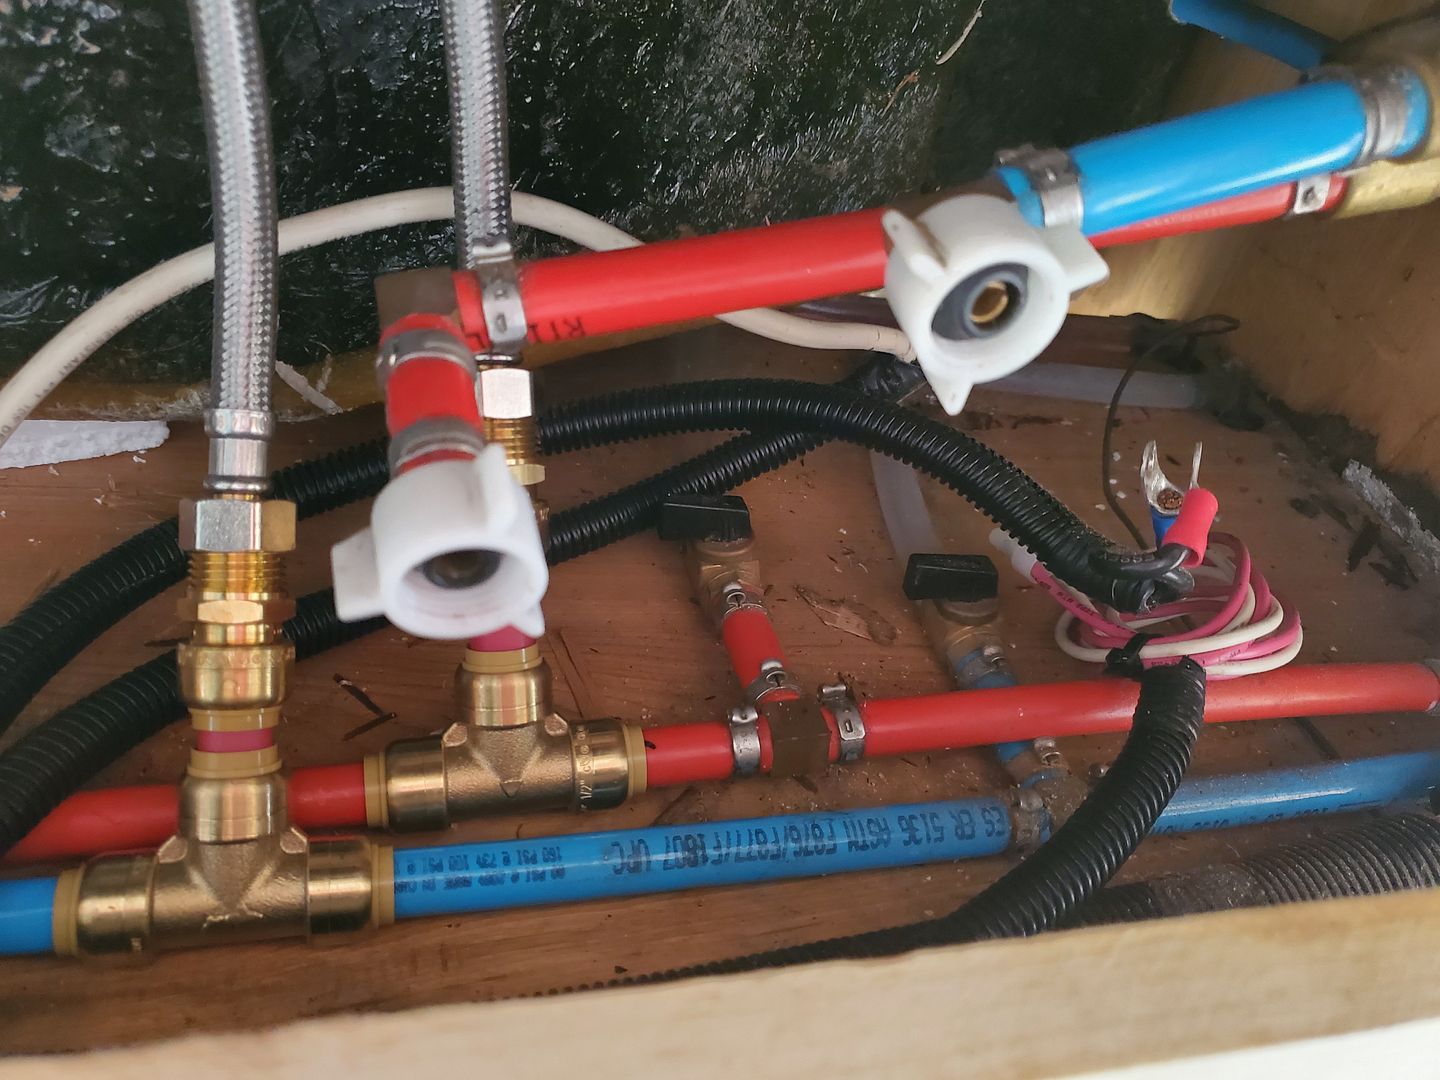
I used sharkbite fittings to tee into the hot/cold lines, then 30" stainless hoses to connect to the faucet above. The fittings facing you are for the outside shower.
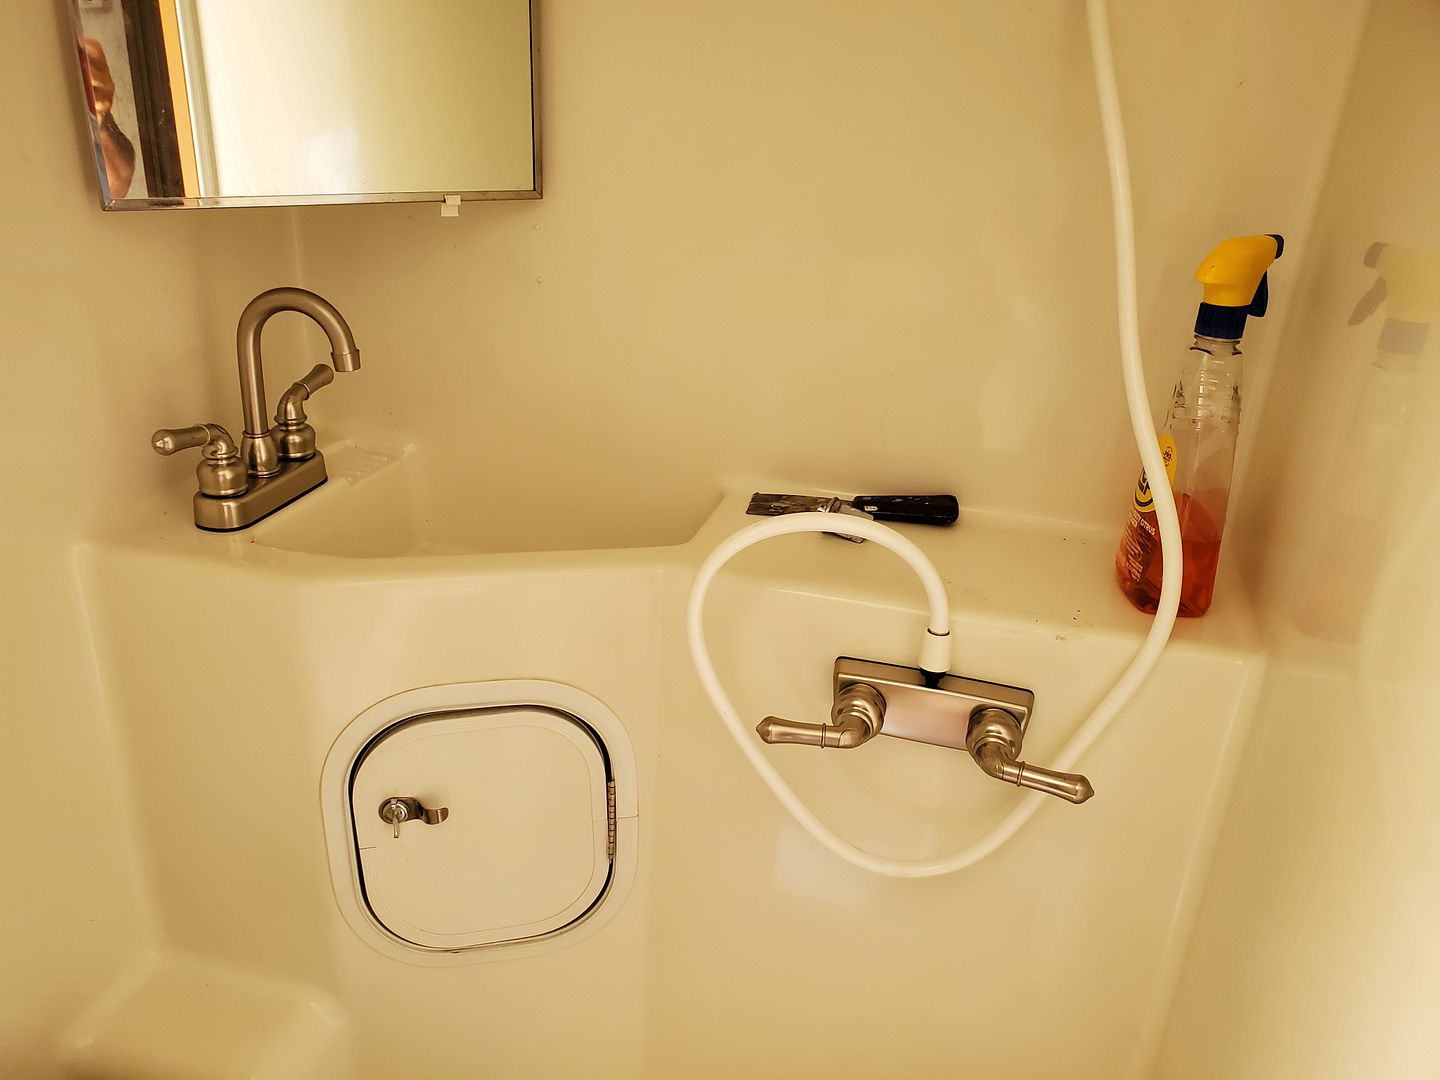
New shower faucet on the right, and while I was in there I replaced the sink faucet with a "bar fixture" that gives you more room under the spout to wash
Next step before closing up was to get some plugs to cap off the lines to the hot water heater and outside shower, then fill the fresh tank and pressurinze the lines. Now I know the pump works and I have no leaks before I start to close up. You'll still be able to reach those new faucet connections but not as easily.
With the plumbing passing inspection, next step was the sheathing
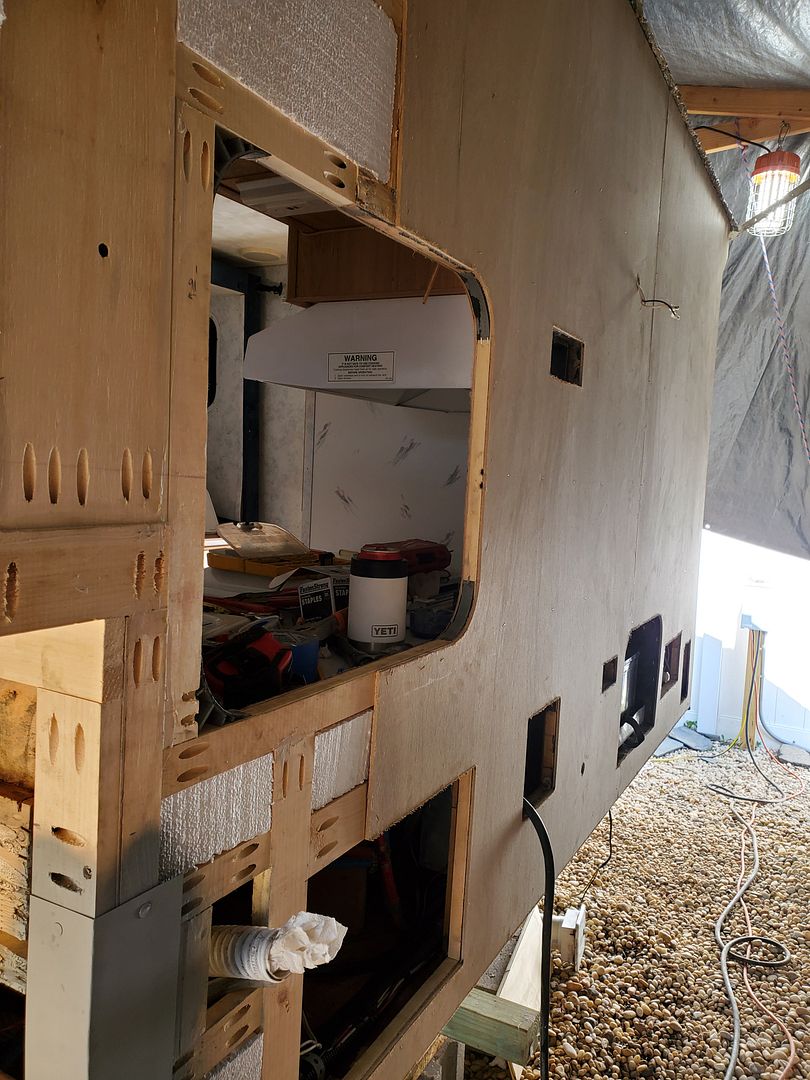
I'm using a 5mm underlayment which is very similar to what they use at the factory
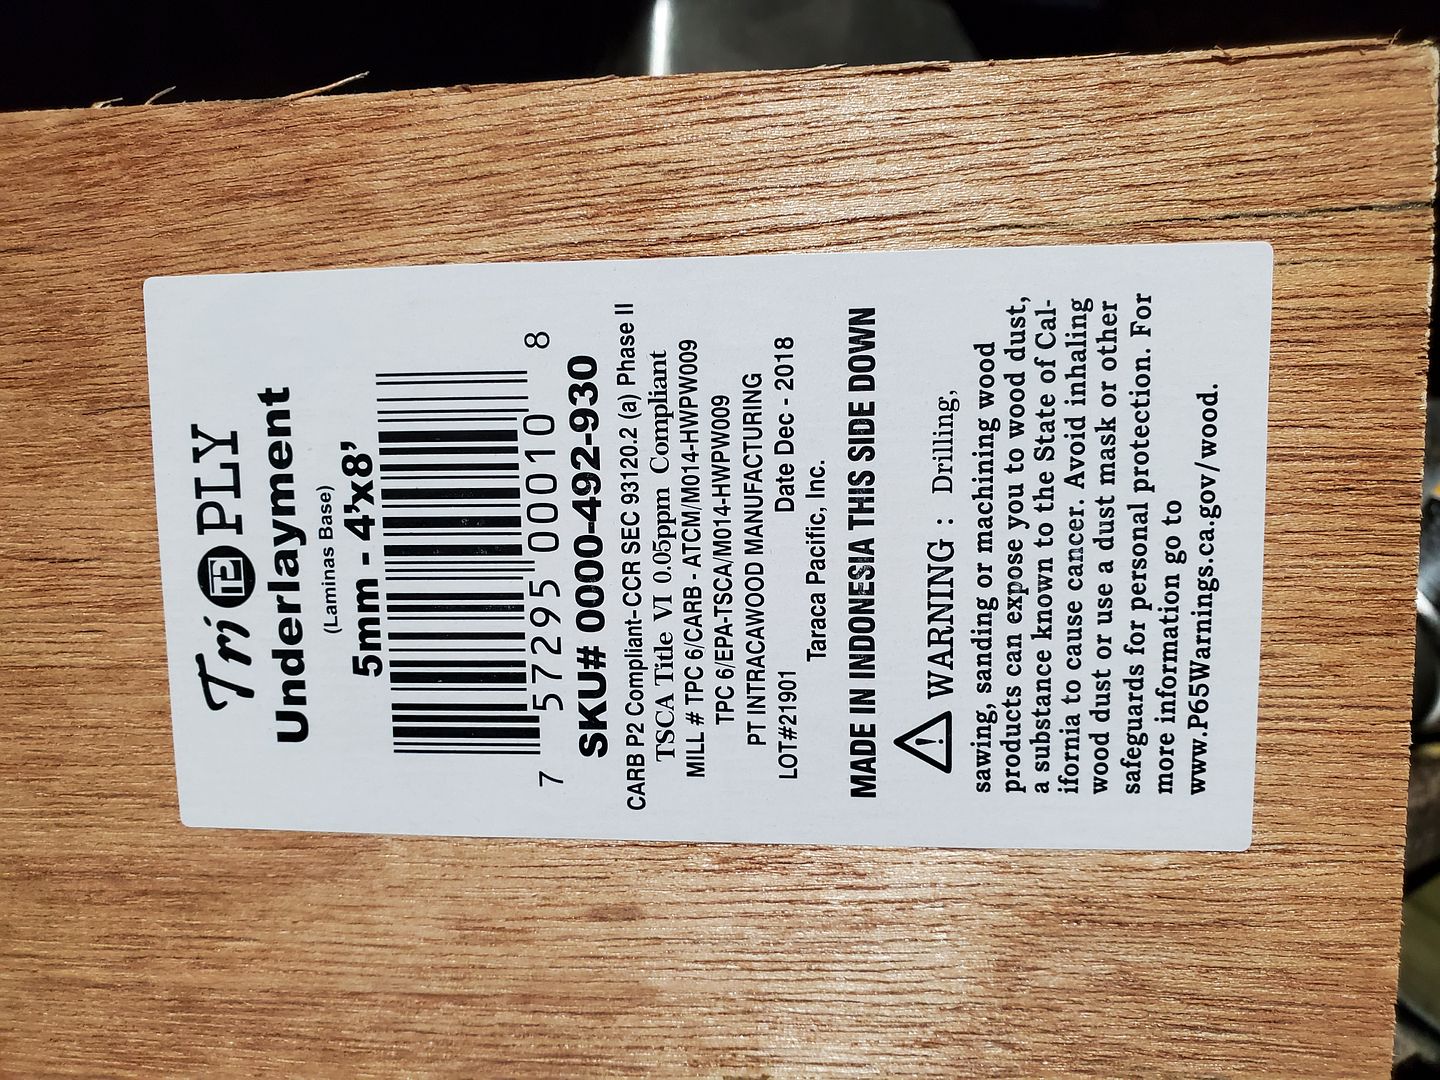
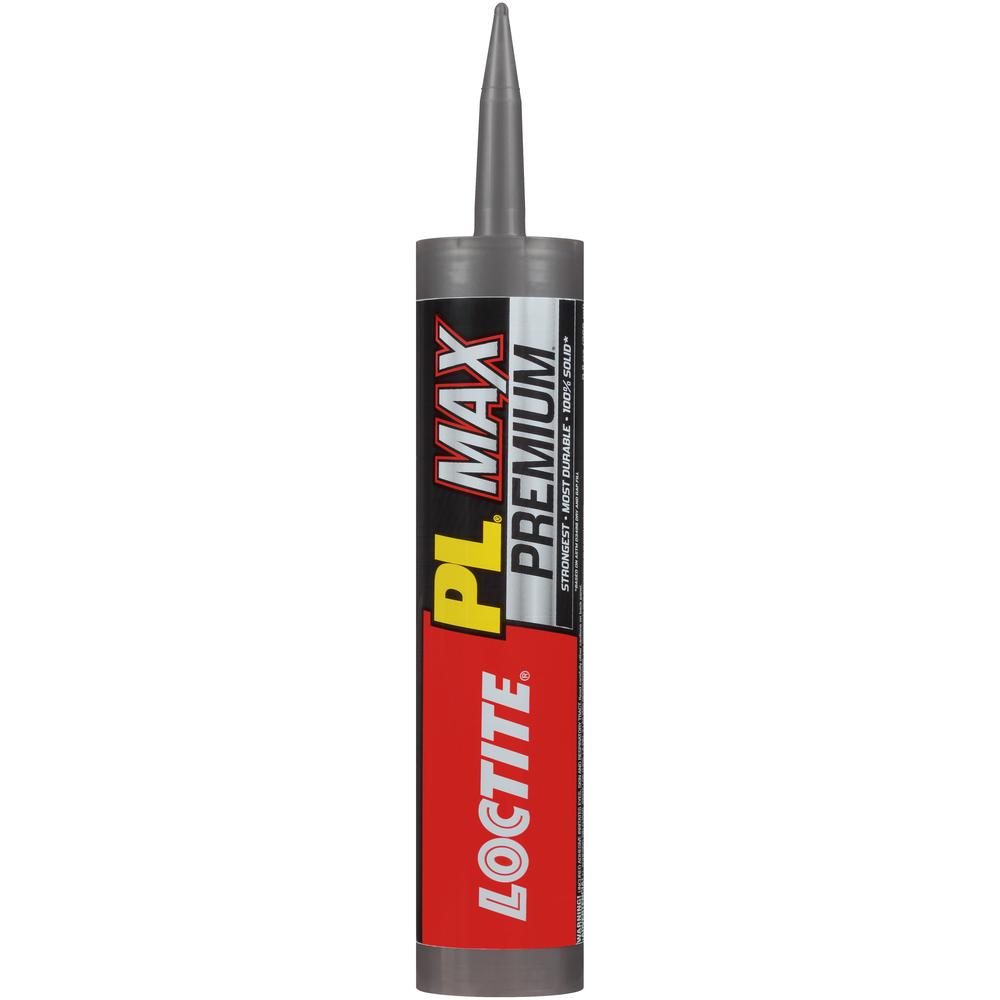
I also shifted gears on the adhesive, instead of Liquid Nails I decided to go with this Loctite stuff
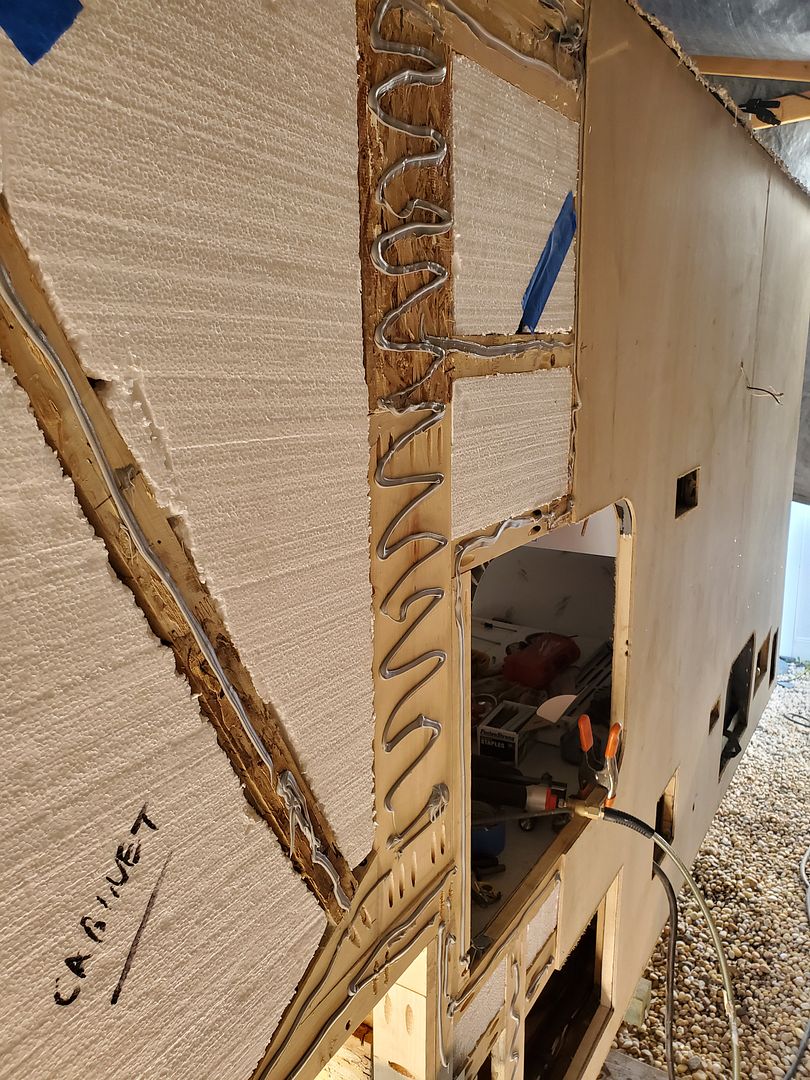
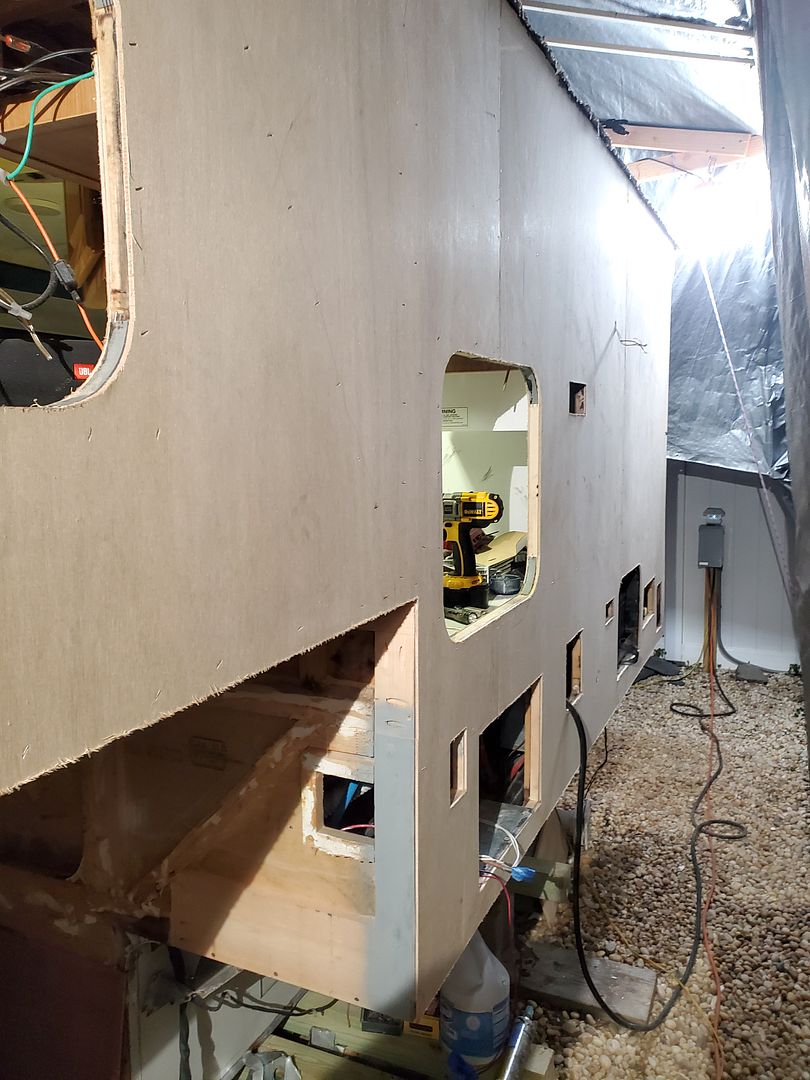
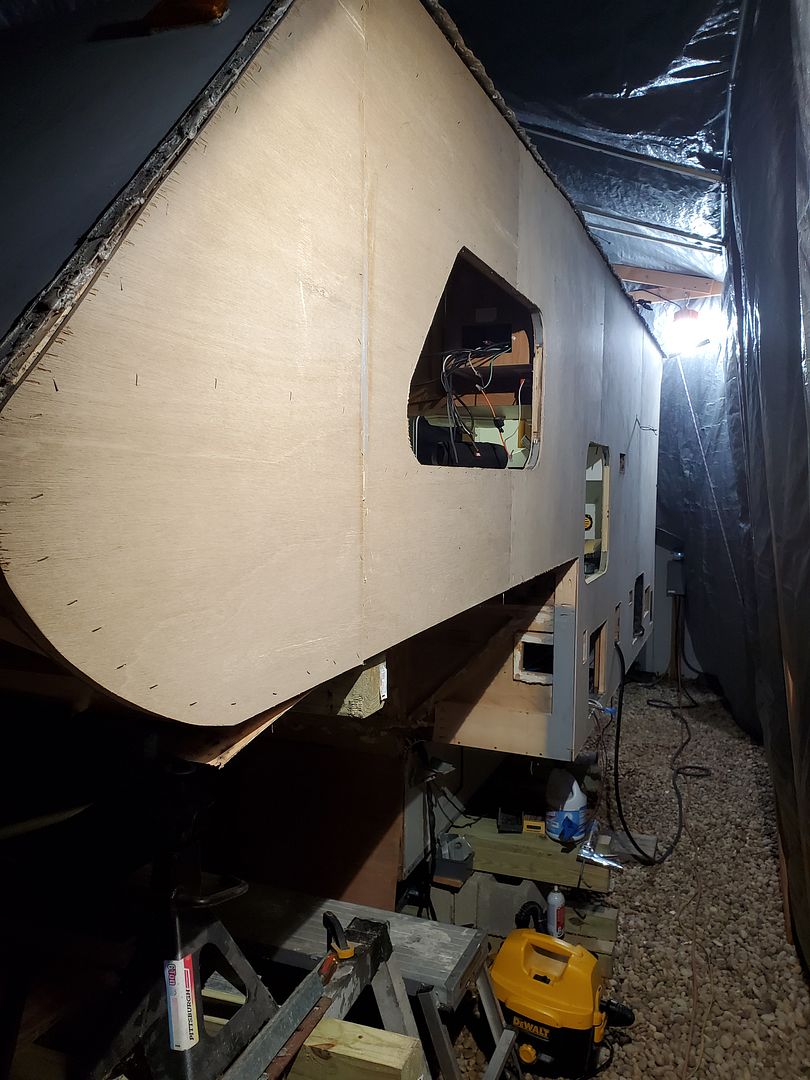
The staples are only there to hold/clamp the luan until the Loctite dries. The resulting wall is incredibly strong! You can see that panel that pans half of the kitchen window and into the cabover adds a LOT of strength to the cabover.
I picked up this Bauer Trim Router from Harbor Freight to cut out the window and hatch openings. Let me say this is not the cheap junk like the $29 Drillmaster, this router is almost identical to the Makita at the big box store and was $30 cheaper. HF is really upping their game with this Bauer brand of tools. Flush trim router bits are from MLCS Woodworking, these guys have great bits at great prices.
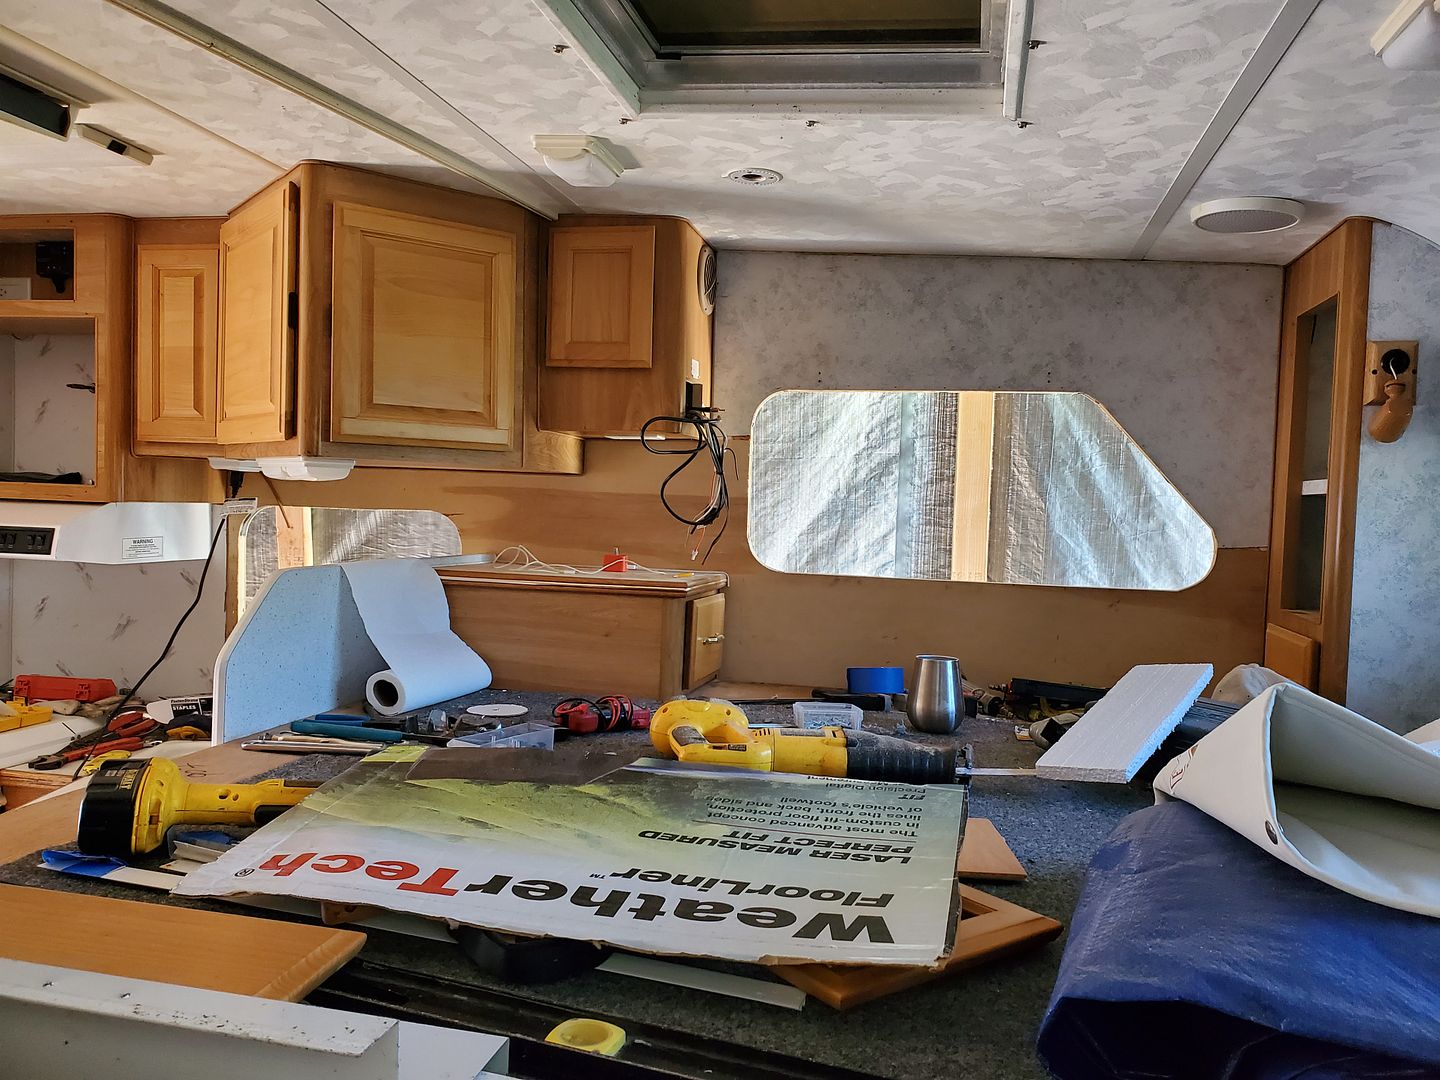
Here's a pic of the inside. DW wants to paint the inside of the camper, so I'll just caulk that seam where the interior panels meet.
Lots of work happening on the Lance, last weekend we took a road trip to Elkhart with the new truck to pick up a roll of filon (shipping was $$$), also found a new fridge (scratch-n-dent at an RV fridge specialist), more to come on that stuff.
Finished the framing on the left side, got the battery box, outside shower and sewage hose storage back together

Once the framing was complete we re-insulated. I couldn't find either fiberglas batts or the pink board in 3/4" thickness, so we went with this styrofoam, it claims a slightly higher R value than the pink board


The factory also had a piece of steel sheet fastened at each corner where the jacks go. Not sure if that adds strength considering there is also angle iron on the inside, but I figured I may as well put it back. The piece that was there was rusted to nothing, so I got a piece at the hardware store and hit it with some cold galvanizing spray.

Something else we wanted to add was a separate faucet for the shower. Even thought it's a wet bath, having the shower hose draped across the sink looked pretty inconvenient.
I used sharkbite fittings to tee into the hot/cold lines, then 30" stainless hoses to connect to the faucet above. The fittings facing you are for the outside shower.

New shower faucet on the right, and while I was in there I replaced the sink faucet with a "bar fixture" that gives you more room under the spout to wash

Next step before closing up was to get some plugs to cap off the lines to the hot water heater and outside shower, then fill the fresh tank and pressurinze the lines. Now I know the pump works and I have no leaks before I start to close up. You'll still be able to reach those new faucet connections but not as easily.
With the plumbing passing inspection, next step was the sheathing

I'm using a 5mm underlayment which is very similar to what they use at the factory

I also shifted gears on the adhesive, instead of Liquid Nails I decided to go with this Loctite stuff


The staples are only there to hold/clamp the luan until the Loctite dries. The resulting wall is incredibly strong! You can see that panel that pans half of the kitchen window and into the cabover adds a LOT of strength to the cabover.
I picked up this Bauer Trim Router from Harbor Freight to cut out the window and hatch openings. Let me say this is not the cheap junk like the $29 Drillmaster, this router is almost identical to the Makita at the big box store and was $30 cheaper. HF is really upping their game with this Bauer brand of tools. Flush trim router bits are from MLCS Woodworking, these guys have great bits at great prices.
Here's a pic of the inside. DW wants to paint the inside of the camper, so I'll just caulk that seam where the interior panels meet.

About Travel Trailer Group
44,056 PostsLatest Activity: May 04, 2014