Forum Discussion
BurbMan
Jul 14, 2020Explorer III
***UPDATE JULY 14, 2020***
Thanks for the heads up on the earlier pics, I'll check if the links need updating. Work continues on the camper and I am holding tight to my vision of sitting in this thing parked on the beach....
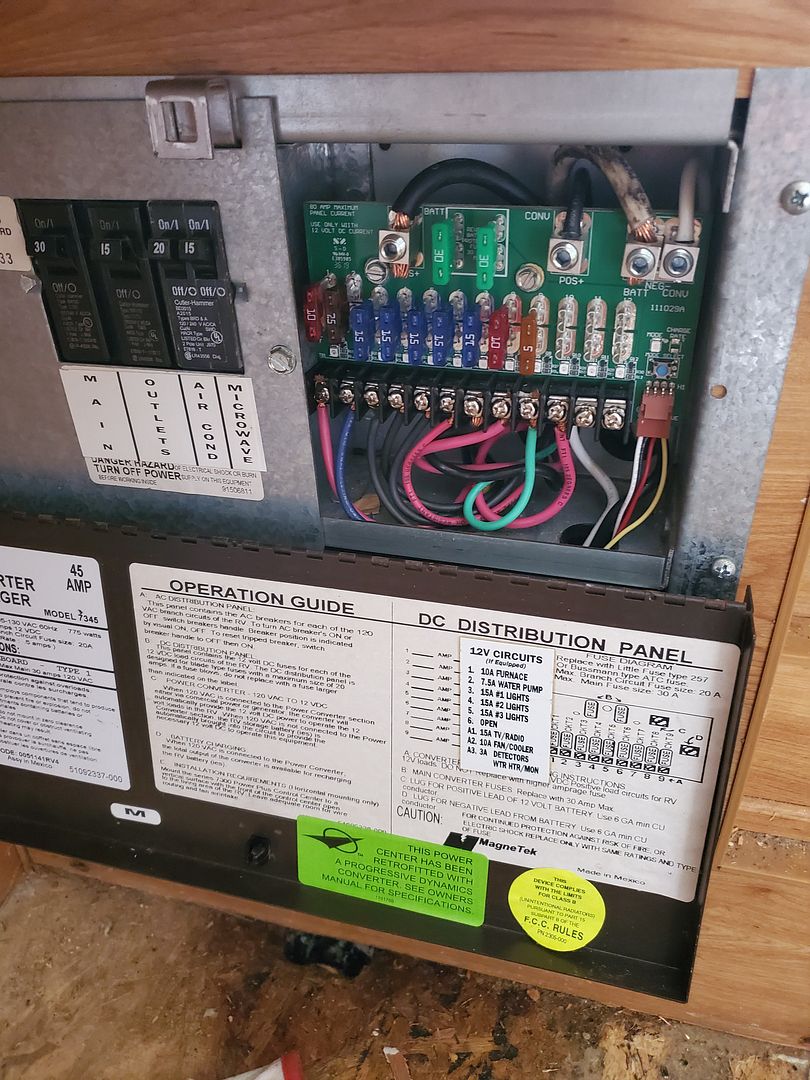
Replaced the old Magnetek converter with a Progressive Dynamics PD 4645 from Best Converter. Came with a new 12V fuse panel and had no issues wiring it up.
I continued tearing into the curbisde front and got the rotten framing and interior out of the way. On this side the water had gotten into the floor of the cabover so I needed to replace some plywood there.
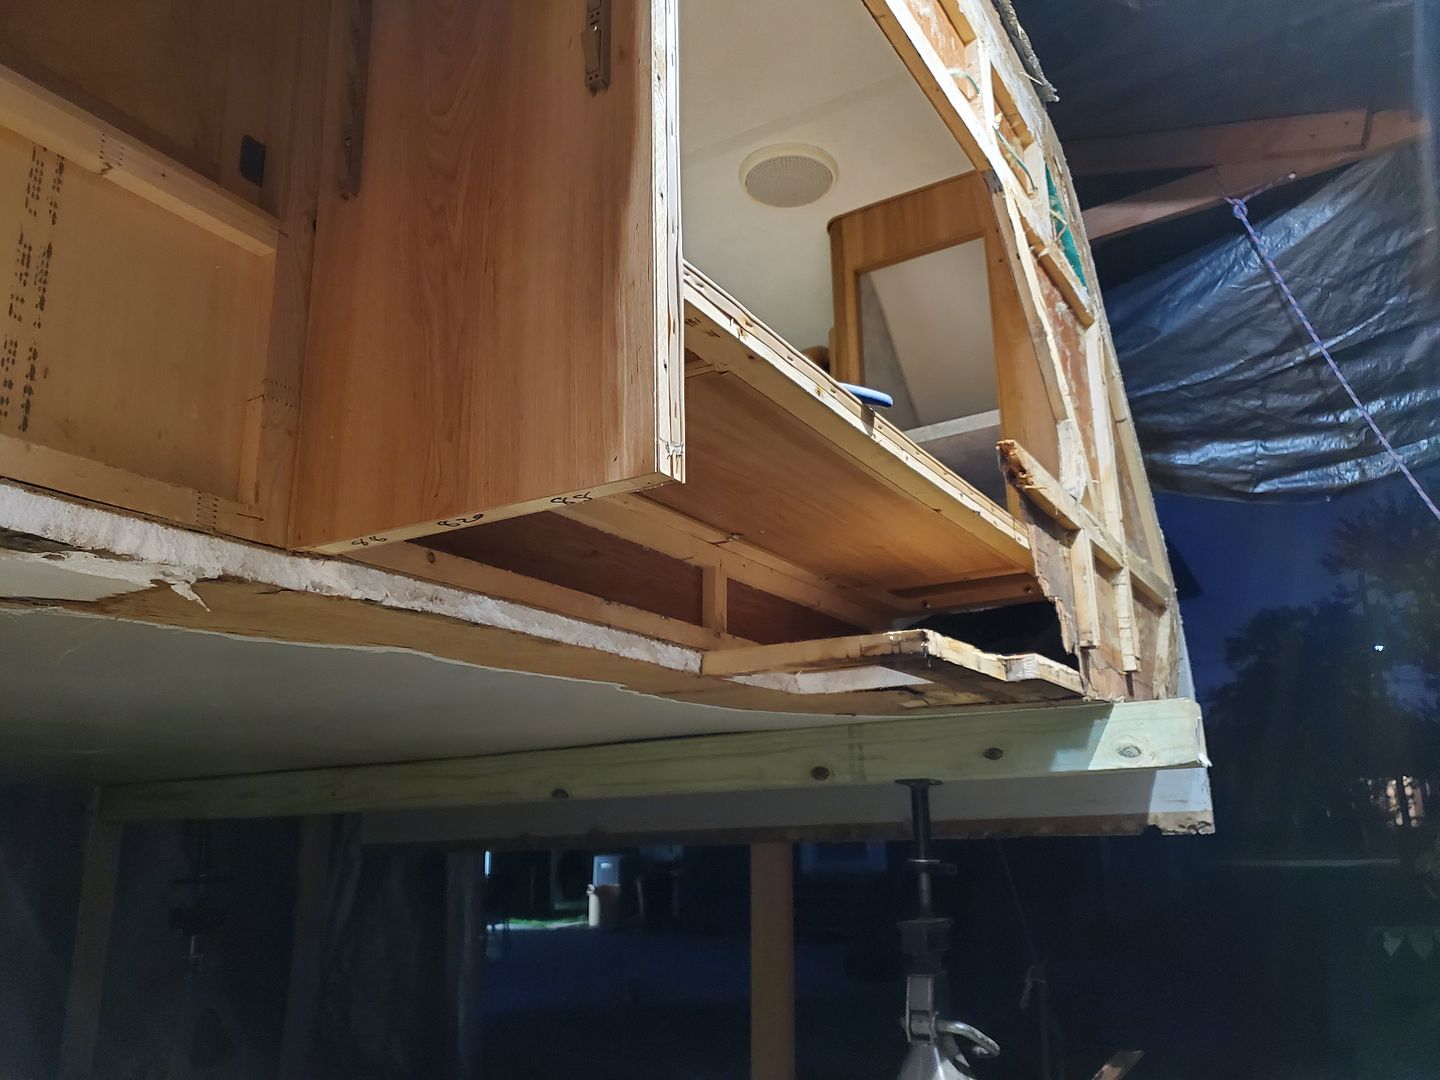
There is a hamper and two closets on this side of the bedroom area and the damage was limited to under there. I didn't grab any pics before I added back in the plywood and styrofoam, but I think you've got the idea of my process by now.
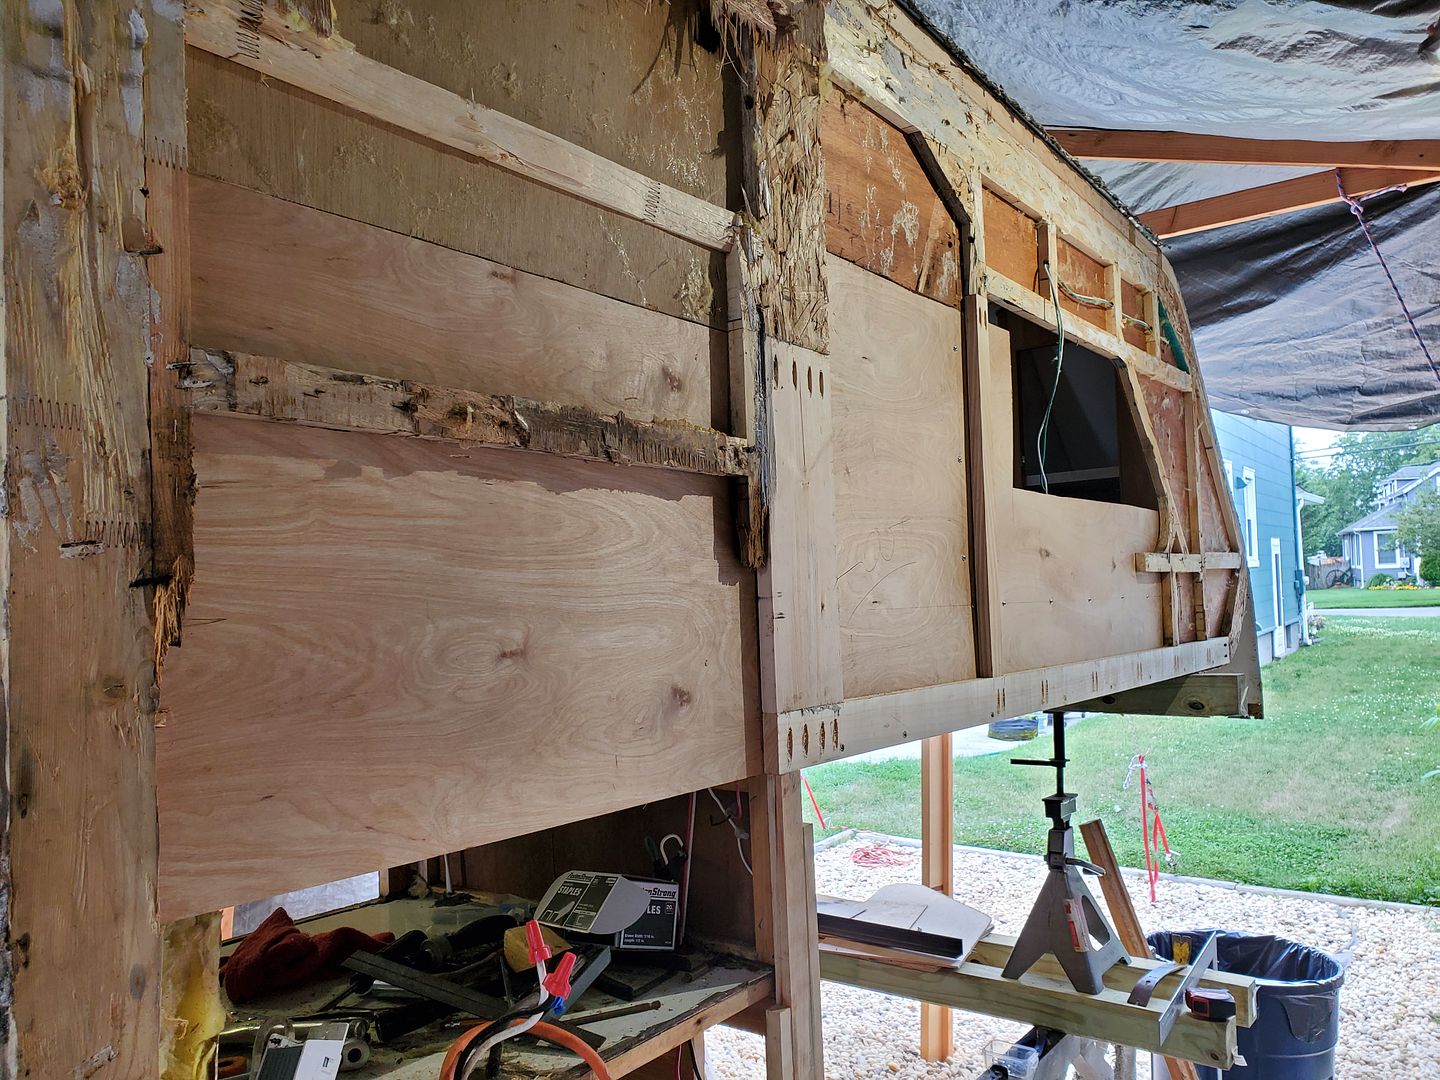
Here's the 1/8" interior piece going in behind the closets and fridge, there was so much rot this piece wound up being 90" long, that's 7-1/2 ft.
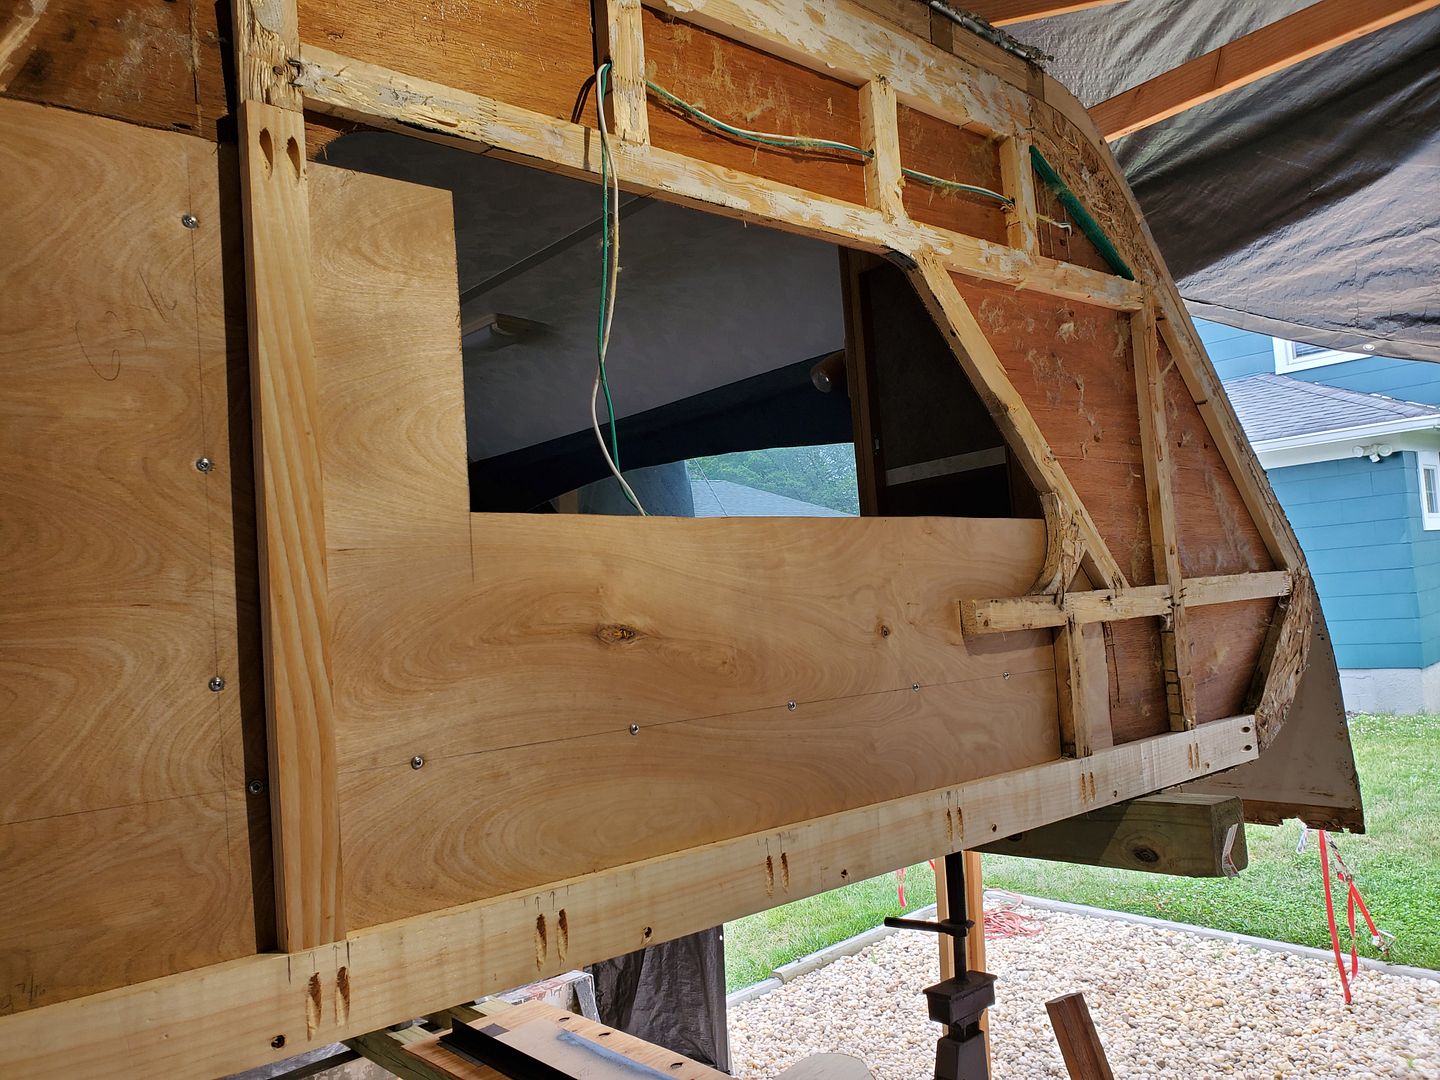
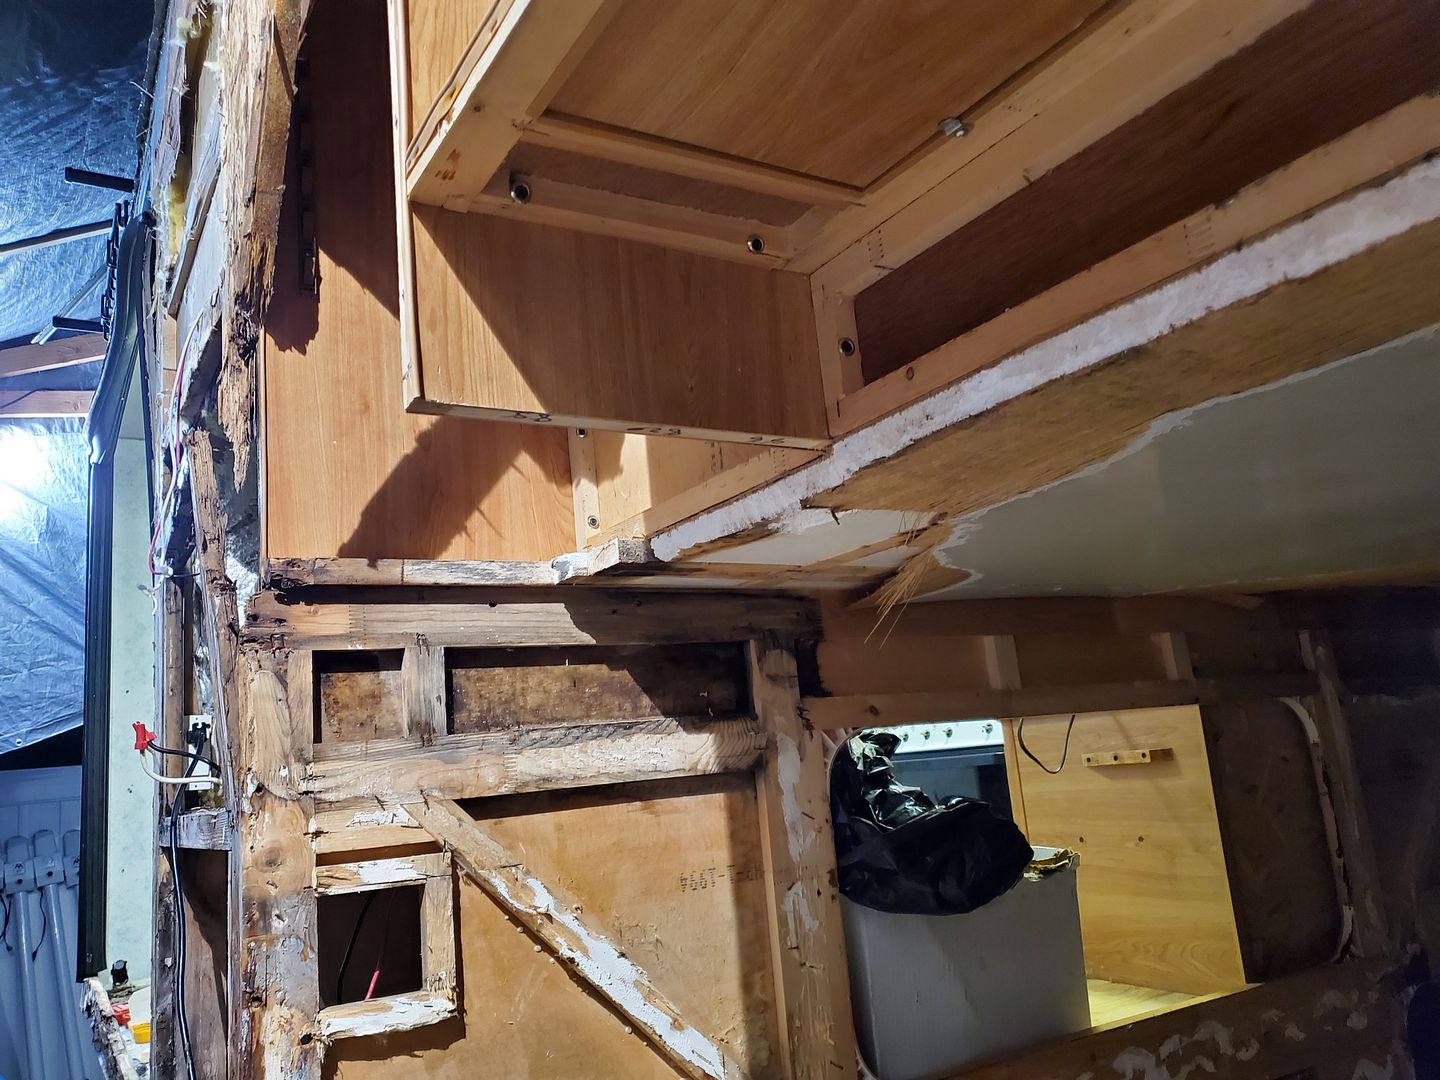
Here's that diagonal piece again that adds a lot of support to the cabover. The framing joints are pocket screwed and PL'd and the key I think is gluing the framing to the interior panel with PL, and again to the exterior sheathing with PL to make a structural panel

Here's the framing all done and ready for insulation. That opening closest in the pic is the fridge vent.
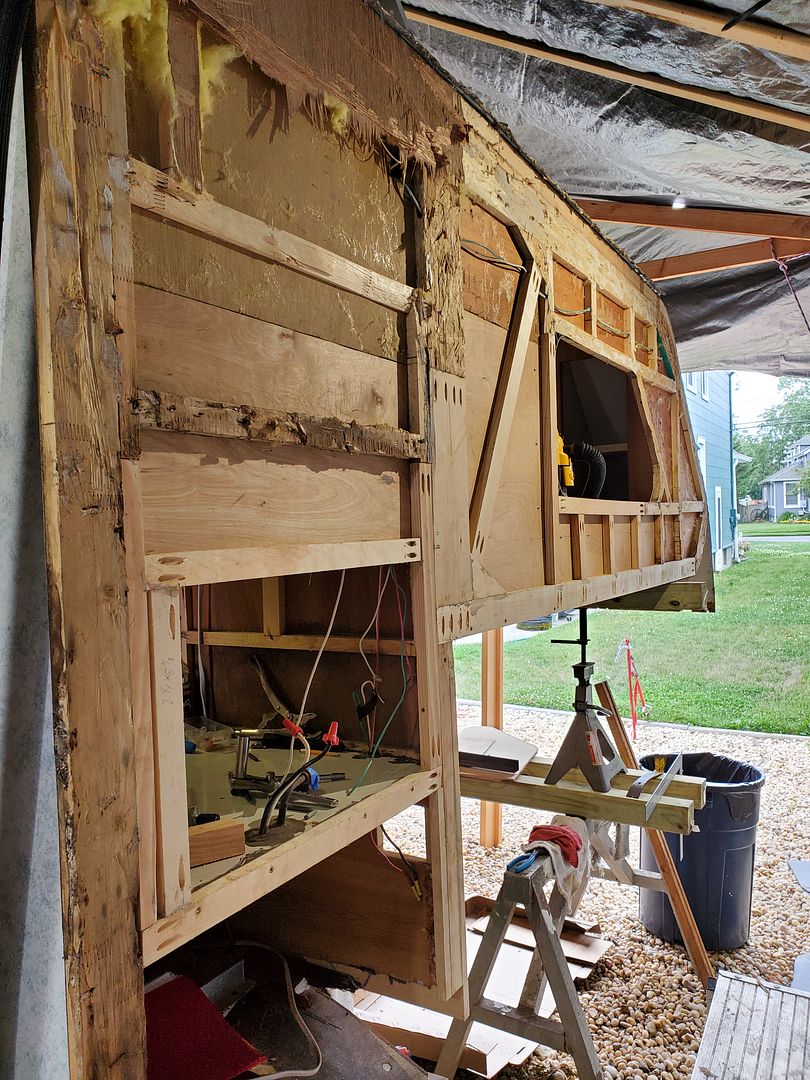
Here's the propane compartment directly under the fridge and this is next. The framing runs continuous toward the rear under the slide so the next section will be addressed all together.
Lance had the fiberglas overlapped here at the front slide corner. The right piece was attached to the sidewall and the left piece ran under the slide opening. Before the framing rotted, those should have been even, now you can see the slide sags down about 1-1/2".
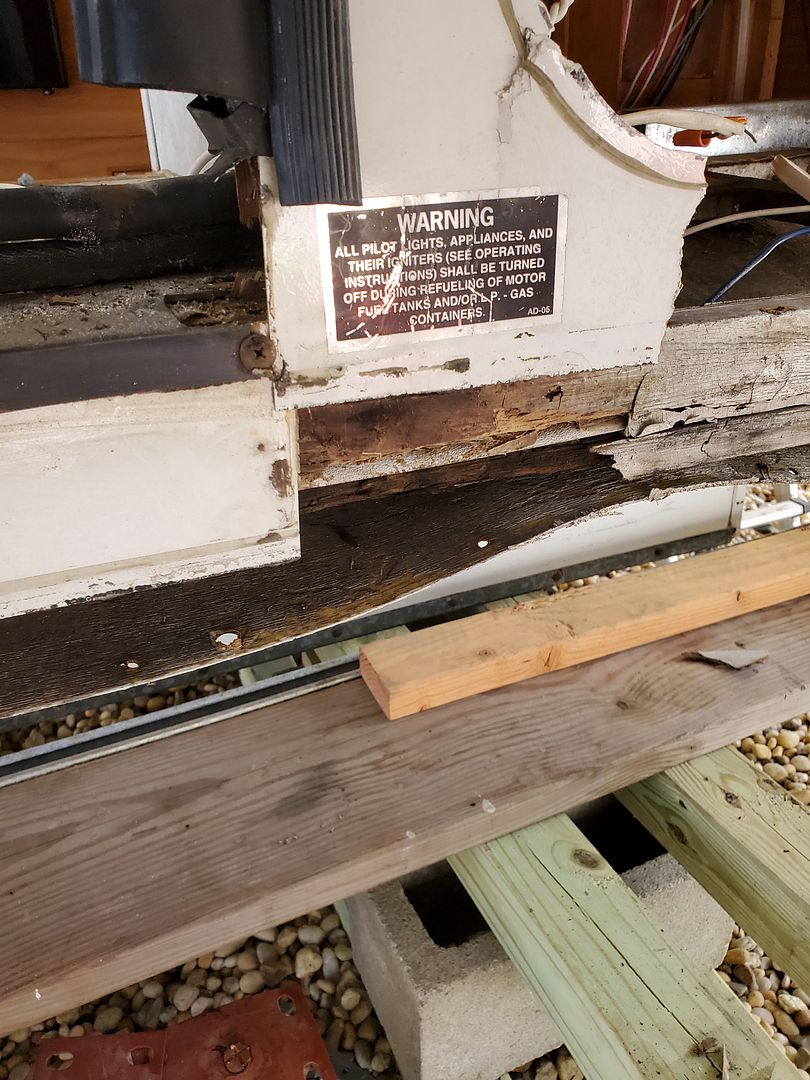
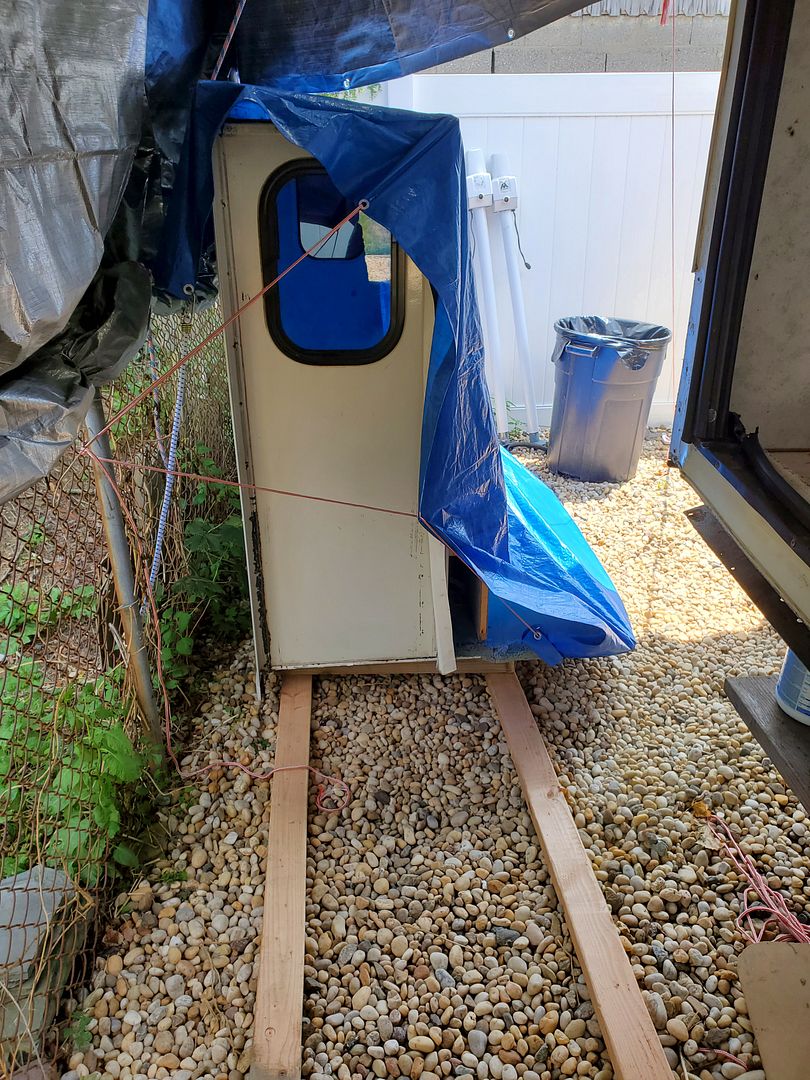
I had to bite the bullet and remove the slide, there was no way to repair this properly with that in the way. Taking off the inside trim and unbolting it from the mechanism enables it to slide right out. We got it onto sawhorses then down onto so 2x4s so we could slide it out of the way. Put a tarp over it to keep it dry.
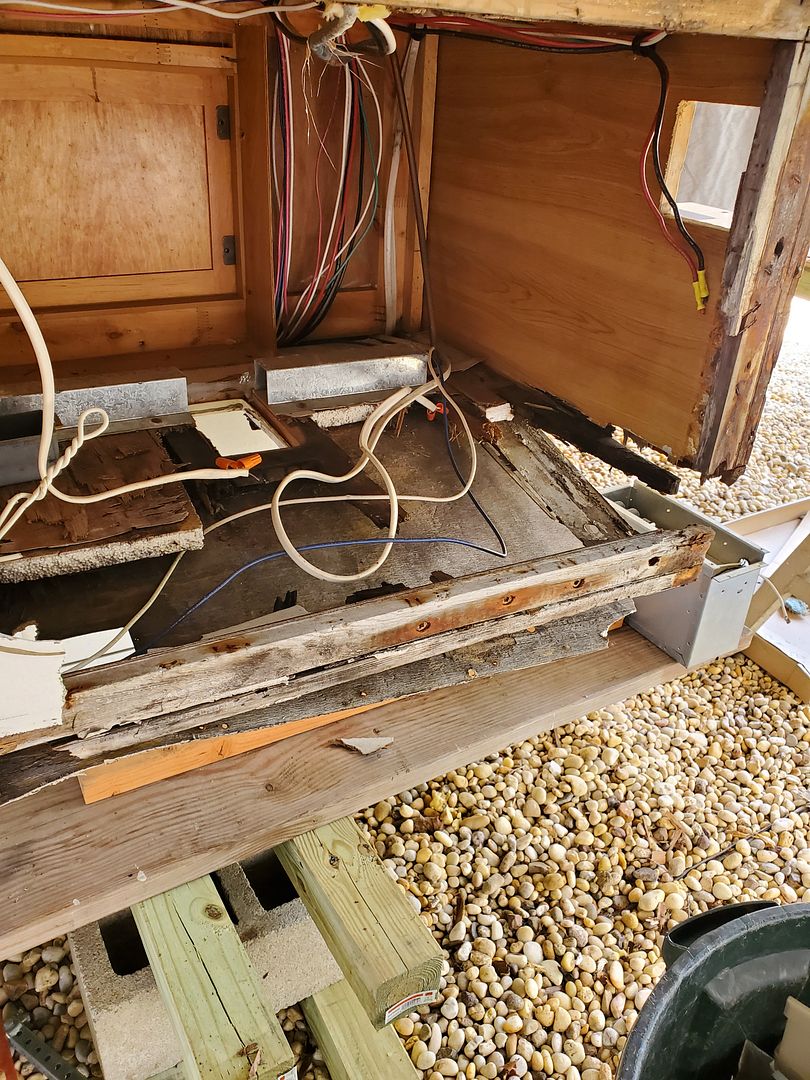
The floor under the slide didn't look bad...
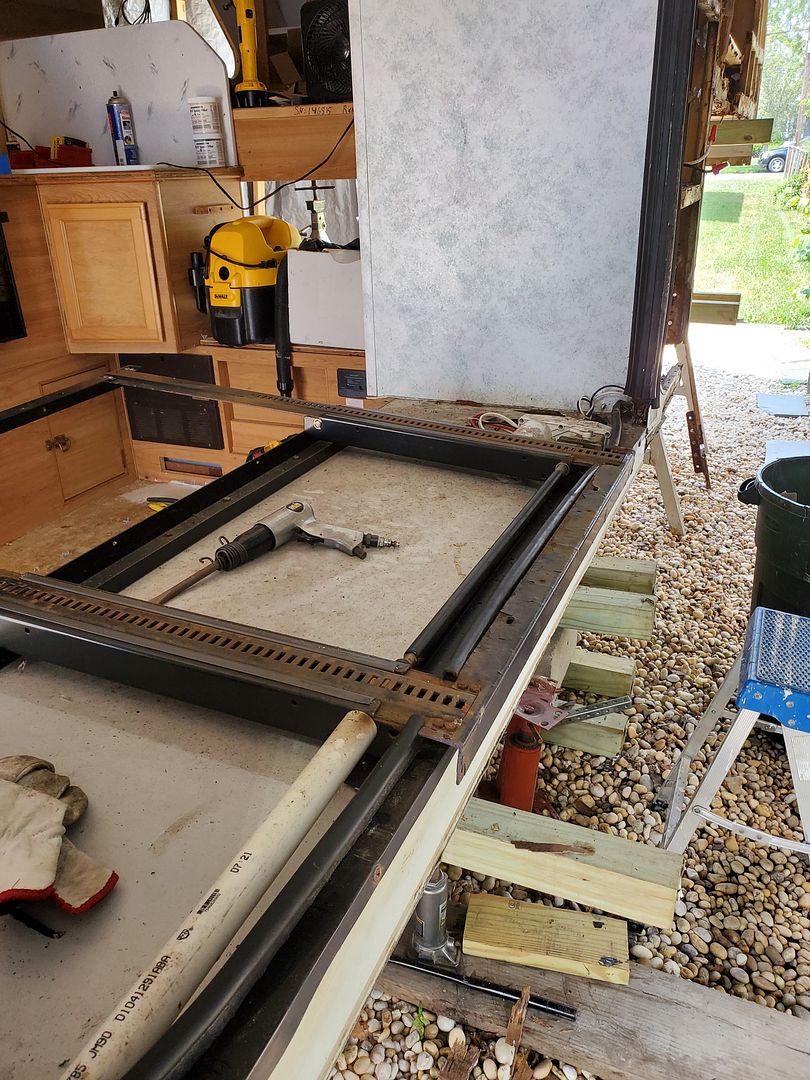
...but I had to remove the mechanism to get the weight off of it. That wallpaper or whatever they finish those interior panels with was the only thing holding that floor together. It was amazing how little there was left...
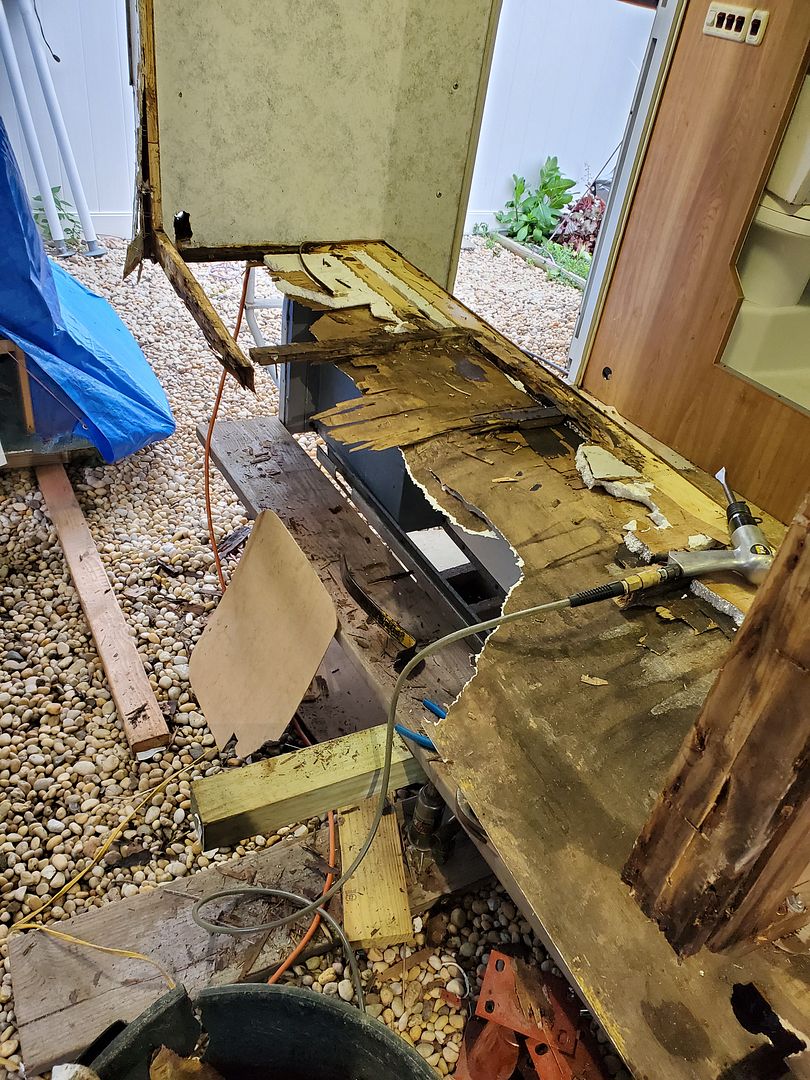
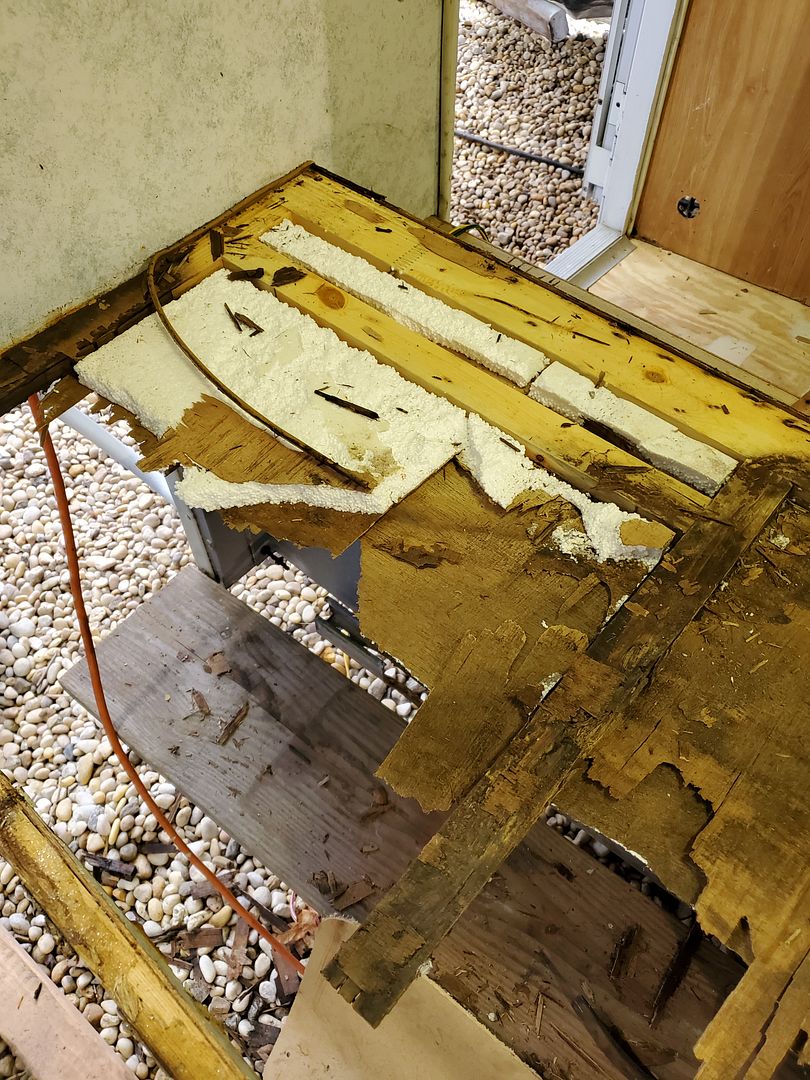
That's now what I'm into is rebuilding that floor under the slide. the slide itself is in great shape, so once the floor is done it can go back together....AFTER we get the new fridge in!!
Here's the new fridge in the garage next to the old one.
[img]https://hosting.photobucket.com/images/y134/Burbman/20200703_131004.jpg width=640[img]
The good news is that I added a rain fly to my ghetto garage, and it held up like a champ during the tropical storm that blew in last Friday. Camper stayed dry as a bone in 35 mph winds and driving rain. View from my pffice window upstairs:
Thanks for the heads up on the earlier pics, I'll check if the links need updating. Work continues on the camper and I am holding tight to my vision of sitting in this thing parked on the beach....
Replaced the old Magnetek converter with a Progressive Dynamics PD 4645 from Best Converter. Came with a new 12V fuse panel and had no issues wiring it up.
I continued tearing into the curbisde front and got the rotten framing and interior out of the way. On this side the water had gotten into the floor of the cabover so I needed to replace some plywood there.
There is a hamper and two closets on this side of the bedroom area and the damage was limited to under there. I didn't grab any pics before I added back in the plywood and styrofoam, but I think you've got the idea of my process by now.
Here's the 1/8" interior piece going in behind the closets and fridge, there was so much rot this piece wound up being 90" long, that's 7-1/2 ft.
Here's that diagonal piece again that adds a lot of support to the cabover. The framing joints are pocket screwed and PL'd and the key I think is gluing the framing to the interior panel with PL, and again to the exterior sheathing with PL to make a structural panel
Here's the framing all done and ready for insulation. That opening closest in the pic is the fridge vent.
Here's the propane compartment directly under the fridge and this is next. The framing runs continuous toward the rear under the slide so the next section will be addressed all together.
Lance had the fiberglas overlapped here at the front slide corner. The right piece was attached to the sidewall and the left piece ran under the slide opening. Before the framing rotted, those should have been even, now you can see the slide sags down about 1-1/2".
I had to bite the bullet and remove the slide, there was no way to repair this properly with that in the way. Taking off the inside trim and unbolting it from the mechanism enables it to slide right out. We got it onto sawhorses then down onto so 2x4s so we could slide it out of the way. Put a tarp over it to keep it dry.
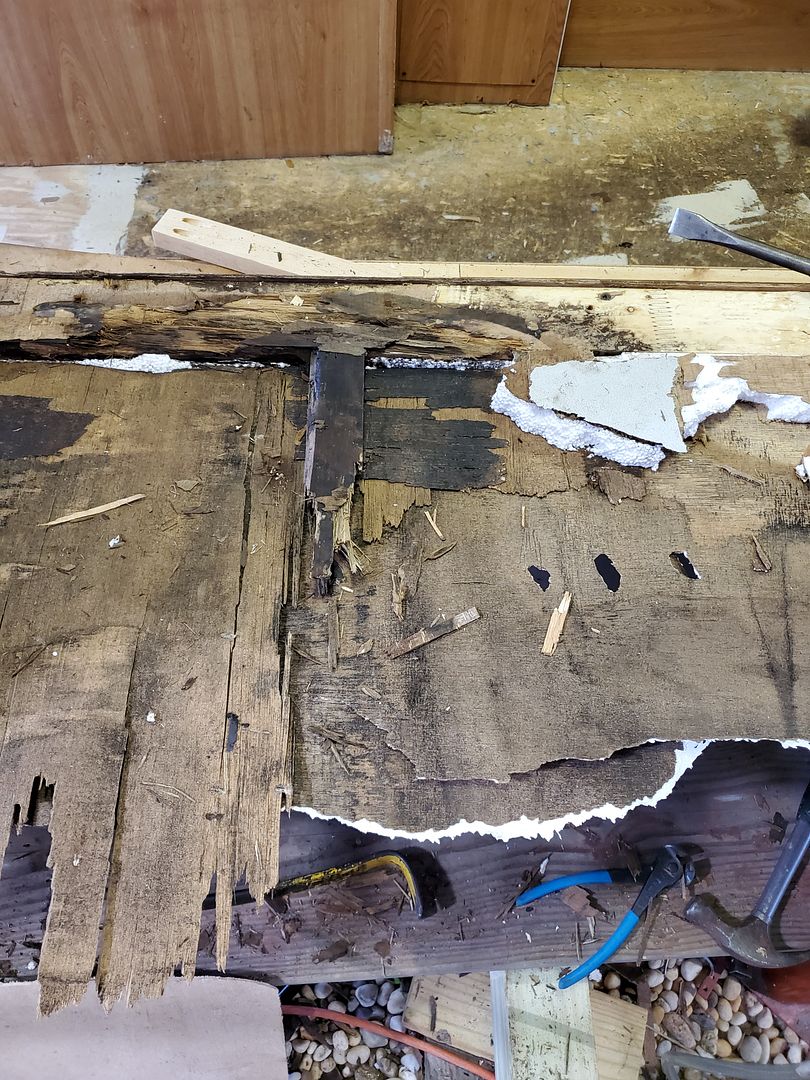
The floor under the slide didn't look bad...
...but I had to remove the mechanism to get the weight off of it. That wallpaper or whatever they finish those interior panels with was the only thing holding that floor together. It was amazing how little there was left...
That's now what I'm into is rebuilding that floor under the slide. the slide itself is in great shape, so once the floor is done it can go back together....AFTER we get the new fridge in!!
Here's the new fridge in the garage next to the old one.
[img]https://hosting.photobucket.com/images/y134/Burbman/20200703_131004.jpg width=640[img]
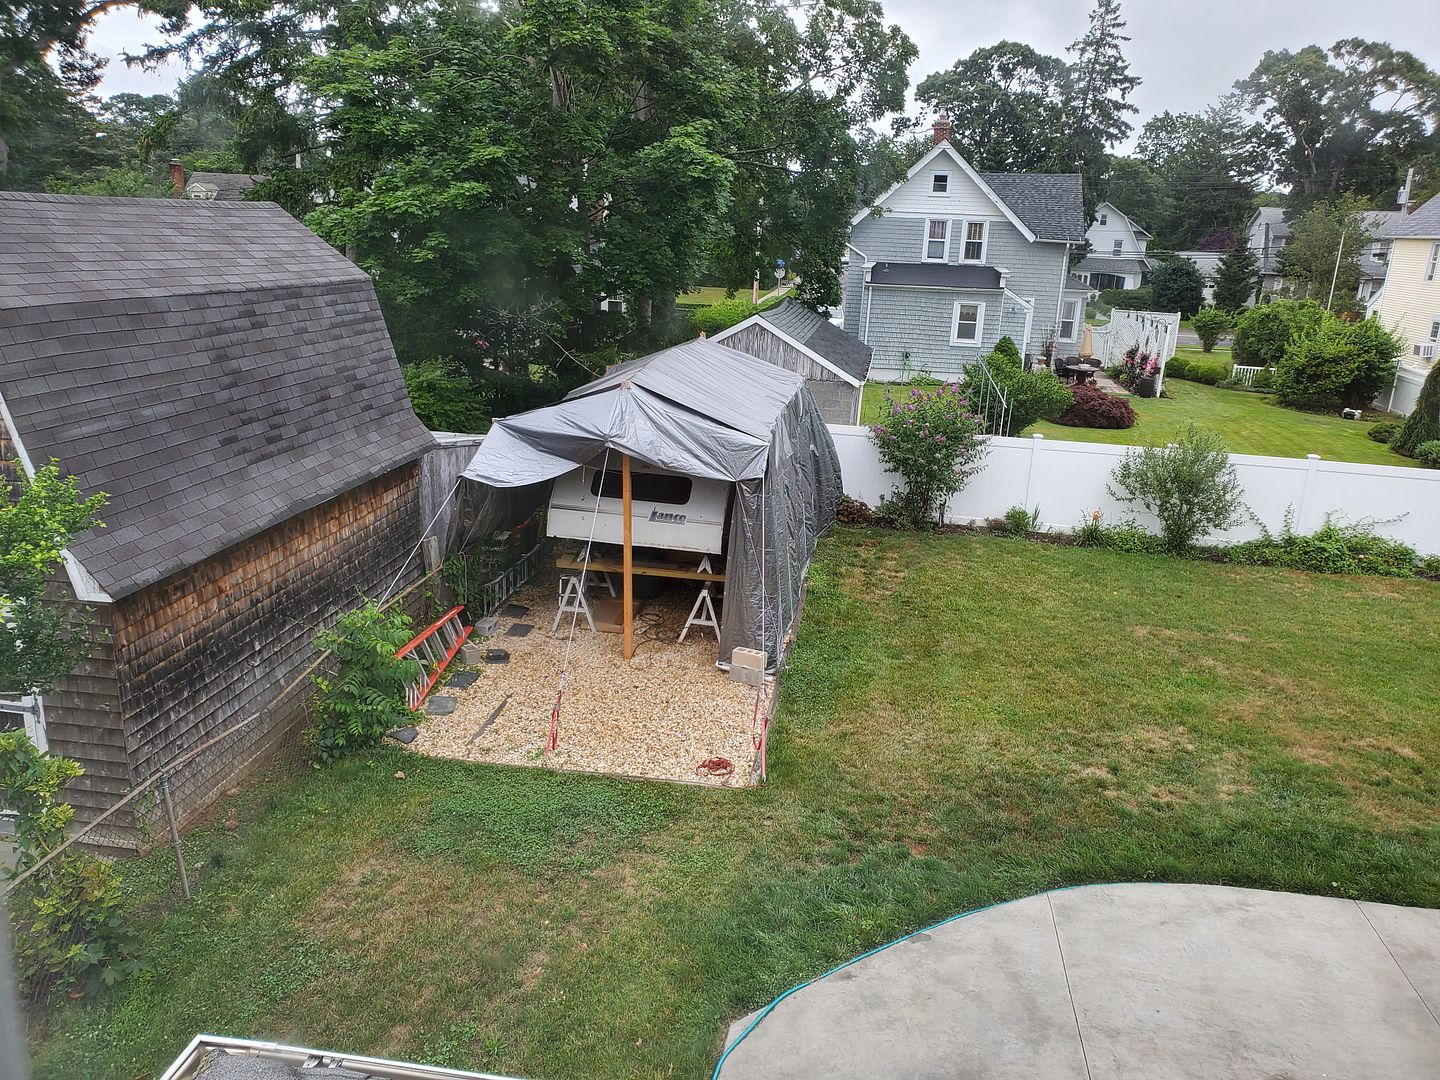
The good news is that I added a rain fly to my ghetto garage, and it held up like a champ during the tropical storm that blew in last Friday. Camper stayed dry as a bone in 35 mph winds and driving rain. View from my pffice window upstairs:
About Travel Trailer Group
44,067 PostsLatest Activity: Jun 05, 2026