Forum Discussion
BurbMan
Jul 28, 2020Explorer III
**UPDATE 07/28/2020**
Man, it's been HOT here! Got a bunch more done since the last update though, I keep picturing myself on the beach with my new rig!
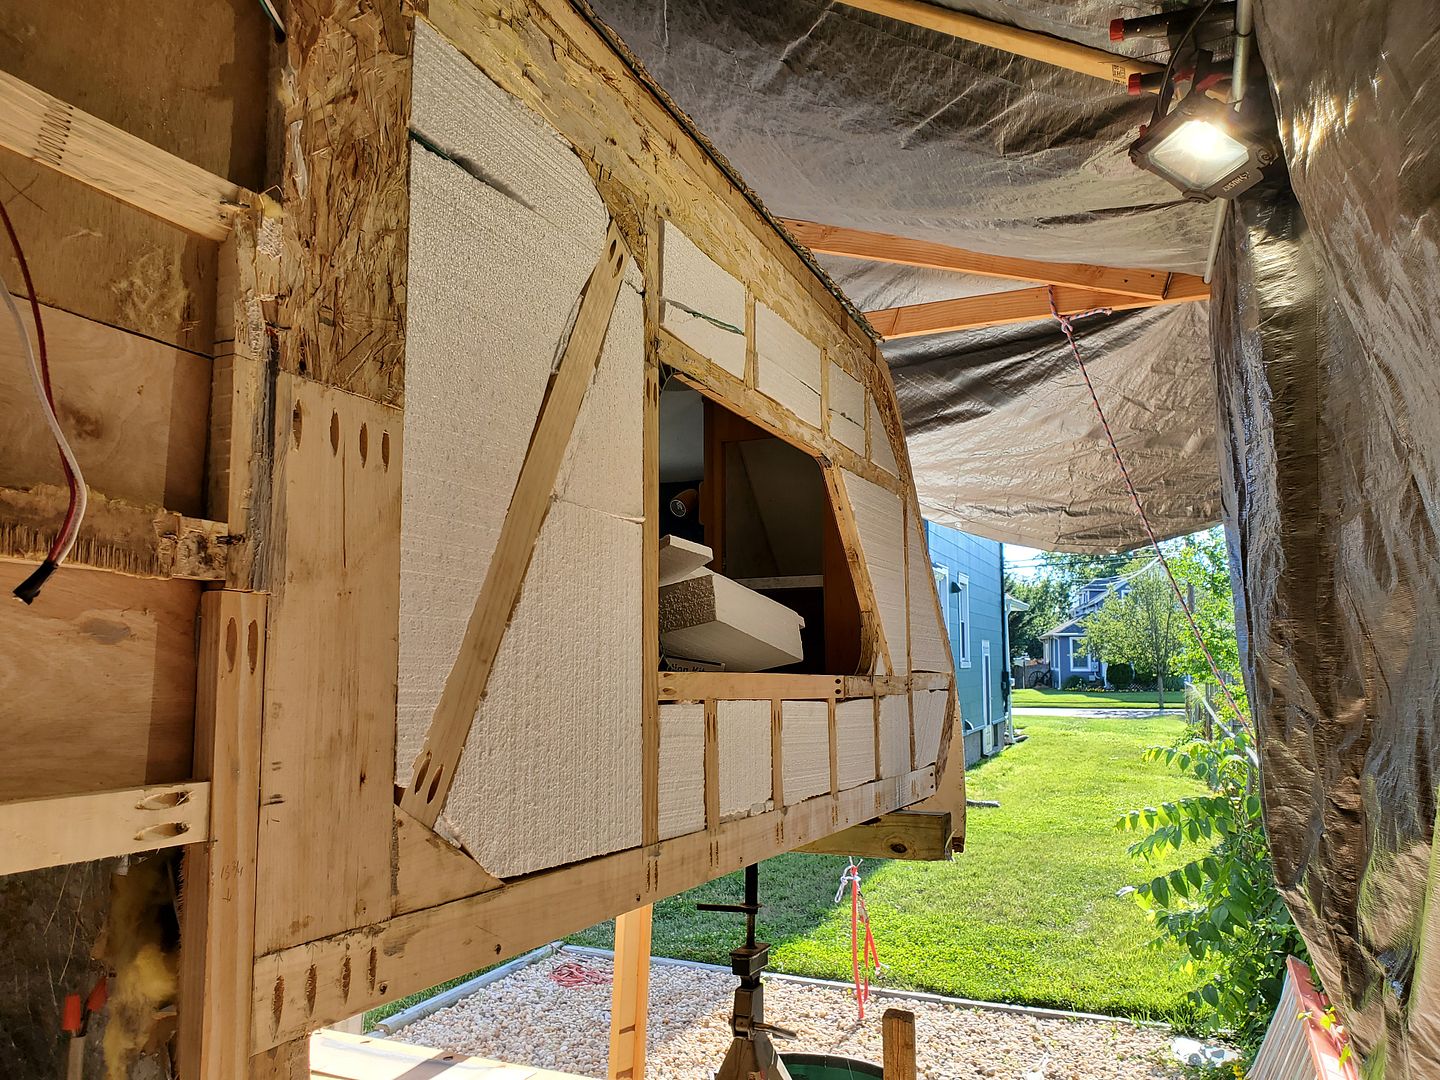
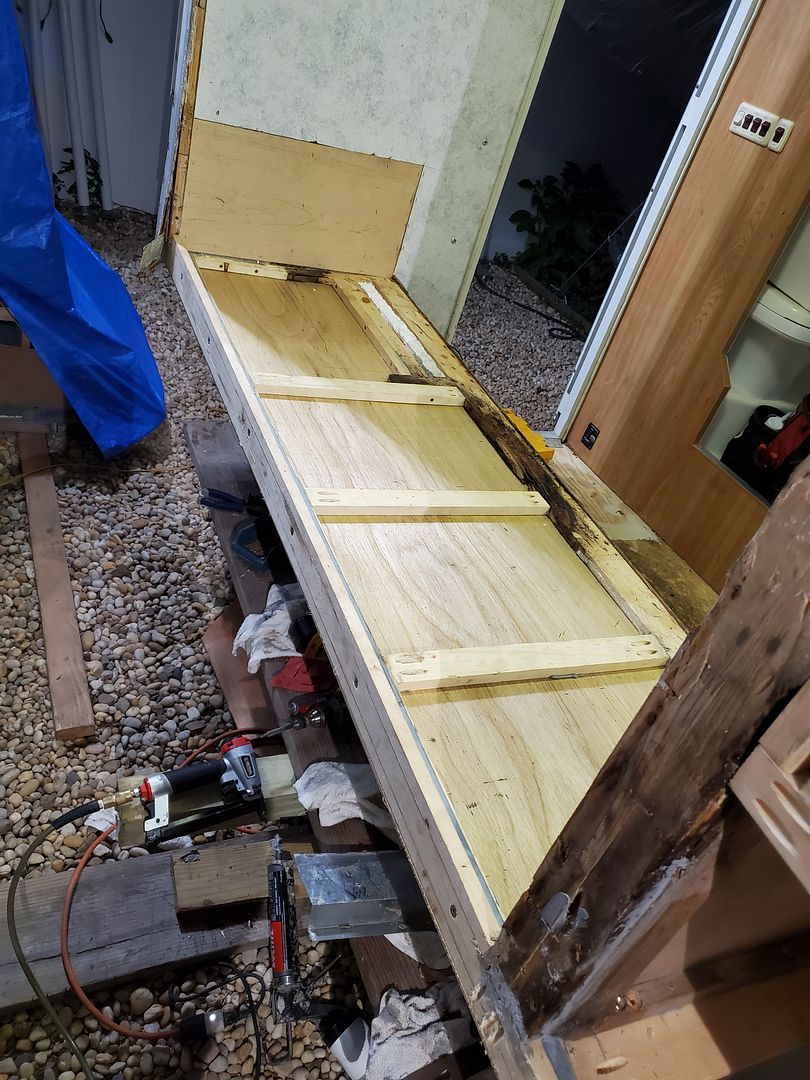
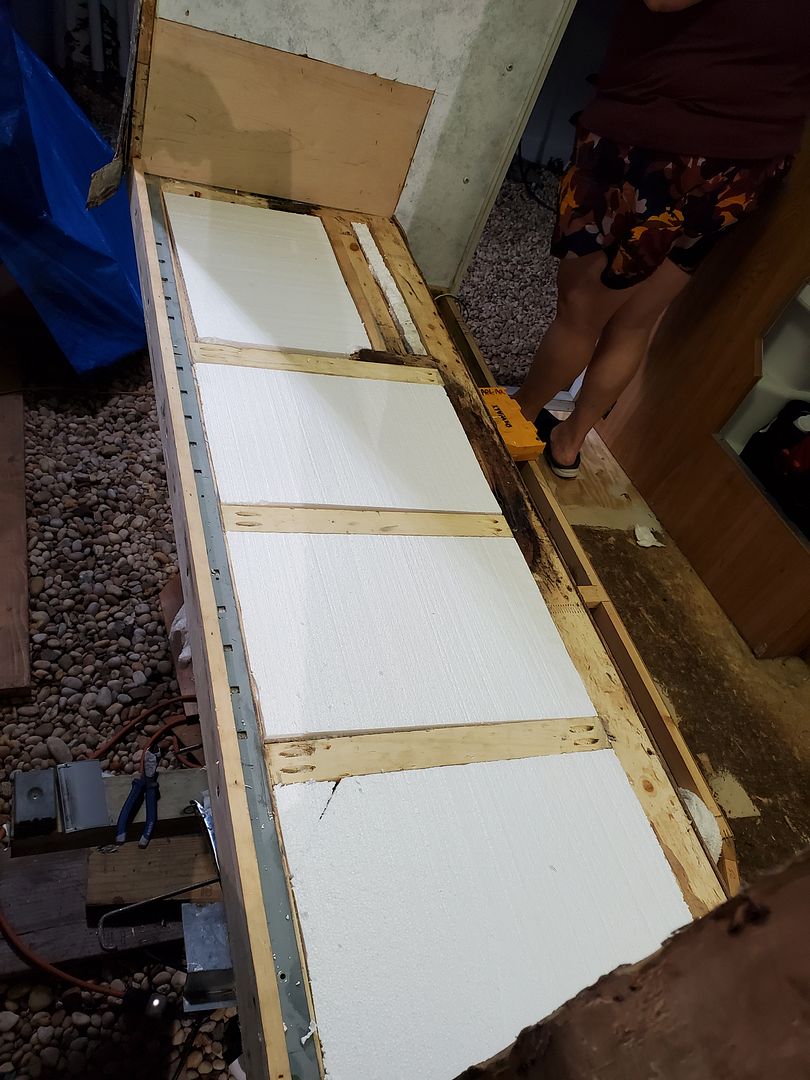
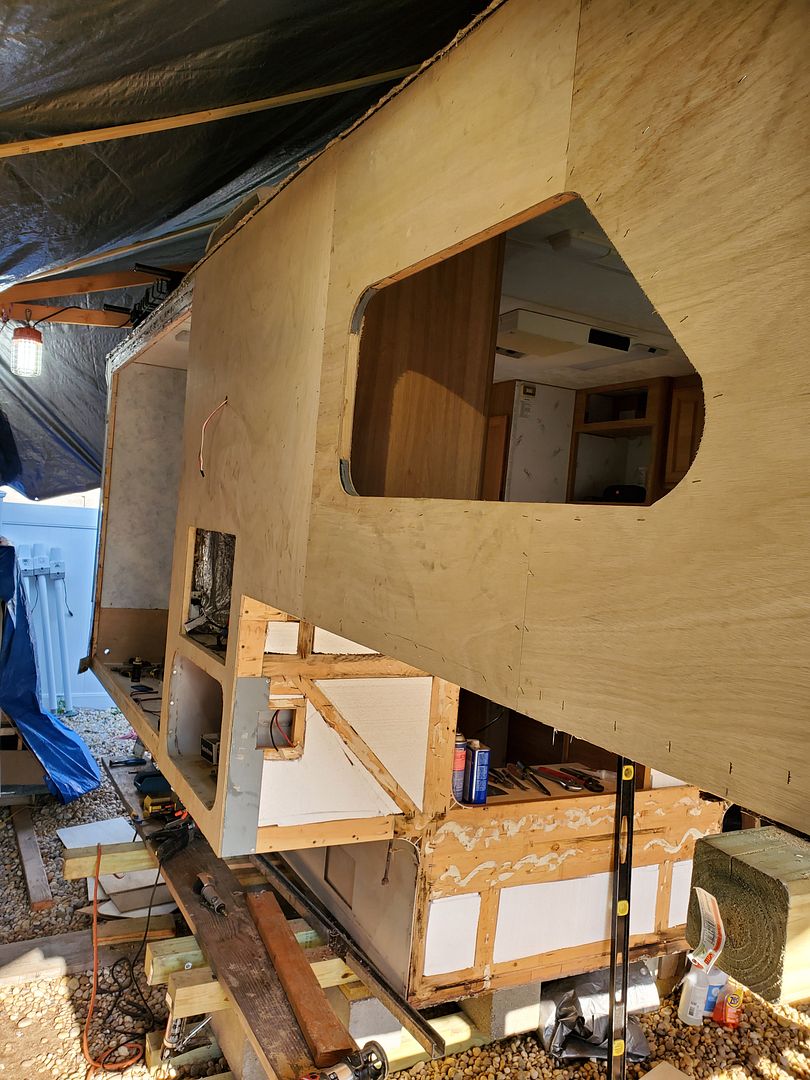
I finished the framing on the cub side of the cab over, sweetie put in the insulation and it's ready for sheathing.
.jpg)
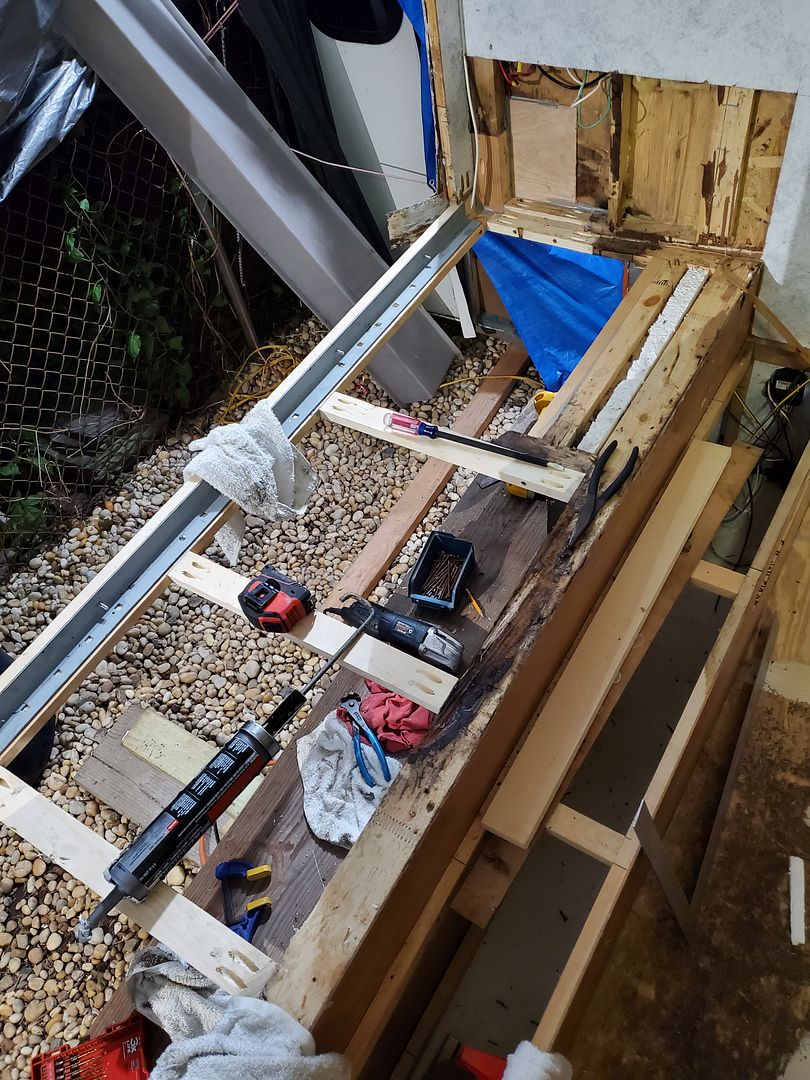
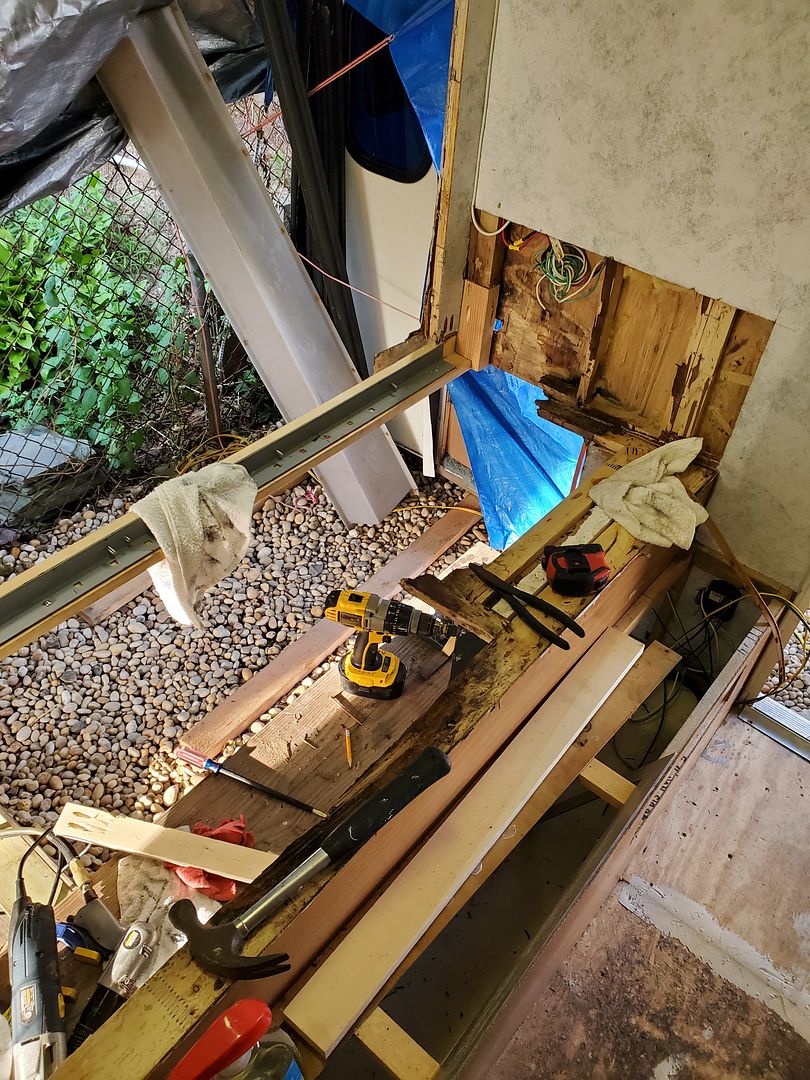
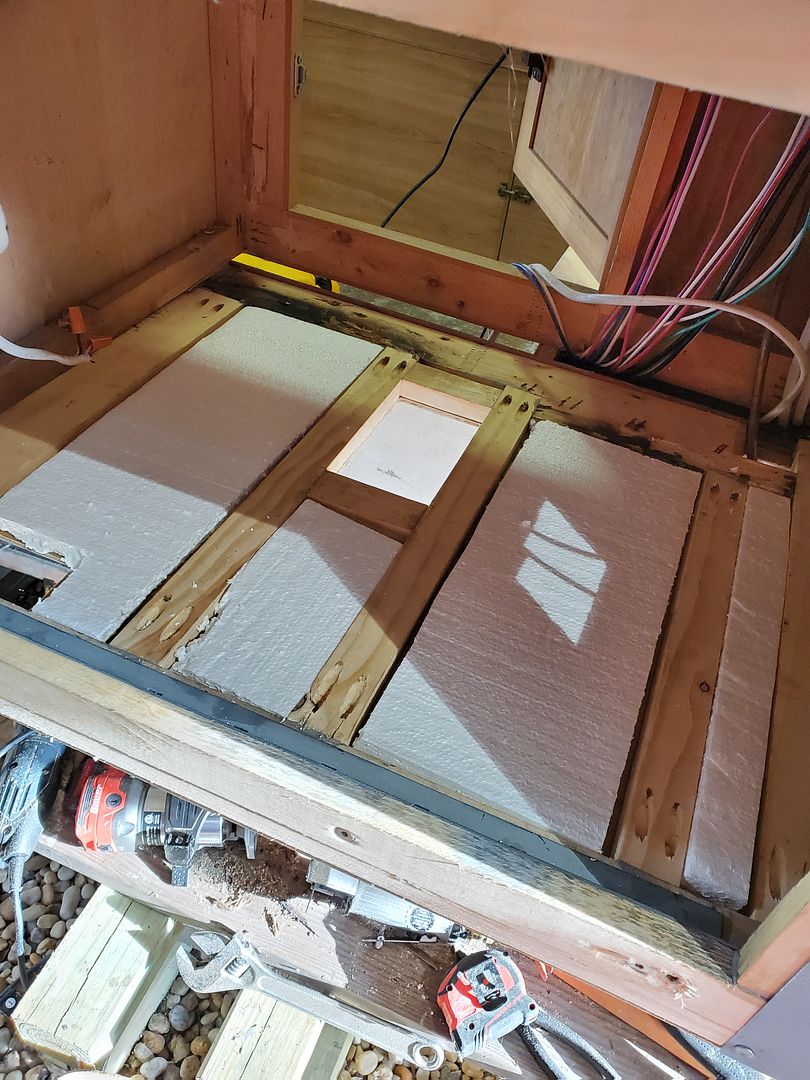
Now to turn my attention to the back under the slide out...the whole thing was rotten to where it wasn't worth it to even try to save it with Rot Doctor, easier to just pull it out and replace it.
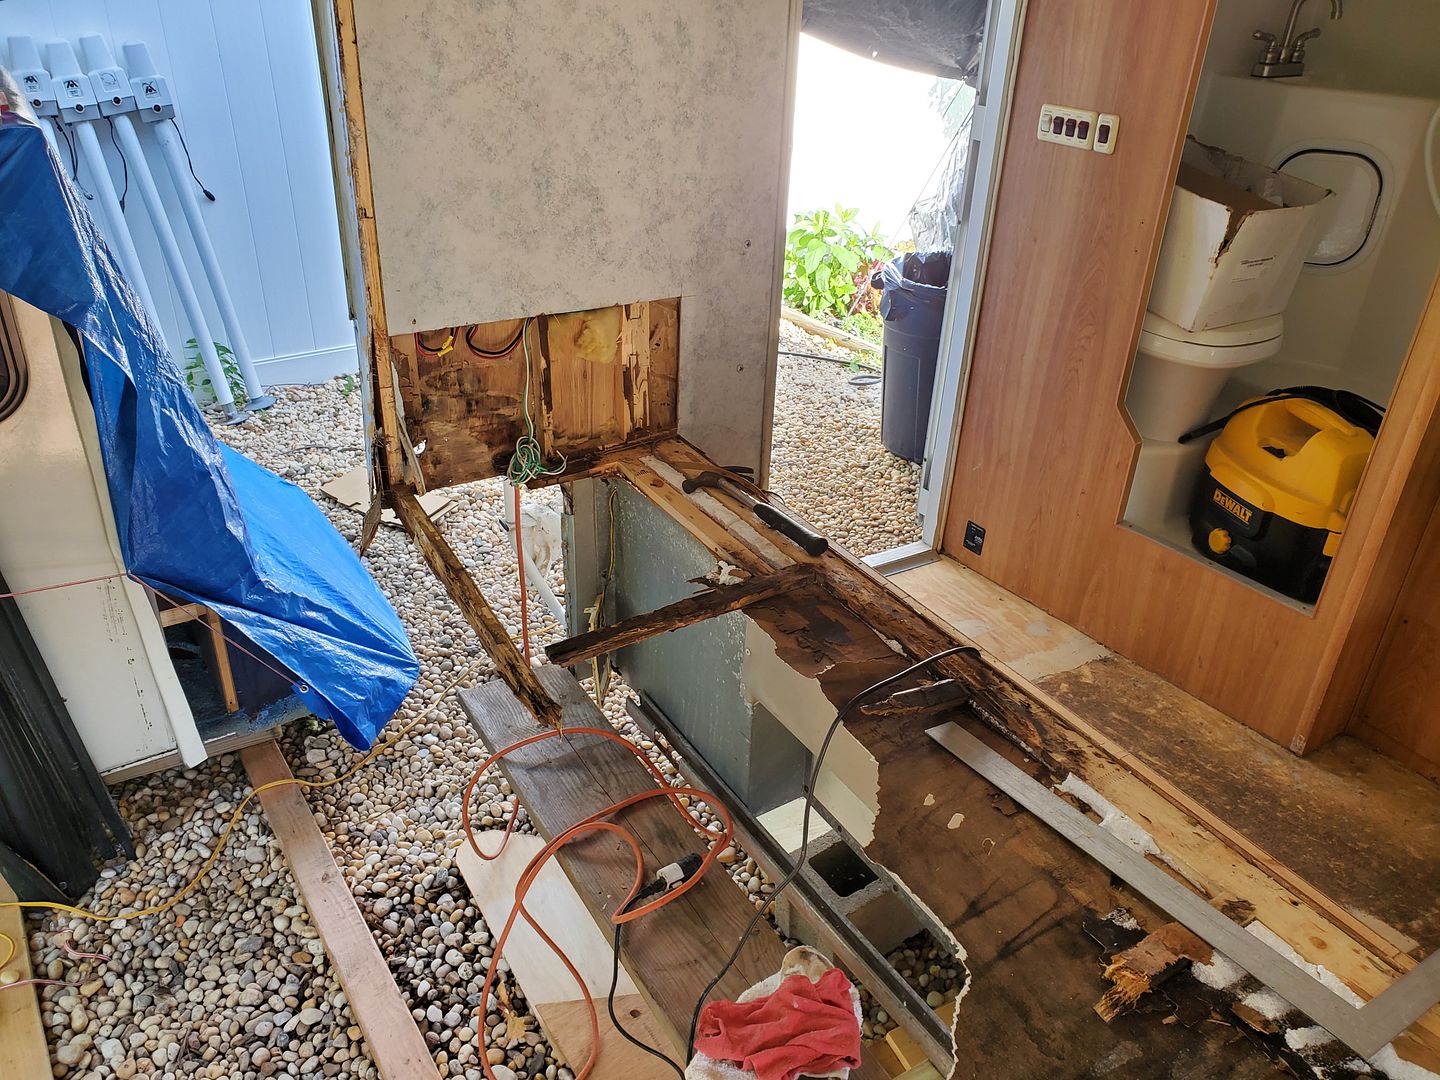
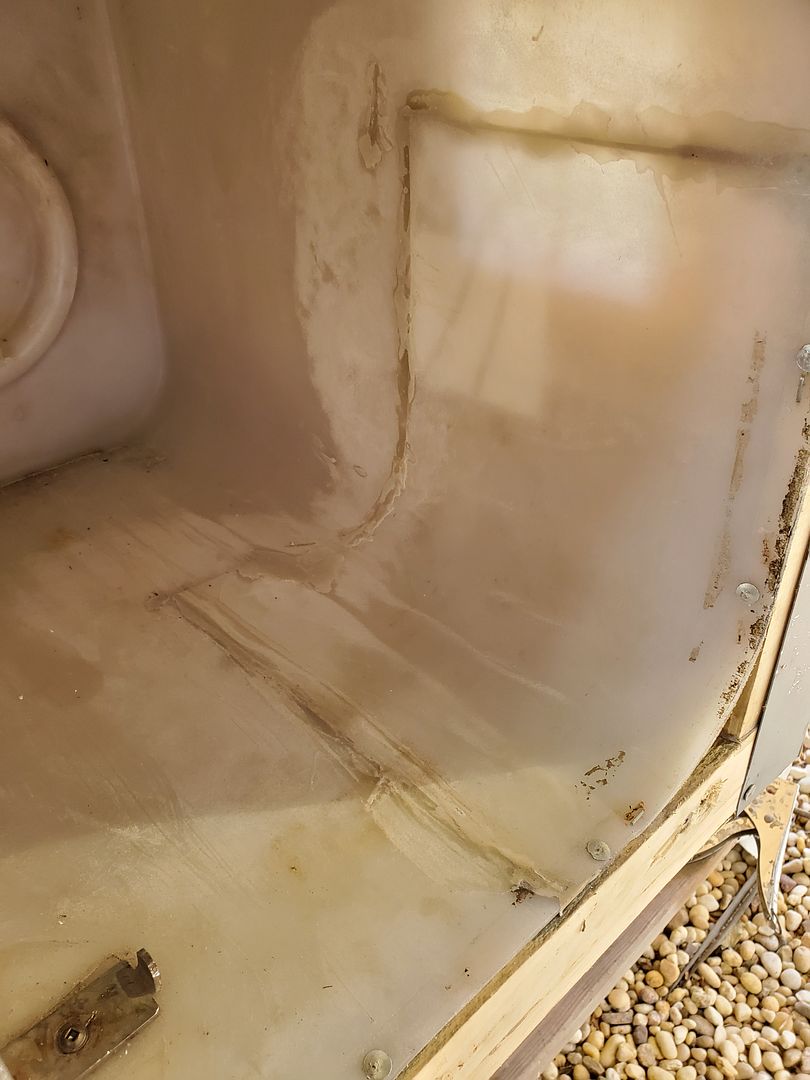
Also had a leak in the back, I suspect from the tail light. It was easier to get to this from the inside rather than pull the fiberglass off the back:

That plastic thing is the fishing rod storage that you access from a small hatch on the back wall. Had to get that out to get under the rest of the damaged sheathing and delaminated fiberglas

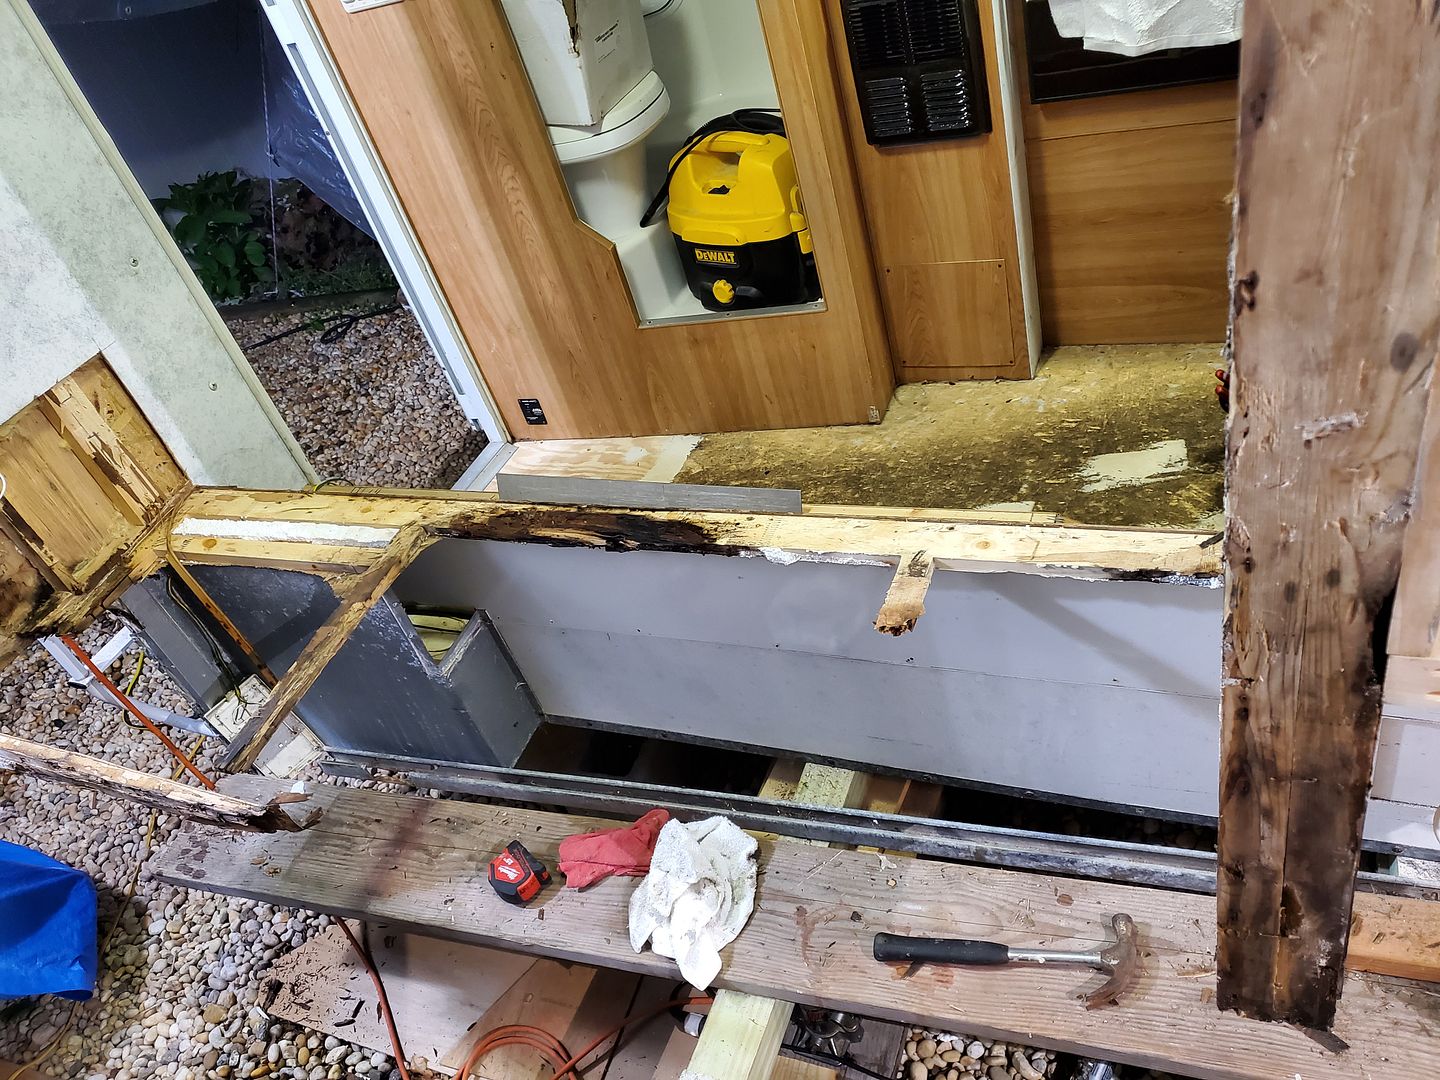

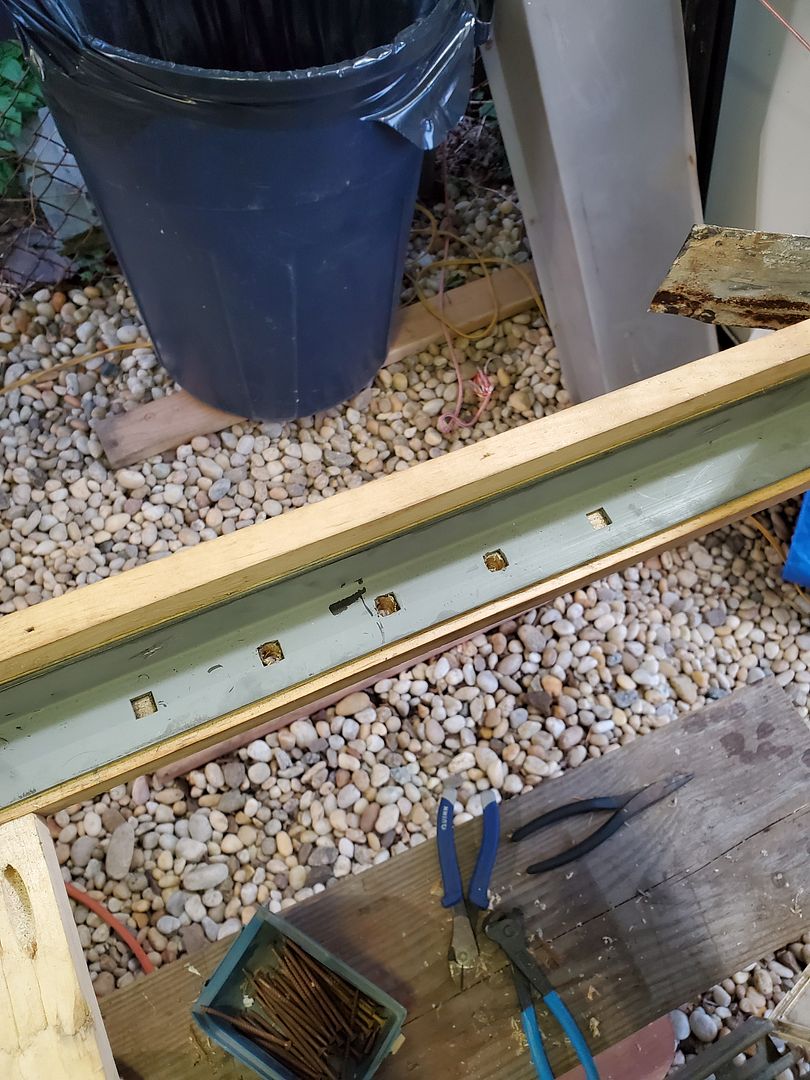
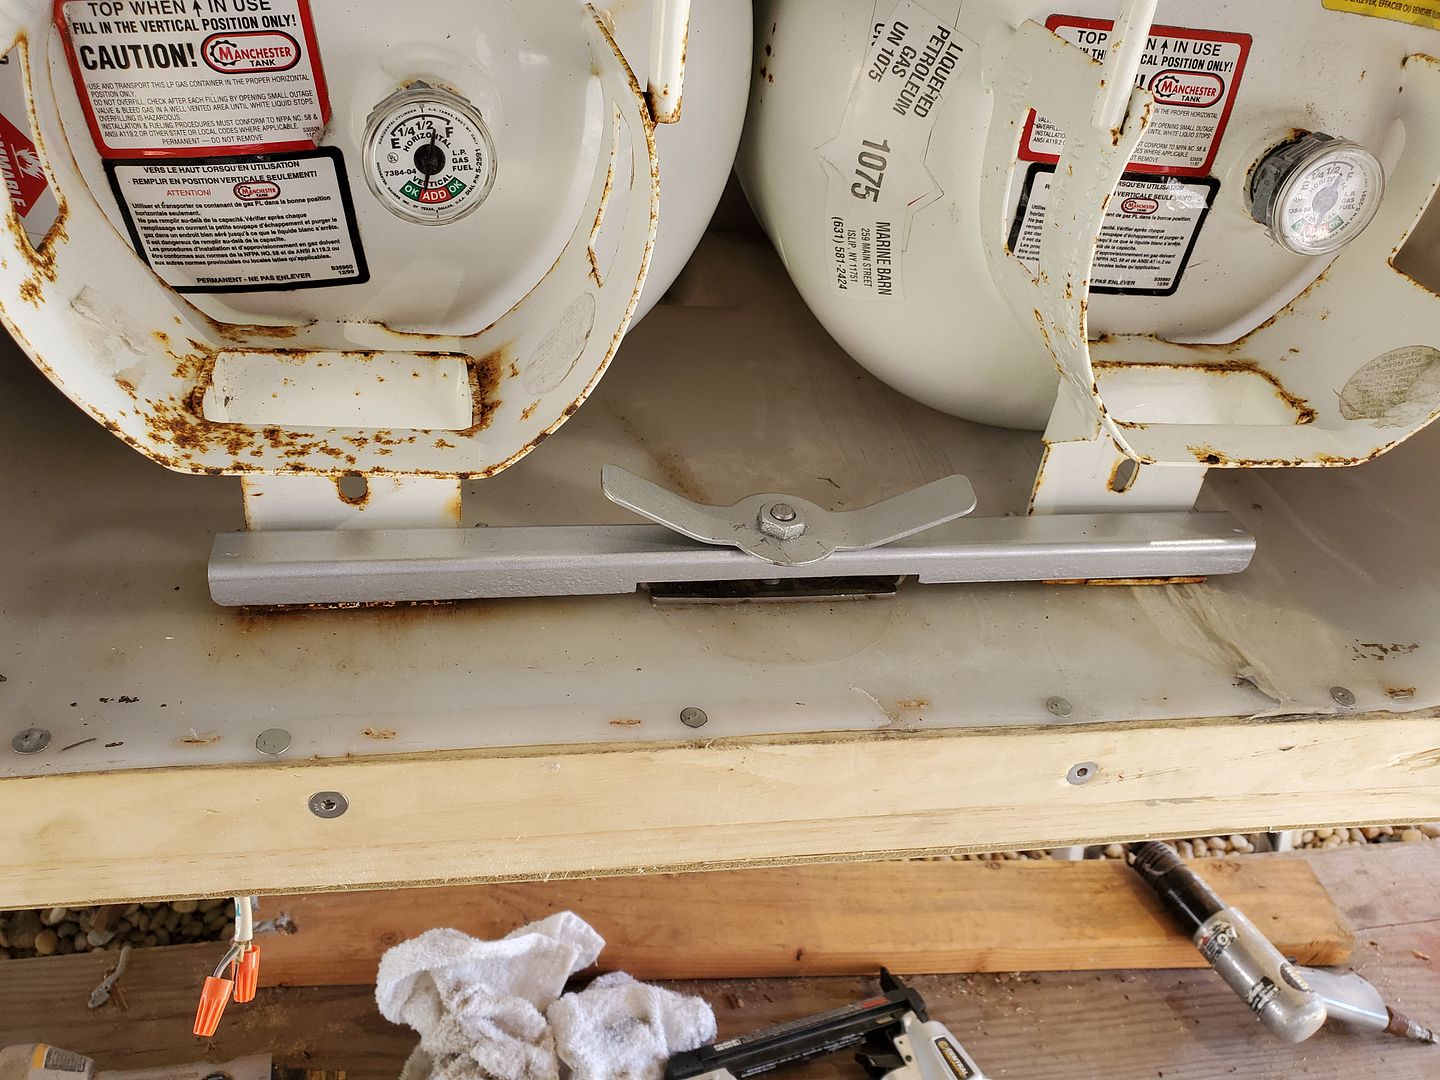
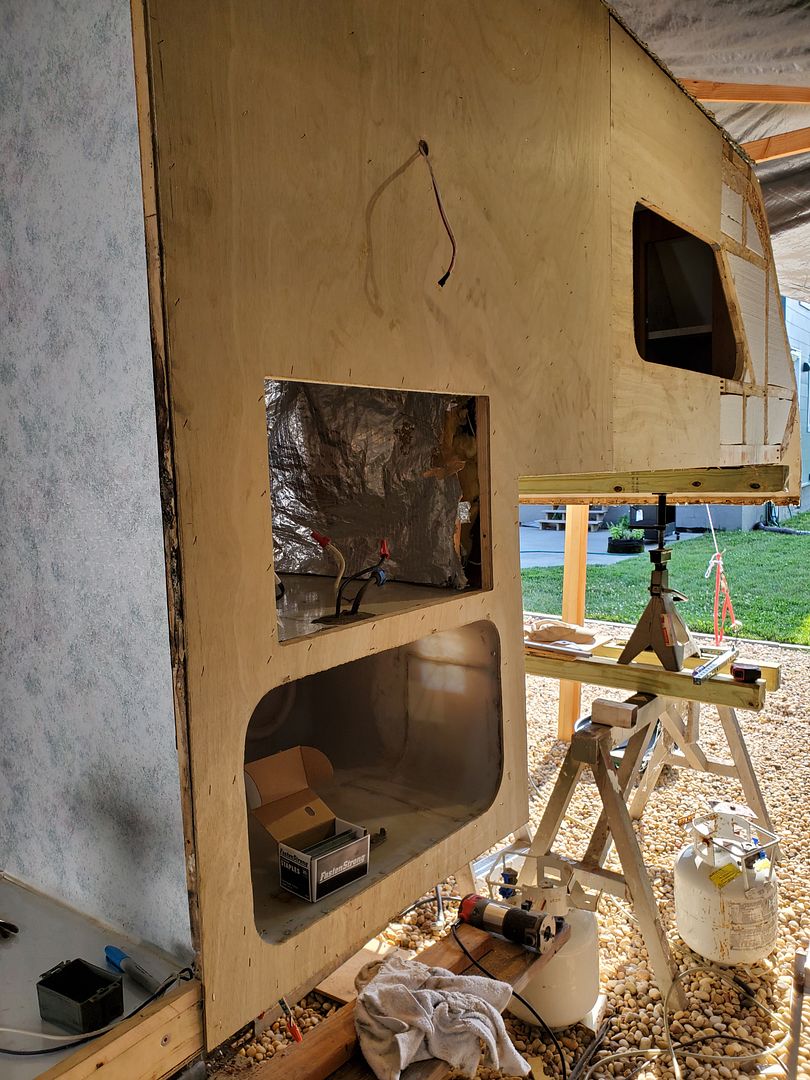
This is the propane compartment:
The factory put in a piece of angle steel that runs under the slideout opening and that also serves to anchor the two tie down points on that side:
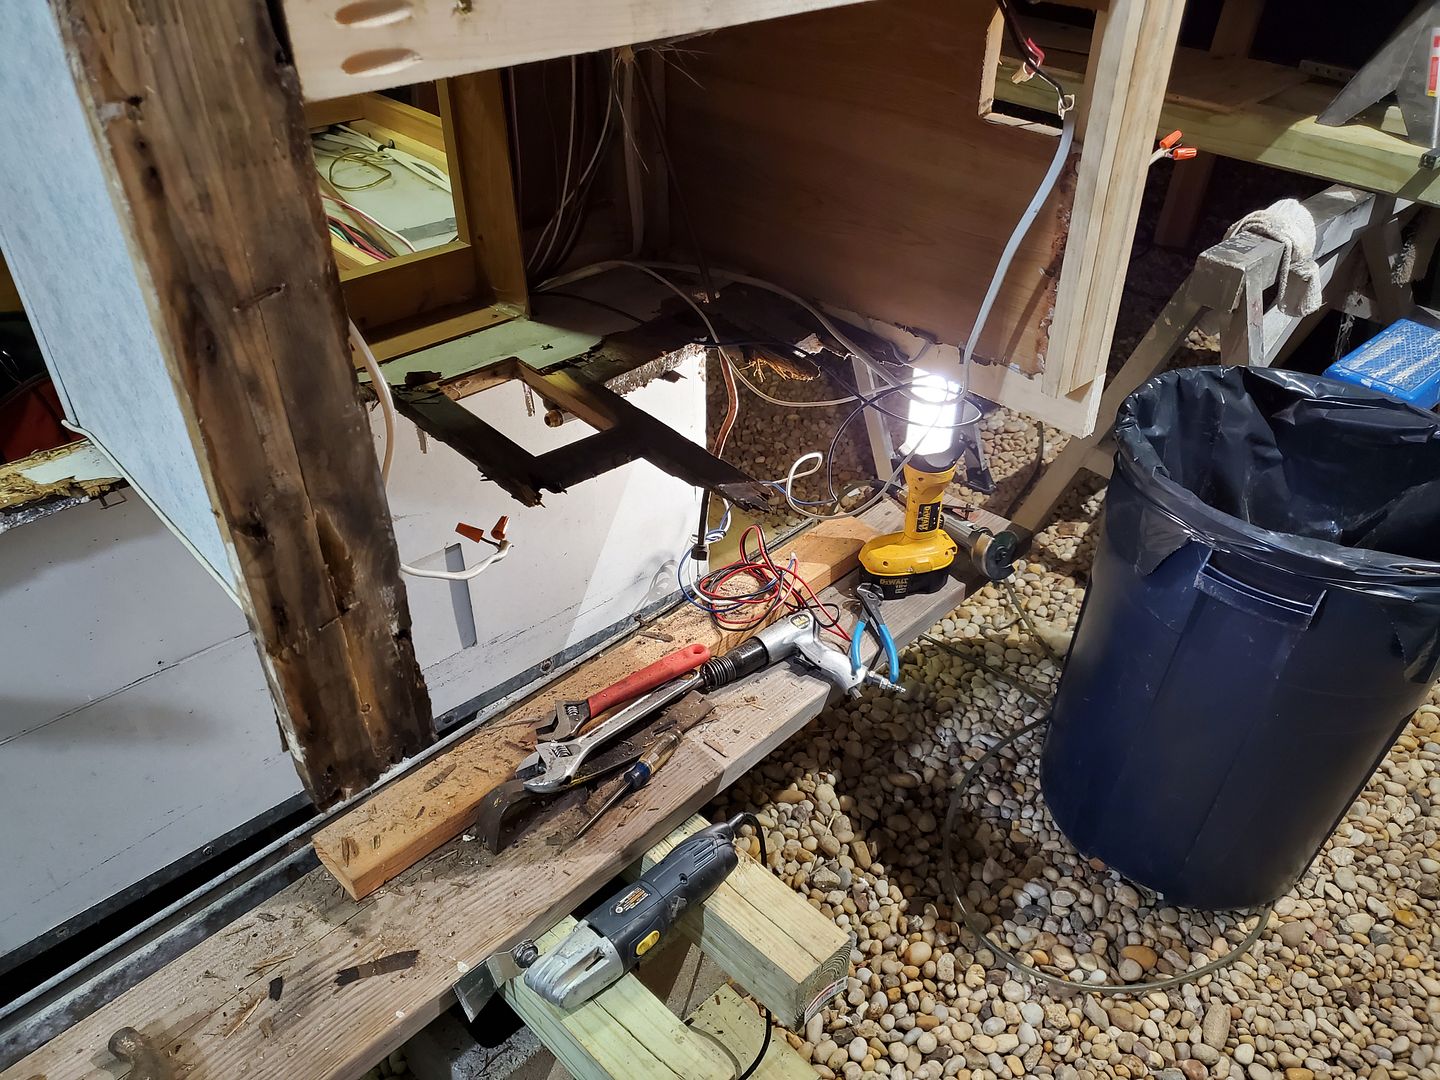
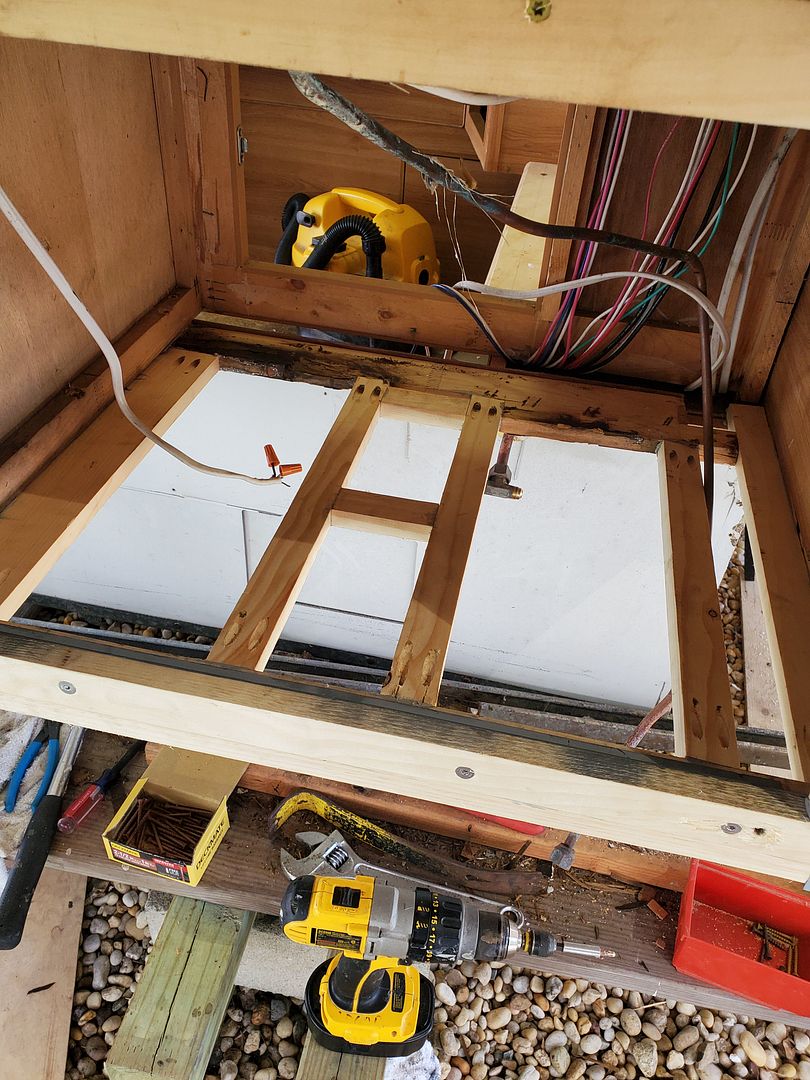
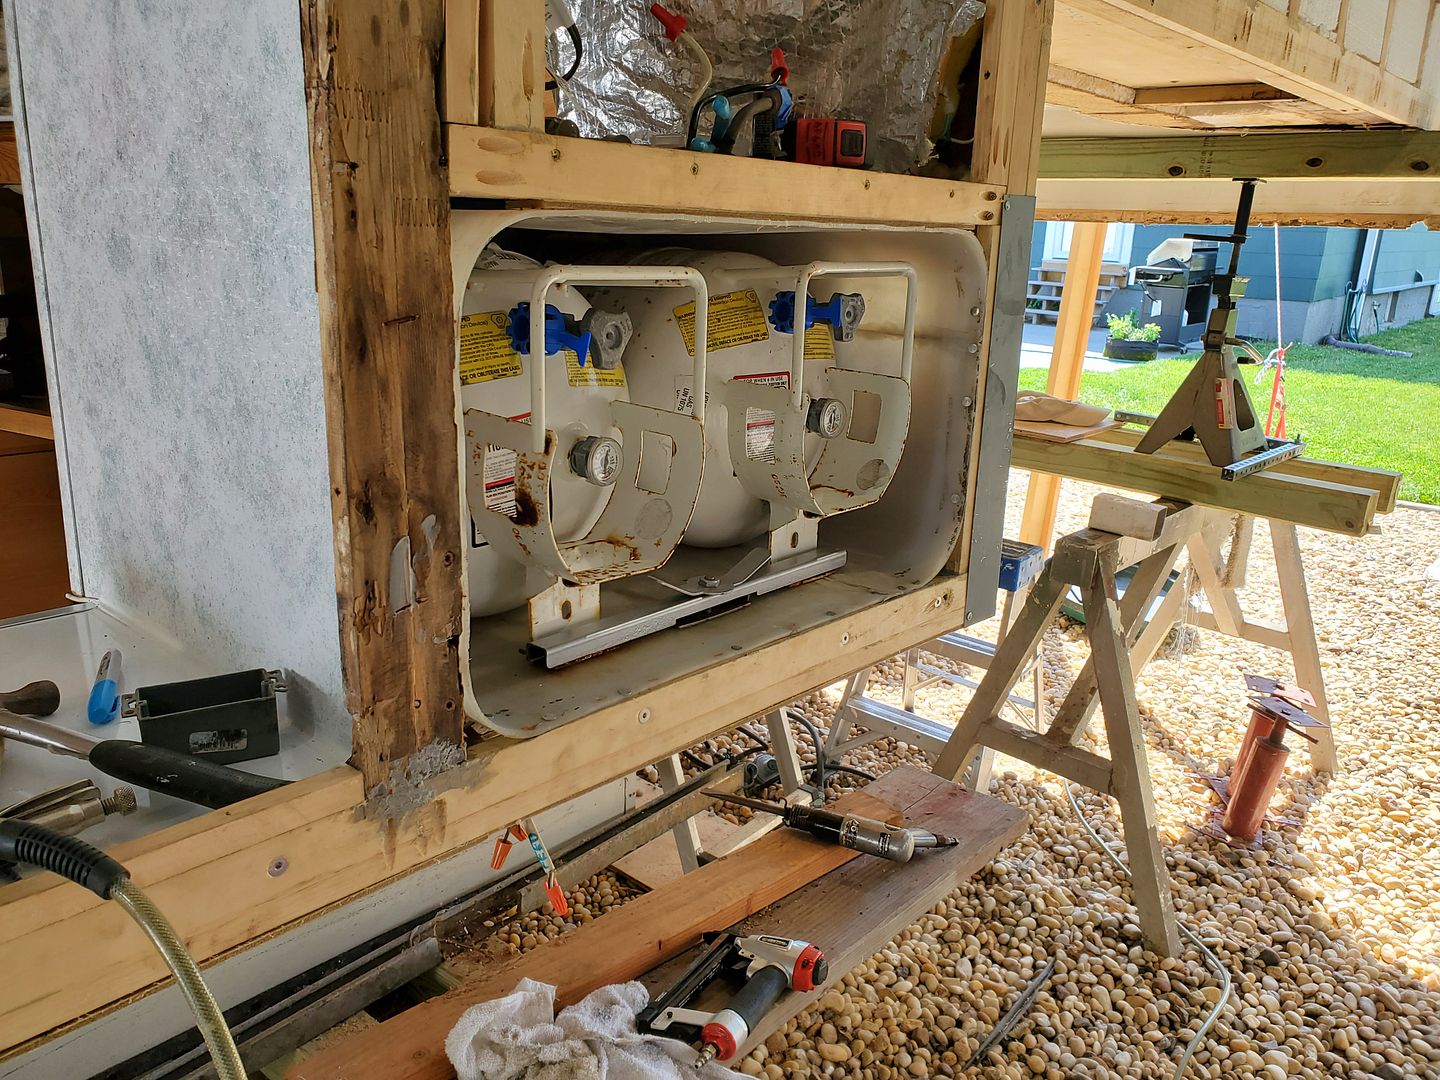
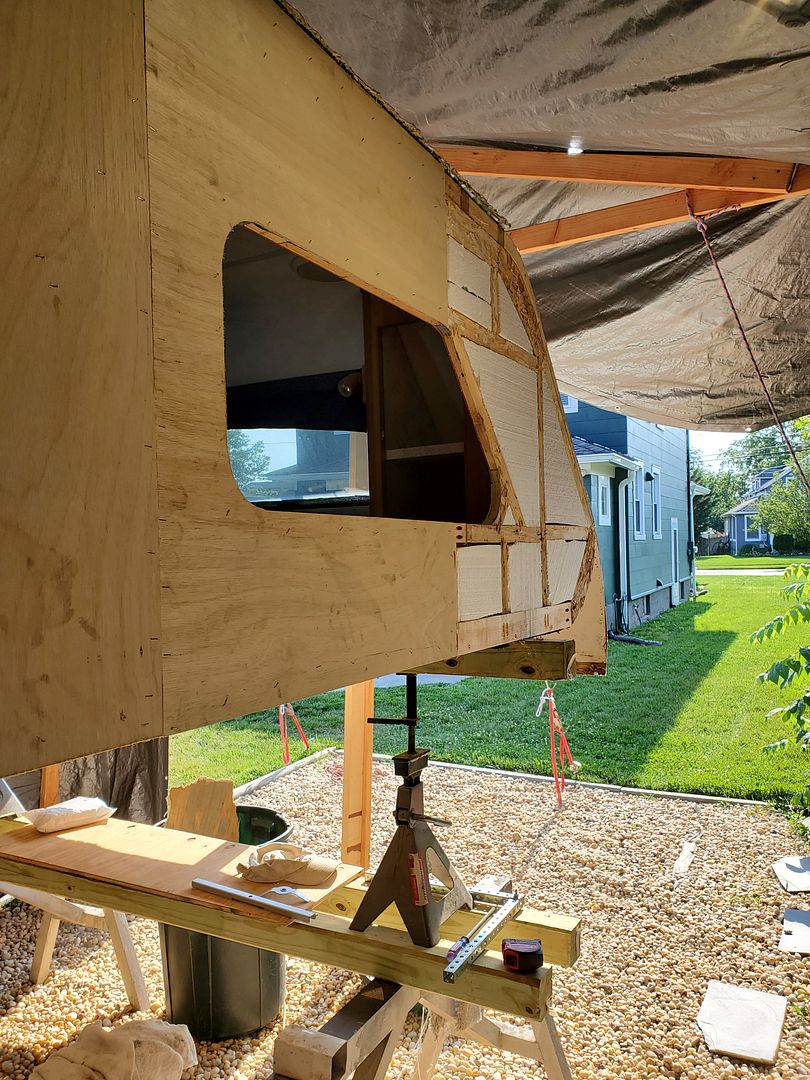
Framing back in the propane compartment
Back wall repaired

Finishing up on framing and insulation:
I finally figured how all the parts and pieces of the propane compartment fit together. All this stuff was in a box when I got the camper.
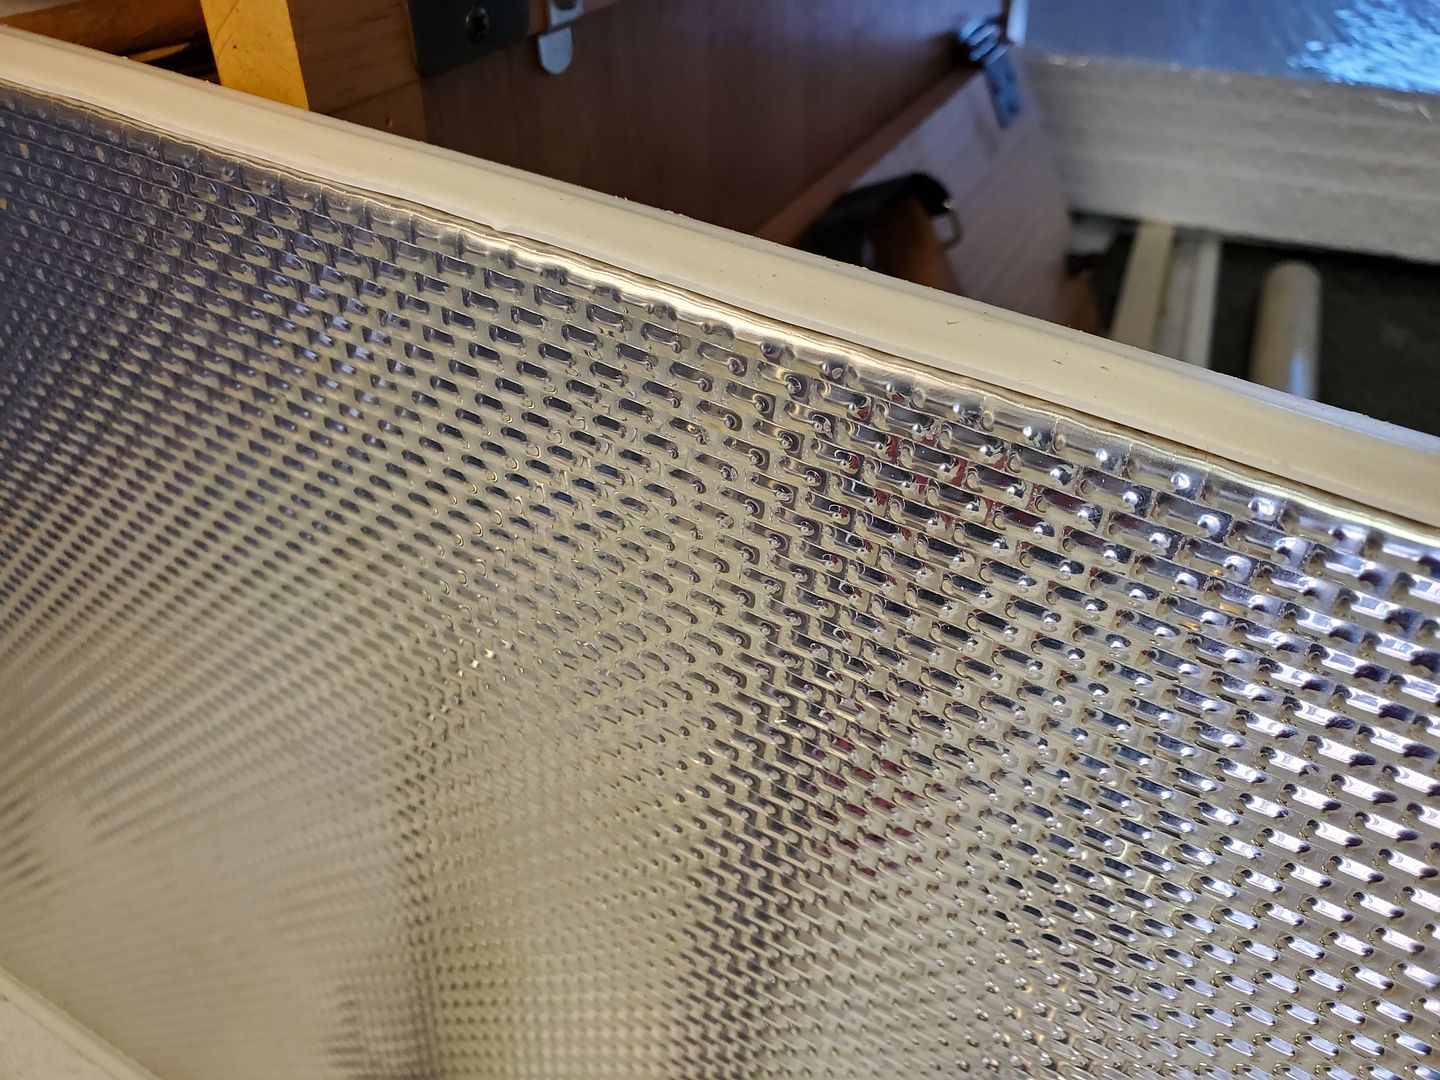
The previous owner cut a big section out of the plastic vapor liner to try and get at the rot where the RF jack was. I welded it back together so it's airtight and reinstalled
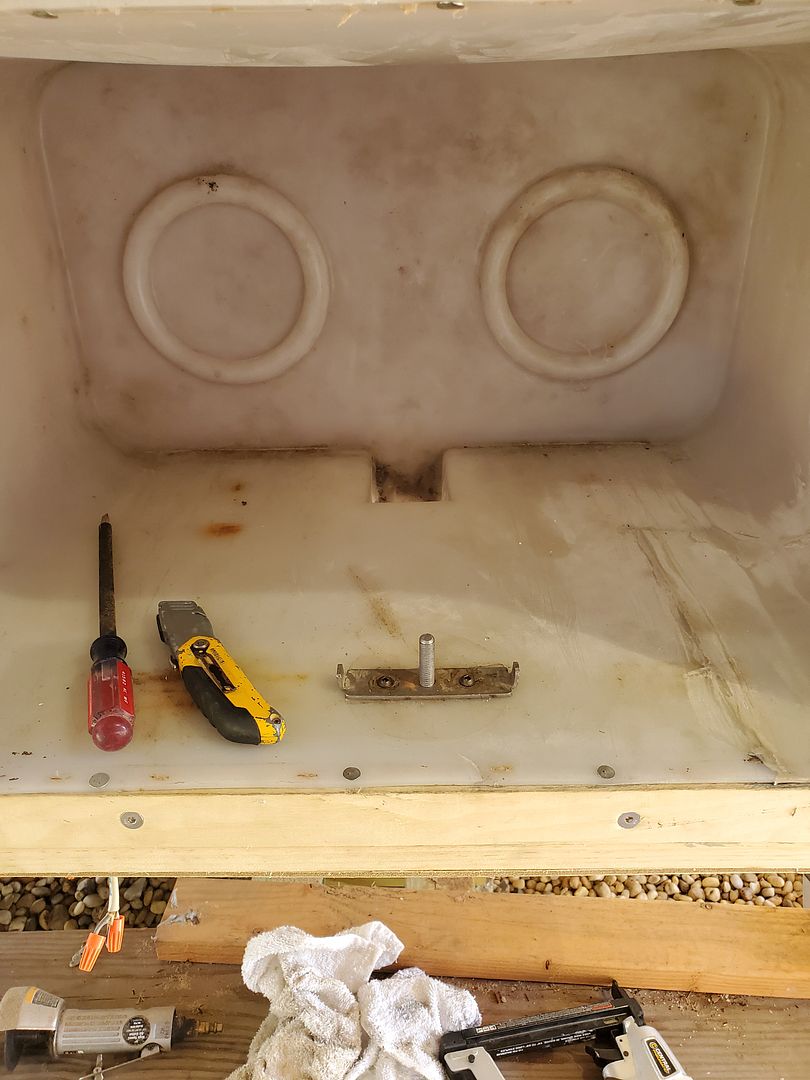
What's interesting is that the liner itself forms the radius for the access door, there are no plastic corner radius guides like they had for the windows. What this means is that the propane liner has to go in before the sheathing goes on so it can serve as the guide for the router. This also means the liner won't come out after the sheathing is on, so triple check everything you need to do in there...
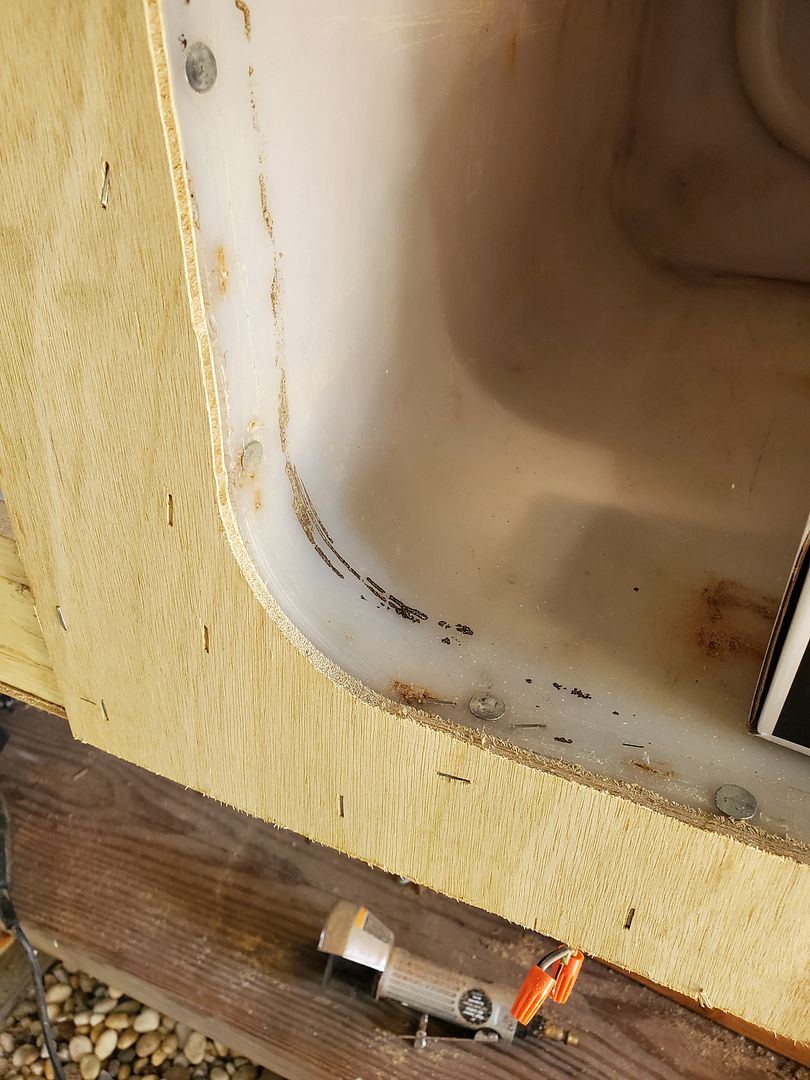
I also used 1" roofing nails to secure the liner since my staples weren't heavy enough to secure the polyethylene plastic well enough.
Now the sheathing is completely done on the curb side:

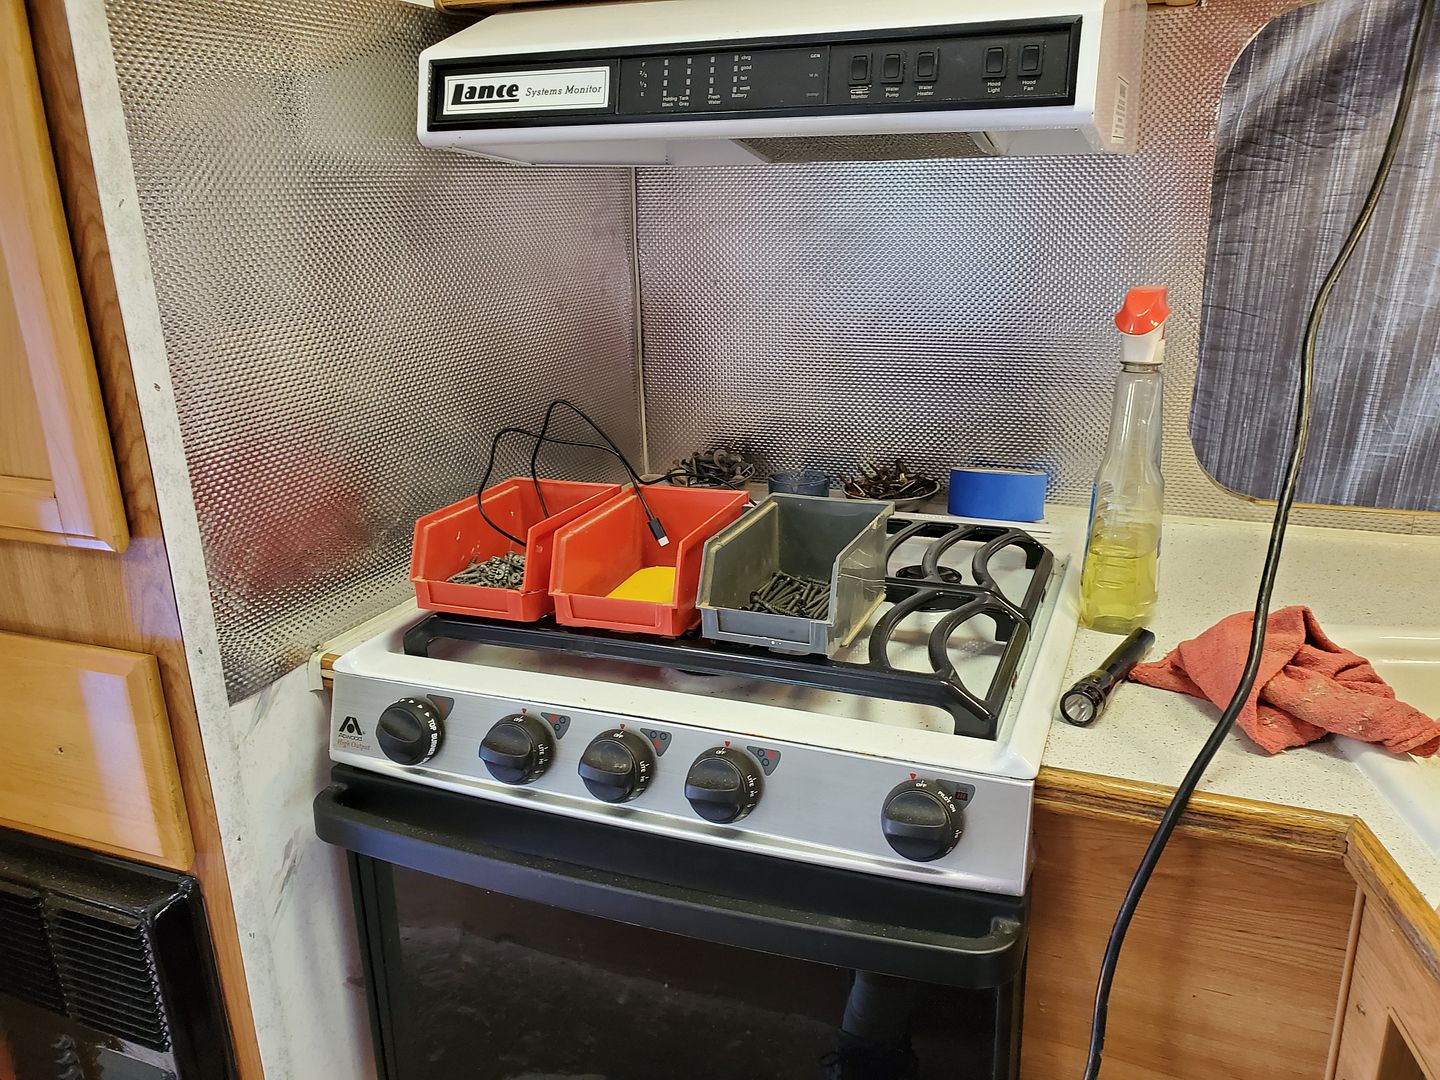
Also took a slight diversion and finished up new faucet and backsplash in the kitchen area.
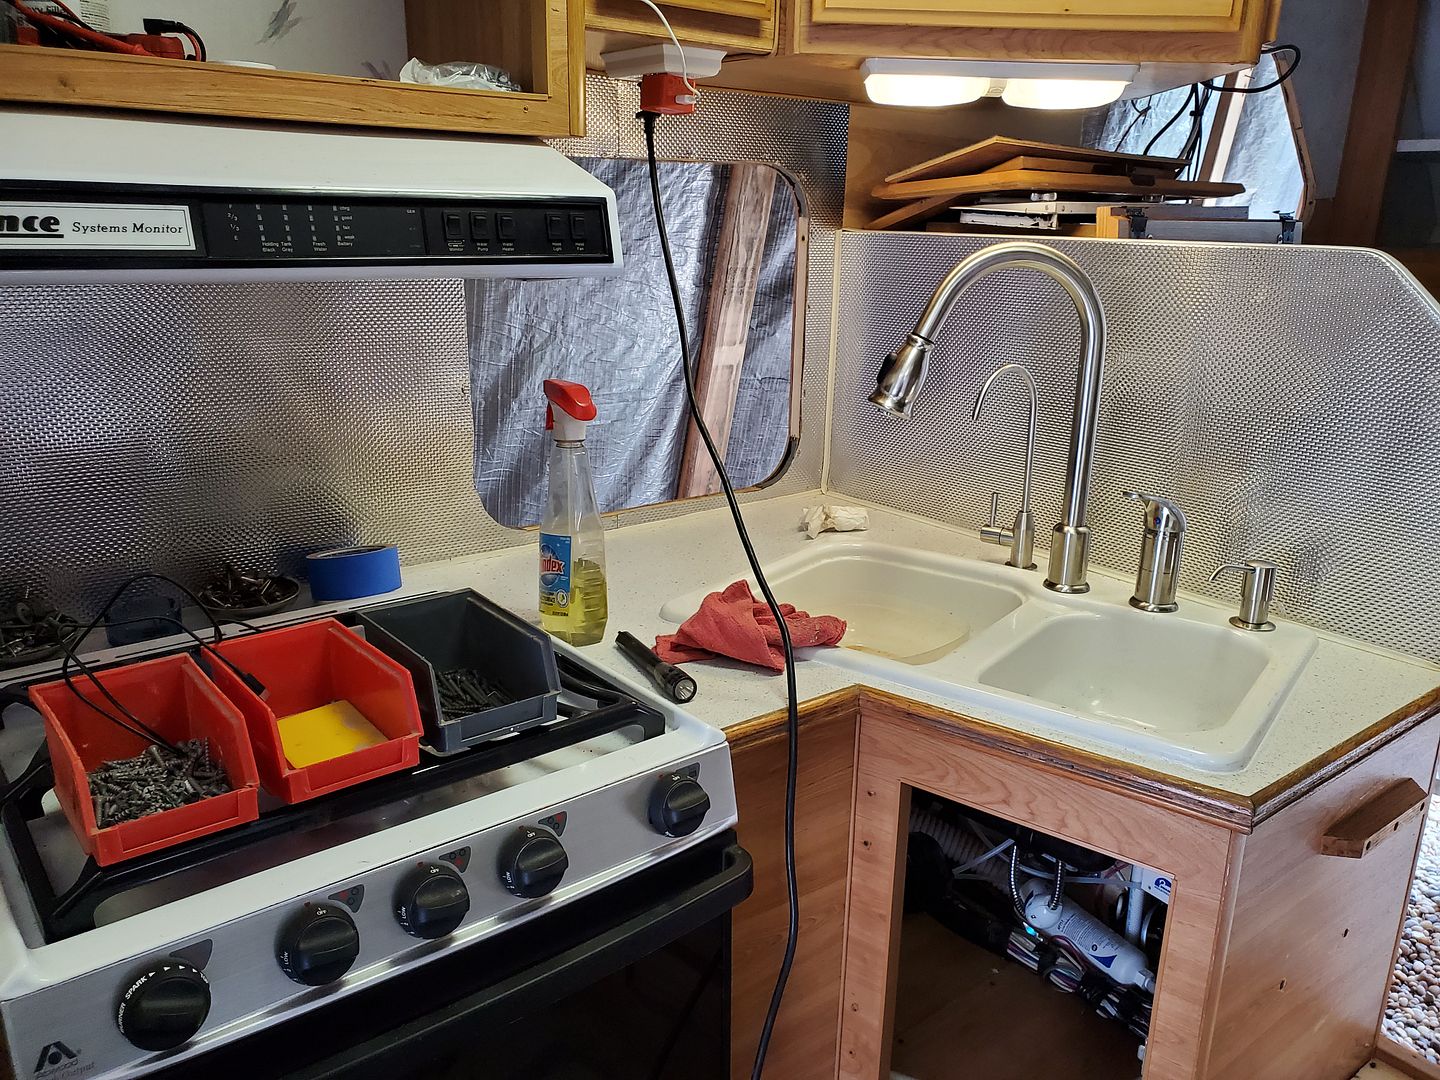
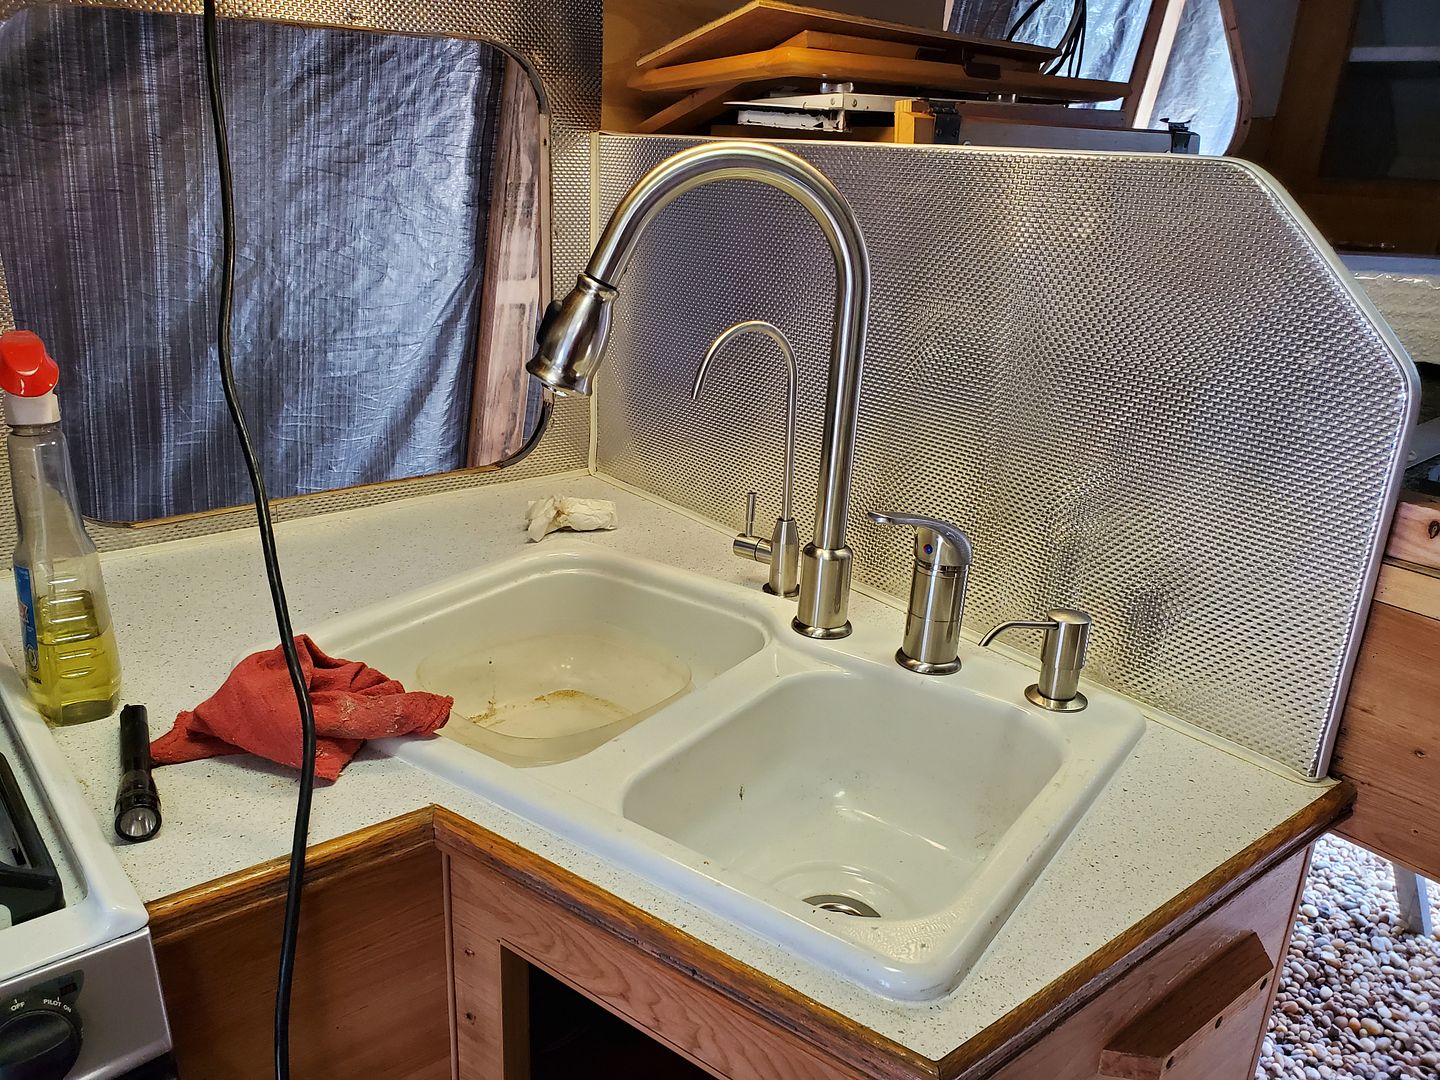
I installed a tee on the cold water line and used a refrigerator-type inline water filter. There's no room to mount a regular cartridge style filter, it's tight quarters under the sink.
Next up is the underside of the cabover, then we are ready for fiberglass!
Man, it's been HOT here! Got a bunch more done since the last update though, I keep picturing myself on the beach with my new rig!
I finished the framing on the cub side of the cab over, sweetie put in the insulation and it's ready for sheathing.
Now to turn my attention to the back under the slide out...the whole thing was rotten to where it wasn't worth it to even try to save it with Rot Doctor, easier to just pull it out and replace it.
Also had a leak in the back, I suspect from the tail light. It was easier to get to this from the inside rather than pull the fiberglass off the back:
That plastic thing is the fishing rod storage that you access from a small hatch on the back wall. Had to get that out to get under the rest of the damaged sheathing and delaminated fiberglas
This is the propane compartment:
The factory put in a piece of angle steel that runs under the slideout opening and that also serves to anchor the two tie down points on that side:
Framing back in the propane compartment
Back wall repaired
Finishing up on framing and insulation:
I finally figured how all the parts and pieces of the propane compartment fit together. All this stuff was in a box when I got the camper.
The previous owner cut a big section out of the plastic vapor liner to try and get at the rot where the RF jack was. I welded it back together so it's airtight and reinstalled
What's interesting is that the liner itself forms the radius for the access door, there are no plastic corner radius guides like they had for the windows. What this means is that the propane liner has to go in before the sheathing goes on so it can serve as the guide for the router. This also means the liner won't come out after the sheathing is on, so triple check everything you need to do in there...
I also used 1" roofing nails to secure the liner since my staples weren't heavy enough to secure the polyethylene plastic well enough.
Now the sheathing is completely done on the curb side:
Also took a slight diversion and finished up new faucet and backsplash in the kitchen area.
I installed a tee on the cold water line and used a refrigerator-type inline water filter. There's no room to mount a regular cartridge style filter, it's tight quarters under the sink.
Next up is the underside of the cabover, then we are ready for fiberglass!
About Travel Trailer Group
44,067 PostsLatest Activity: Jun 05, 2026