Forum Discussion
BurbMan
Aug 03, 2020Explorer III
UPDATE 08/03/2020
FILON TODAY!!!
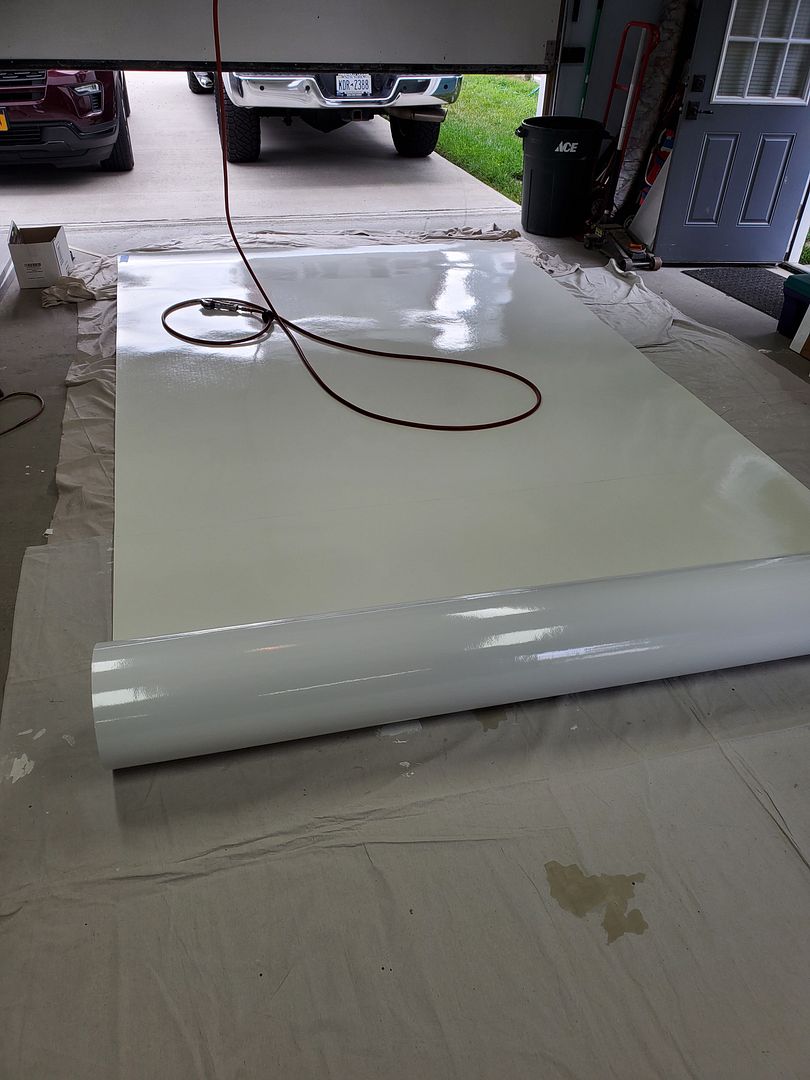
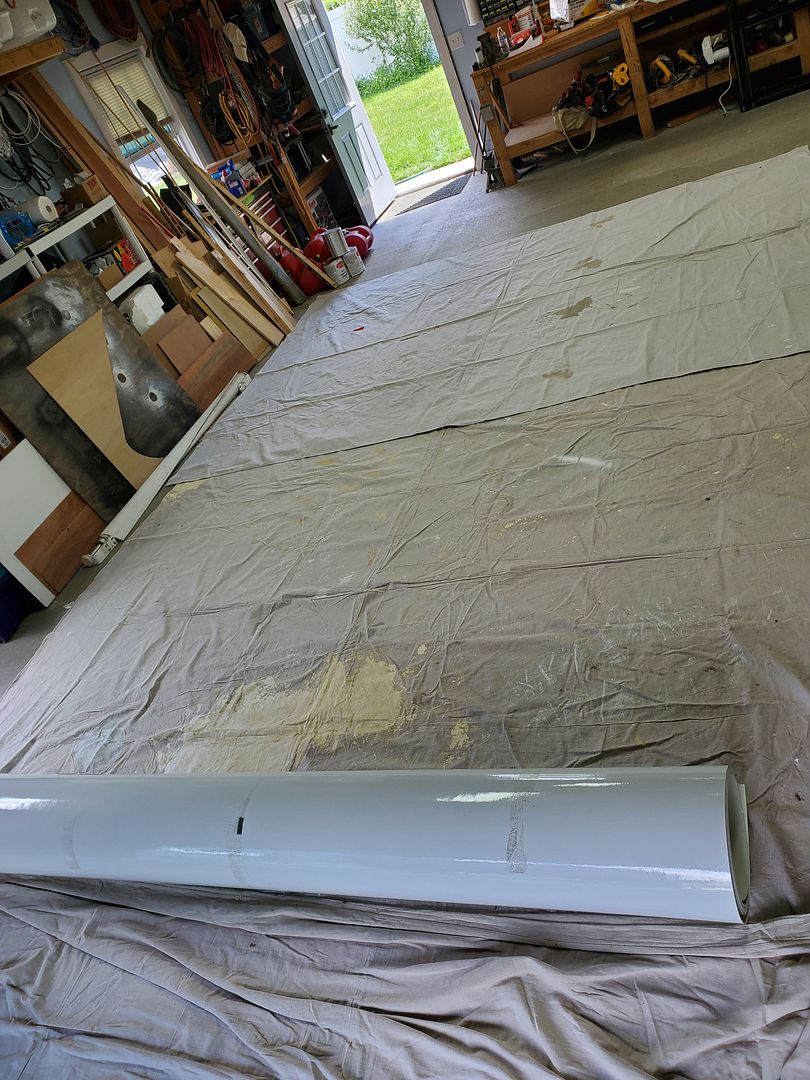
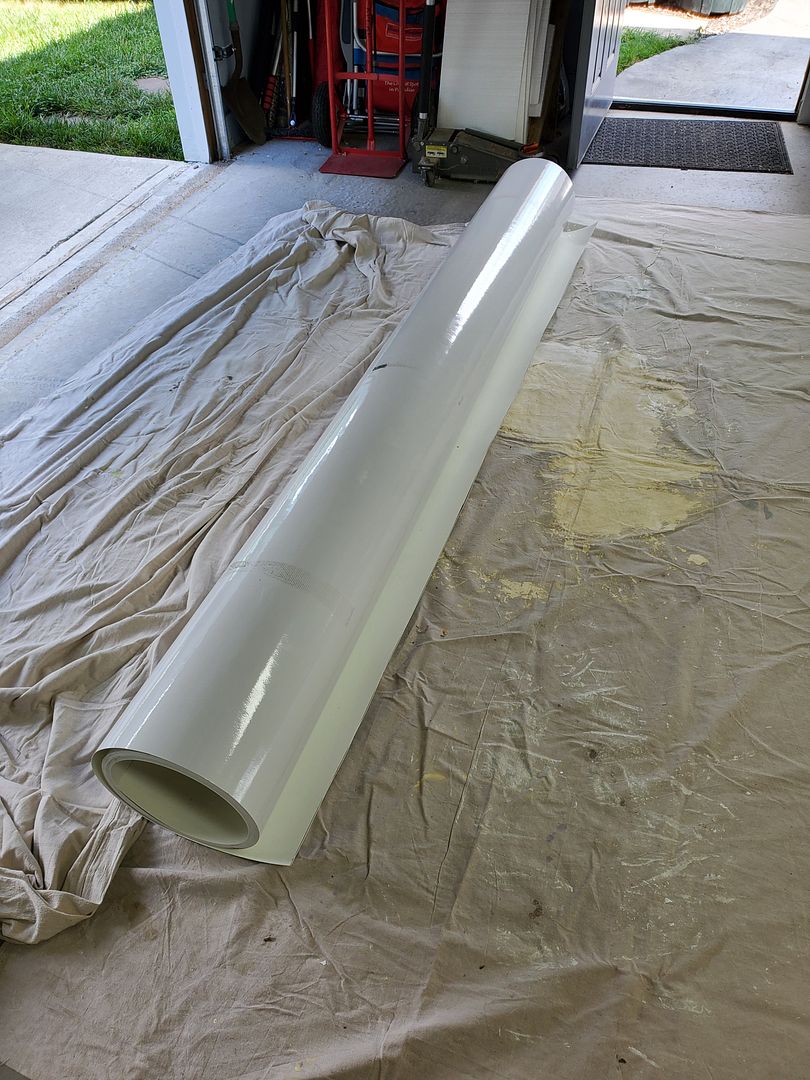
Working through this heat and trying to get as much done in the evenings as I can. We finished up the framing and sheathing, so time to put the table saw away and sweep out the garage. I finally get to unwrap the 45' roll of Filon that's been sitting in the same spot since we brought it home in June.
I put some canvas drop cloths on the garage floor so the Filon wouldn't get scratched. It'll have plenty of time to get scratched by trees when we're camping, no need to accelerate that process...
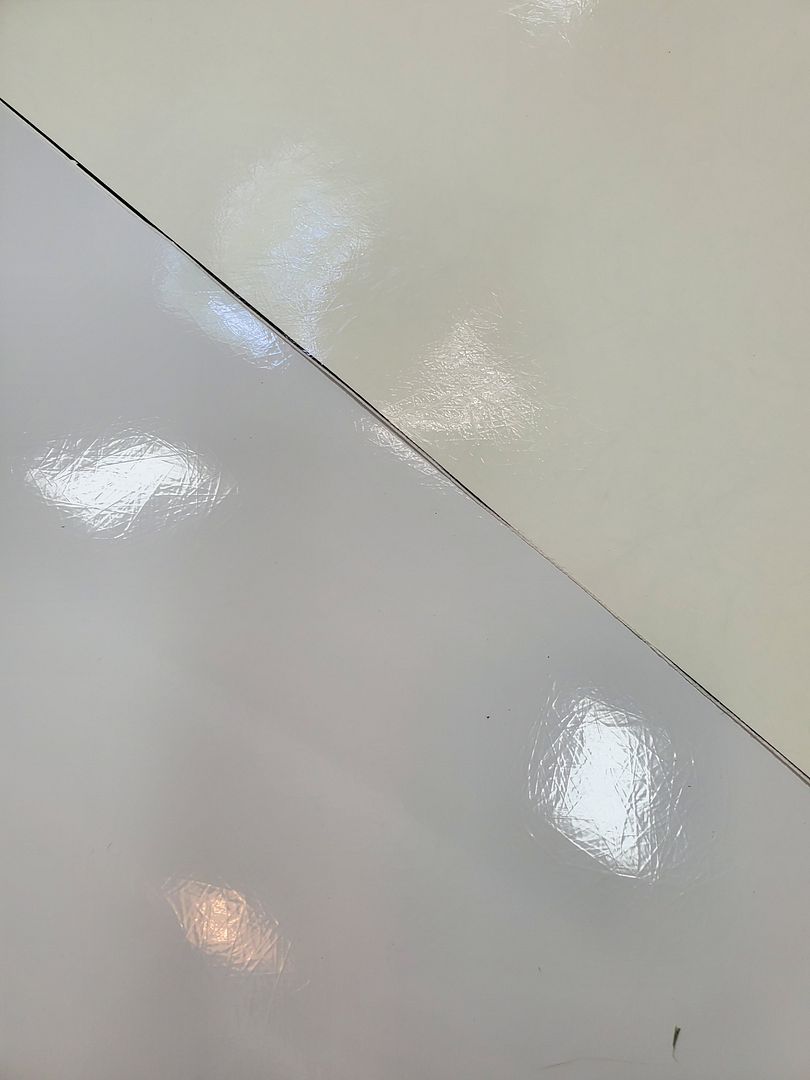
It also looks like filon has a front and back. One side was bright white and the other was an off white. A little confusing at first but decided that the bright white side is the "good" side.
I picked up these HF air shears to cut the sheet metal for the backsplash, but it turns out they work excellent on the filon too!
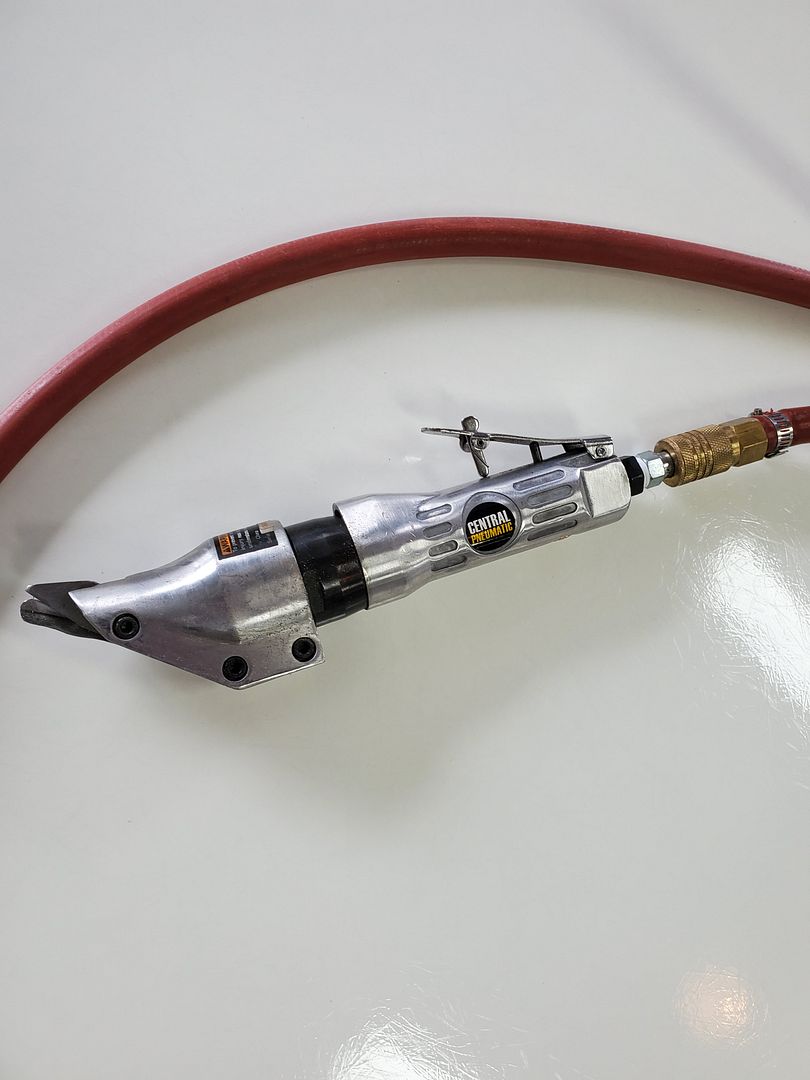
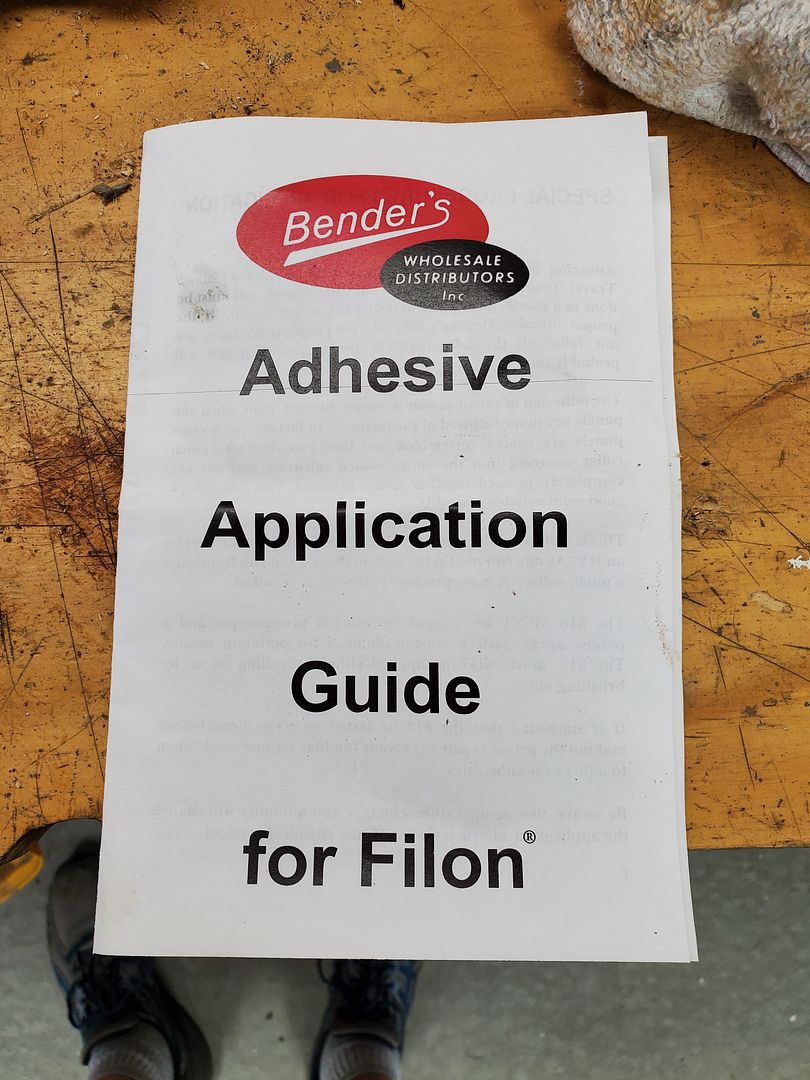
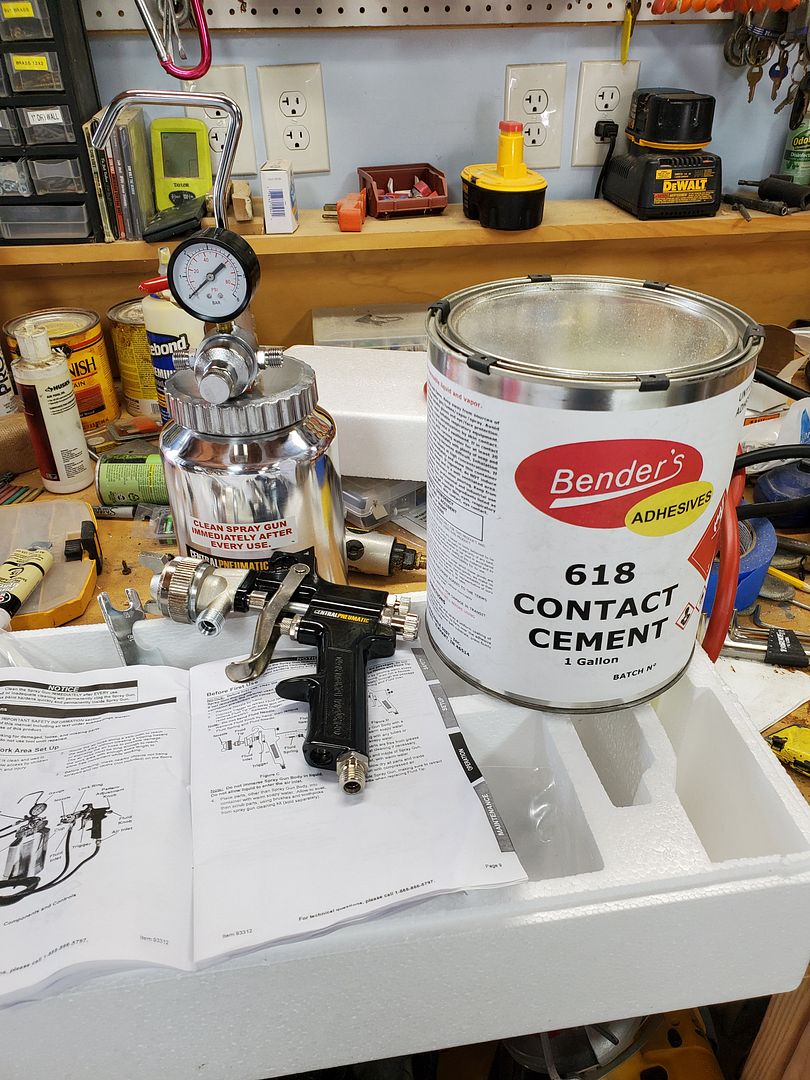
I bought the filon from an RV supply place in Elkhart IN and they recommended this Bender's #618 contact cement because that's what the OEMs use. The instructions are VERY specific about the type of sprayer (only use a pressure pot), how it is applied, etc. The stuff is so flammable that they tell you to ground the can when you pour it....yikes!
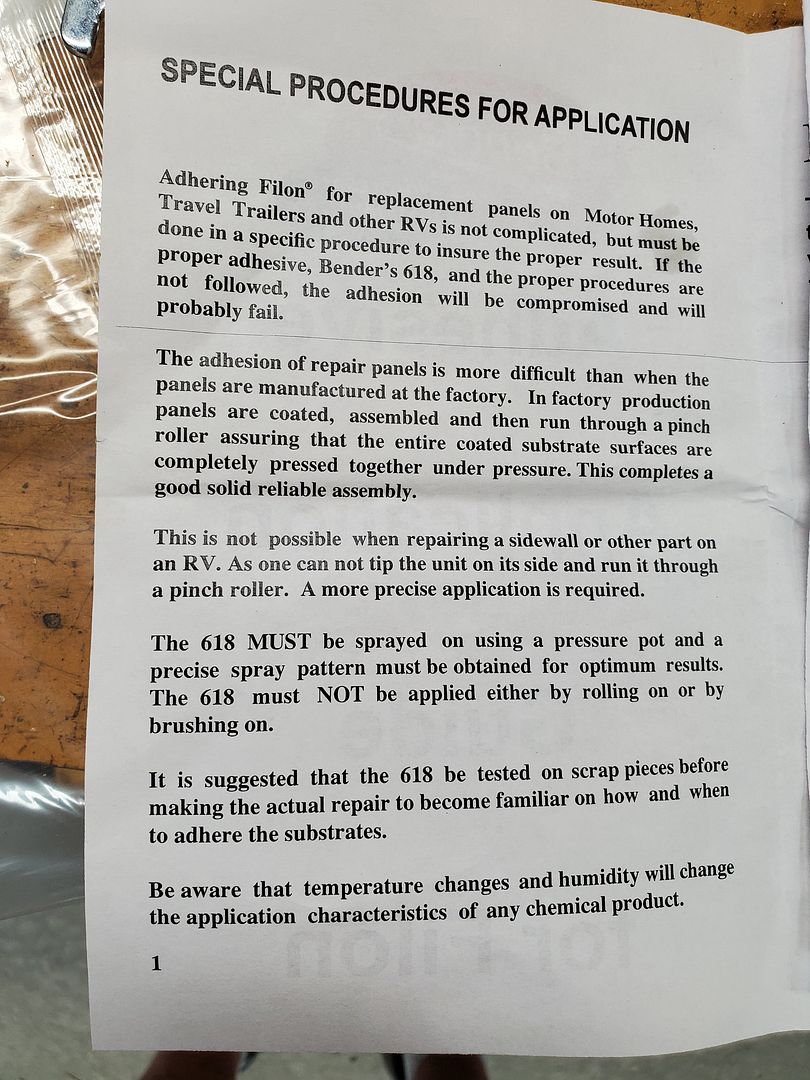
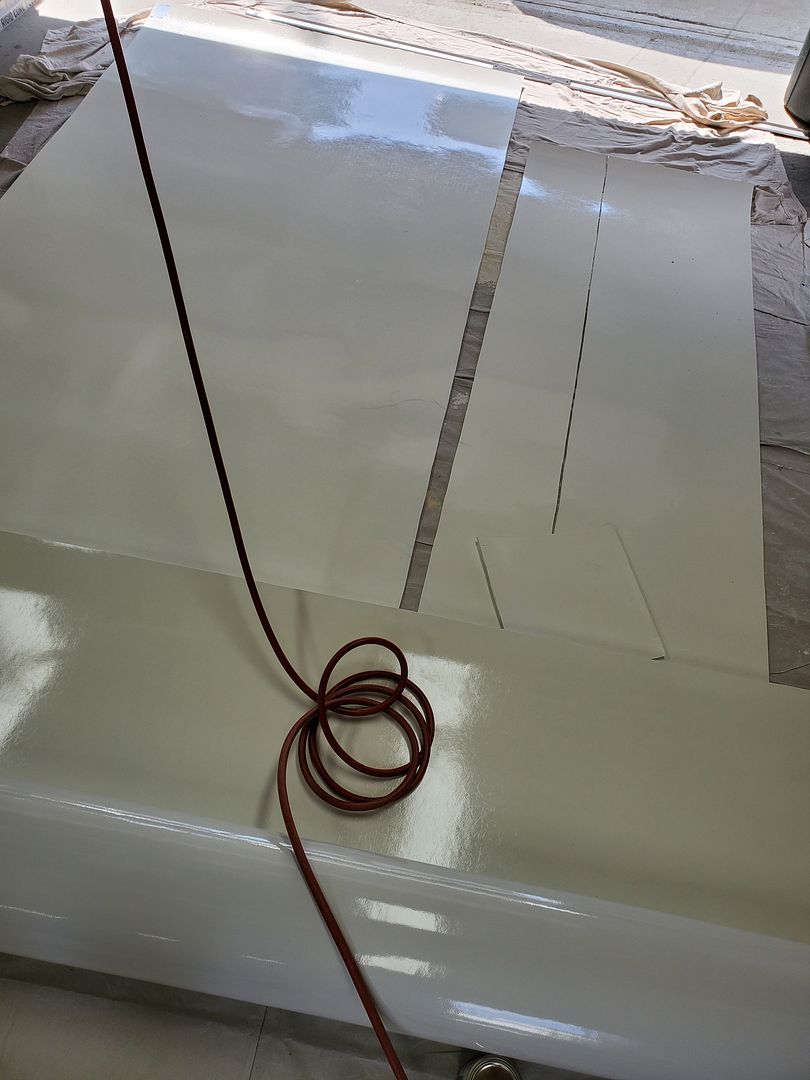
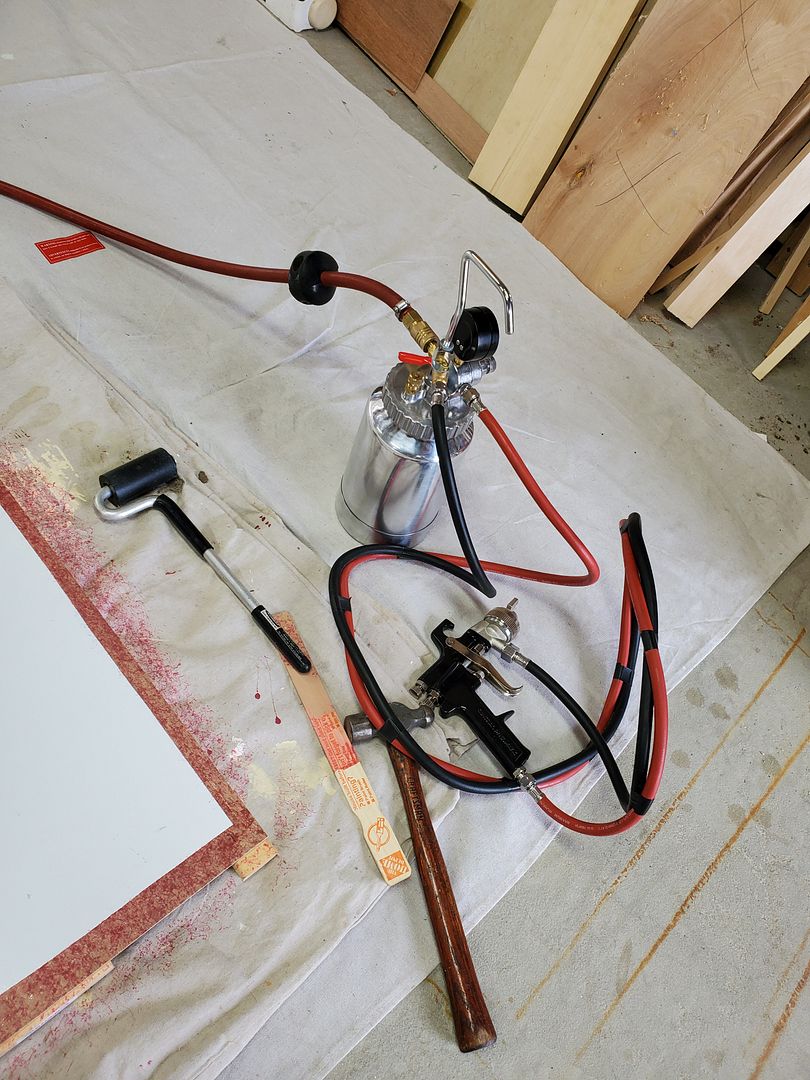
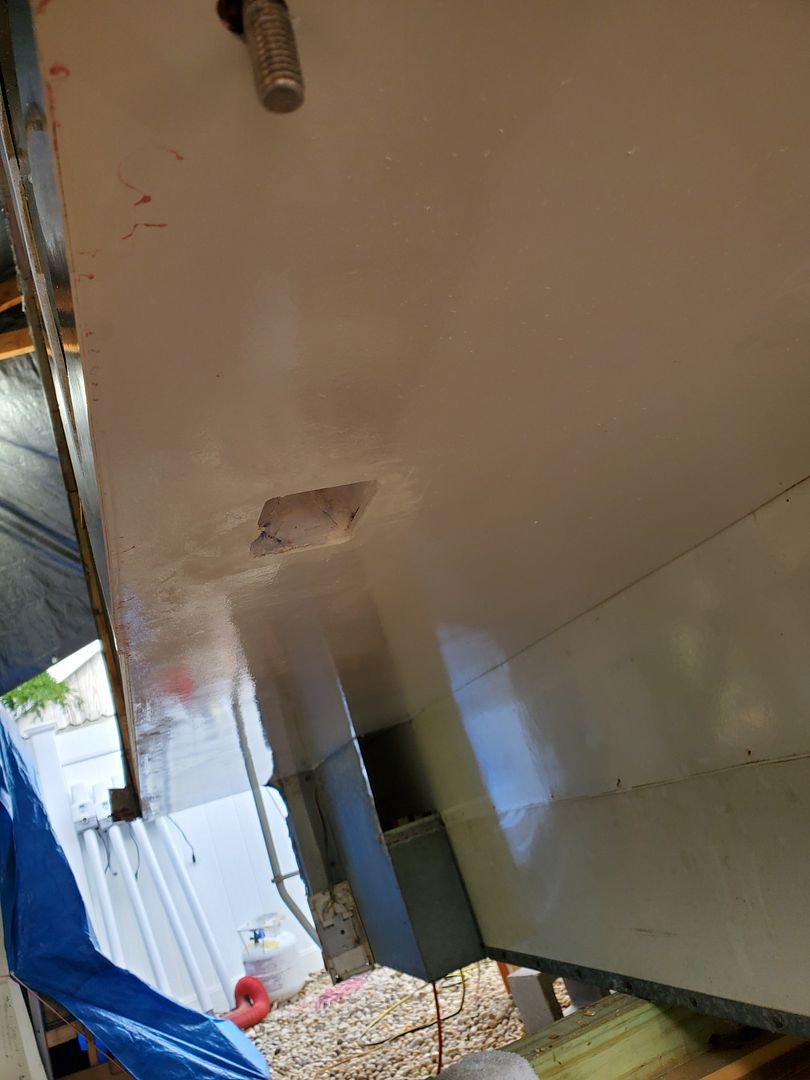
The adhesive sprays on red so you can see the coverage you're getting. Basically scuff up the back of the filon with 80-grit paper, spray the filon, spray the wood, wait about a minute and stick 'em together. The only challenge is that this stuff bonds on teh slightest contact...there is NO possibility to move or reposition the filon once it touches the camper.
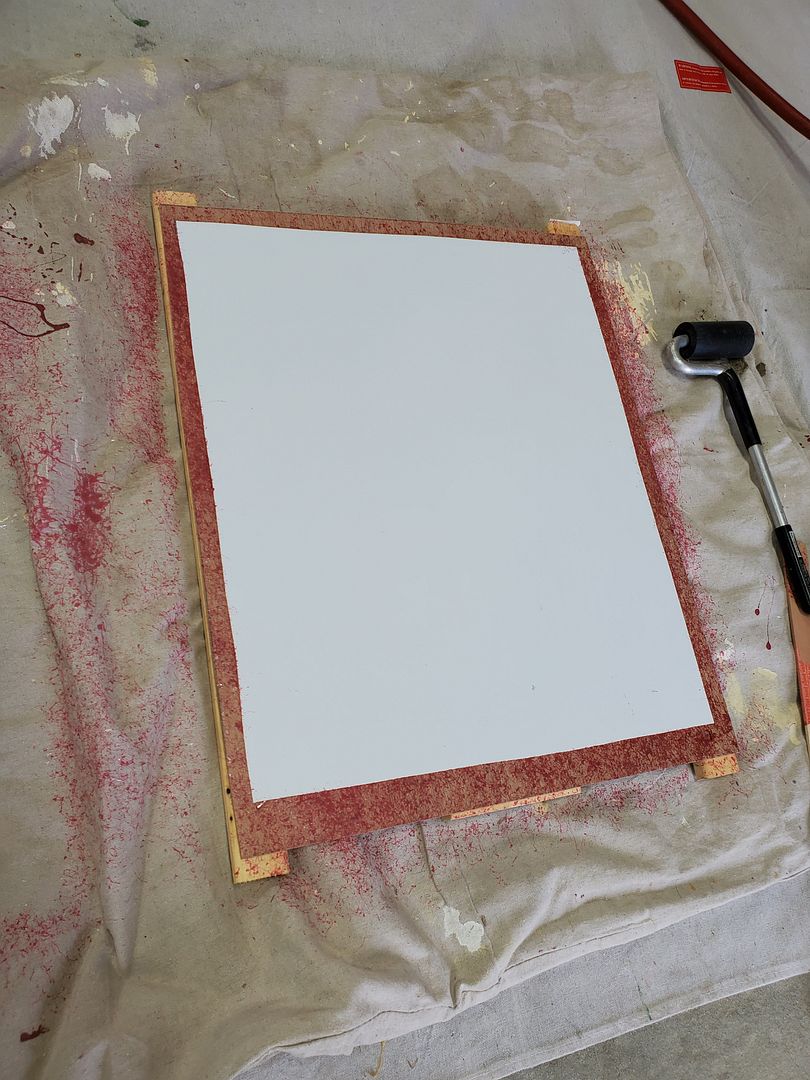
Here I made a test coupon:
So with 3 of us (thanks to DW and DD) were able to get the underside of the right wing and the right side done. Sorry no "in process" pics but it was all hands on deck. We flattened a large cardboard box and used that as an insulator between the filon and camper to prevent accidental contact. I started at the rear by the slide opening and as I moved forward with the J-roller, they would move the cardboard forward. Interesting stuff this #618, it's not tacky when you touch it, won't stick to your hands and won't stick to anything but itself.
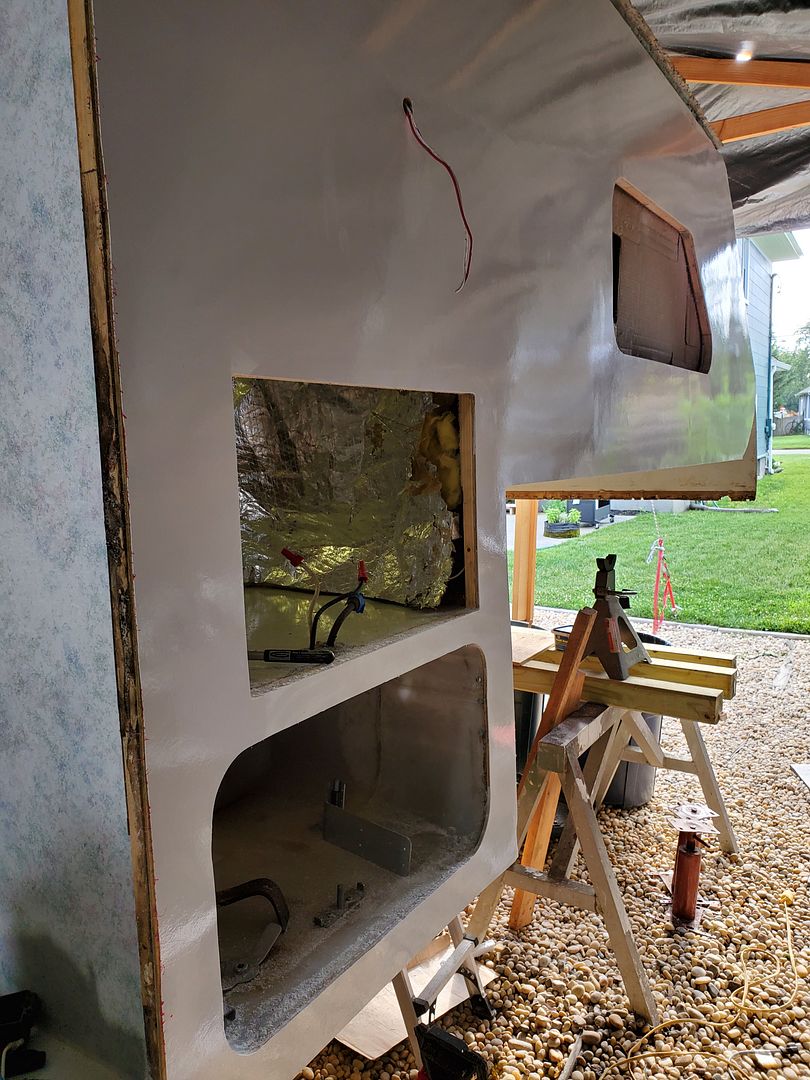
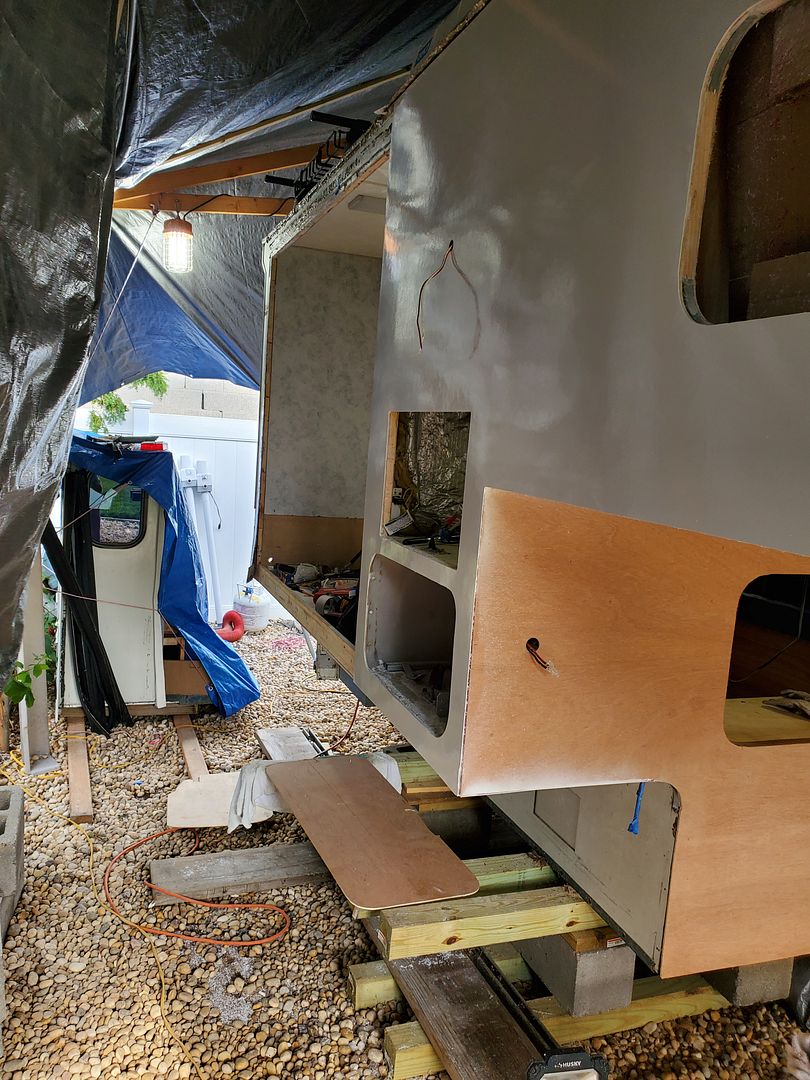
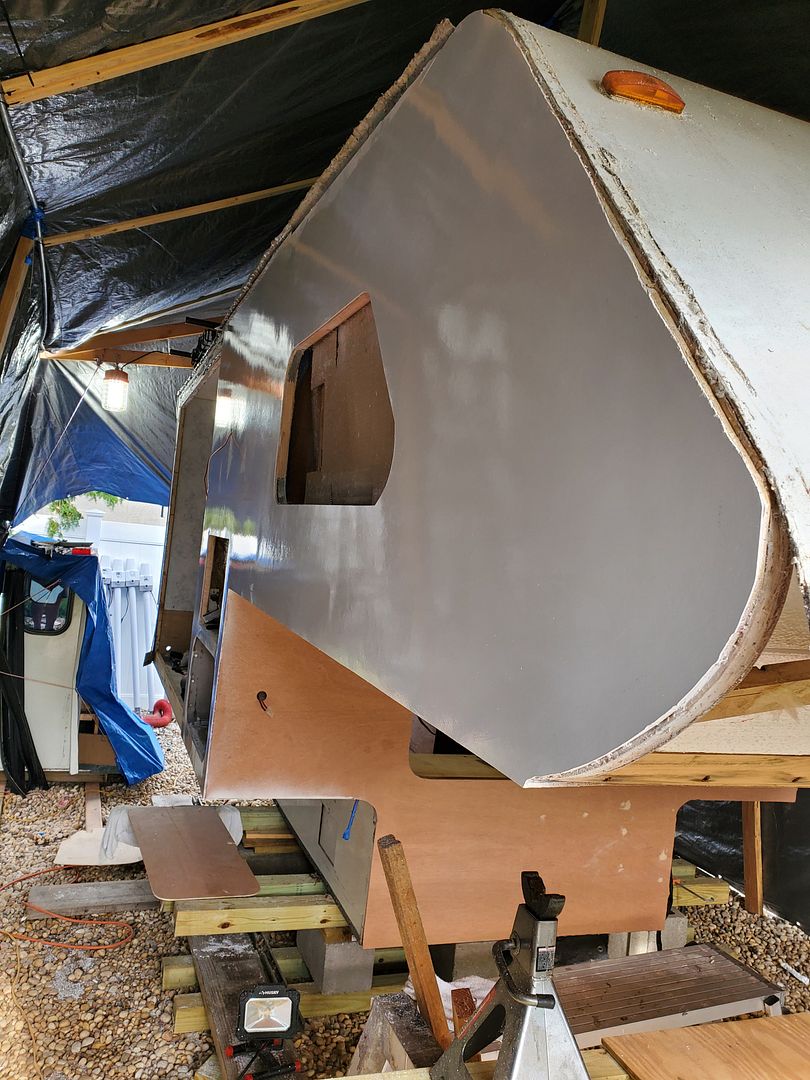
Next up is the lower front, bottom of the cabover and then the left side. The right wasn't bad because the factory had a seam at the edge of the slide opening, so the piece we were handling was only 10' long. On the left, the piece goes tip to tail, so will be about 16' and a LOT more challenging.
For now, hoping that my Ghetto Garage survives the 50 mph winds we are supposed to get from tropical storm Isaias!
FILON TODAY!!!
Working through this heat and trying to get as much done in the evenings as I can. We finished up the framing and sheathing, so time to put the table saw away and sweep out the garage. I finally get to unwrap the 45' roll of Filon that's been sitting in the same spot since we brought it home in June.
I put some canvas drop cloths on the garage floor so the Filon wouldn't get scratched. It'll have plenty of time to get scratched by trees when we're camping, no need to accelerate that process...
It also looks like filon has a front and back. One side was bright white and the other was an off white. A little confusing at first but decided that the bright white side is the "good" side.
I picked up these HF air shears to cut the sheet metal for the backsplash, but it turns out they work excellent on the filon too!
I bought the filon from an RV supply place in Elkhart IN and they recommended this Bender's #618 contact cement because that's what the OEMs use. The instructions are VERY specific about the type of sprayer (only use a pressure pot), how it is applied, etc. The stuff is so flammable that they tell you to ground the can when you pour it....yikes!
The adhesive sprays on red so you can see the coverage you're getting. Basically scuff up the back of the filon with 80-grit paper, spray the filon, spray the wood, wait about a minute and stick 'em together. The only challenge is that this stuff bonds on teh slightest contact...there is NO possibility to move or reposition the filon once it touches the camper.
Here I made a test coupon:
So with 3 of us (thanks to DW and DD) were able to get the underside of the right wing and the right side done. Sorry no "in process" pics but it was all hands on deck. We flattened a large cardboard box and used that as an insulator between the filon and camper to prevent accidental contact. I started at the rear by the slide opening and as I moved forward with the J-roller, they would move the cardboard forward. Interesting stuff this #618, it's not tacky when you touch it, won't stick to your hands and won't stick to anything but itself.
Next up is the lower front, bottom of the cabover and then the left side. The right wasn't bad because the factory had a seam at the edge of the slide opening, so the piece we were handling was only 10' long. On the left, the piece goes tip to tail, so will be about 16' and a LOT more challenging.
For now, hoping that my Ghetto Garage survives the 50 mph winds we are supposed to get from tropical storm Isaias!
About Travel Trailer Group
44,067 PostsLatest Activity: Jun 05, 2026