Forum Discussion
BurbMan
Aug 31, 2020Explorer III
***UPDATE 08/31/2020***
Haven't posted much because I've been working overtime trying to get this project over the finish line in time for a few camping trips this year.
I ripped the front of the cabover off, and based on comments from another thread, I deleted the front window. Getting rid of the shade/valence frees up some headroom for us too.
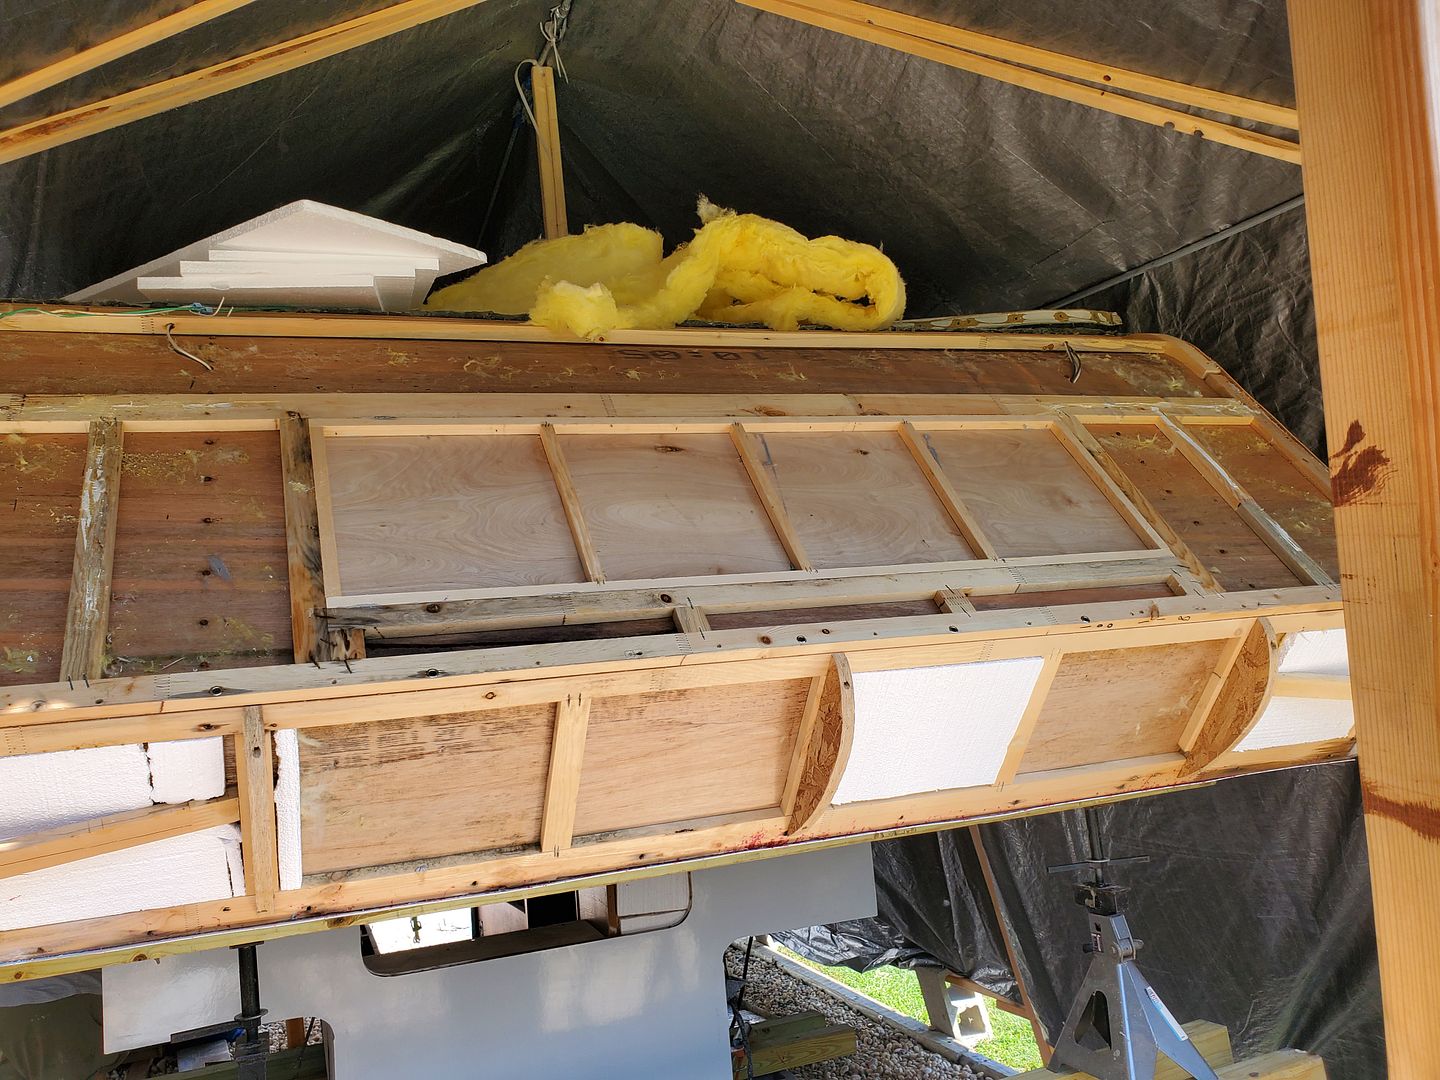
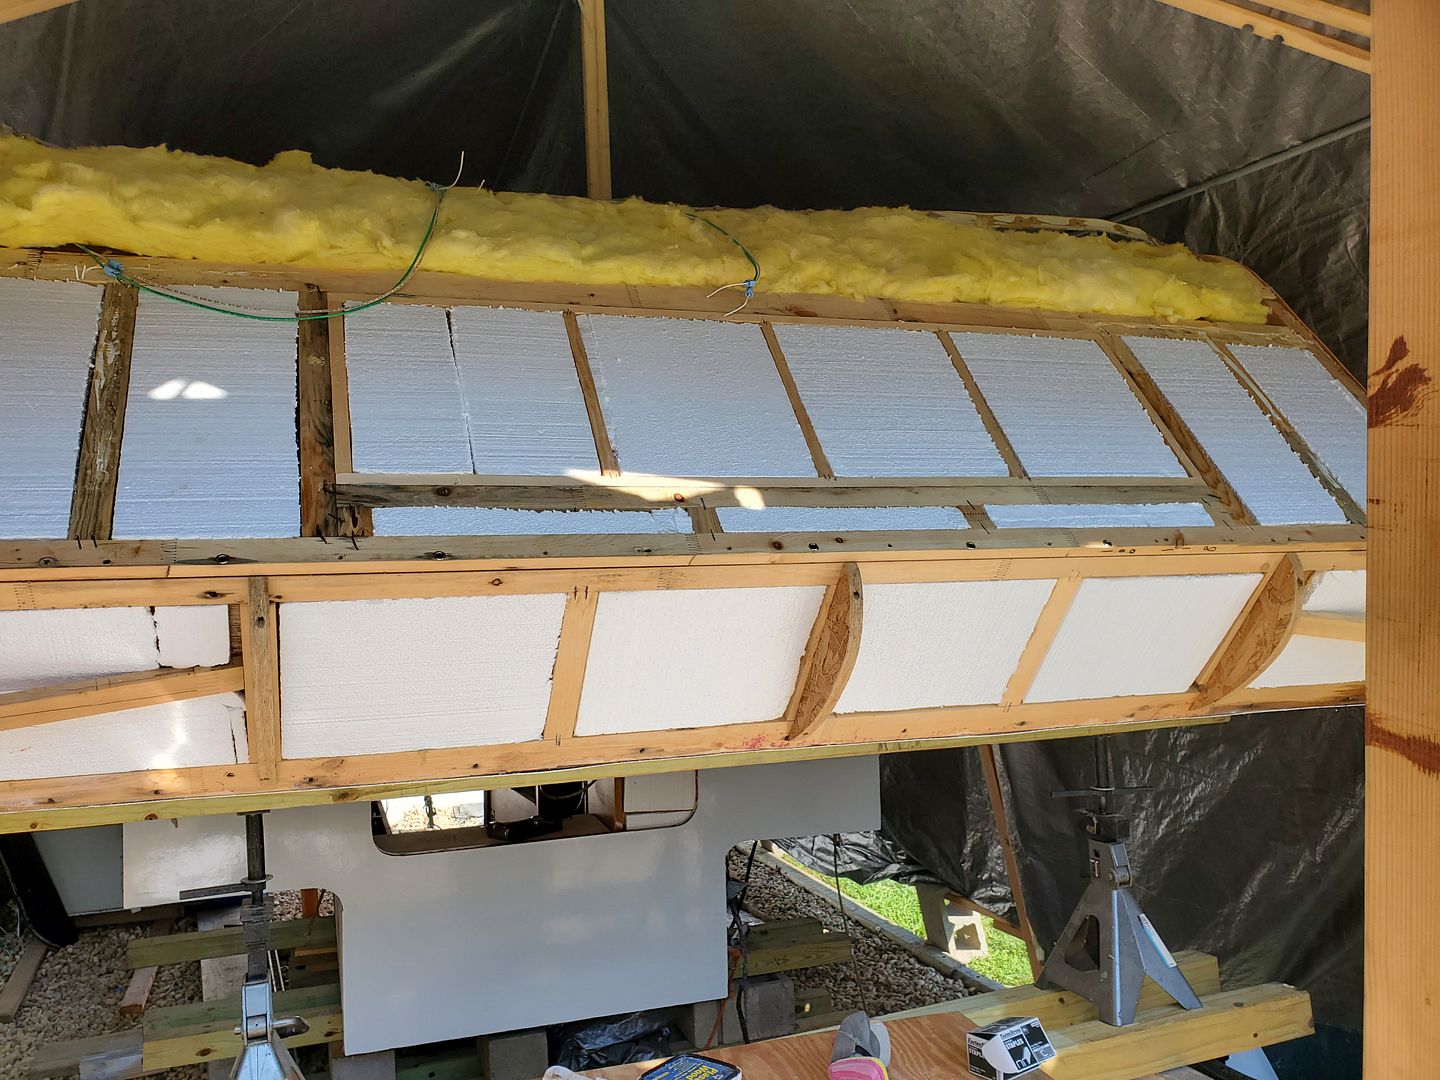
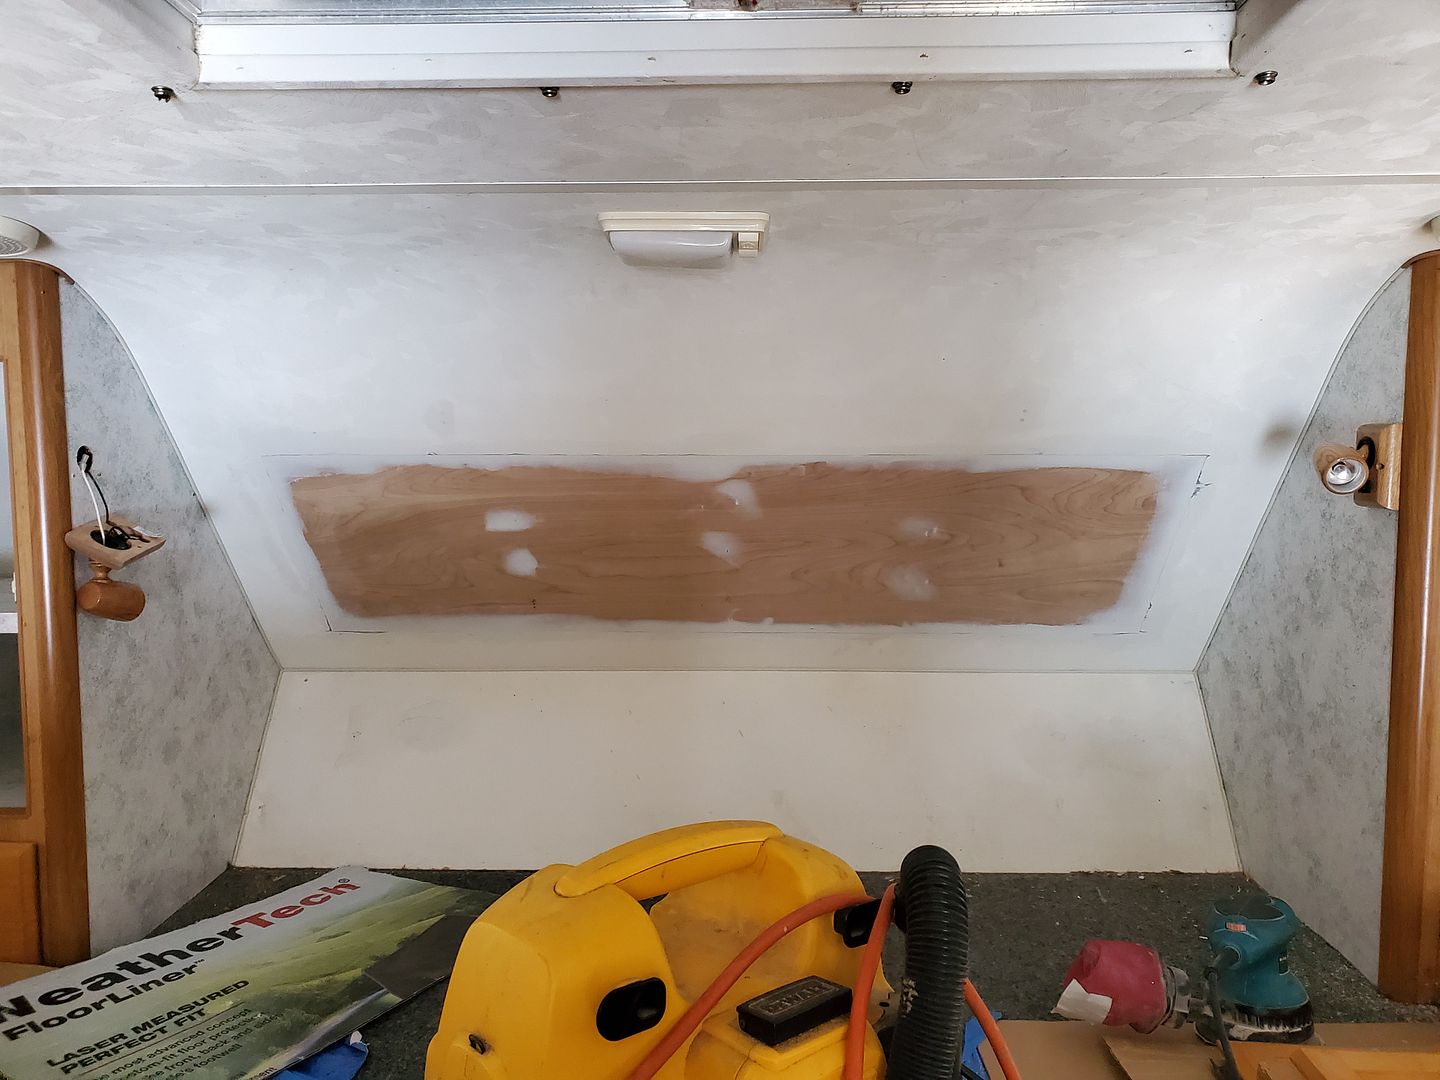
I "spackled" in the interior patch using DAP Alex fast Dry caulk with a putty knife. Not bad, but not as invisible as tape/compund would have been, but a traditional drywall seam would also likely crack going down the road even if it was taped.
On the outside of the cap I decided to use 2 sheets of 1/8" (2.7mm) luanne, with the seam running vertically down the middle. It was a little over 5' from the roof down, so I was going to need a seam somewhere, and I decided that vertically had the most support behind it.
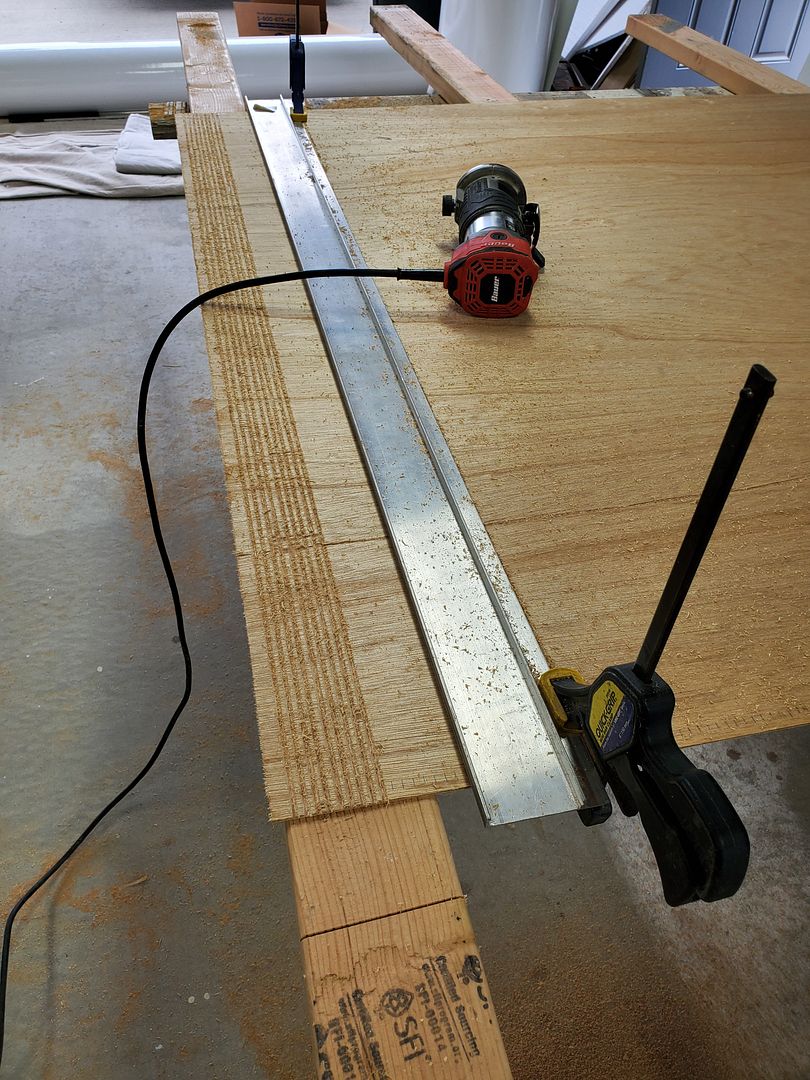
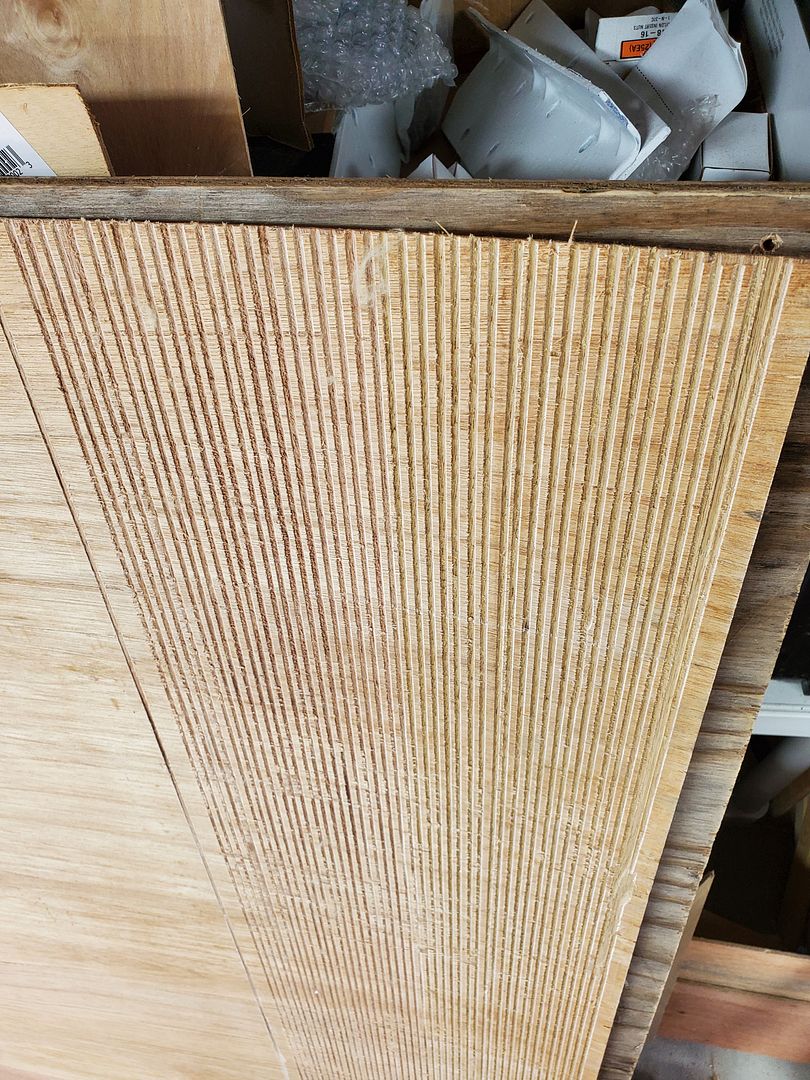
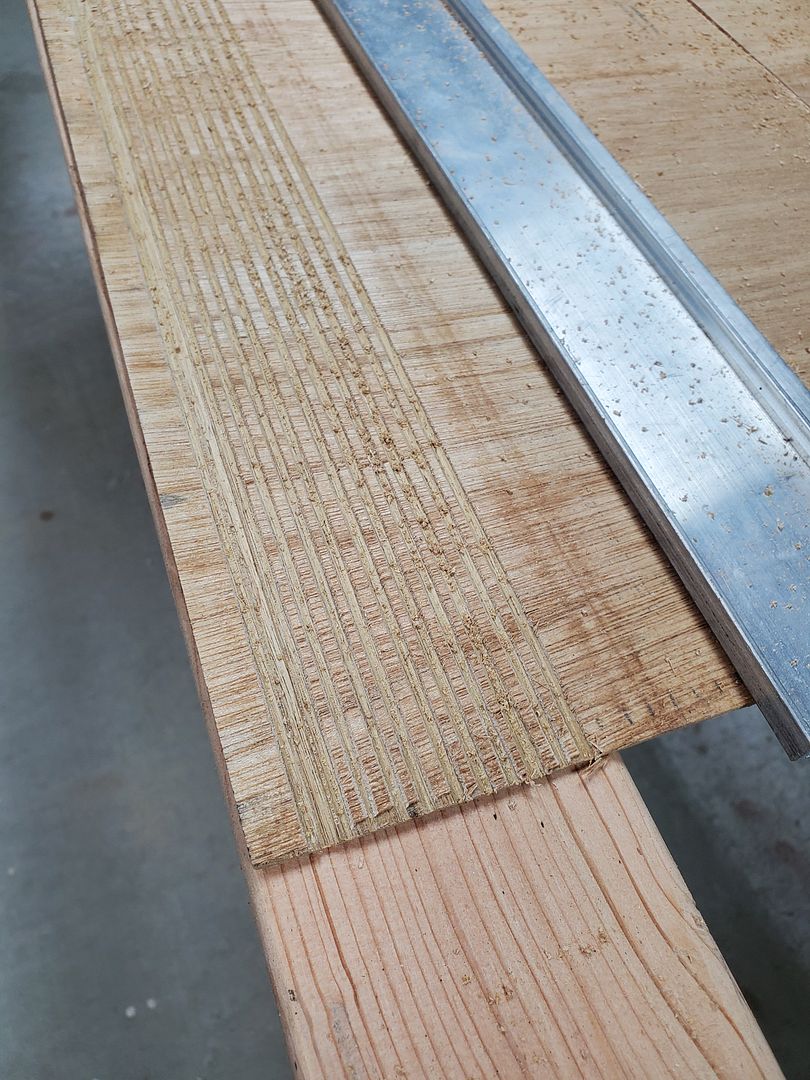
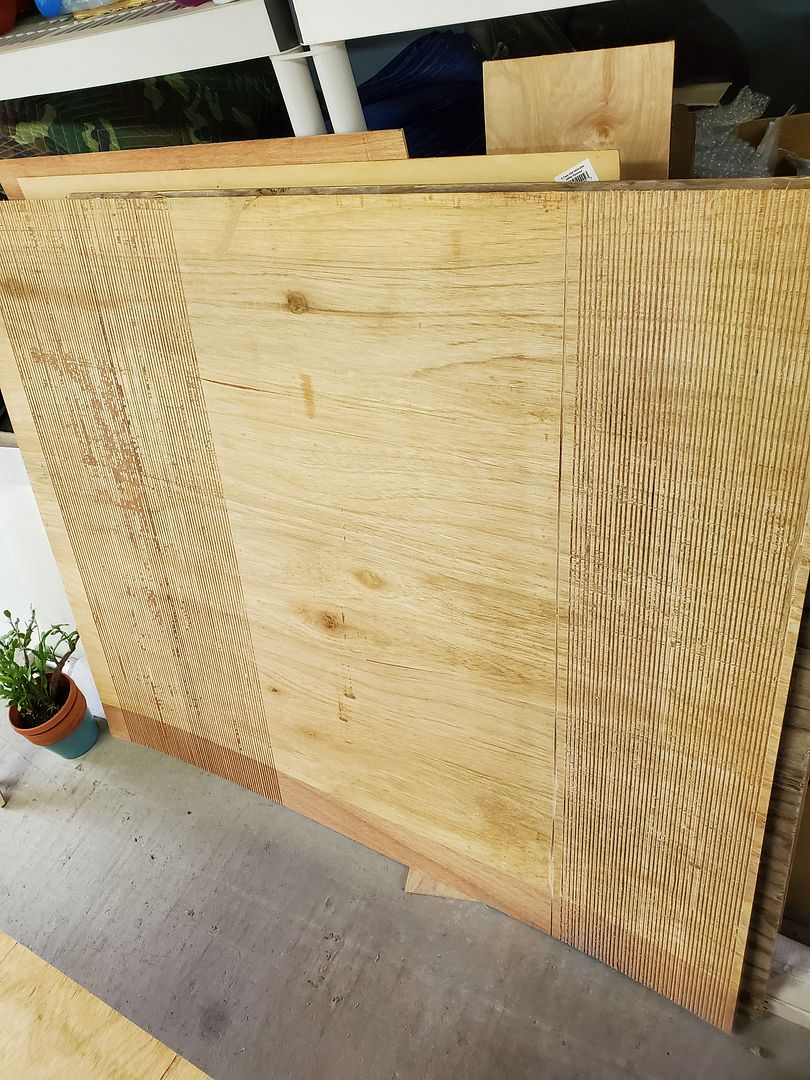
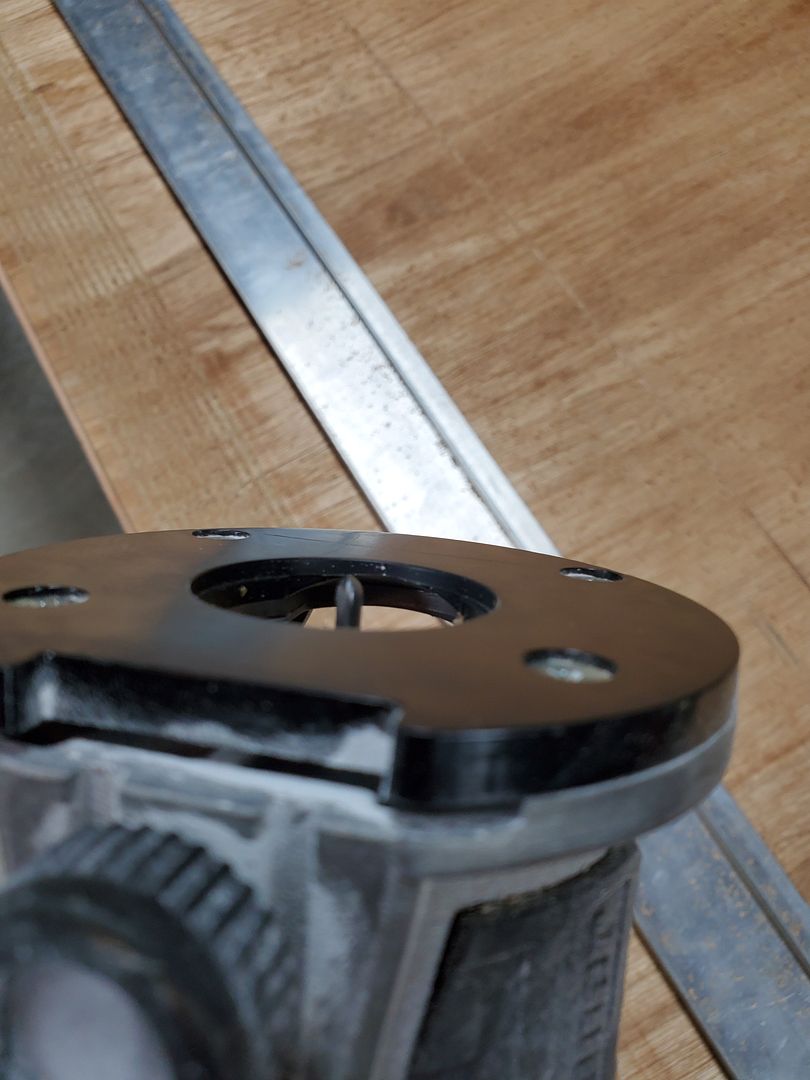
I kerfed them to be able to bend around the curves. I used a 1/16 veining bit in my compact routed to make grooves 1/16" deep spaced 1/4" apart. A 12 grooved section at the top when the roof transitions to the front, and an 18" section lower down where it curves around the nose. You can do the math and count how many grooves had to be cut.... :)
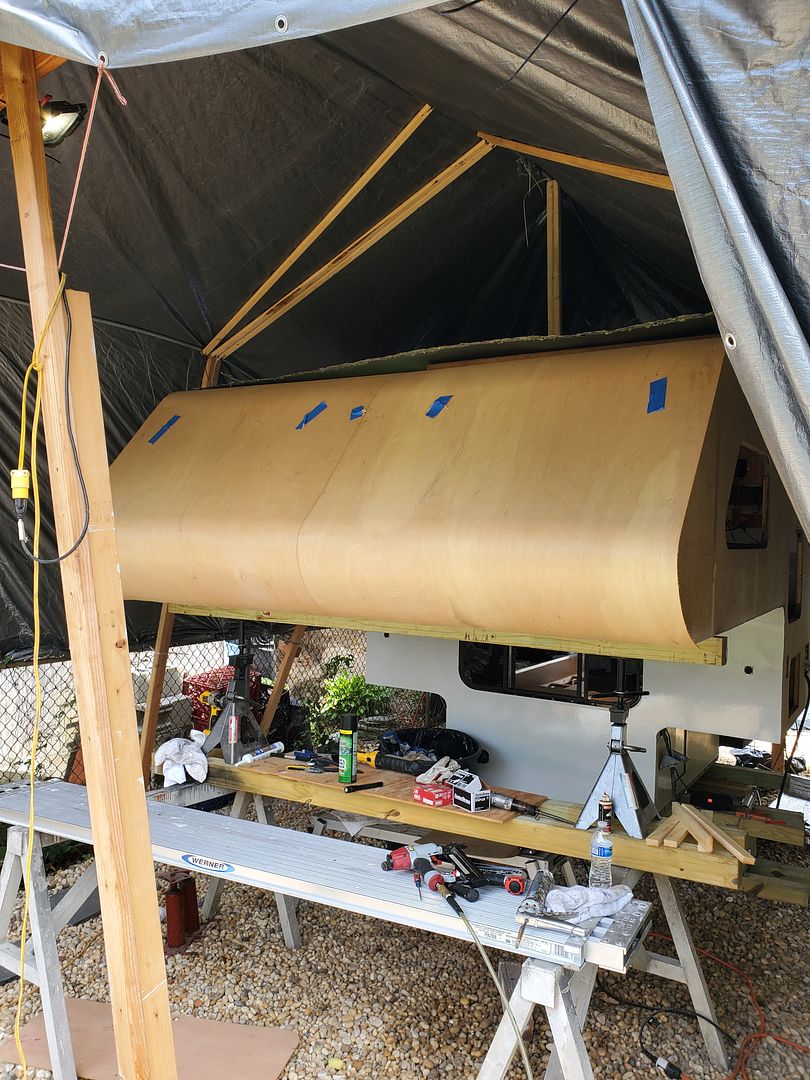
The factory had a 2' x 8' piece of sheet steel that wraps the nose to provide some strength under the plywood. Worked well, but if you look in the last pic you can see vertical shadows where the filon gets a little wavy where the window used to be. I could have used more panel strength there to help flatten that out. Looking for a nice graphic to cover it....
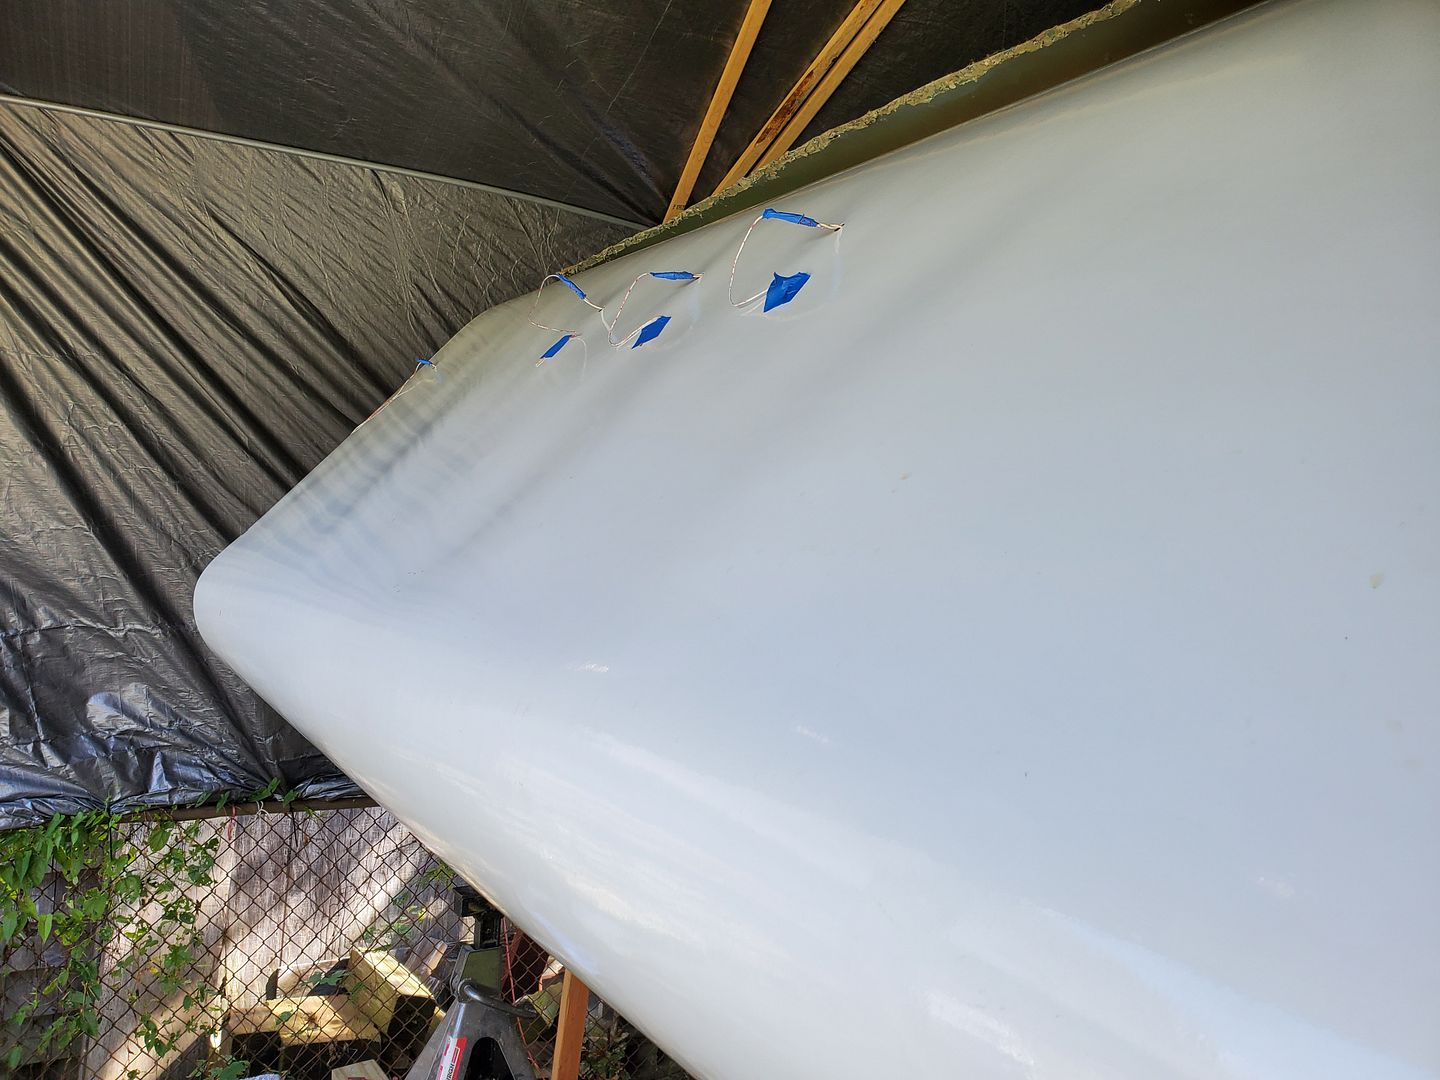
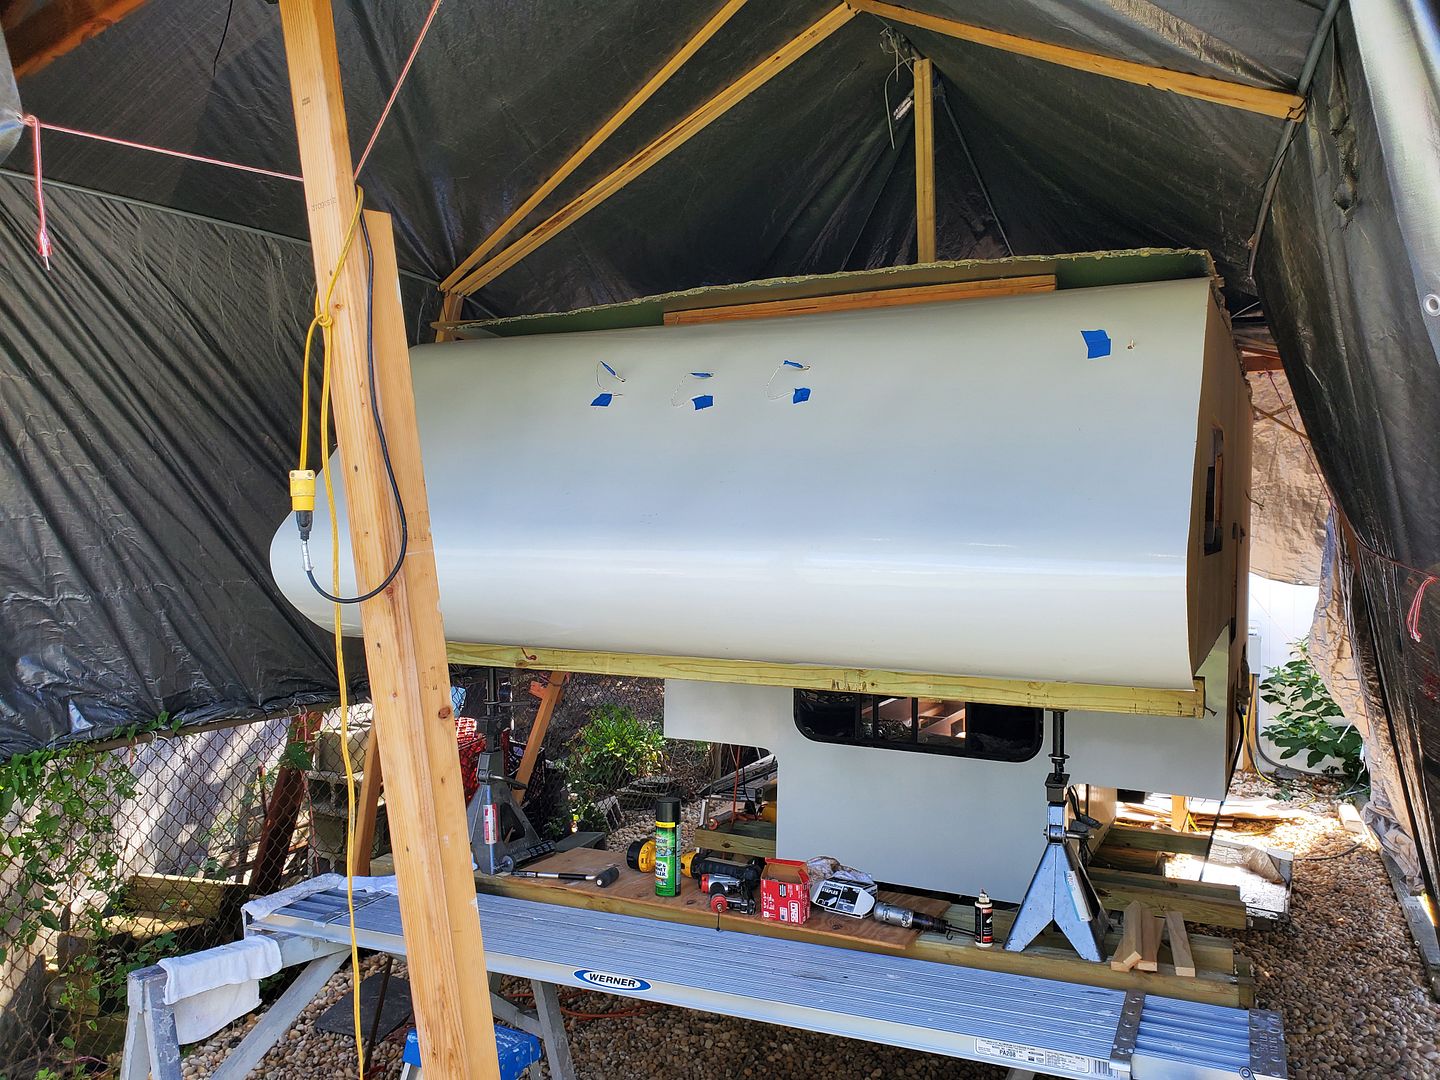
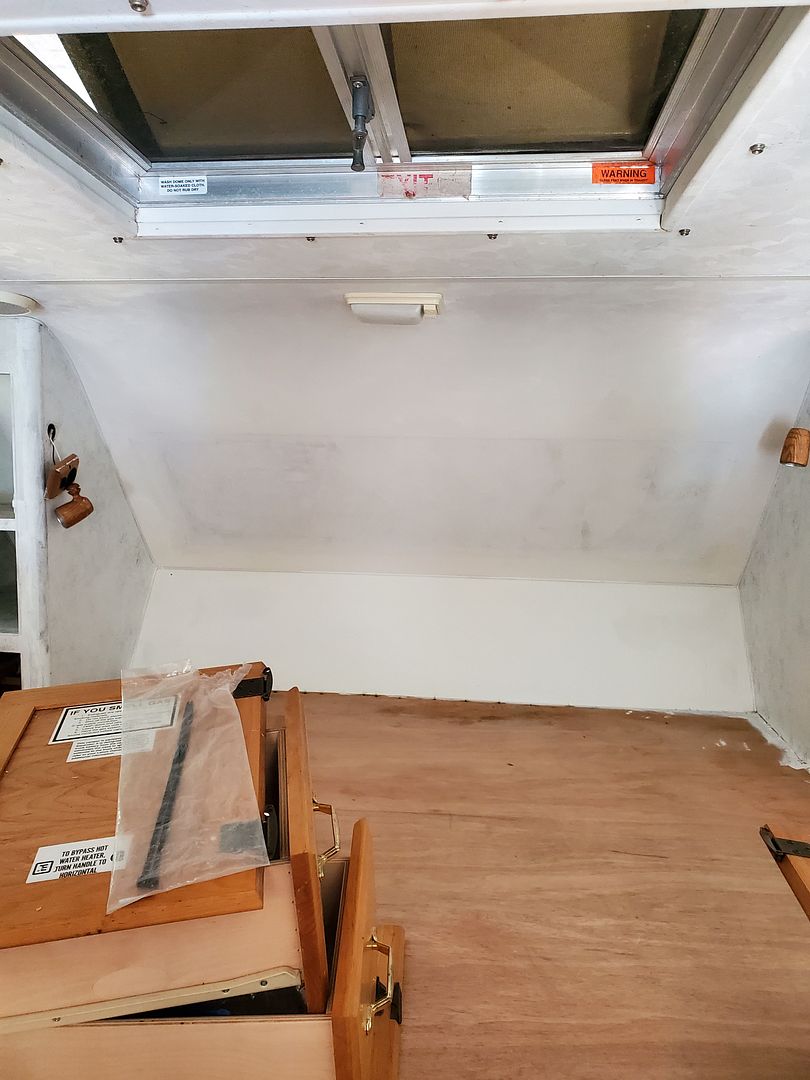
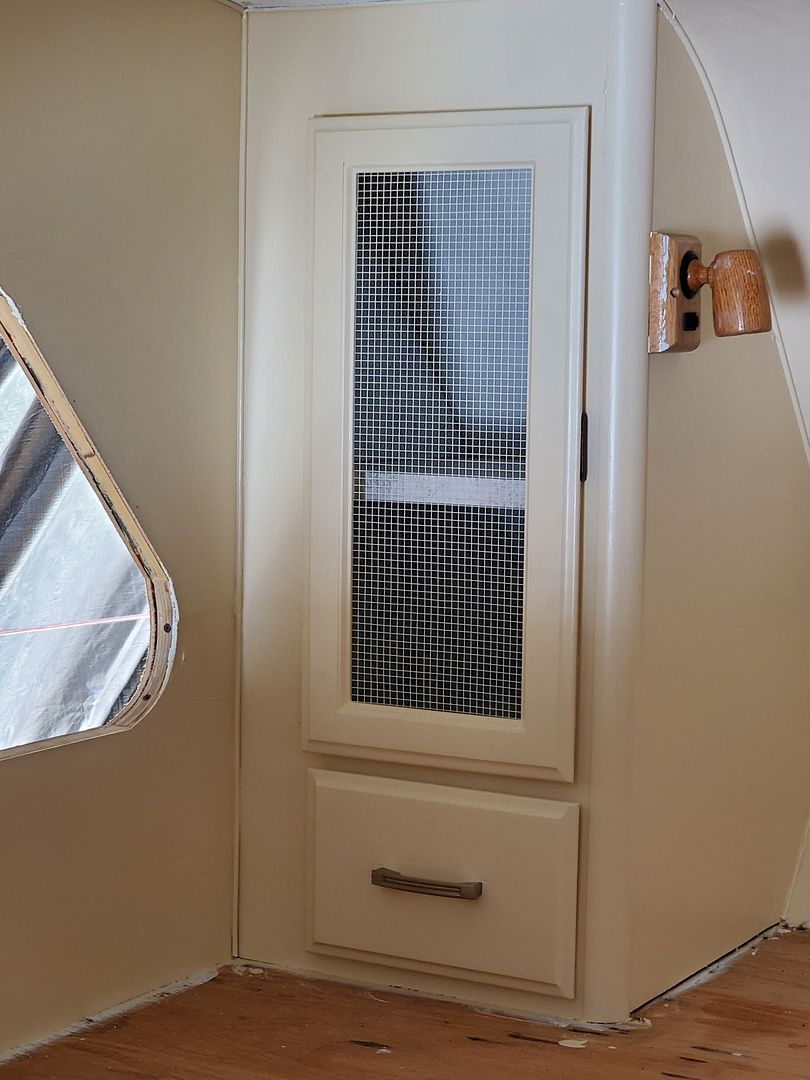
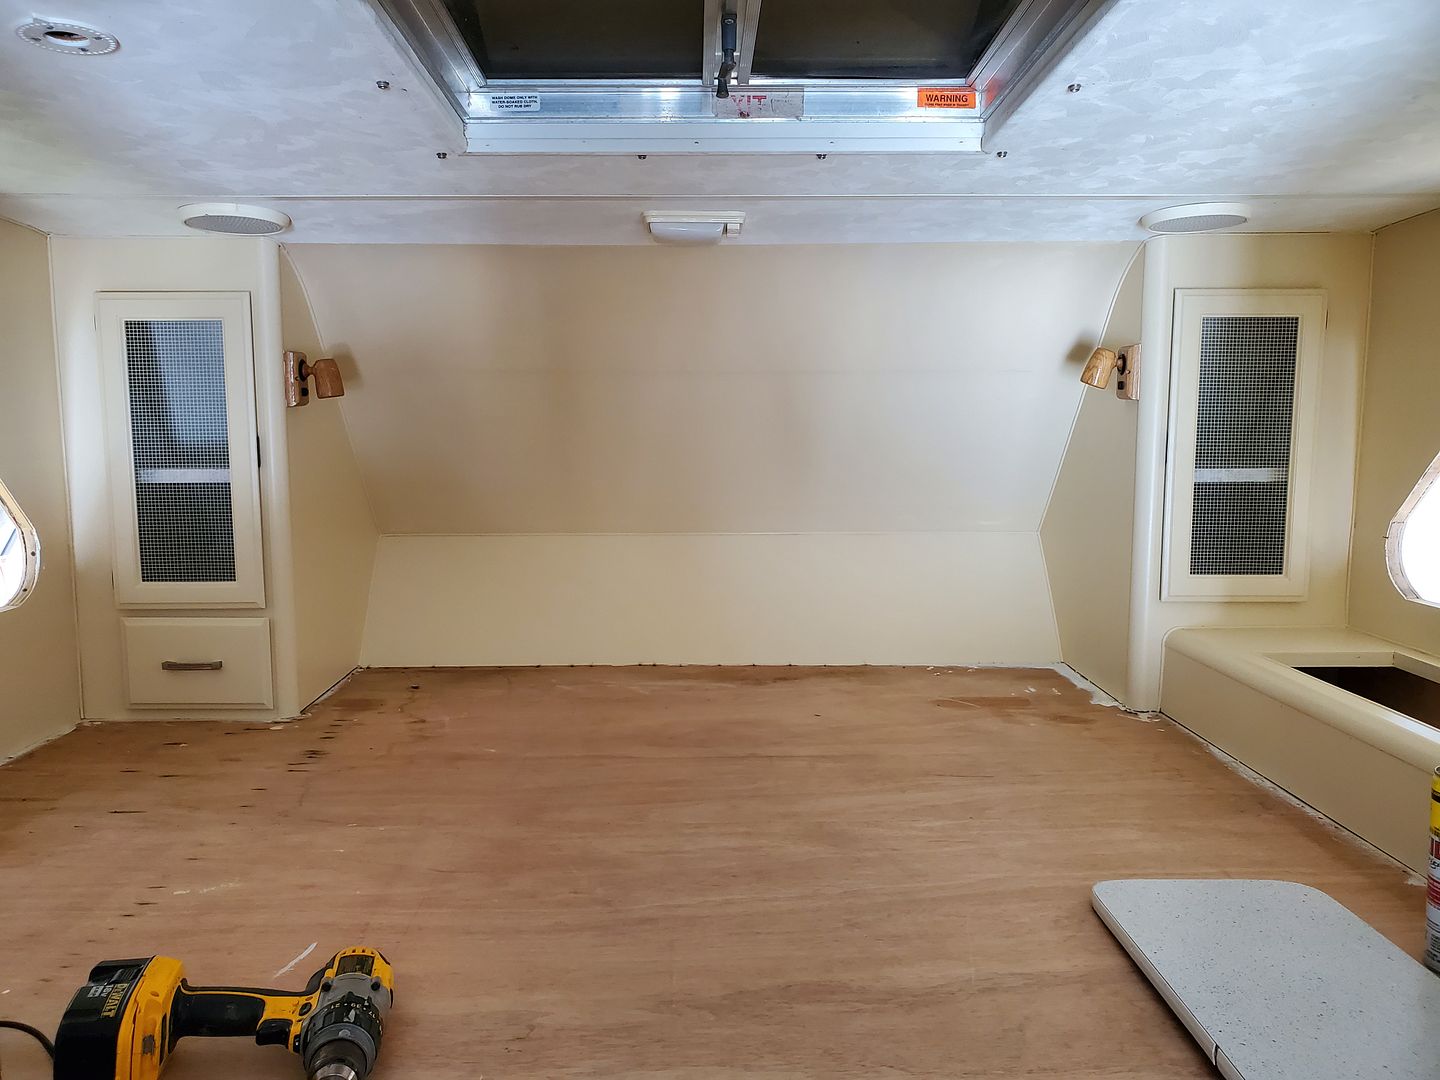
Also got the priming and painting done. Here's what the bunk area looks like. The side wardrobe closet doors originally had an upholstered inserts, and we removed that as part of the complete carpet and fabric delete. More pics to come but carpeted areas, upholstered valences and the like all got removed. The couch cushion covers were removed, the foam sanitized, re-assembled and in the house waiting to be reinstalled.
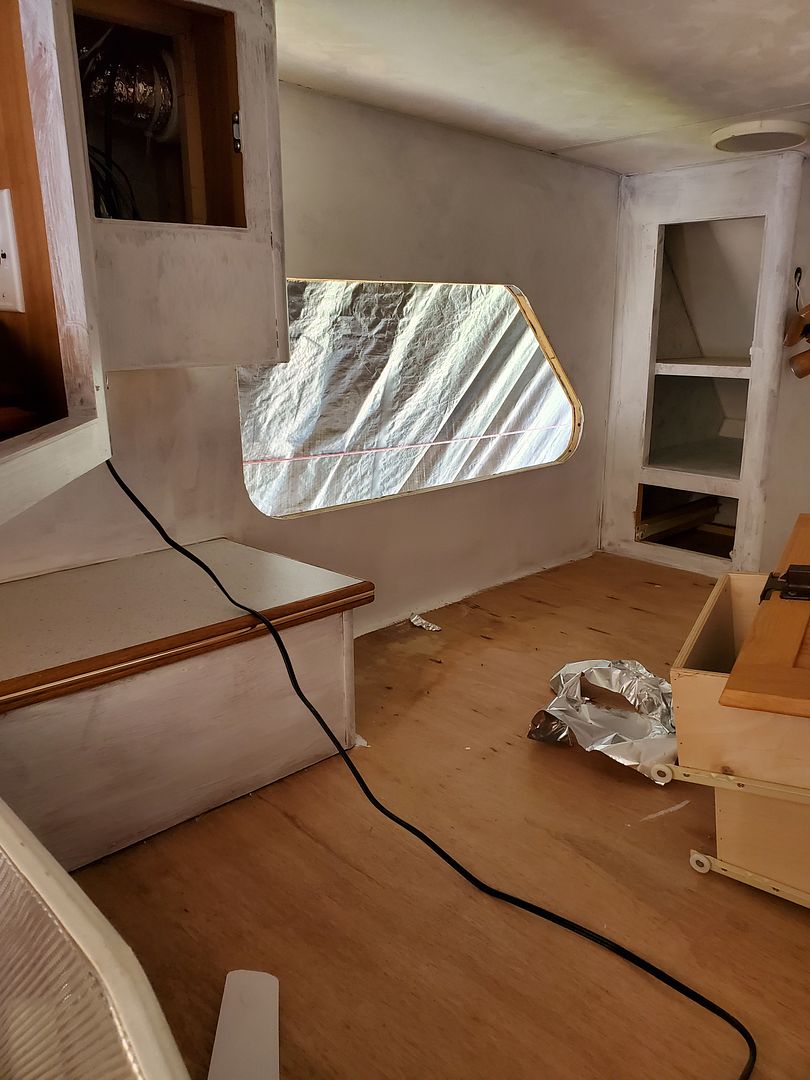
More pics to come on the painting and slide reinstallation.
Haven't posted much because I've been working overtime trying to get this project over the finish line in time for a few camping trips this year.
I ripped the front of the cabover off, and based on comments from another thread, I deleted the front window. Getting rid of the shade/valence frees up some headroom for us too.


I "spackled" in the interior patch using DAP Alex fast Dry caulk with a putty knife. Not bad, but not as invisible as tape/compund would have been, but a traditional drywall seam would also likely crack going down the road even if it was taped.

On the outside of the cap I decided to use 2 sheets of 1/8" (2.7mm) luanne, with the seam running vertically down the middle. It was a little over 5' from the roof down, so I was going to need a seam somewhere, and I decided that vertically had the most support behind it.
I kerfed them to be able to bend around the curves. I used a 1/16 veining bit in my compact routed to make grooves 1/16" deep spaced 1/4" apart. A 12 grooved section at the top when the roof transitions to the front, and an 18" section lower down where it curves around the nose. You can do the math and count how many grooves had to be cut.... :)


The factory had a 2' x 8' piece of sheet steel that wraps the nose to provide some strength under the plywood. Worked well, but if you look in the last pic you can see vertical shadows where the filon gets a little wavy where the window used to be. I could have used more panel strength there to help flatten that out. Looking for a nice graphic to cover it....


Also got the priming and painting done. Here's what the bunk area looks like. The side wardrobe closet doors originally had an upholstered inserts, and we removed that as part of the complete carpet and fabric delete. More pics to come but carpeted areas, upholstered valences and the like all got removed. The couch cushion covers were removed, the foam sanitized, re-assembled and in the house waiting to be reinstalled.


More pics to come on the painting and slide reinstallation.
About Travel Trailer Group
44,056 PostsLatest Activity: Jan 12, 2020