Forum Discussion

myrvhasnotv's avatar
myrvhasnotv
Explorer
Jun 21, 2015

First trip out and the roof leaks

This is the 3rd TT we have owned in the last 5 years. It's been a great 5 years but the list of things that have not worked right is very long. Where is the quality control?

So we are sitting in the dinette on the slide and I see a small trickle of water running down the wall. I hope it's as simple as calking the area above where the leak is. We towelled off the slide and put it in so it can't leak and went home. It sits on our own private site so I would rather fix it myself as opposed to dragging it to a dealer. I could use some recommendations on what type of caulk or tape or adhesive would be best. The roof looks great and I feel pretty sure that the water is entering right above the seam in the area that the water was running down the wall.
  • We had a leak when the gutter was clogged. Cleaned out the gutter and the leak was gone. Sounds dumb, but it happened twice, years apart. It would be great if that was the problem as it was easy enough to deal with.
  • This was posted on March 14th of this year.

    westend wrote:
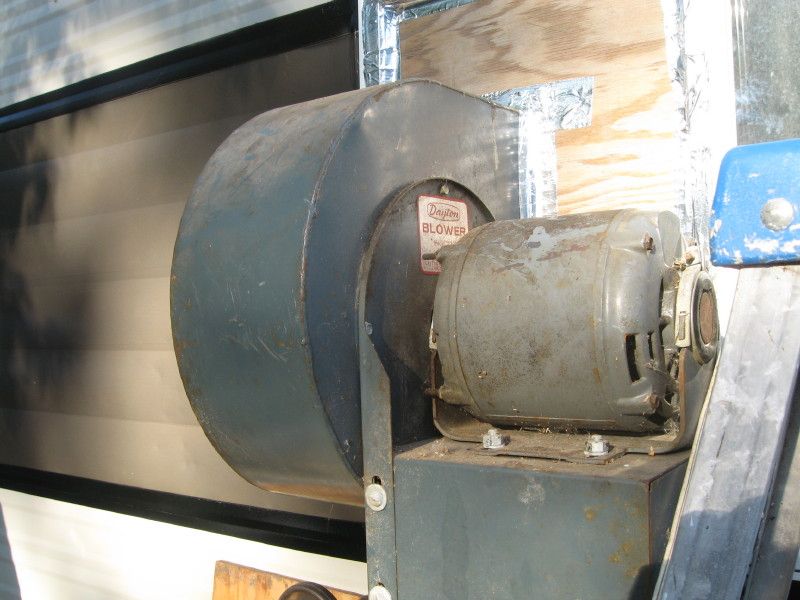
    I have no idea what my furnace blower that I use puts out in CFM. With the blower sealed into a window and all of the interior closed up as outlined above, my DIY manometer showed a pressure rise of about 1"WC.
    Blower mounted in exterior window:


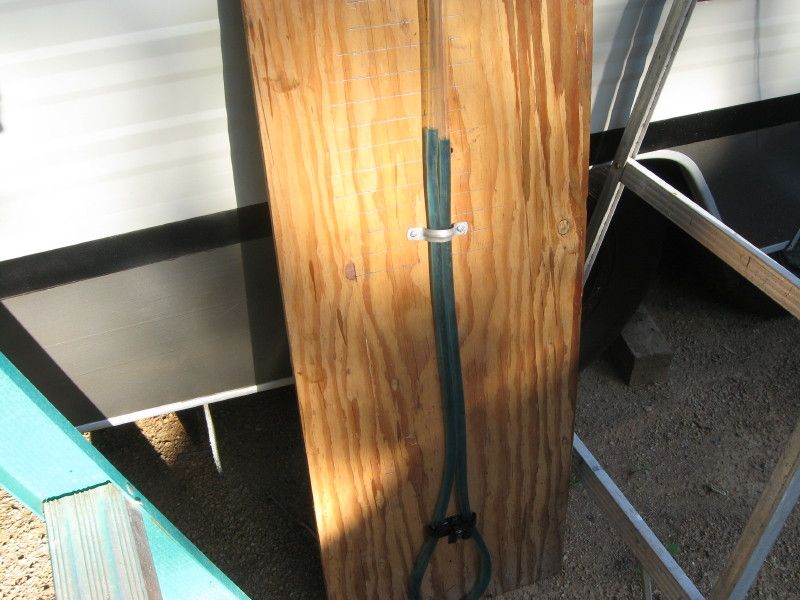
    DIY manometer:


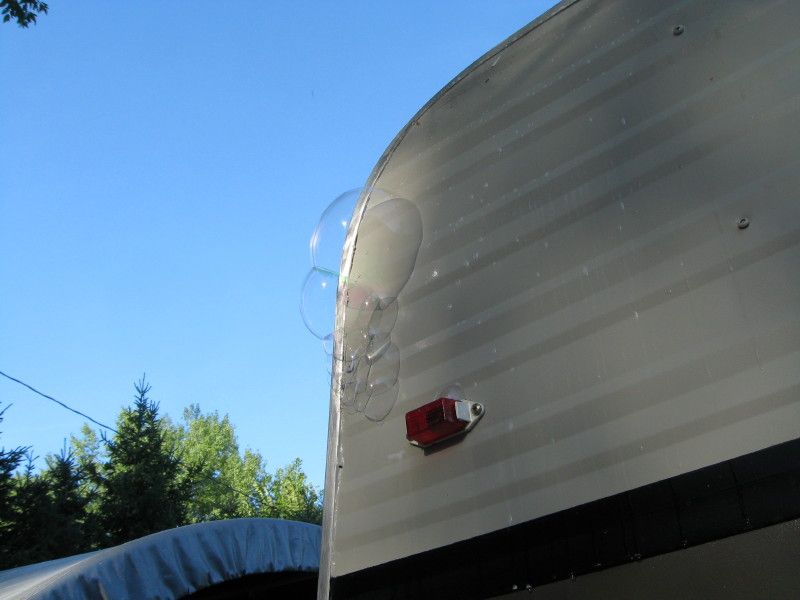
    A pinhole leak in seam:


    Here is the exact post that I robbed the pictures from.

    http://forums.woodalls.com/index.cfm/fuseaction/thread/tid/28250648/srt/pa/pging/1/page/1.cfm

    You should read the last post. That owner used a wet/dry carpet extractor, and got a total pressure of about 0.5" water colum, way to much pressure, and started to lift the EPDM off the plywood, in other words inflated the EPDM like a balloon! If you where to use a normal Wet/dry vacuum, not the 3/4 HP commercial version, this would not happen!

    You can put the wet/dry vacuum in a basement compartment, cover that opening with cardboard, except for a 2" hole for the hose to bring in air, turn it on, seal that compartment, and check for leaks using a chemical sprayer. Remember the roof will become very slippery while wet with soap!

    If you have more than a few easy to repair leaks, take pictures and have the dealership fix them, it is still under warranty. But I do understand not wanting to be without the RV for the couple of weeks a dealership can take to fix it. Also taking it to the dealership is not a 'free' fix, you need to drive there, drop it off, and go back to pick it up, so use 20+ gallons of gas, that is not free.

    I always kept a tube of rubber roof sealant in my RV along with a calking gun to apply it. When camped out in the woods, you do not have access to a hardware store! After about 2 years, replace it with another new one.

    I had a nearby Camping World where I could pick them up. They also mail order, or look at your local RV store. I am not so sure about the stuff at Lowes, Ace and Home Depot. It might be more for the asphalt home type roofs, and not exactly what is needed for a EPDM roof. Check the specs on the material that you are looking at. .

    Good luck,

    Fred.
  • On the upside it's on the slide and that removes a lot of variables. So it's a rubber gasket and 3 feet of rubber roof and one seam. The unit is also on a tilt and the grade runs down to the seam. I need to get a ladder and take a good look. It's brand new, just got it last week. Good times ;-)
  • Water leaks are very difficult to track down, take your time and look at everything. It is easy to see how things are laid out on the roof, then you have the roof meeting the camper it self. If new enough and under warranty take it in.
  • X2.
    Water leaks rarely originate where you see them from the inside. They are fomous for traveling long distances inside walls and ceilings before making their appearance inside.

    Get it pressure tested. Then you will KNOW where the leak is.