Victory402
Sep 25, 2014Explorer
My 7lb flexible solar panel system install
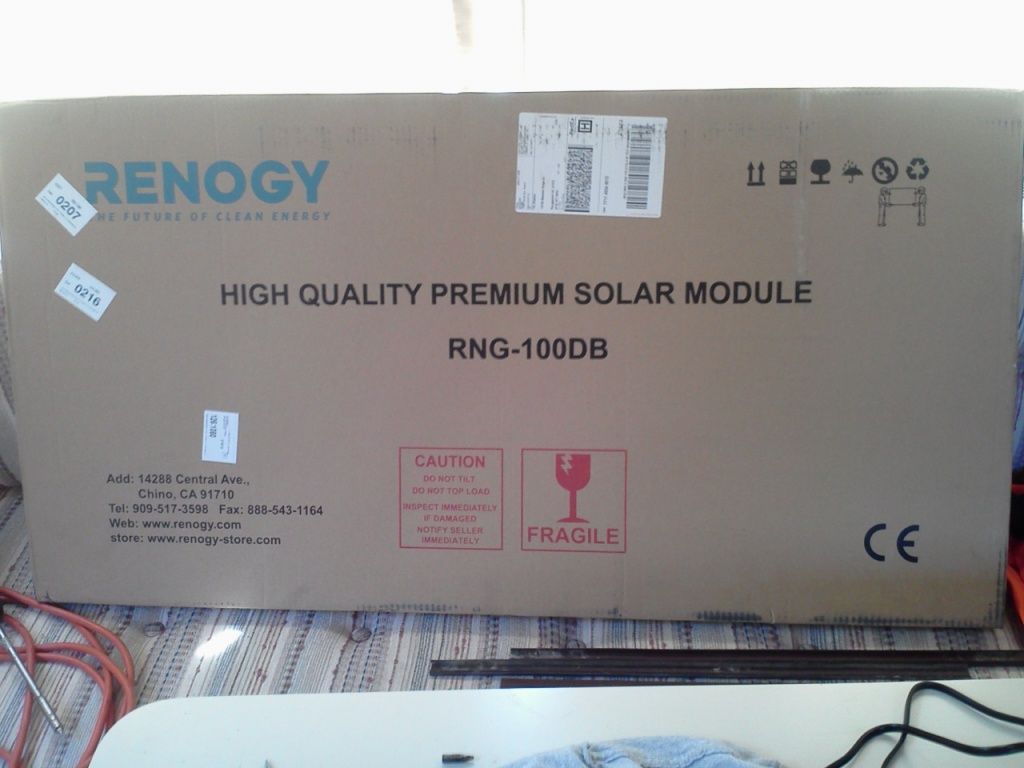
Last weekend I finally got around to installing a solar panel charging system on our little TC. Weight has been a concern for me and will remain to be, until I switch to a bigger truck, so I went with a light weight flexible panel. Renogy's 100 watt panel weighs under 5 lbs and the controller was about 8 ozs. I only have 32ah of battery power so it should charge up ok. I think I did a pretty good job for a tin horn.
I started by thoroughly cleaning the top.
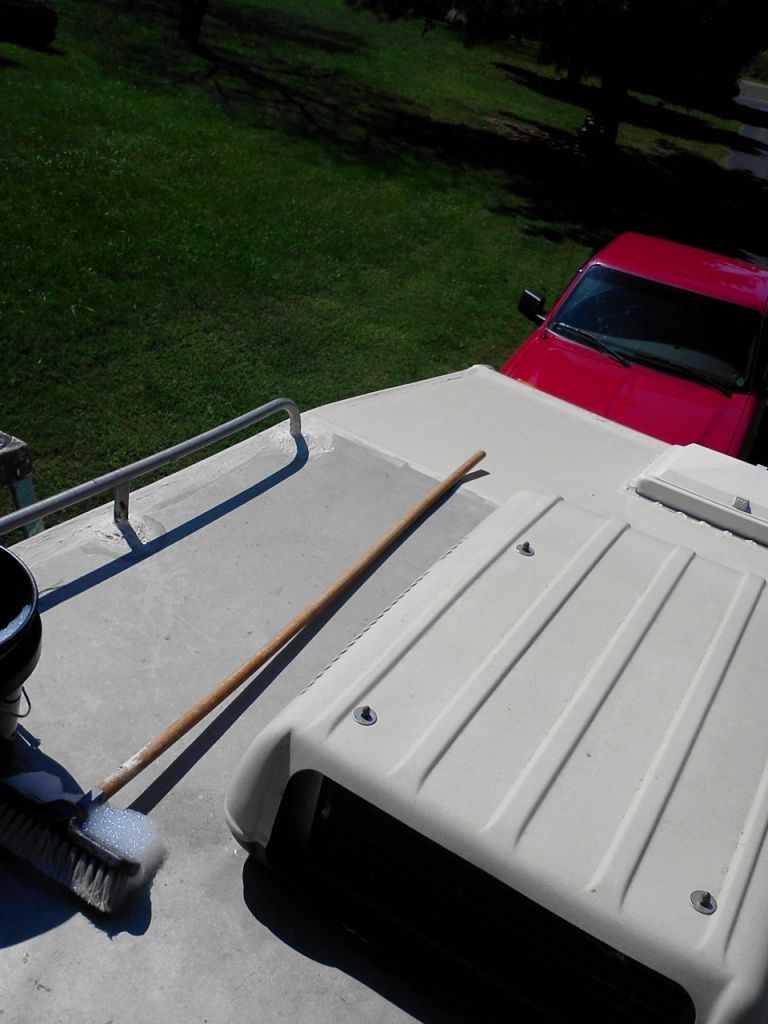
Next I marked an area to mount the panel. I was limited with space had to mount it next to the a/c unit.

The attachment was very easy and simple, squirt out some sikaflex and stick it on. The thought of drilling holes in the roof didn't set well with me.

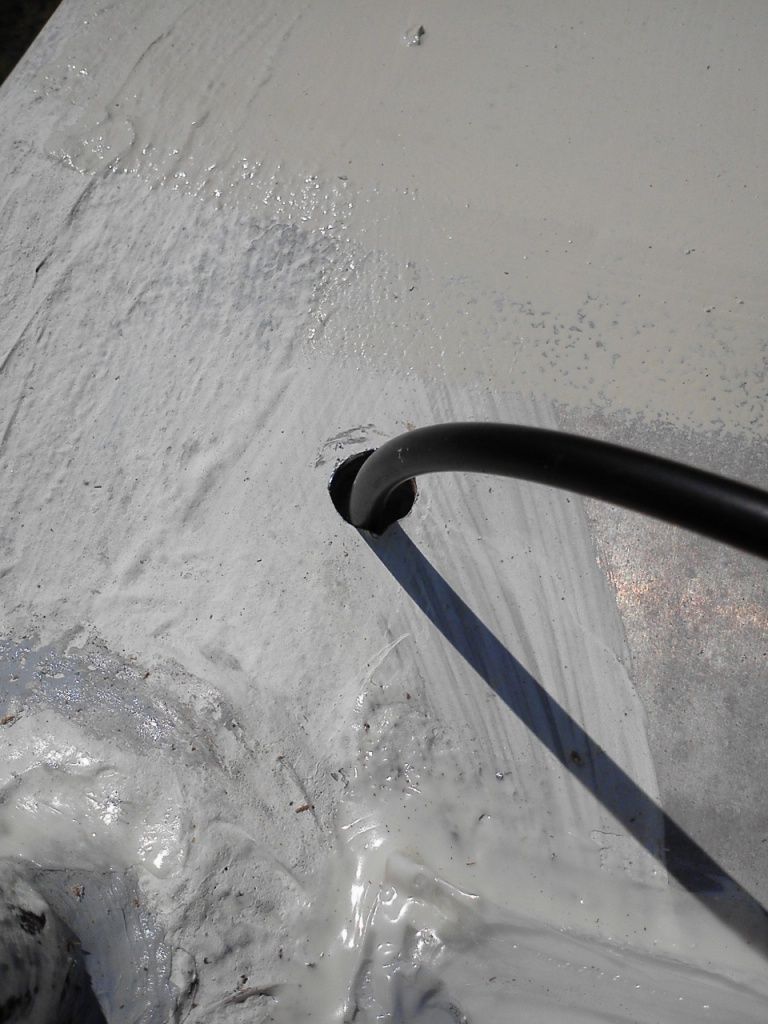
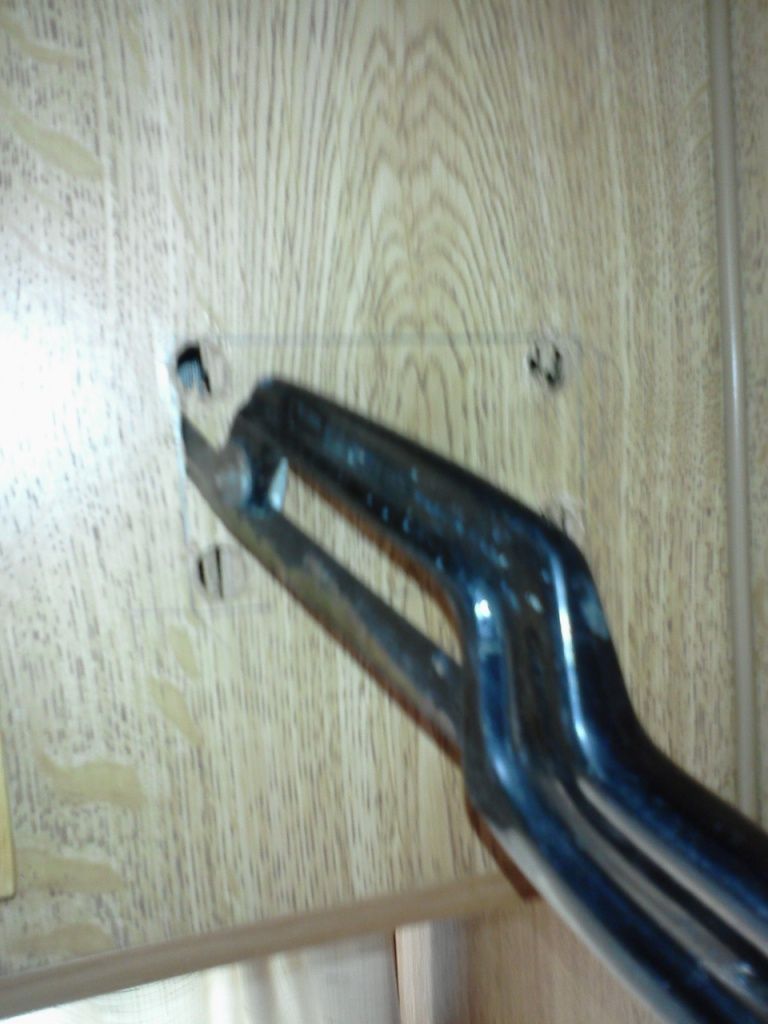
I did have to drill one hole to get the wires into the coach.
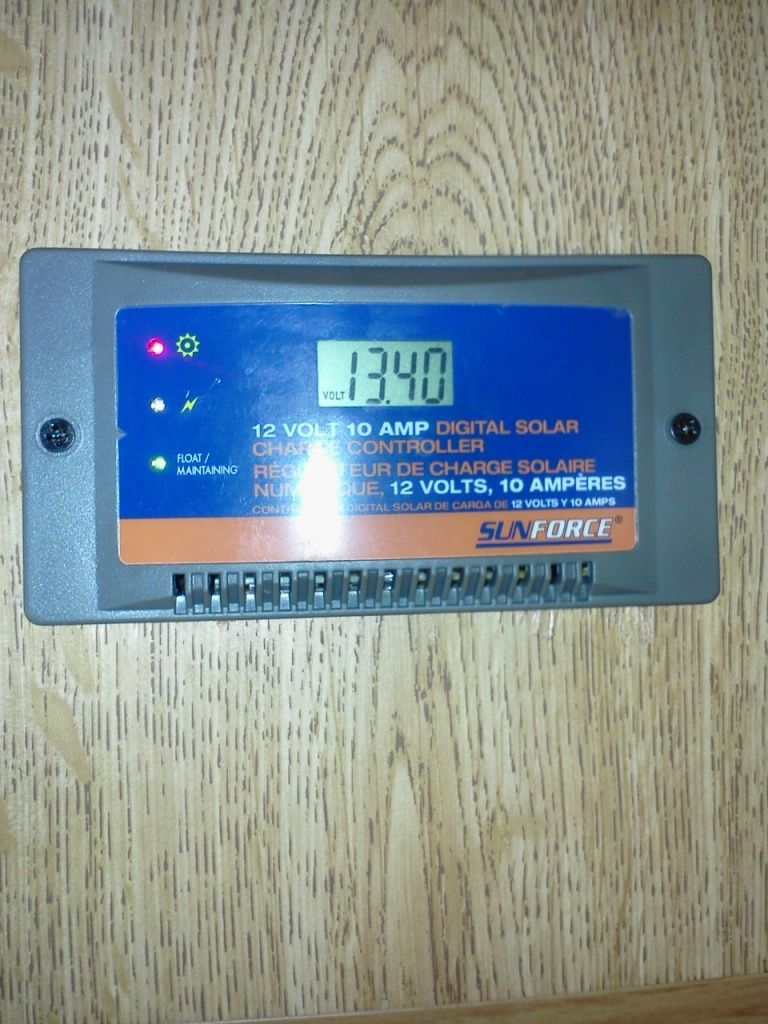
I then installed the 10 amp charge controller while the adhesive set up some.
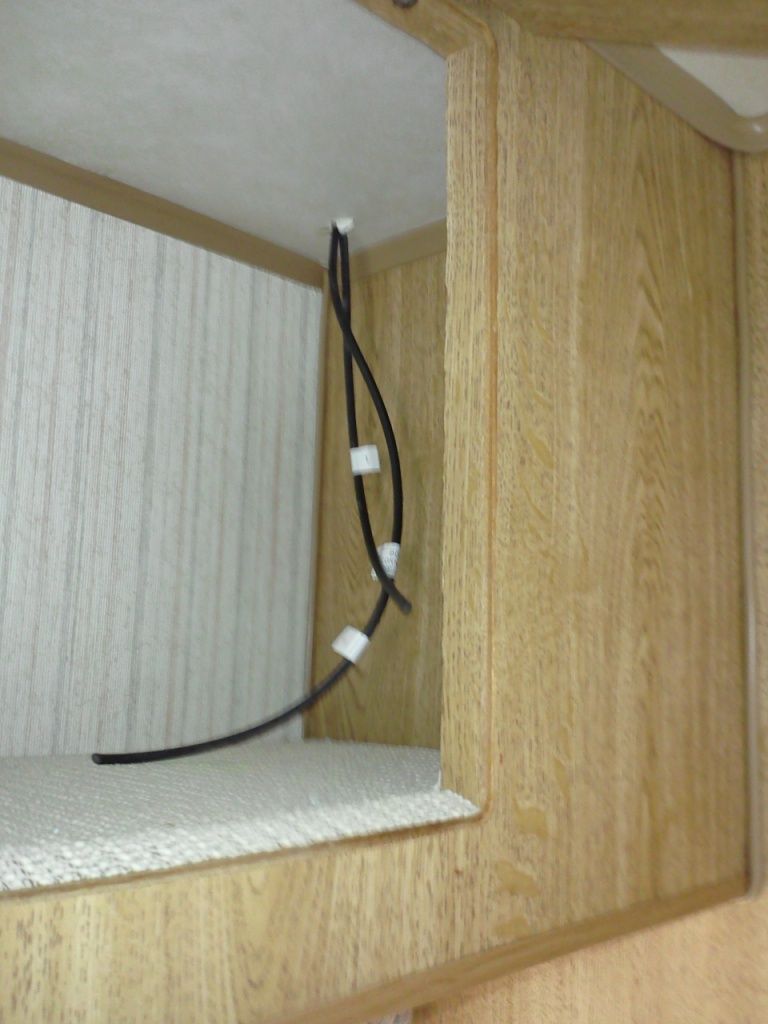
Connected the wires in the specified sequence and everything worked just fine.
Once the sikaflex set up some I used some Proflex around the edges of the panel and the hole where the wires went into.

I used proflex to hold the wires to the top and flattened them down with a weight until it dried. I hope it holds up?
Here it is finished, I left the protective film on it for now to keep it clean until our next outing.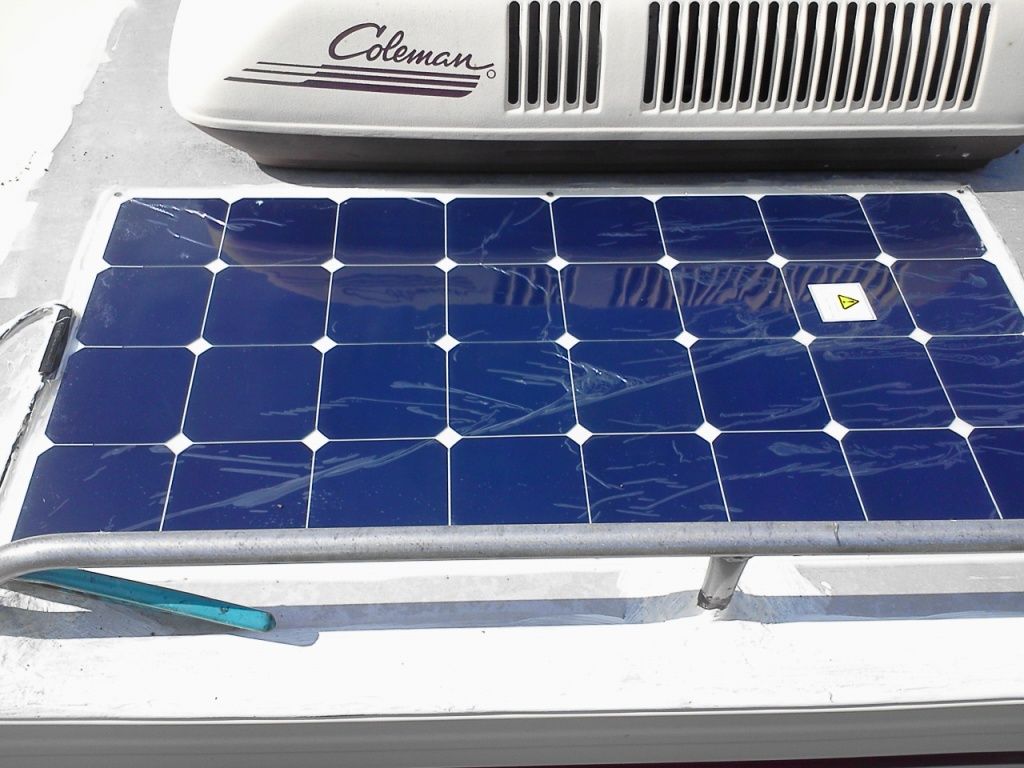
All in all took about 2 hours to complete and cost was around $250. It was a very easy project and lots of fun too.
Time to relax and enjoy

Hope this helps someone and thanks for viewing.
Vic
I started by thoroughly cleaning the top.
Next I marked an area to mount the panel. I was limited with space had to mount it next to the a/c unit.
The attachment was very easy and simple, squirt out some sikaflex and stick it on. The thought of drilling holes in the roof didn't set well with me.
I did have to drill one hole to get the wires into the coach.
I then installed the 10 amp charge controller while the adhesive set up some.
Connected the wires in the specified sequence and everything worked just fine.
Once the sikaflex set up some I used some Proflex around the edges of the panel and the hole where the wires went into.
I used proflex to hold the wires to the top and flattened them down with a weight until it dried. I hope it holds up?
Here it is finished, I left the protective film on it for now to keep it clean until our next outing.
All in all took about 2 hours to complete and cost was around $250. It was a very easy project and lots of fun too.
Time to relax and enjoy
Hope this helps someone and thanks for viewing.
Vic