thoms wrote:
Hi all, Got a busted dome over shower and was thinking of putting down a clear sheet of clear plastic or plex over opening instead of another dome. it would be screwed down and sealed for sure. I really do not want another dome. Is this something that someone has done or am I looking
at a mod that cannot work? Would welcome any other ideas.
Thanks
Hi,
I caution about using plastic that does not contain a very good UV treatment and the wrong type of plastic. Plexiglass as a trade name is not what you want, it will crack way too easy, yes it is cheaper but you do not want cheap on a roof item. Lexan, a polycarbonate material is much better, but standard Lexan may not have a good UV inhibiter. And then there is then there is a flat part of this. My gut instinct says no, not in this case. As was said, there is a caulk dam at the edges and the dome helps shed water better then flat. The flat sheet may work, but for sure I would not use less then 1/4" thick and then I would be using 303 uv treatment on it 4 times a year, even if it was polycarbonate.
You also did not say what type or how your old skylight cracked. I have seen many older skylights crack, most from a bad install at the screw area, the dome was not installed with flex in mind and a stress crack starts at the screw hole. And many of the older ones were thin, this is 10 plus years old. And then there is the new cheap "vintage" being put on new campers. I see keystone is using them and so is forest river. That new dome is so thin, you can deform it with 2 fingers.
I'll add some background to the comments I'm going to say below. I have somewhat of an extreme retirement hobby. I restore old water damaged campers. I start the 15th rot repair camper next Wednesday. I have not done this for a lifetime but have seen a good amount to pass on what I have found. Many of these campers needed new roofs and new shower skylights. I looked to see why each camper fails and how it failed. 10 years of being the sun with no added annual UV treatment can kill a skylight if the camper lives outside all the time. For the RV industry, 10 years I'm sure is plenty good enough, but not for folks wanting older campers to last longer. Or even new ones.
I would suggest you use the Icon skylight brand BarneyS linked. And to consider the install method I use below. The ICON brand is the only brand I will use. Yes, it costs more, but after doing a camper restoration, you do not want to cheap out on a roof item so critical to keeping your camper dry. The ICON brand is polycarbonate and it is stronger/thicker then any I have seen on the market so far. It is at least 5 times thicker/stronger then the new ones I mentioned above.
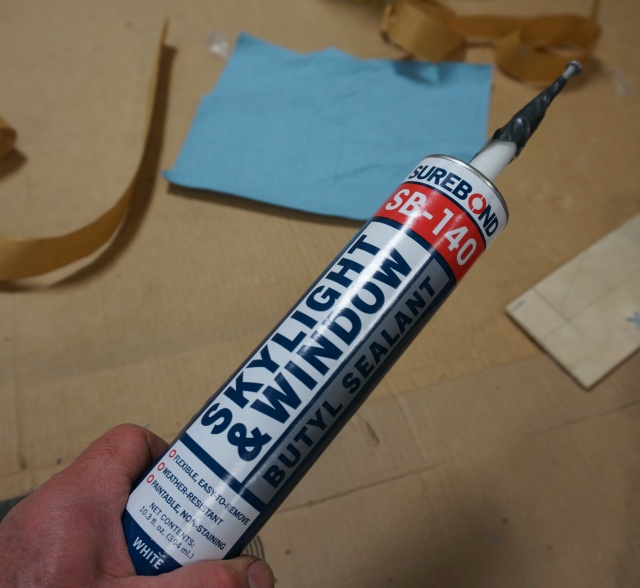
Next is the install and how to help make prevent screw hole tension cracks. First you want to use butyl caulk and not butyl tape to set the skylight to the roof membrane. The roof is arched for water run off most times and you are putting a flat object on a curved surface. You want the butyl caulk to create a bed of goo, that you can set the flat skylight onto and the caulk will even out the arched roof to the flat skylight. I use Sure Bond SB-140 but Icon sells their brand too , I have used both, both are good.
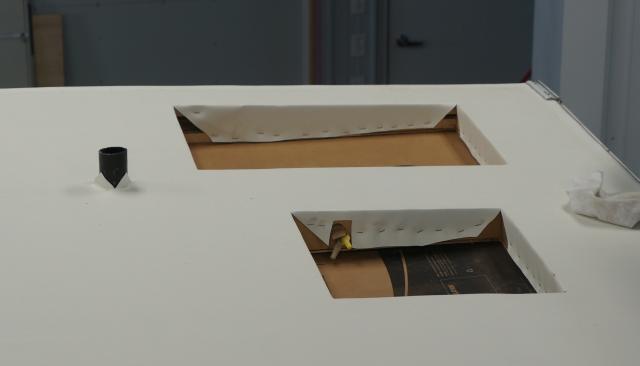
Here are some pics of the install process on a new re-roof job.
The roof starting point. The large opening is the shower.
Center the dome over the opening and lightly mark with a pencil the outline of the skylight on the roof. Then apply beads of caulk. Stay about 1/8 - 1/4" away from the pencil line and the center hole in the roof so the caulk will not run down or out over the roof too badly. One tube will do a shower dome, just keep the bead at about 3/16" to 1/4".

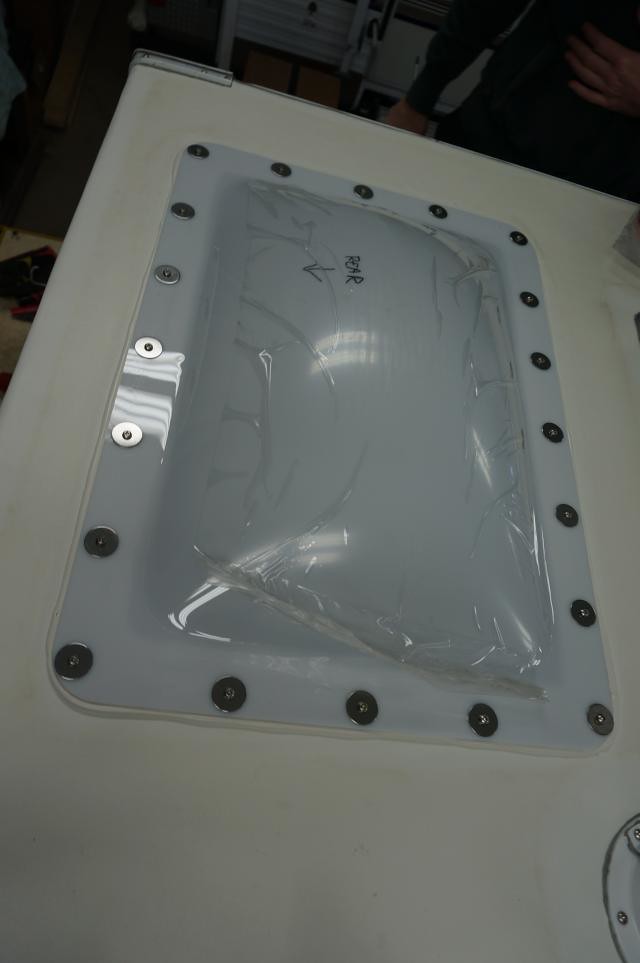
Next, set the dome gently into the goo of the caulk using the pencil line as a guide to stick it in the correct place. Then use this tip I use, get stainless fender washers and put one of every hole.
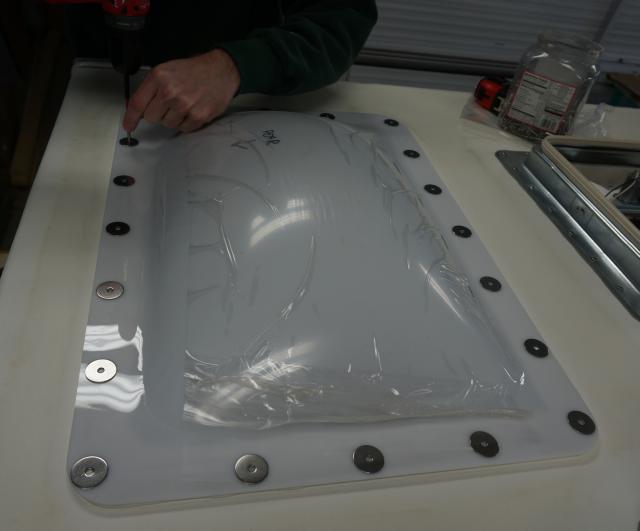
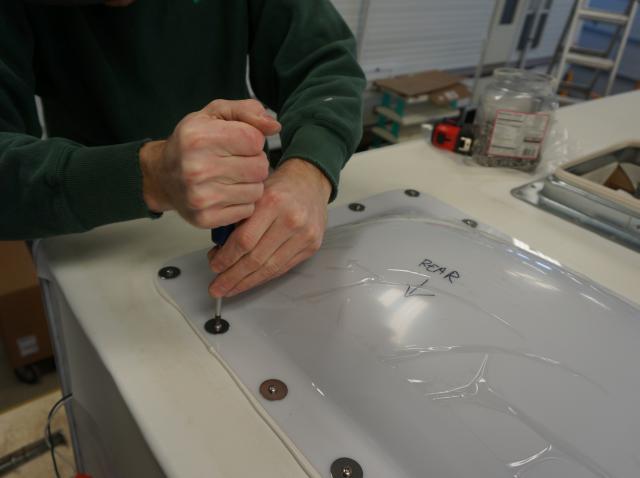
I use No. 8 x 1" lg or 1 1/2" lg stainless screws. You can use a drill driver to install, but stop about 1/8" before the head touches the washer. Do not use the drill clutch to stop the screw, it is uneven trying to torque out into goo. Use a hand driver and just kiss the washer on each screw on the first tighten. Then go around in a torque pattern and slowly take up a turn or so for each screw by hand. It will take 3 maybe 4 times to slowly create an even compression of the dome into the caulk. When the caulk has created a good seal all around, stop. You do not want to bottom out the dome to the roof. It sets in caulk goo that will firm up. And, install each screw square/90 deg true to the dome surface. Do not install the screws quick on an angle. This is not a speed contest, take it slow, do it right and it will last longer. The washers help spread out the clamping load and not create plastic stress risers at the screws. And the even hand torqueing prevents the over tightening of the screws countersink compressing the plastic to start a crack in the future.
When all done less the caulk or Ebond over the screws and edging.

You still have to go back and put self leveling caulk over the screws and edges, but the install above gives your skylight the best chance of survival and overcomes the factory install issues I have seen. Consider using 303 UV treatment on the dome after you wash the roof. That UV treatment does make a difference if used regularly.
Hope this helps
John
