cancel
Showing results for 
Search instead for 
Did you mean: 

LED Strip Repair

DarkSkySeeker
Explorer
Explorer
The LED strip over my dinette and couch lights up only to its midpoint.

This half works:
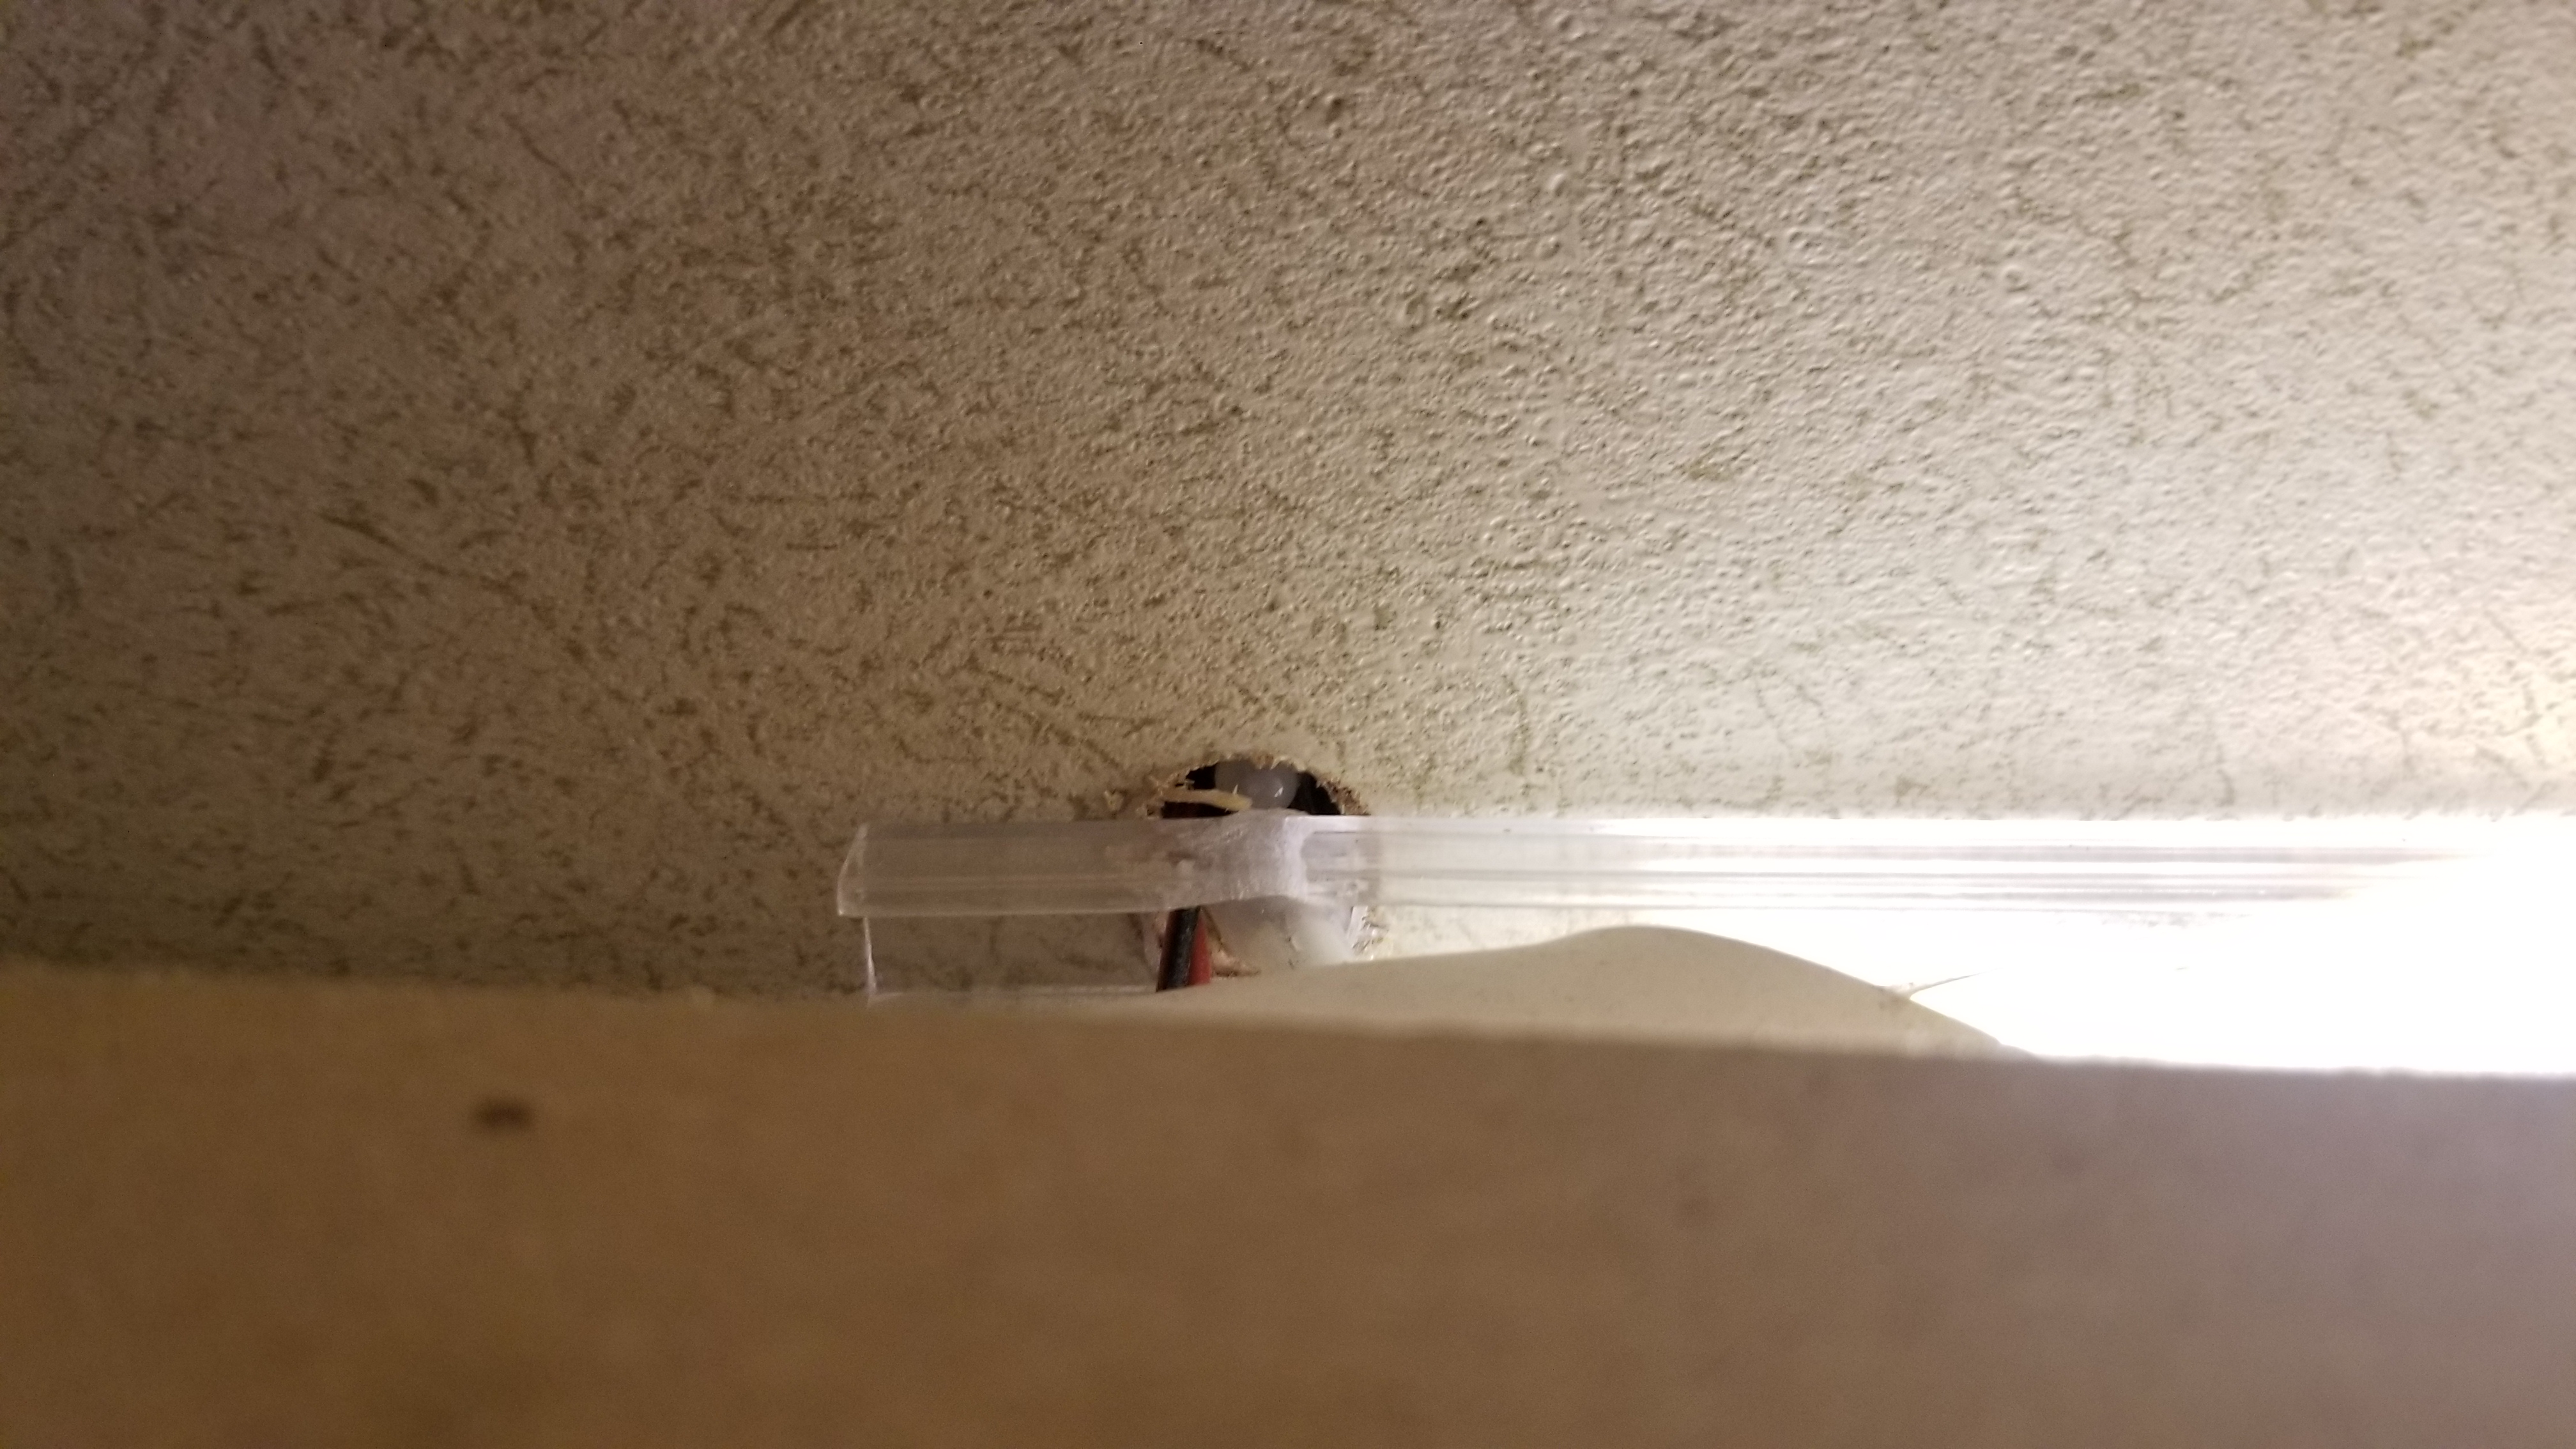


This half does not work:


Here is where the connection must be bad:


Is this just an adhesive-backed strip, stuck to the wall, with a 12 volt connection on the one end (in the first photo)?
There is something special about camping in an RV.
.
5 REPLIES 5

wopachop
Explorer
Explorer
Quick fix? Grab a toothpick and wedge it right there at the problem spot. Might make contact for another few years.

Better fix: Solder it real quick if you have an iron. Ive done hundreds of those little pads. Theyre small, but forgiving to a crappy solder joint given to super tiny amp draw.

Best fix: replace the strip. Find something rated to handle 14.4v if you can. These normal 12v strips will run super super super hot when they get 14.4v. LEDs are very susceptible to voltage. A tiny increase in voltage equals a very large change in amps.

dougrainer
Nomad
Nomad
The outer C channel is usually screwed to the wall/ceiling/valance. The LED LIGHT strip is flat and some do have an adhesive backing, but when I replace or install the LED light strip only, the C Channel will hold the LED light strip without using the adhesive backing. I would replace the LED strip instead of repair. Much easier to do. Doug

K_Charles
Explorer
Explorer
I had to solder the wire to the end of one of those strips. It was easy but it wasn't the middle. I took the light down to do it.

DarkSkySeeker
Explorer
Explorer
wa8yxm wrote:

IF you know how to solder you can solder the two pad halves together.

Thanks - I will check that out. The access and space is really limited. I might be better off pulling it out and putting a whole new piece in.

When it first "failed", it was intermittent. Later, if I pressed on the area you mentioned, it would come on. Now it is neither intermittent or responsive when I press.
There is something special about camping in an RV.
.

wa8yxm
Explorer III
Explorer III
In the "Where it is broken" photo you see the small + and - Signs?

Well I'm found of using a test light and saying 'Problem exists between Bright and Dark' That applies here

Those +/- signs are cut points and solder pads.. now this is not 100% but my guess (i'd need to see the strip myself. eyes on, light off with a flashlight) But my best guess is the small "tie" between the right half moon pad and the left half moon pad is broken on one or the other.

IF you know how to solder you can solder the two pad halves together. (I can. and have)

iF not.. First take something double pointed and touch both halves of first one pad. then the other to see if this "Fixes" it temporary if so most auto stores have "Rear Windshield Repair Kits" the kit contains a bottle of usually copper colored "Nail polish" and dad a dab of that on the bad pad.

NOTE the break can be before or after the pads and if that is the case you would need to run a Jumper from a set of pads on the good side to a same set on the bad side.
Home was where I park it. but alas the.
2005 Damon Intruder 377 Alas declared a total loss
after a semi "nicked" it. Still have the radios
Kenwood TS-2000, ICOM ID-5100, ID-51A+2, ID-880 REF030C most times