NVR2L82AV8
Oct 29, 2015Explorer
Exterior Stove Vent Replacement Artic Fox 990
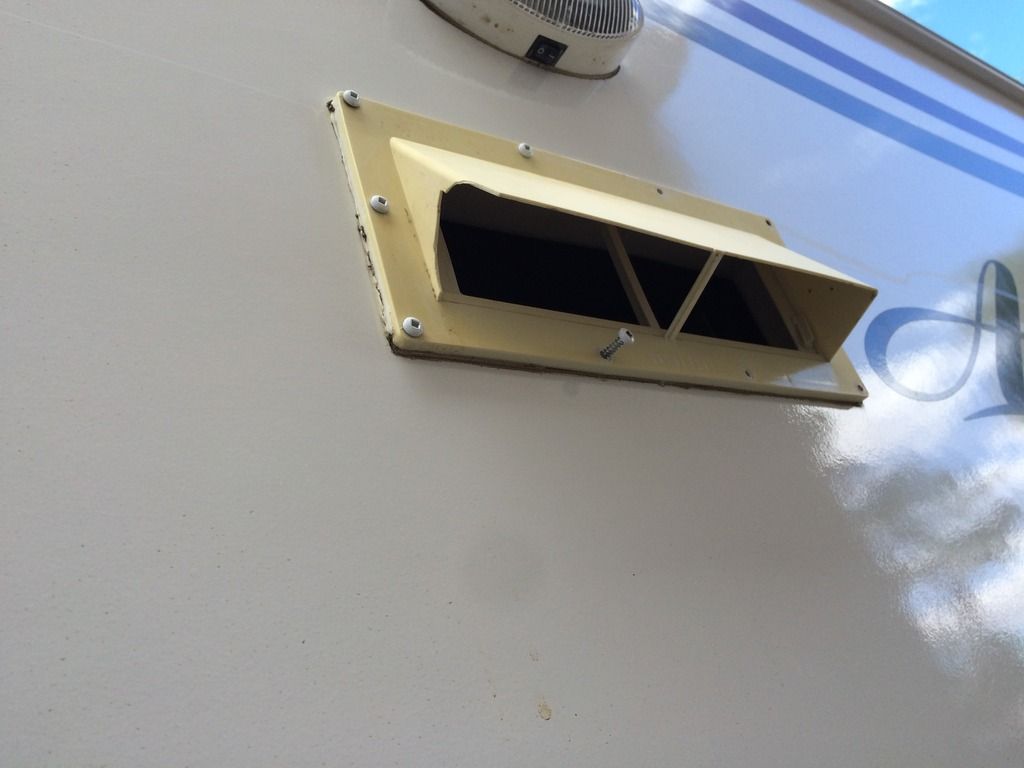
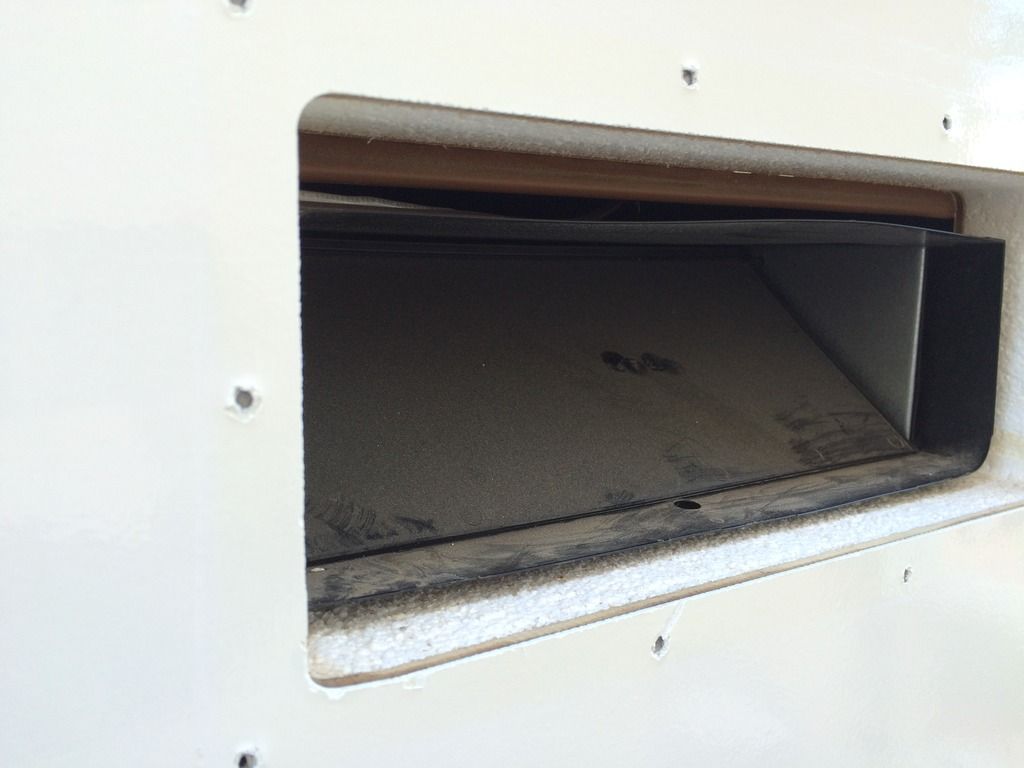
Evidently I've been down to many narrow brush and tree lined roads because during my fall camper inspection, in preparation for the winter camping season here in the desert, I noticed my exterior stove vent was cracked and looking inside I also noted the flapper was gone. You can even see the branch marks if you look close enough...ouch!
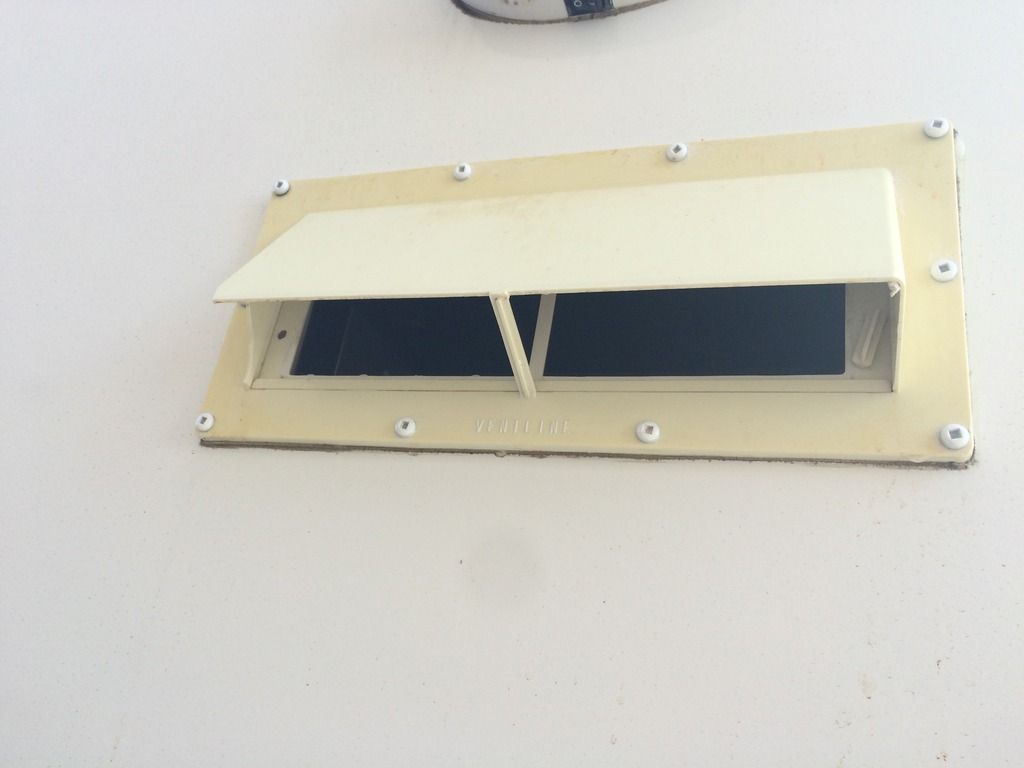
So, I ordered a new one. Once I got it I painted it for two reasons: 1. Get the color to match the sidewall white and, 2. Protect it since the other one yellowed over time.
Once I got the ten crews out I carefully tried to get a lever in between the exterior and the plastic vent.
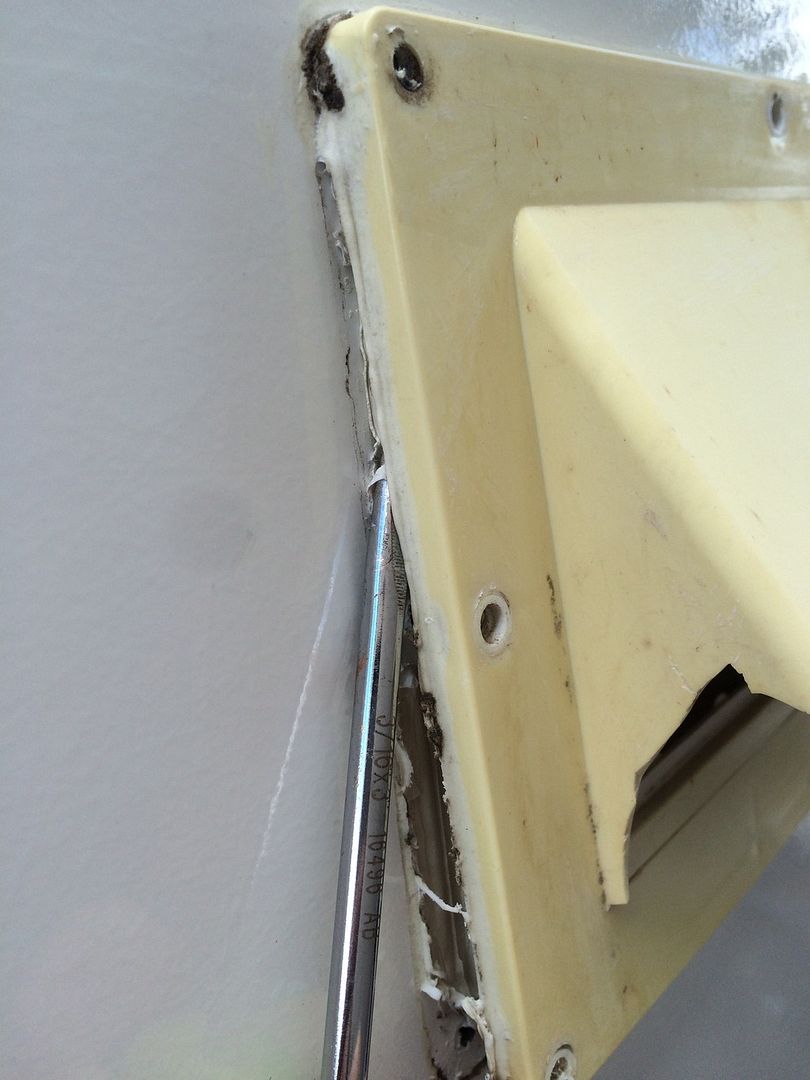
Once I slowly unpryed it from the exterior I carefully scrapped of the sealant with a plastic edge. Next I got out the trusted razor blade a slowly moved it along to get off the adhesive. Not all came off.
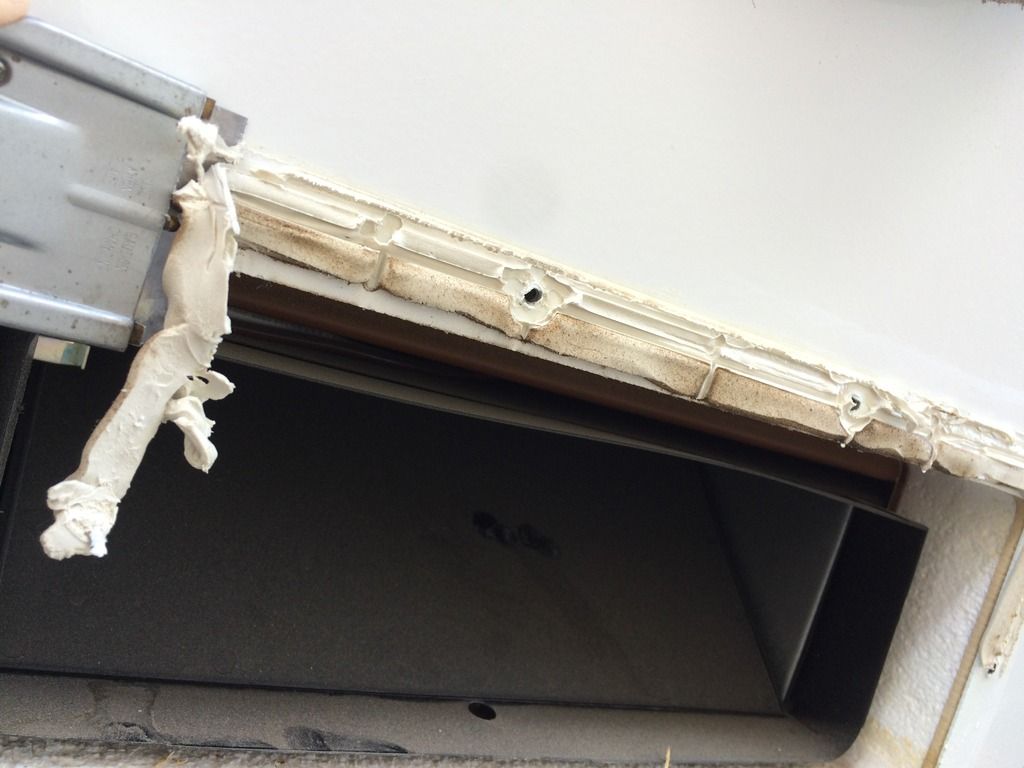
Next, I got out the mineral spirits and begin to slowly unharden the sealant to get the surface as clean as new.
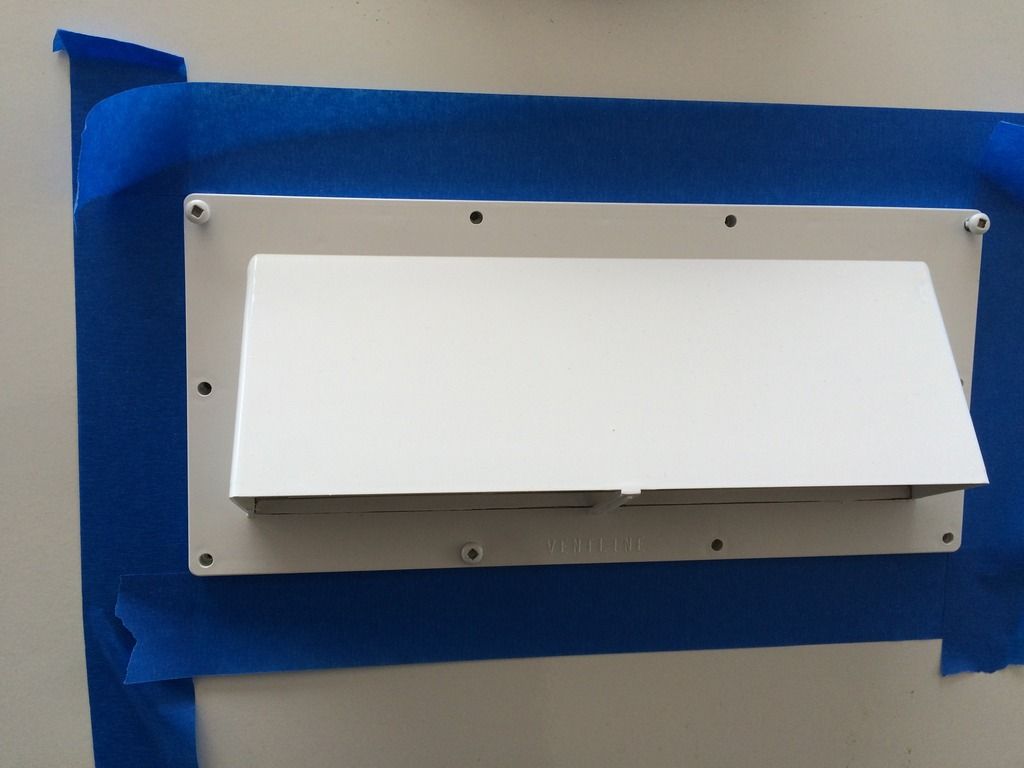
After that I pre-installed the new vent cover (notice the nice ivory white acrylic paint) to tape around the vent so when I get the dicor on I minimize the spillage and contamination over the camper side.
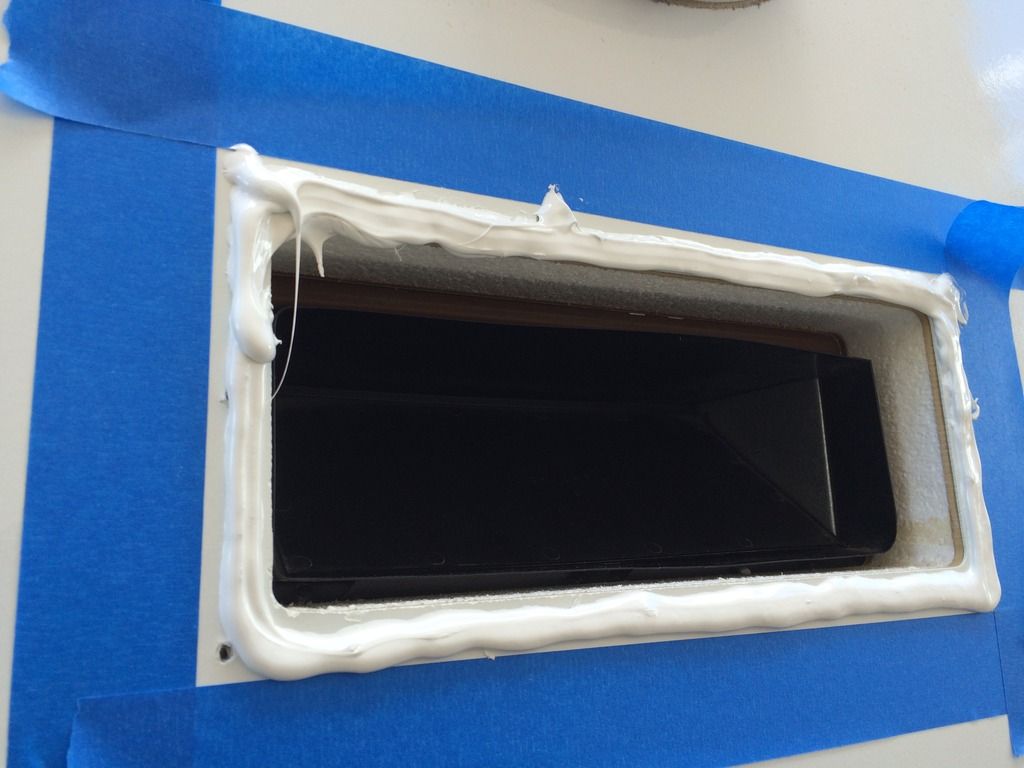
I then got my trusty pneumatic caulking gun (these things are worth their weight in gold) out and laid a big wide bead of Dicor on the surface of the wall and a tiny bead on the vent cover. I tried to be consistent where I put it down as it takes just a second to run the gun around this small area.
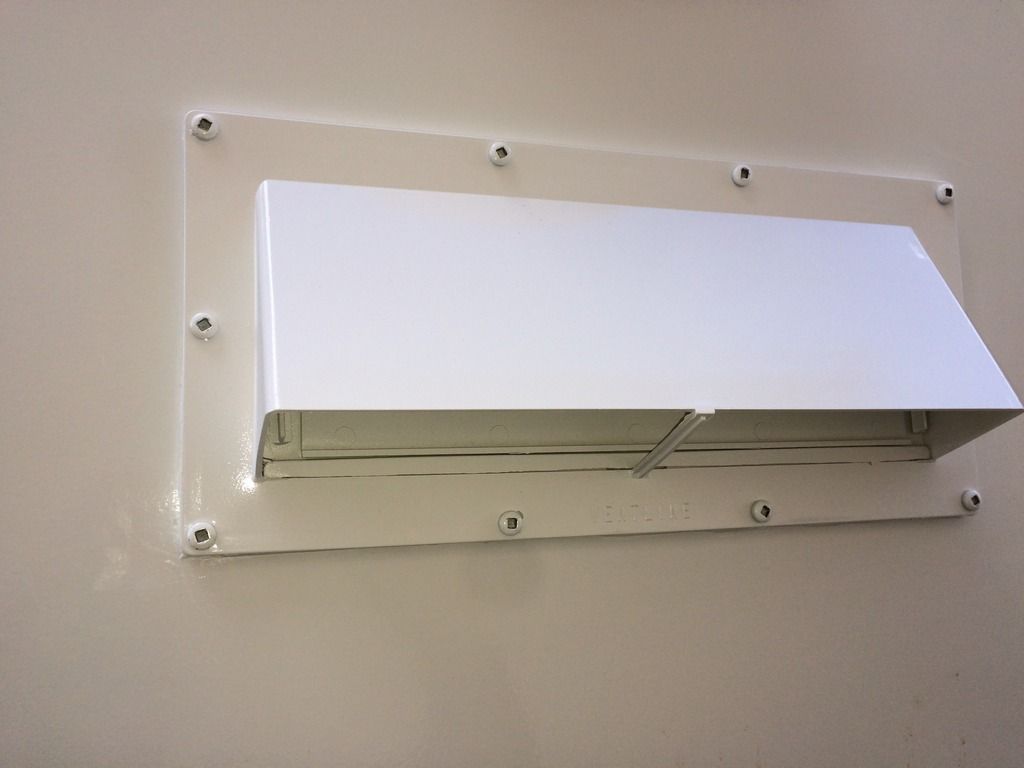
Lastly, I permanently mounted the vent cover and slowly and evenly tightened up the screws to prevent cracking the vent while pushing down the sealant inside. Once the screws were all tight I pulled up the tape and cha-ching!! Cleaned up the edges with a little spirits and it looks even better than it was new!!


So, I ordered a new one. Once I got it I painted it for two reasons: 1. Get the color to match the sidewall white and, 2. Protect it since the other one yellowed over time.
Once I got the ten crews out I carefully tried to get a lever in between the exterior and the plastic vent.

Once I slowly unpryed it from the exterior I carefully scrapped of the sealant with a plastic edge. Next I got out the trusted razor blade a slowly moved it along to get off the adhesive. Not all came off.

Next, I got out the mineral spirits and begin to slowly unharden the sealant to get the surface as clean as new.

After that I pre-installed the new vent cover (notice the nice ivory white acrylic paint) to tape around the vent so when I get the dicor on I minimize the spillage and contamination over the camper side.

I then got my trusty pneumatic caulking gun (these things are worth their weight in gold) out and laid a big wide bead of Dicor on the surface of the wall and a tiny bead on the vent cover. I tried to be consistent where I put it down as it takes just a second to run the gun around this small area.

Lastly, I permanently mounted the vent cover and slowly and evenly tightened up the screws to prevent cracking the vent while pushing down the sealant inside. Once the screws were all tight I pulled up the tape and cha-ching!! Cleaned up the edges with a little spirits and it looks even better than it was new!!
