Thanks Greg B... glad that the pictures and write up will be of some help. When I repaired the wings on my Lance
1061 a few years ago, I found some helpful articles here on RV.net as well. And NRALIFER, I read your whole thread before starting this.... great work and info was helpful..... it's nice to know that others have felt my pain.....:)
So..... back at it again last night. It was a beautiful day here yesterday and the sun beat down on the affected side for most of the day, drying it quite nicely. Upon getting home from work I cleaned the side up some more with the Dremel multi tool. I bought the Dremel back when I did the other wing repair and what a useful tool for this type of a job. I just had to stop by the hardware store and pick up a new blade for it as the one on it was quite dull. New blade installed and it was cutting time......
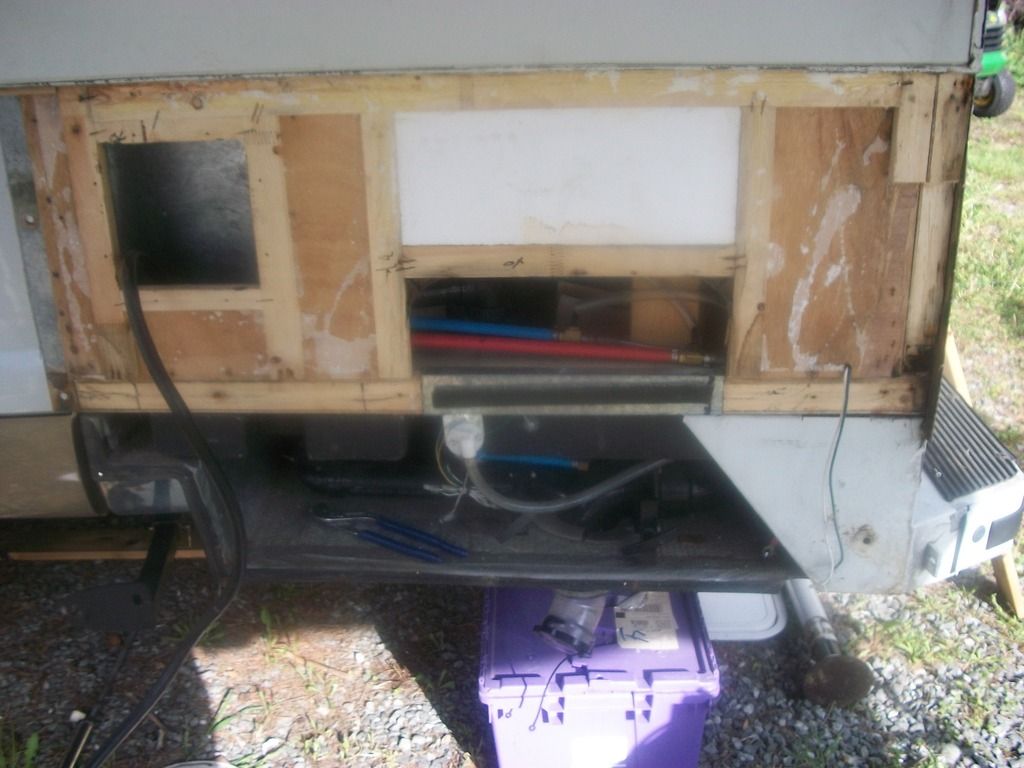
Here she is with some more of the rotten wood removed and back to good, solid wood, pretty much all the way around. The lower right corner still has a little rot there but it is all dry. I cut it out the best I could and it is maybe only a 1/4" left at best.
In my previous repair I used some scrap mahogany wood that I had acquired somewhere.... I think I bought it at a yard sale for $5.... I had a few pieces left but not enough to do what I wanted. With some thought, I remembered that I had some 3/4" cedar in the shed that was left over from a home remodel project...... back in 1987... seriously! My wife was amazed (frightened?) that I had scrap wood left from 1987!!
I pulled out the cedar and it was solid....
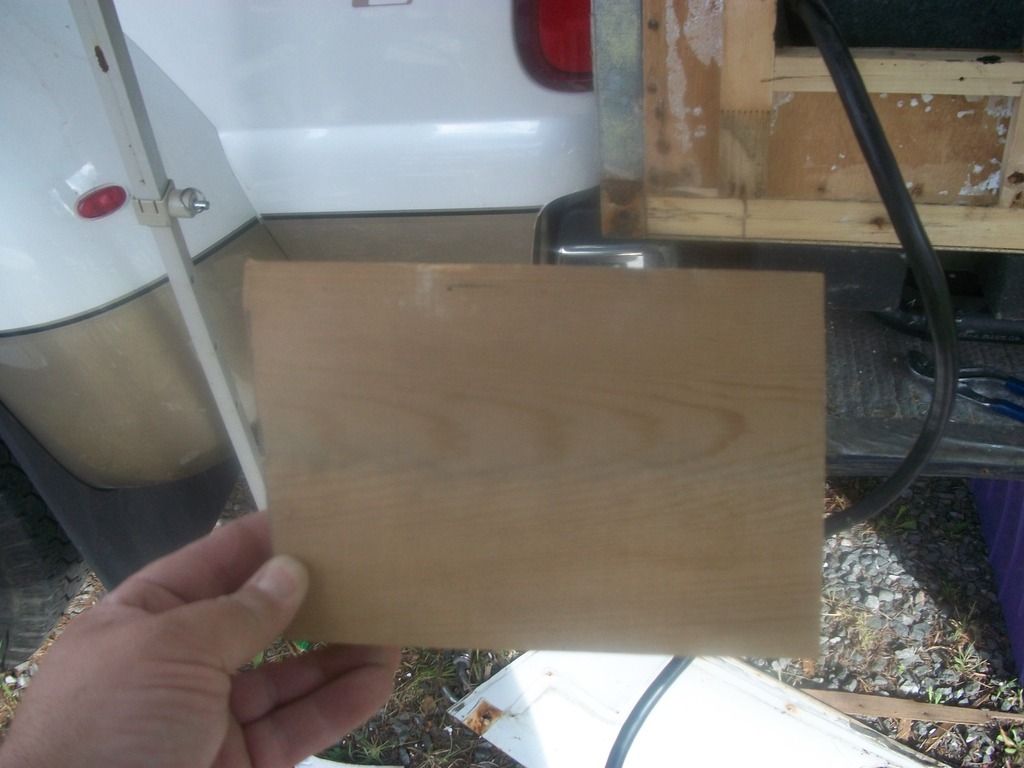
This is a sample of it. Nice and clear and solid....
I commenced to cutting on the chop saw and ripping on the table saw to get some dimensional pieces to make a rough frame. All I had to go by was the filon that was on the back of the wing.
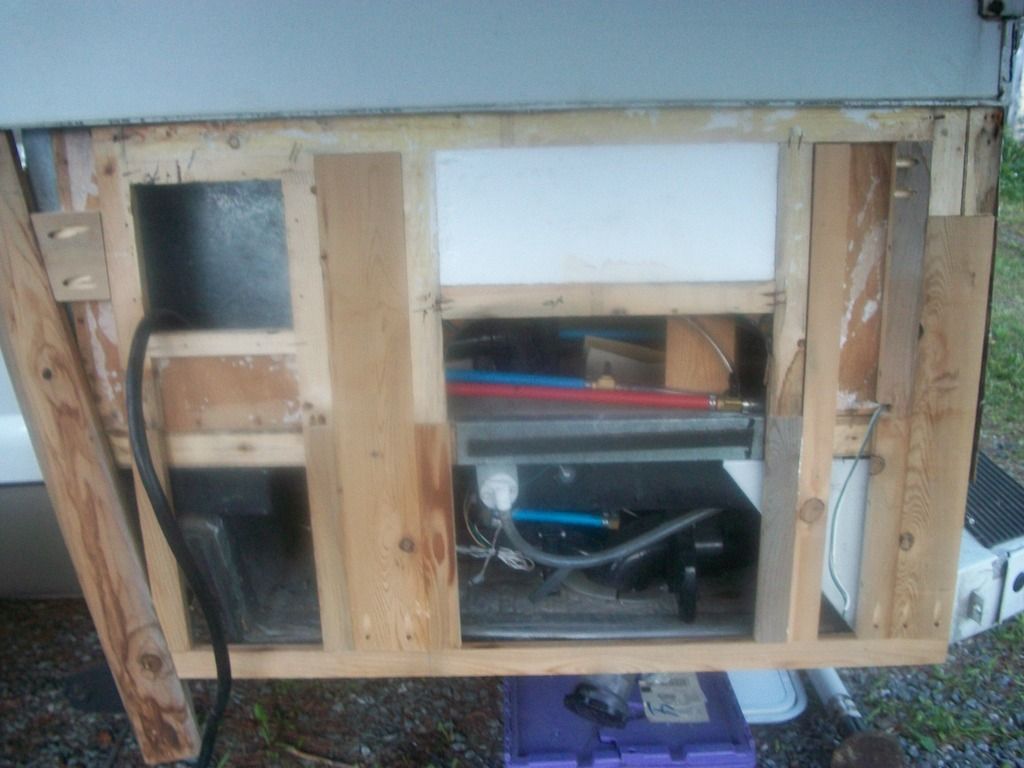
Here is the framework assembled and "glued and screwed" together. I tacked it onto the camper to let the glue dry and to make sure it would dry in the shape that I needed it to. Tomorrow I will screw a temporary board across the front of it to hold everything in place while I install the new backing. I am going to use FRP (Fiberglass Reinforced Panel) or "milkboard", attached to some 1/4" luan. I have some left over from the previous project.
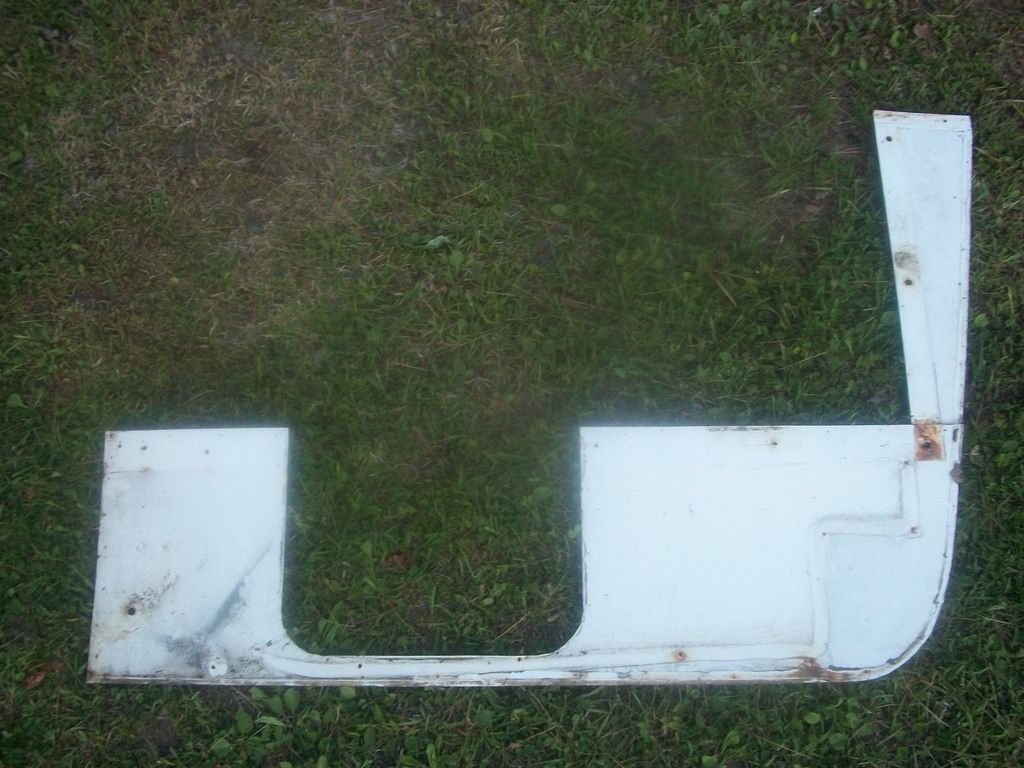
This is the filon that was on the back side. All of the backing pretty much rotted off of it but I will use it as a template to make my new backing. I believe that it was originally on 1/8" luan so I may see if I can find some of that tomorrow instead. I used 1/4" before and it turned out fine.
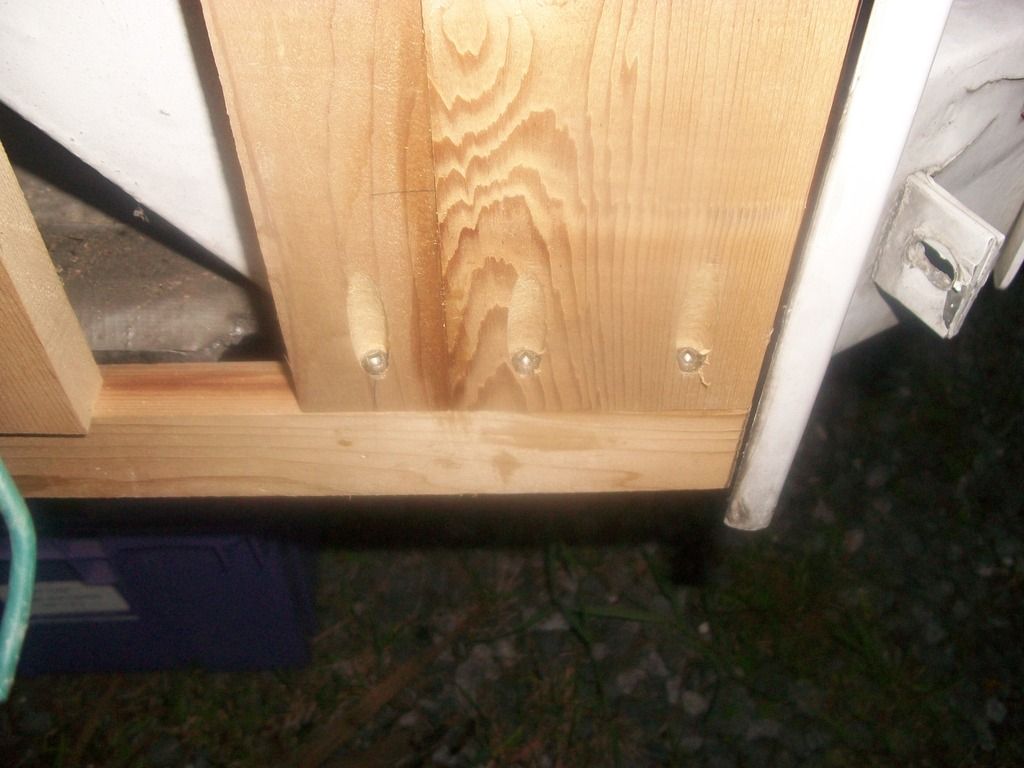
Also, all of the wood is glued and screwed with pocket screws. Last time I screwed directly through the wood and had some problems with the screw holes in the molding landing right where I had screwed, so any outside edge where molding will be going, I used a Kreg Jig and installed pocket screws.
Today I also called Lance Campers to find out about getting a replacement piece of luan-backed filon, as the original pieced was destroyed coming off. I spoke with a very helpful lady in parts (I think here name was Shelly??) As I had purchased the same product before, she was able to look up what I had ordered last time. Unfortunately, the color of the filon used on my 2004 is either not made or they didn't have any. The color of my filon siding is called "New White" and the current color is "Artic" or "Polar" white. I'm still going to go for it and if the color is way off, I may have it painted before I install it. We will see when it gets here. Lance Campers has been great to deal with for parts... better than my nearest Lance dealer.....
So, for now, the glued up frame is drying in place. Tomorrow I will finish any smaller pieces that still need to be fit, sand it down to get the seams even, and commence to getting the luan/FRP combo glued up to go on the back side.....


