Well, the filon finally came in from Lance yesterday. Little snafu with getting the right size but got it and now time to put things back together. I also got the "seam" molding from lance as well. They were able to cut a piece in half and ship it with the filon.
To start with today I wanted to remove the metal electrical cord storage box from the inside of the wing. That was a MISTAKE! I got it but it took over an hour and several bandaids later.....

The screws that were somewhat holding the sides and bottom were easy to get out. I could reach in behind with a stubby phillips screwdriver and take those out. There were three screws along the top, however, that were screwed into the horizontal framing of the main part of the camper (not the wing). I tried the dremel, which loosened them some, a prybar, and some foul language!! None of that worked. I then used some tin snips and cut away some smaller pieces and kept working it back and forth.
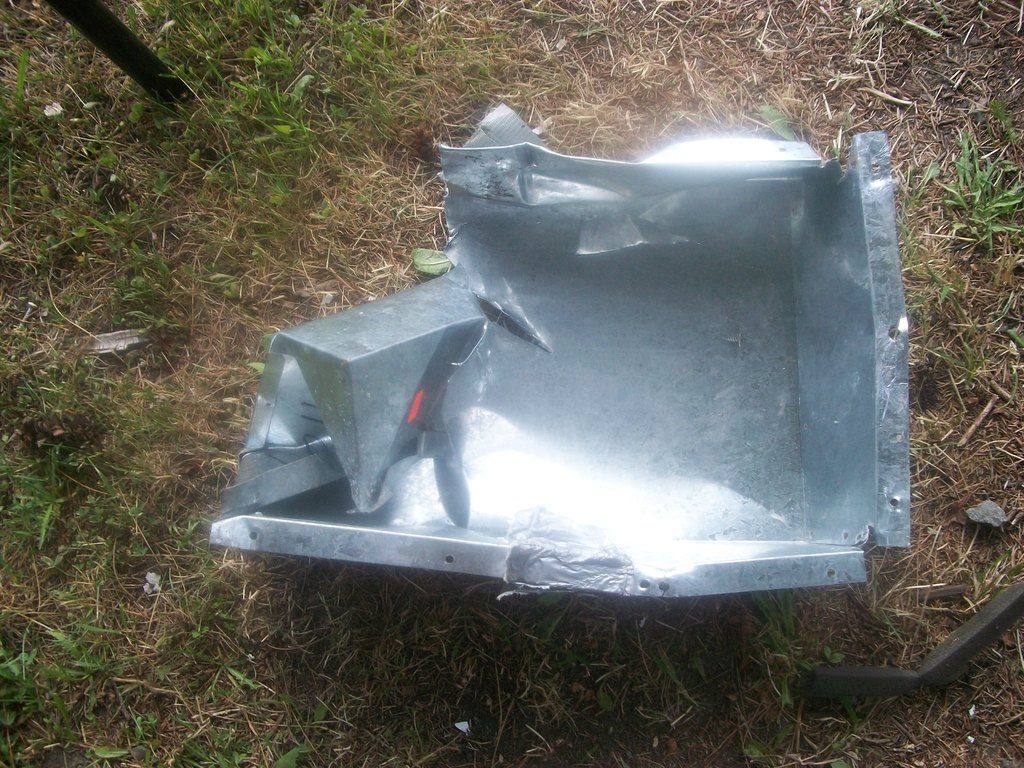
This is what it looked like after coming out. Whew!!!
I'm not sure what I really needed to take it out for but it is out of there now.
The next step was to drill the holes for the bolts to go through to the metal "pan".
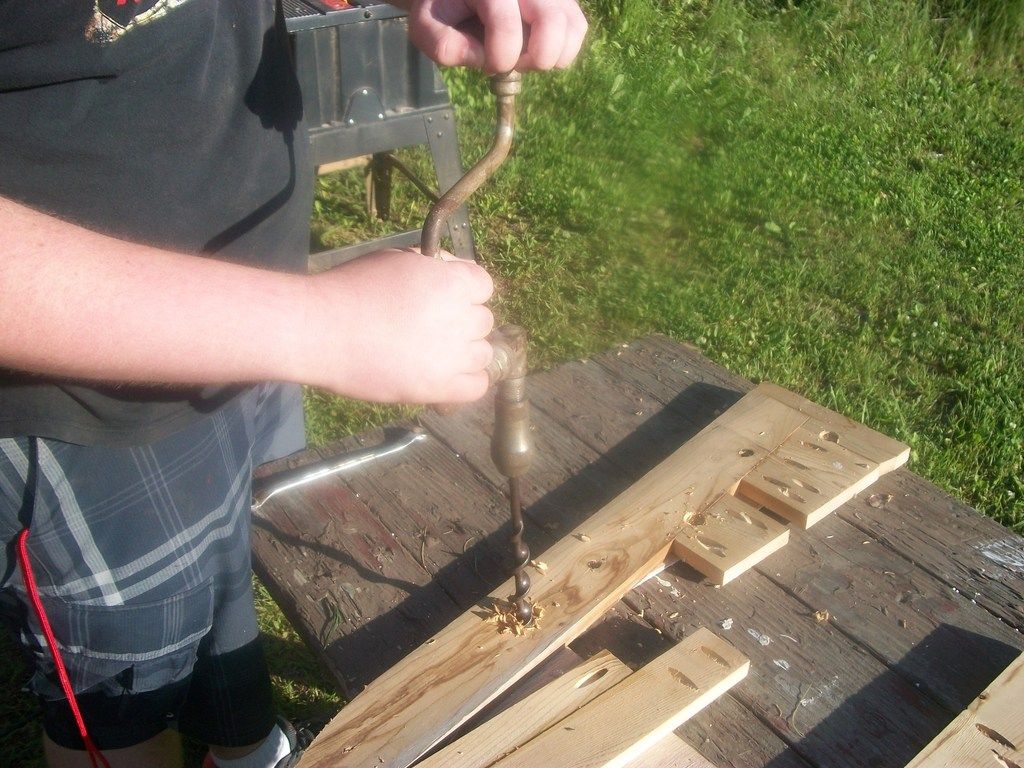
I didn't have the right size paddle (or spade) bit to countersink just a little for the bolt head so back to the old fashion way..... a bit and brace setup that worked just fine!
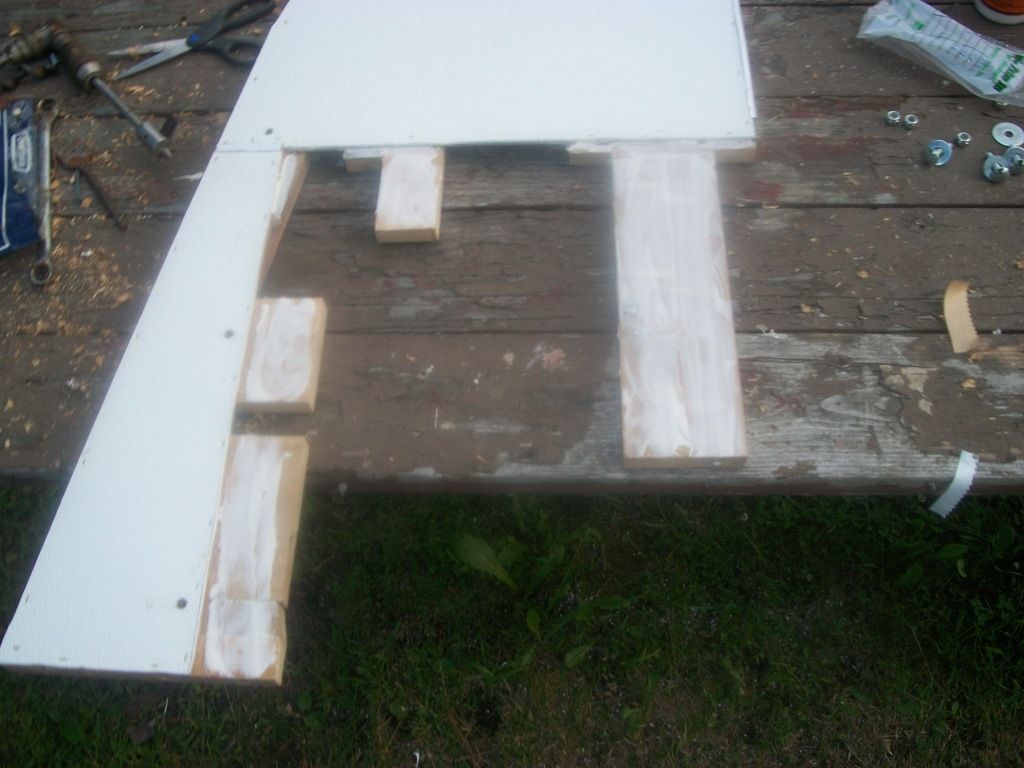
Although hard to see, where the FRP on the back side meets, I used a small piece of eternabond tape (about 1/2" wide) to seal the seam. I may end up putting the tape on several other places as well as it WILL NOT come off!!! This is the framework all glued up and ready to be attached to the camper.
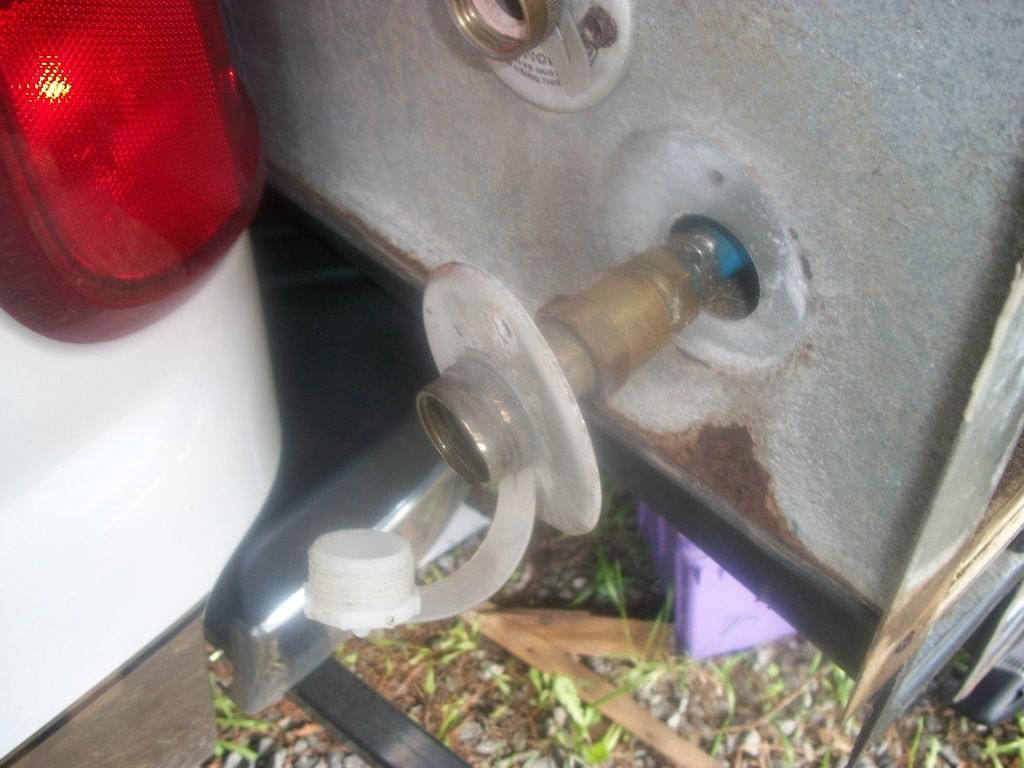
While I was in there, I pulled out the city water connection. I am going to change this out as well as the connector is seized up and won't turn. I'll pick one up tomorrow....
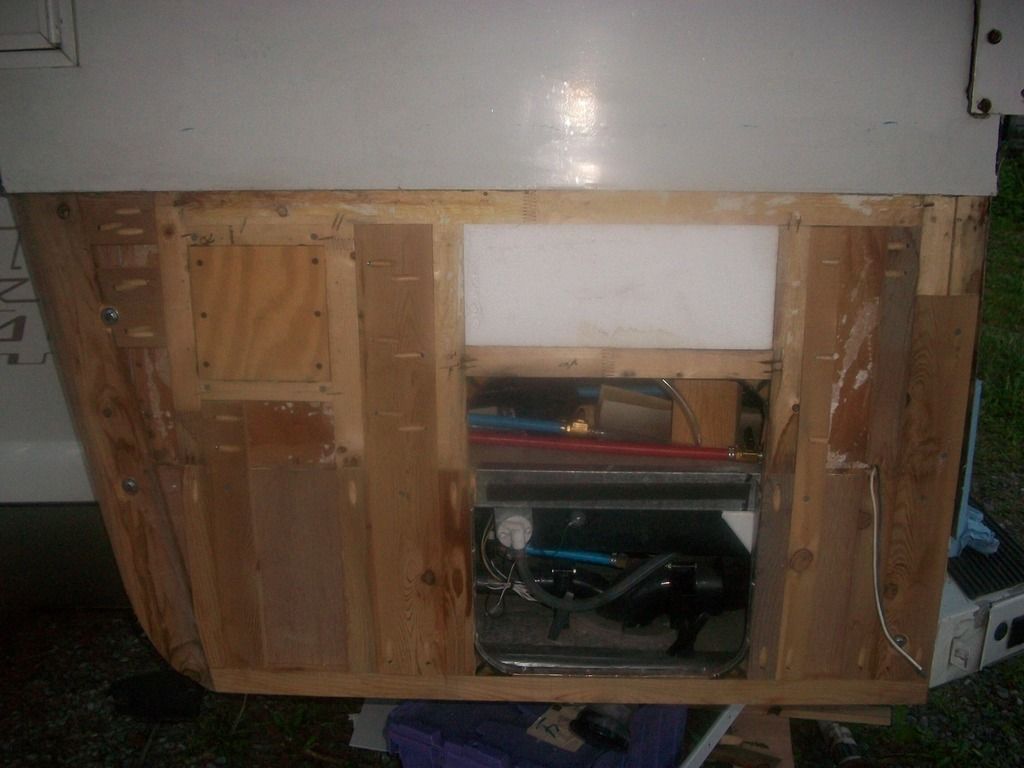
All bolted, glued, and screwed... Ready for filon..... The plywood has been attached to the former electrical cord opening. Filon will go over that and then I will drill out for the Marinco 30 amp power inlet.


