Now that the frame was nearly completed and I have the filon, time to finish up.
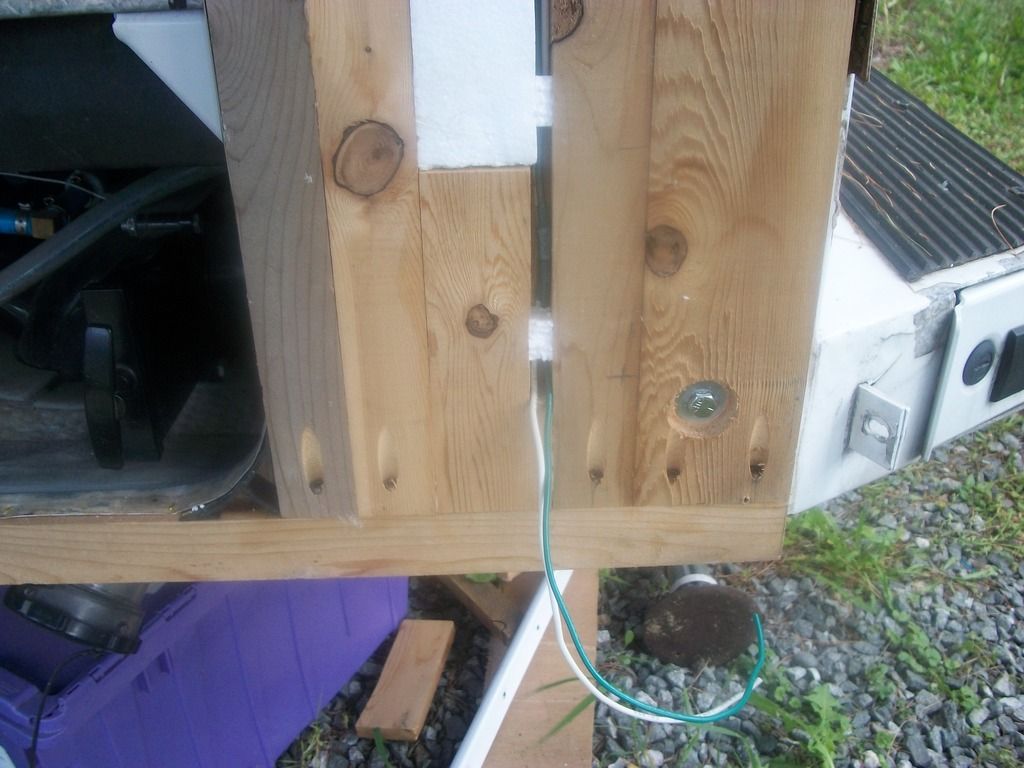
I had to cut the marker light wires back a ways to get to wire that wasn't corroded. I added some new wire on to extend them back out. Used heat shrink, crimp on butt connectors for the job.
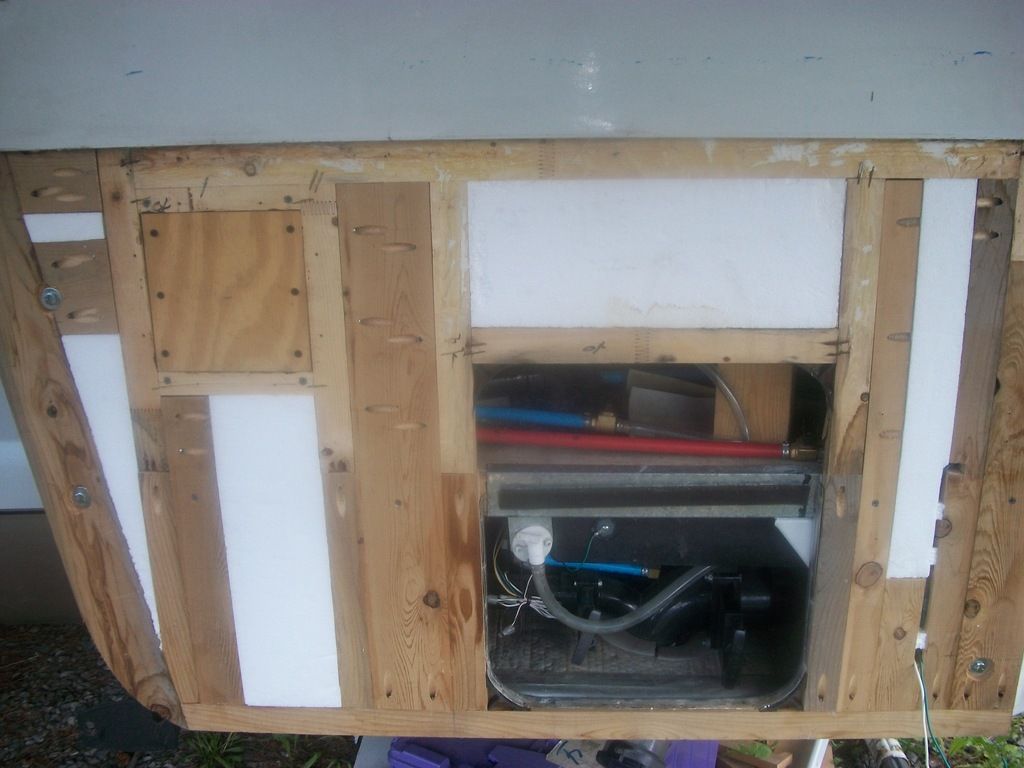
The filon from Lance came sandwiched between two sheets of 3/4" foam....... hmmmm, repurposed for insulation?.... yep... that worked great. It appears it is the same stuff they use at the factory for just such jobs.
I used Gorilla Glue to adhere the luan-backed filon to the framework. Anyone who has used Gorilla Glue knows that you have to work fast, especially with larger areas. I sprayed the framework with a light misting of water (the glue is water activated) and my son rolled the glue on with a roller just designed for that purpose. I didn't take any picture, unfortunately, as we had to work pretty fast. By the time we got the glue from one end to the other, the first part had started to activate. On with the filon........
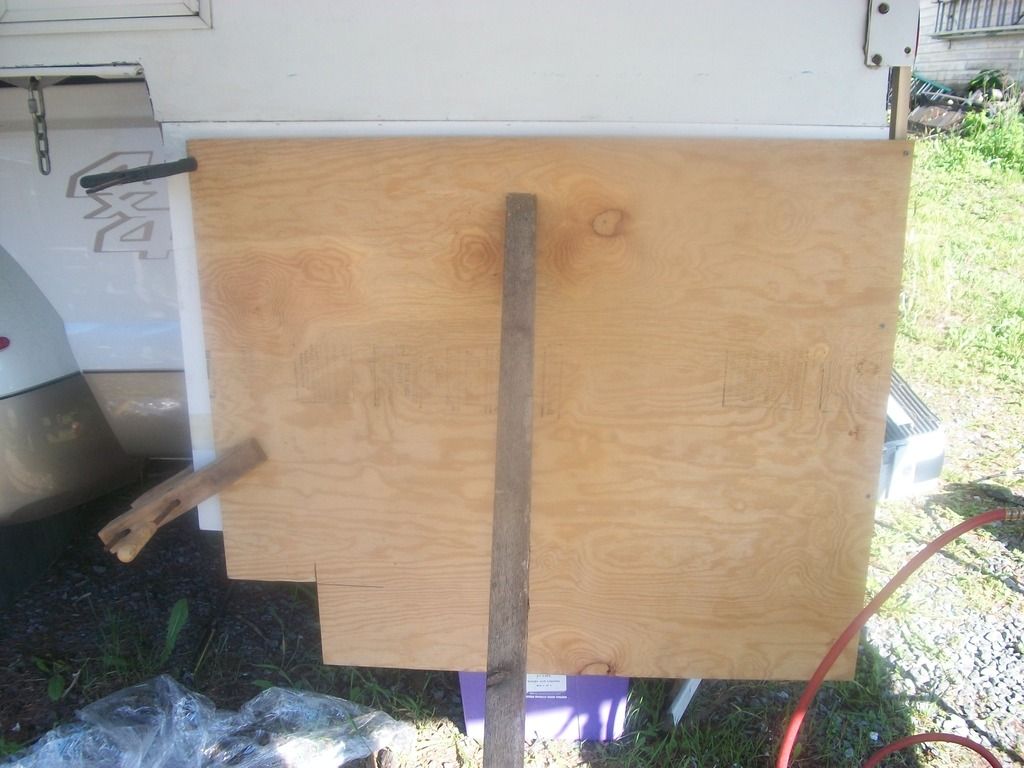
Using some clamps and a 3/4" piece of plywood, we clamped/braced the filon in place on the framework and let it set up. I noticed that the plywood had a slight bow in it an wasn't making contact with the entire surface....... we had to enact a very fast "Plan B"....
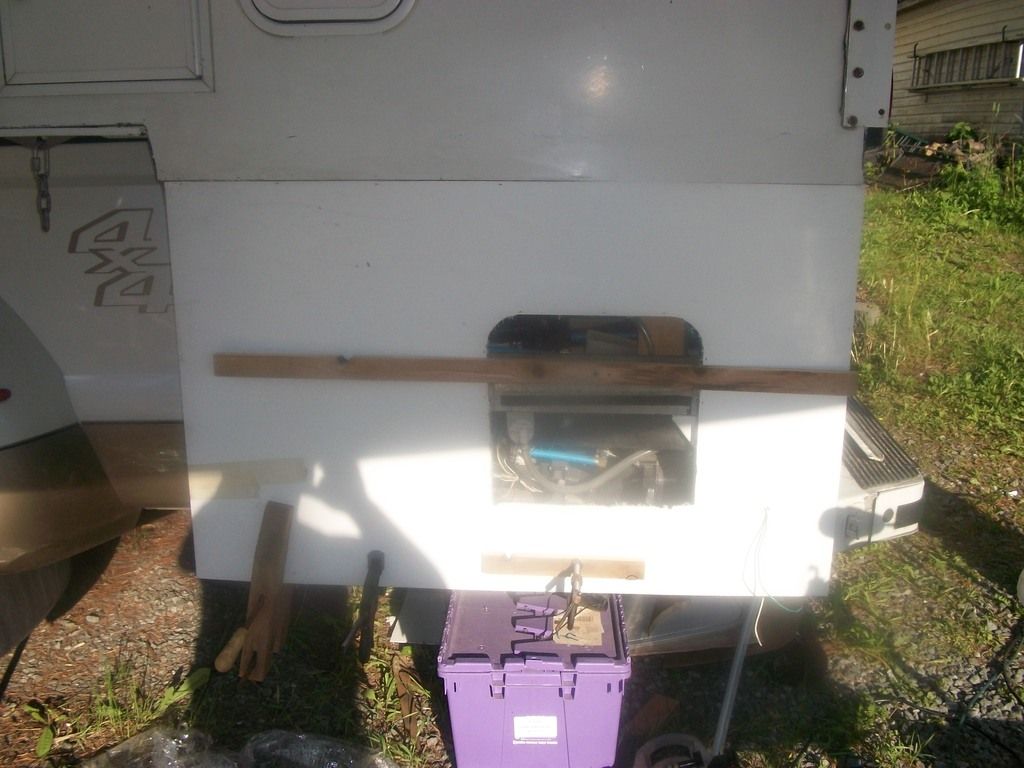
Using the router with the flush cut bit, I cut out part of the sewer compartment door. I then used clamps around the edge and a modified clamp in the middle. I used staples along the top seam, which will be hidden by the transition molding......
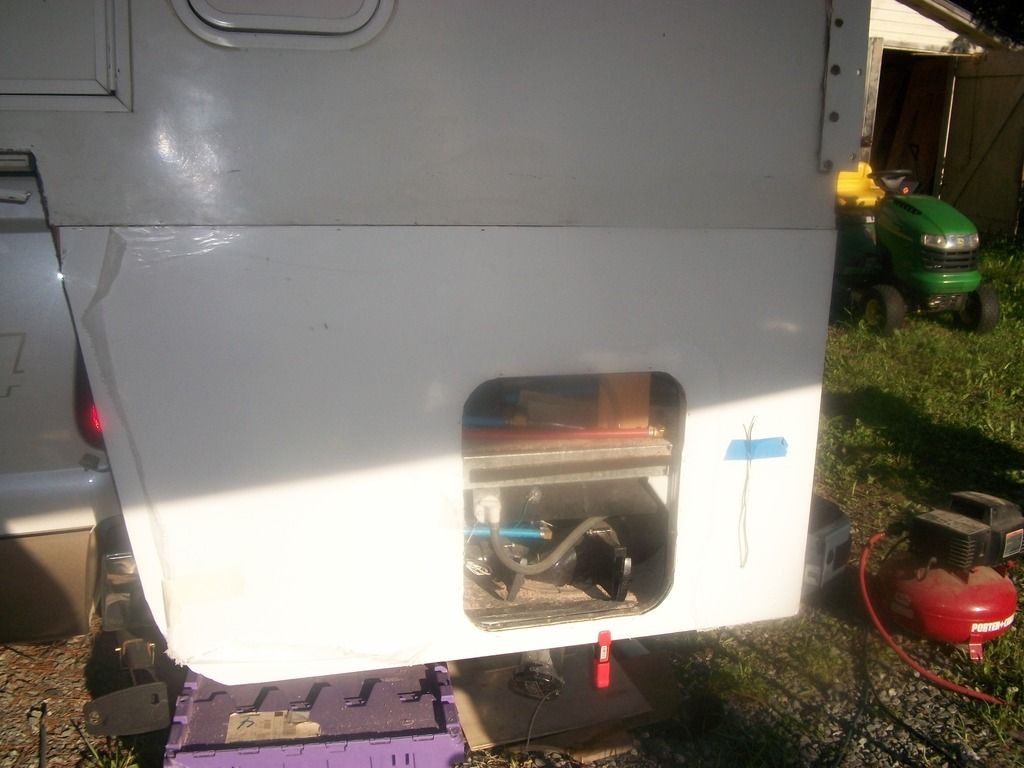
The glue is dry and the clamps are off. A router with a flush cut bit made easy work of the remaining cut out of the sewer compartment as well as the front radius. Once that was done the front radius was sanded down with a belt sander to the final radius.
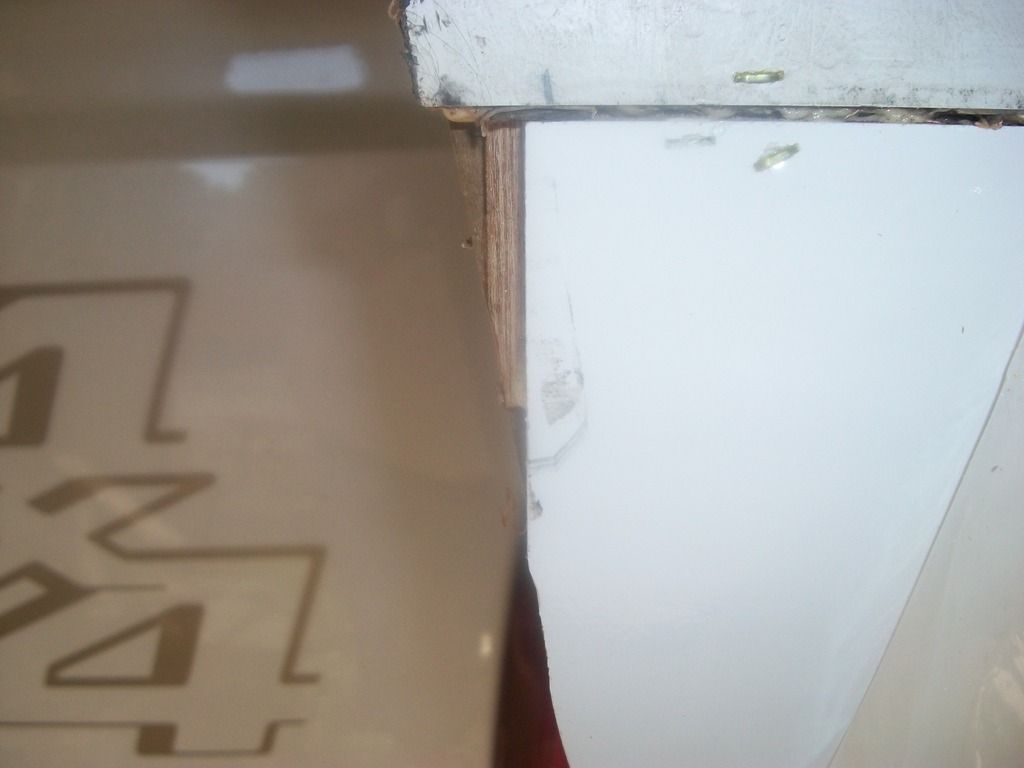
The filon that I got from Lance was 4' wide as it comes in 4' x 8' sheets. The total distance that I needed was 4' 1/2". I was able to make a 4' piece work as this seam is mostly covered by molding.
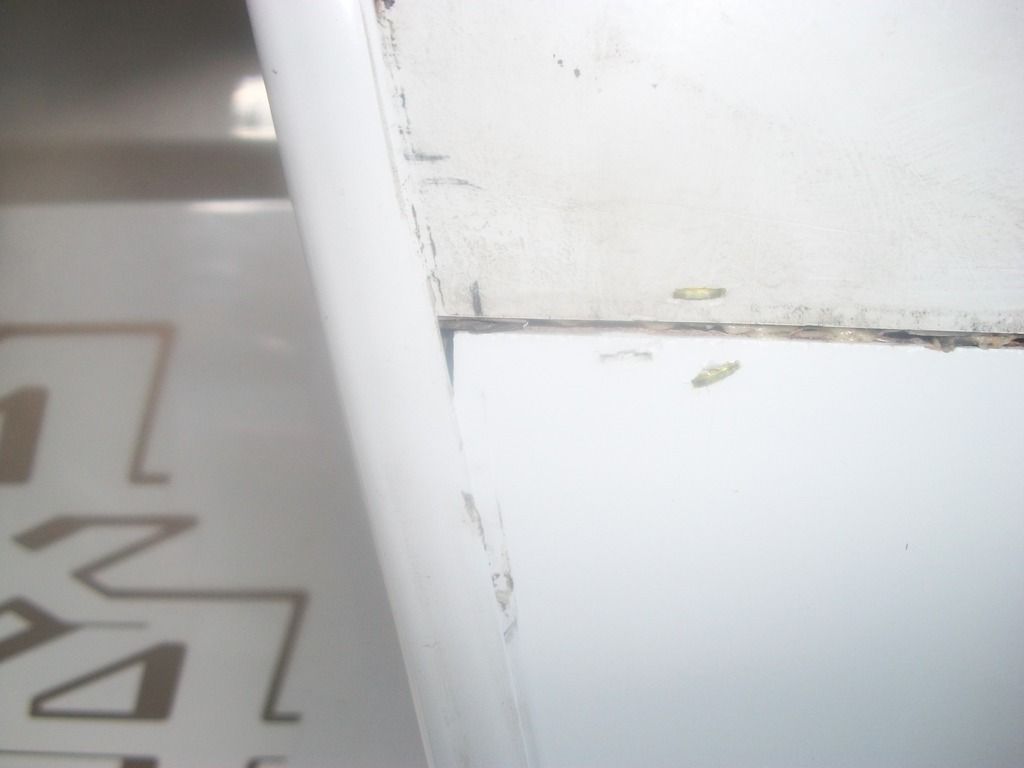
This is the same seam with the molding applied. Any remaining gaps will be covered with caulking.
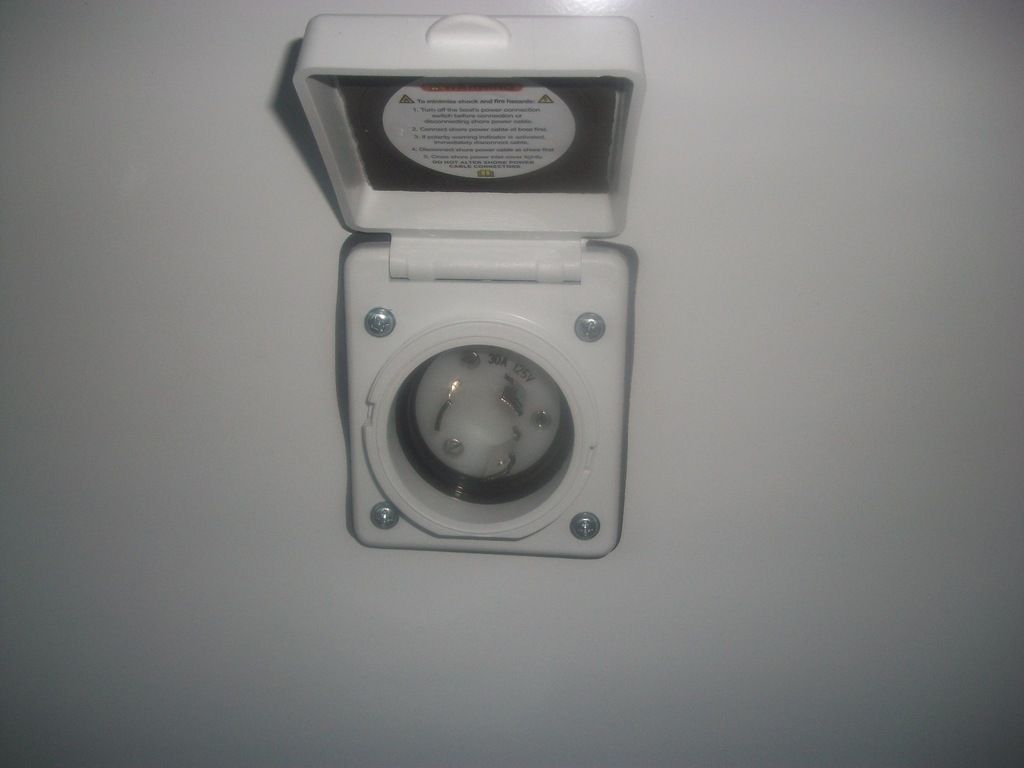
The Marinco plug is all installed and wired.
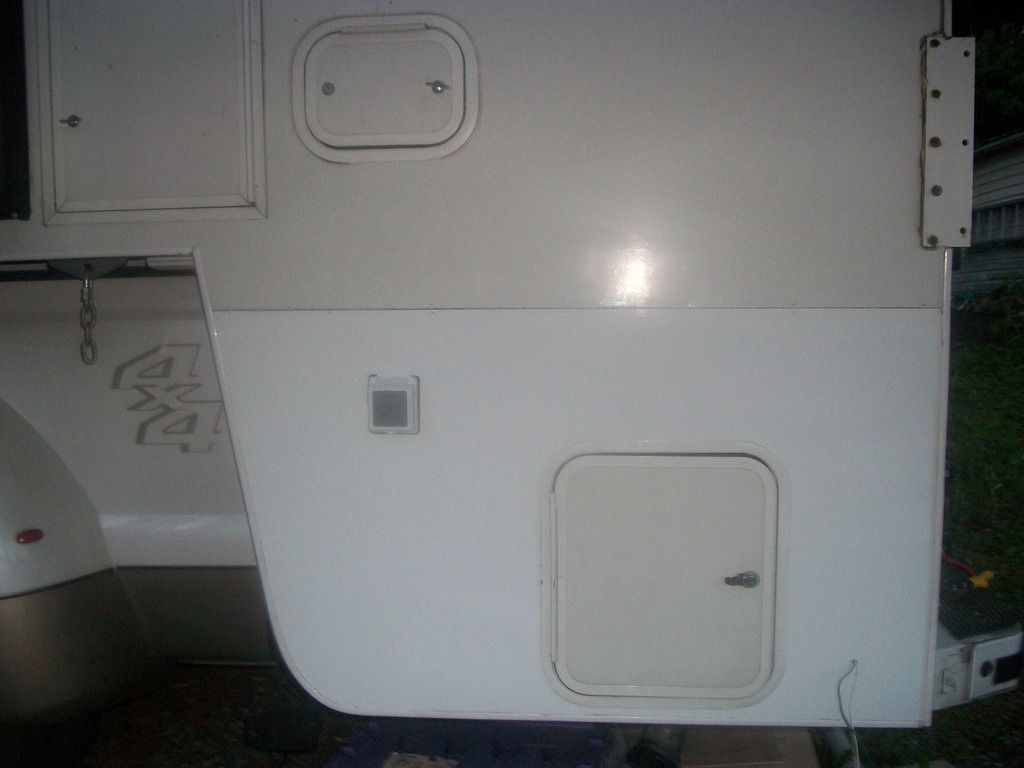
All of the moldings are back on. I used stainless steel screws that were one size bigger than what was used. All I could find were stainless ones so a quick spray with some white spray paint worked well.
The last things to do are to screw the compartment door back in to place, install the trim where the filon meets, and caulk all seams and molding...... and install a new marker light.
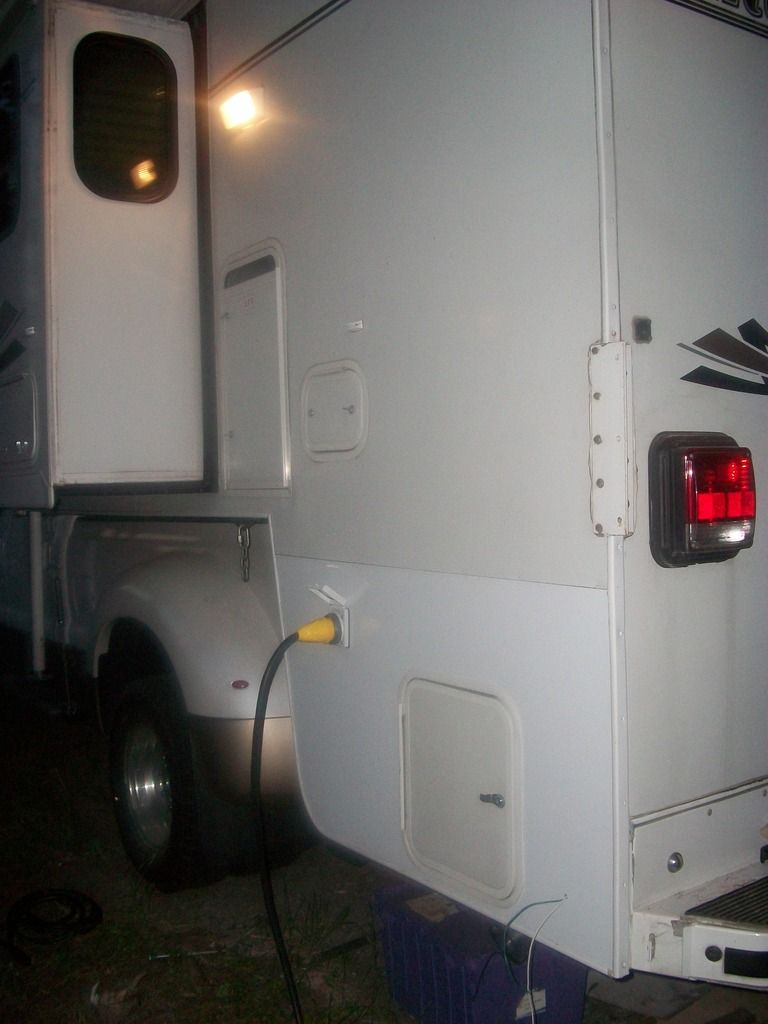
Plugged in and powered up!
The color difference between the new filon and the old is definitely noticeable. I will probably leave it for now and see if it weathers some.
Will post the final project pictures when finished.... hopefully by the weekend.


