Forum Discussion

74vette's avatar
74vette
Explorer
May 18, 2013

Looking for pics of car audio conversion

I am replacing my RCA 120v factory bookshelf stereo with a 12v car unit. After removing the RCA unit I have a large space to fill. I would like to install the head unit and the speakers in this space. Looking for pictures of your conversions to get ideas on how to fill this space and with what material. I have already run a dedicated 12v fused source for the unit.

Thanks

6 Replies

  • jjotmo wrote:


    I looked online and finally contacted the OEM for the radio and they made an adapter plate.

    Moderator edit to re-size picture to forum limit of 640px maximum size.


    So did you order the adapter plate (the one in your picture) directly from JVC or did you use another source to get it? I am looking for the same thing.
    Thanks.
  • Honestly I was going to cut a piece or plexiglass and paint the backside to fill the gap until I found my "kit". It would have looked good either way.
  • I'm not sure what the standard size is, they look to be larger than "double DIN" (if that means anything anymore). Crutchfield might be a good resource for installation kits/plates etc.
  • I don't have any photos of our install, but our original setup sounds similar. Our 120v setup had a wire antenna that hung off the back of the unit and output to speakers in the ceiling. The original unit was located in a book shelf area between two cabinets above our dinette... it also had the controls on top, which made it difficult to see and operate.

    I installed an amplified automobile antenna through the roof (from AutoZone) using a flat washer and plenty of Dicor on the roof. I had to bring 12v into the area. I considered tapping in to the existing 12v lights above the dinette, but decided it would be best to run a new line to avoid noise and run a heavier wire. The positive lead (#14 wire) was run from a fuse block I installed in the front pass through... I could have used the camper's factory fuse block, but this option allowed me to bypass my battery disconnect switch. The negative lead was grounded to the camper's frame. I utilized our existing in the ceiling speakers and a set of outdoor speakers ran into our bunk area and out a storage door (we already had the outside speakers with our previous setup).

    To install the auto unit, I framed the shelf between the cabinets to make a flat "dashboard" with a small piece of 1/4" plyboard. Then cut a hole to mount the radio. I included a switch for the positive lead to the radio and antenna amplifier (from AutoZone, similar to Roy's above). At first I included the radio's memory power on the switch, but later removed it from the switch... it does not have a significant impact to my battery storage, even over the winter months.

    I then added framing & plyboard to hide all the wiring above the radio. This created a nice shelf/nook to store stuff. All the plyboard was painted to match our camper's decor.

    I really wish I had photos to share... I think the install turned out really good. It has been in place for 2 years now with no issues or problems. Our radio's reception is MUCH improved, the controls are all located on the front face, our preset stations are not lost, we have radio even when we do not have 120v, and my DW is happy with it. It was a win-win upgrade!

    Happy Camping!
    John.


  • I looked online and finally contacted the OEM for the radio and they made an adapter plate.

    Moderator edit to re-size picture to forum limit of 640px maximum size.

  • RoyB's avatar
    RoyB
    Explorer III
    I realize this is not your planned installation but wanted to pass along a couple of points I had with my 14RT OFF-ROAD POPUP AM/FM Radio install. My original JENSEN AM/FM went bad on me and kept blowing its fuse so I replaced it with newer version JENSEN AM/FM Car Radio that had a DVD player in it..

    You will also need to install a second 12VDC switch to simulate the auto ignition key operation if you want to your radio to keep all of its settings. Otherwise everytime you turn it on you will have to start pushing buttons...

    I usually leave the main radio ON-OFF in the ON position when I head out on the trip and then just use my igition key ON-OFF switch to use the radio. Then I when I get back to the barn I will go ahead and turn off the main radio switch. Of course this will give you yet another small drain on the battery that is always present which is a small drain but with all the other keep alive 12VDC things they all seem to add up I guess...

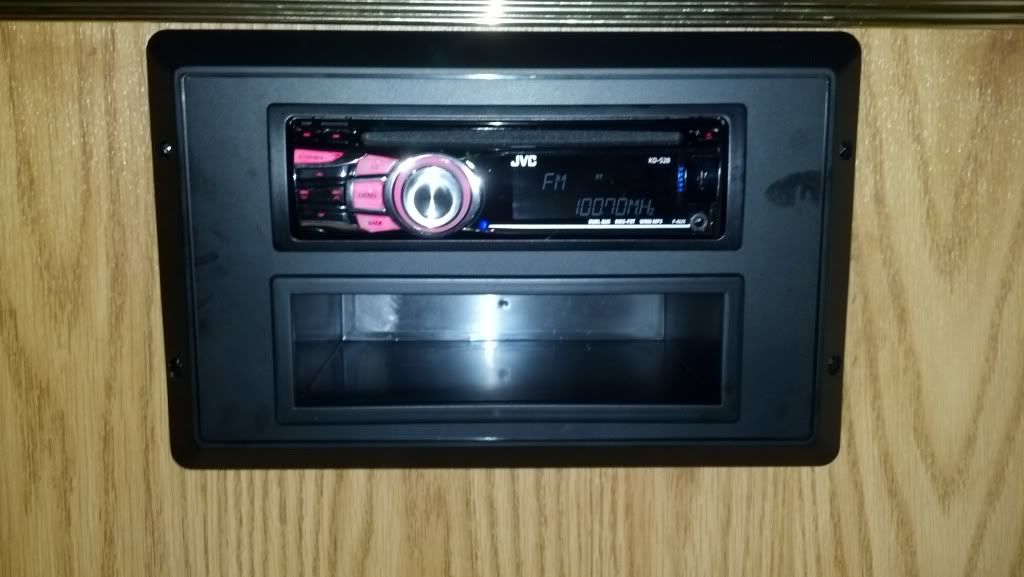
    This is a shot of my RADIO install position and I mounted this 12VDC 5AMP switch (Radio Shack) next to the radio on the right side.


    My AM/FM car radio is great for my use. I like the front-rear stereo speaker fadder function with the front position being the two inside stereo speakers in the bottom of my wrap around seating and the rear position being the outside stereo speakers under our awning sitting area.


    My car radio antenna looks something like this and is mounted to the side of my off-road POPUP main body. This is marine am/fm radio antenna made of flexible rubber


    You can just see it mounted in this photo of a RT14 off-road POPUP on the left side of the POPUP main body. The antenna is rotated down for travel mode.


    Sounds great in my OFF-ROAD POPUP.

    Roy Ken

About DIY Maintenance

RV projects you can tackle on your own with a few friendly pointers.4,402 PostsLatest Activity: Mar 23, 2026