Forum Discussion
courtate
Jun 06, 2013Explorer
Here is what we did:
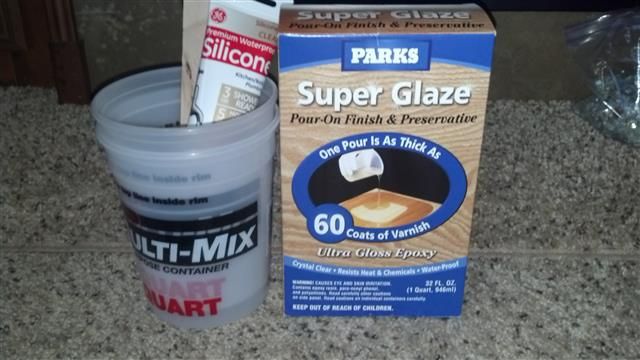
We went to the hardware store and got clear two part epoxy. The process is explained with the pics.
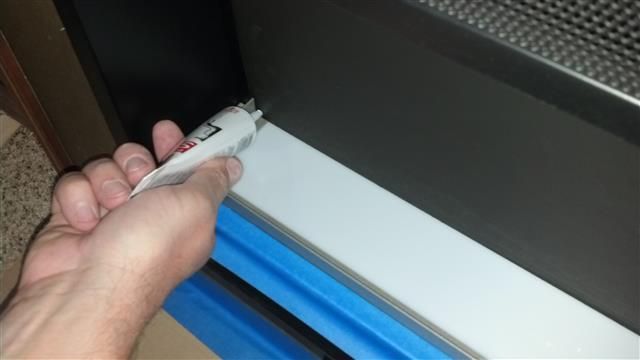
I will mention two mistakes that we made. One: we did not get a good seal with the silicone and we had a small blowout with the epoxy. It scraped off easily enough once it dried, but could have been avoided. Two: When pouring the epoxy, we did not allow for the volume of the glass pieces and with the epoxy and glass it ended up being deeper than we has planned. It worked out ok by fluffing once it partially set up, but would have been easier to have not had it so thick.
Super glaze ultra gloss epoxy
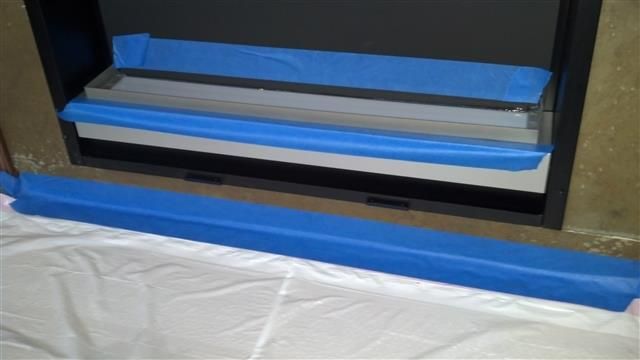
We started by masking off the area
Then sealing off all openings
Mix the epoxy as directed on the box and pour into the trough.
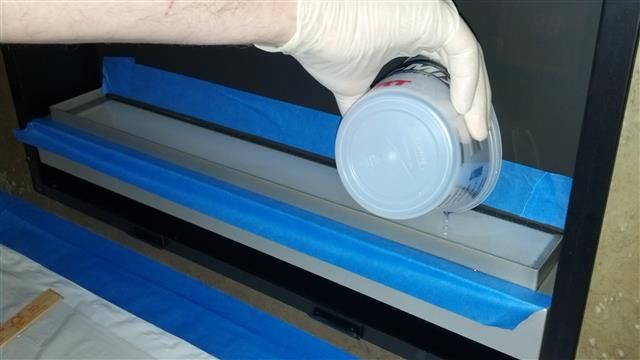
Add in the glass, rocks or whatever
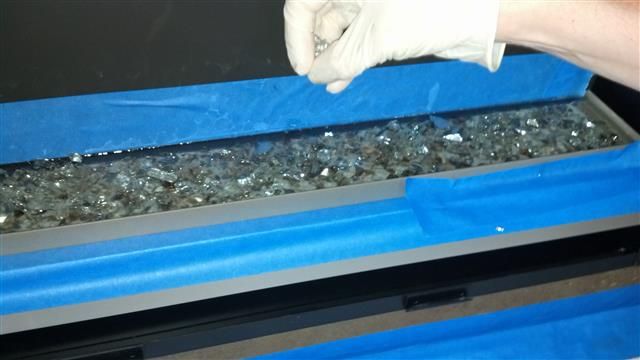
We waited until the epoxy began to set up and fluffed the glass up so as to give it dimension
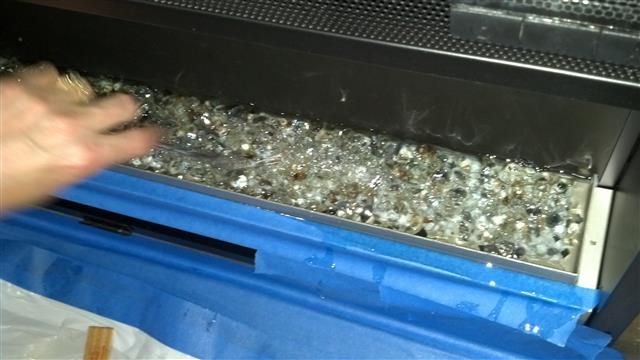
Let dry and here it is.
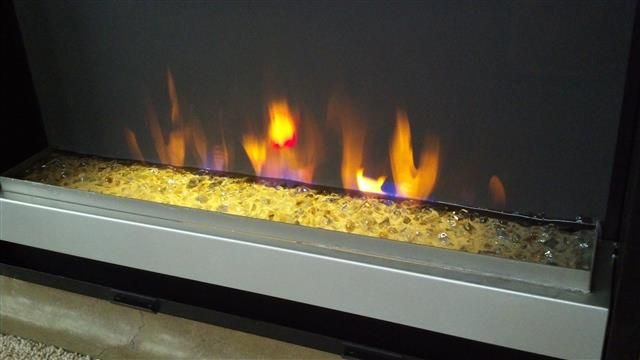
We went to the hardware store and got clear two part epoxy. The process is explained with the pics.
I will mention two mistakes that we made. One: we did not get a good seal with the silicone and we had a small blowout with the epoxy. It scraped off easily enough once it dried, but could have been avoided. Two: When pouring the epoxy, we did not allow for the volume of the glass pieces and with the epoxy and glass it ended up being deeper than we has planned. It worked out ok by fluffing once it partially set up, but would have been easier to have not had it so thick.
Super glaze ultra gloss epoxy

We started by masking off the area

Then sealing off all openings

Mix the epoxy as directed on the box and pour into the trough.

Add in the glass, rocks or whatever

We waited until the epoxy began to set up and fluffed the glass up so as to give it dimension

Let dry and here it is.

About DIY Maintenance
RV projects you can tackle on your own with a few friendly pointers.4,352 PostsLatest Activity: Jan 20, 2025