searfoss
May 02, 2012Explorer
Sofa to Dresser Upgrade
I was looking at the jack knife sofa in the TT
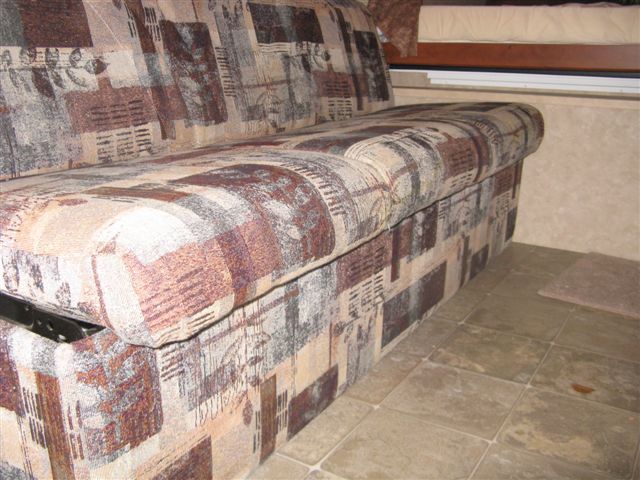
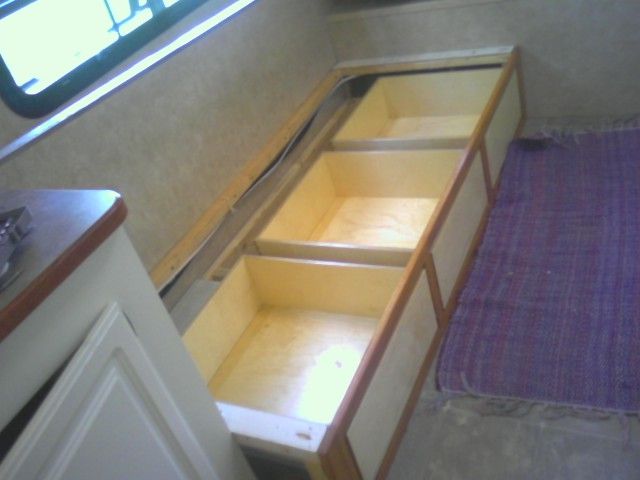
And noticed the wasted / unused space beneath it.
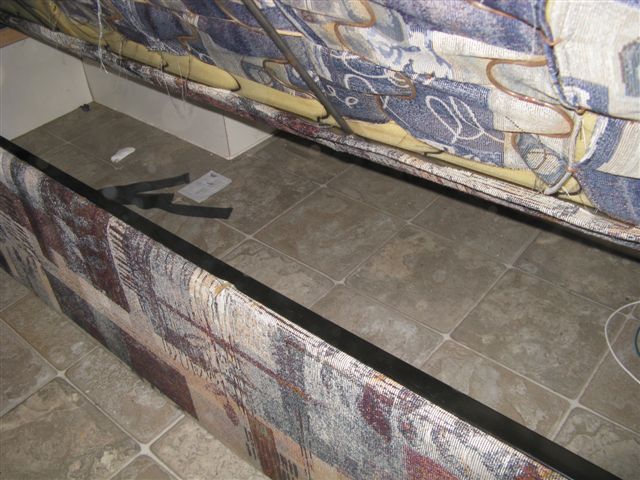
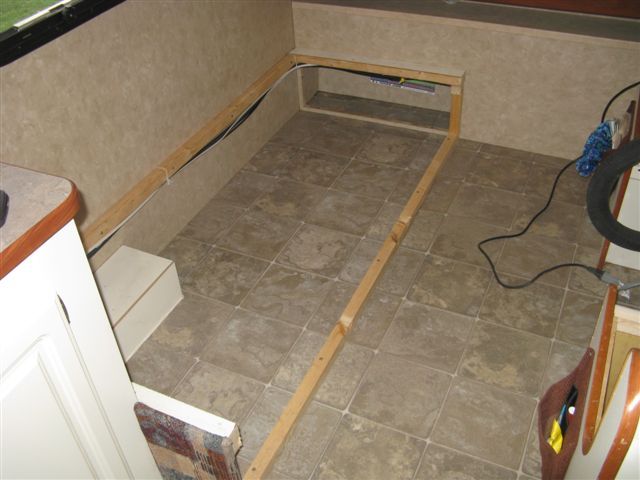
And decided that the space could be used for DW and I to keep our Clothing, so I removed the Jack Knife Sofa
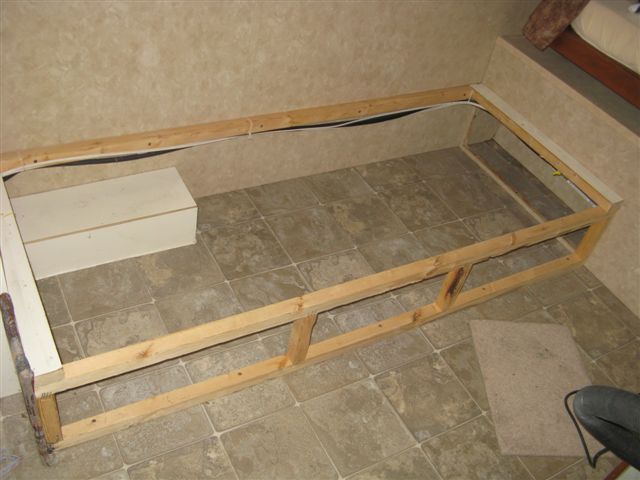
Measured out the area and removed the frame front.
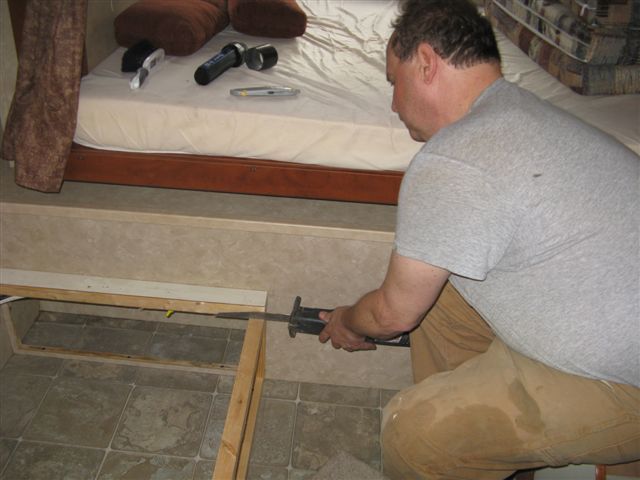
My Buddy gave me some oak he had that had gone Moldy that I decided to make the dresser from.
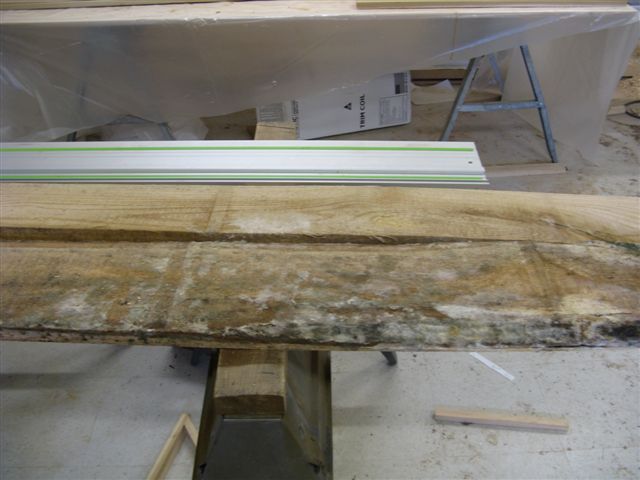
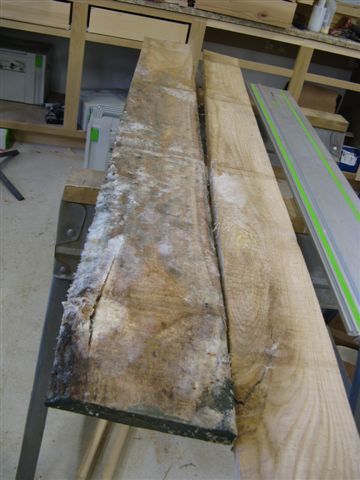
Off to the Wood Shop to see what I could come up with;
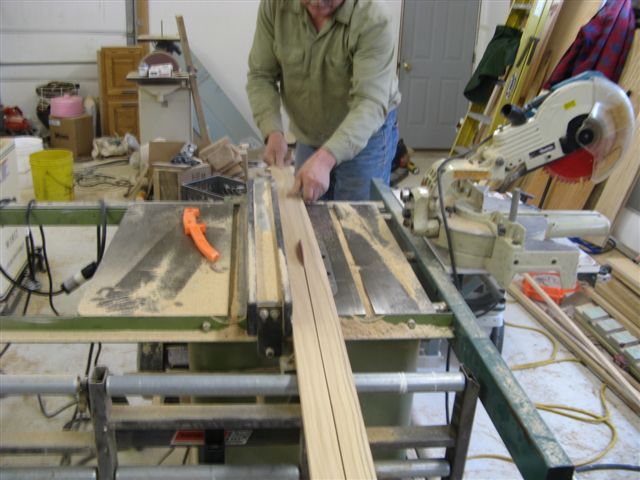
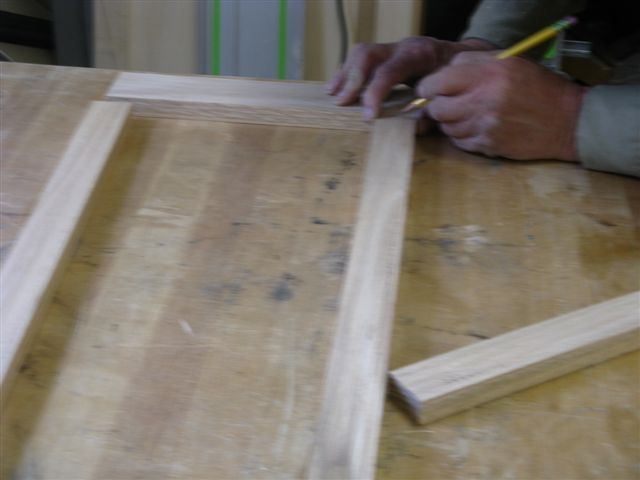
I wanted to use biscuits to hold the frame together but decided to use a Domino Biscuit using a Festool.
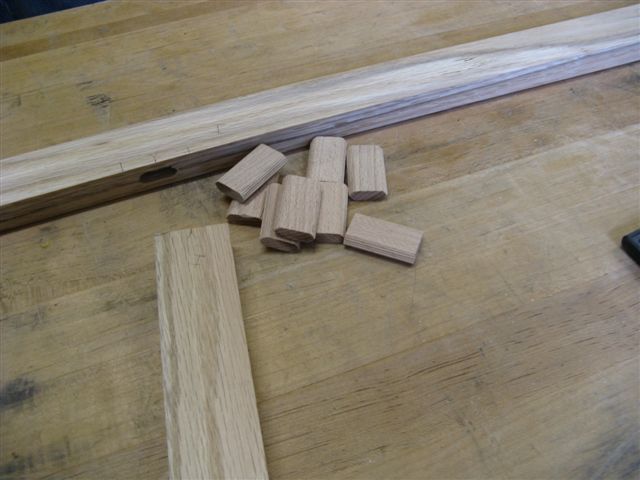
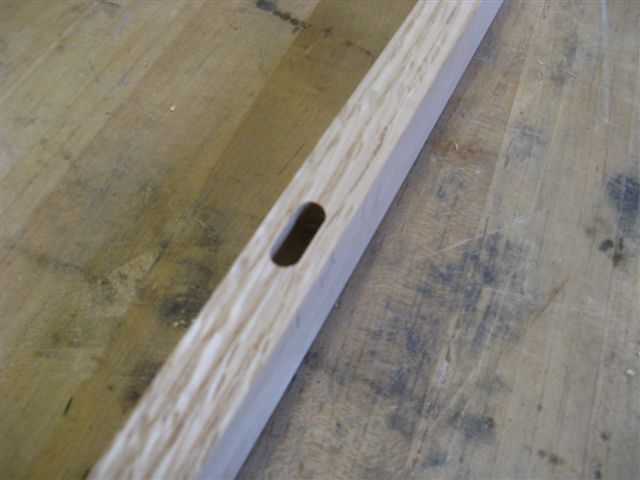
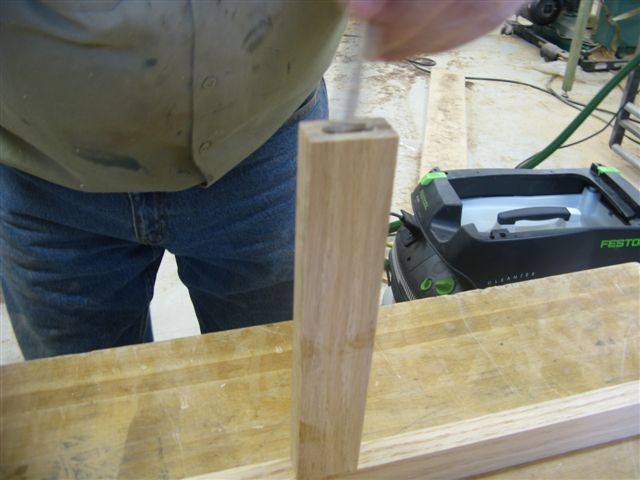
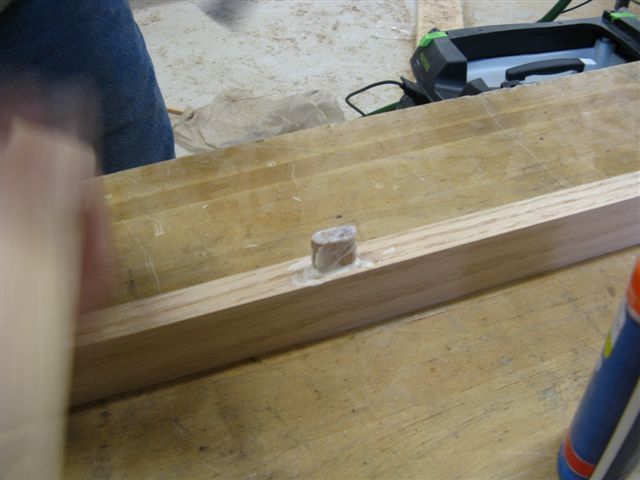
Cut and glued the face frame and clamped it together
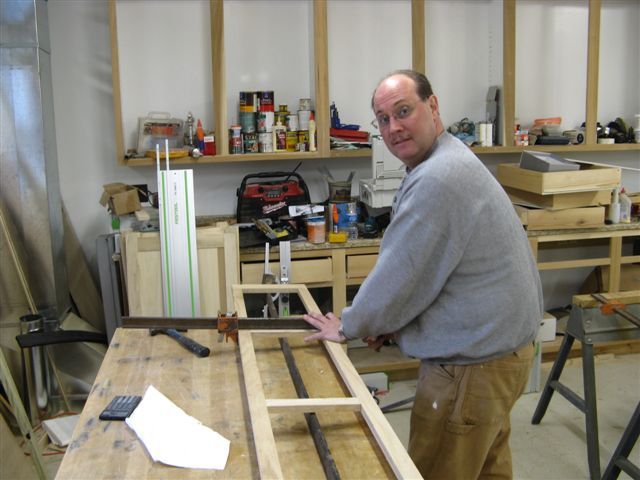
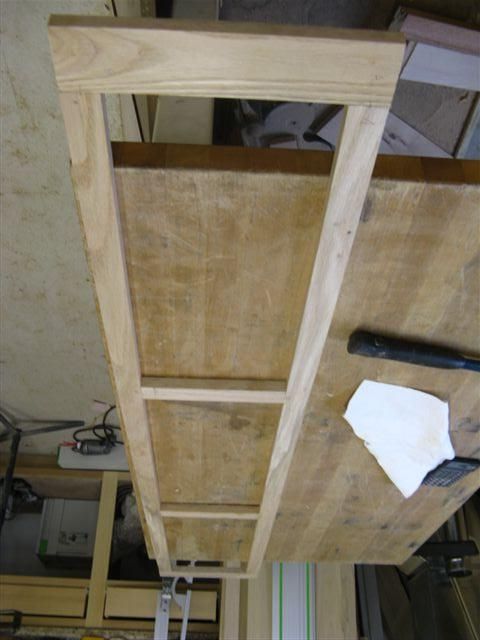
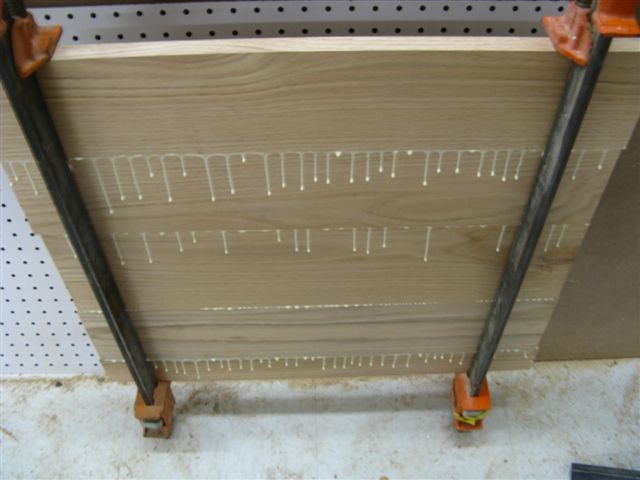
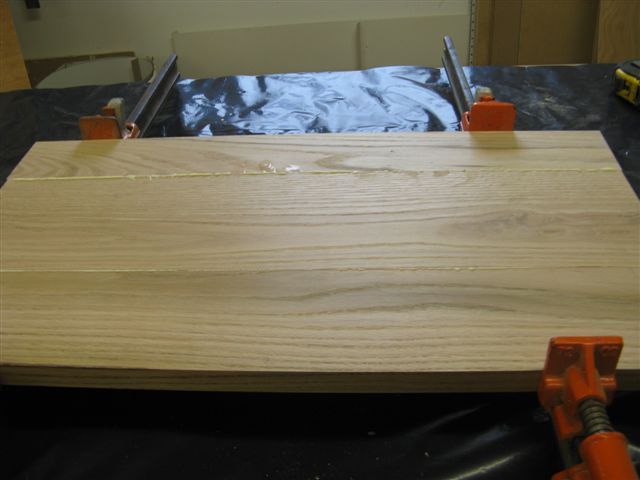
Glued all the oak together into a big slab which will get cut down into individual drawer fronts
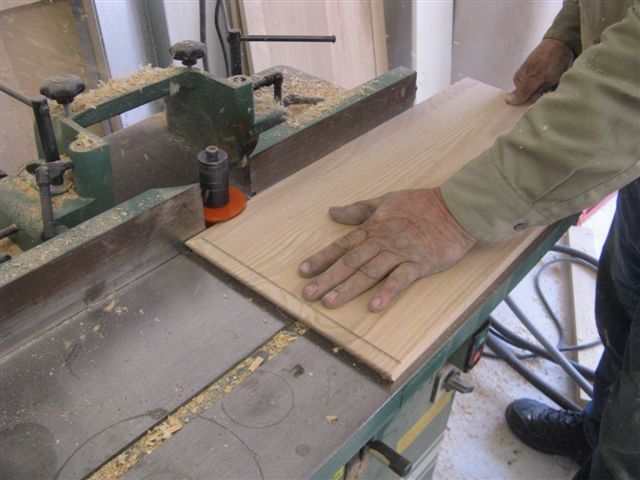
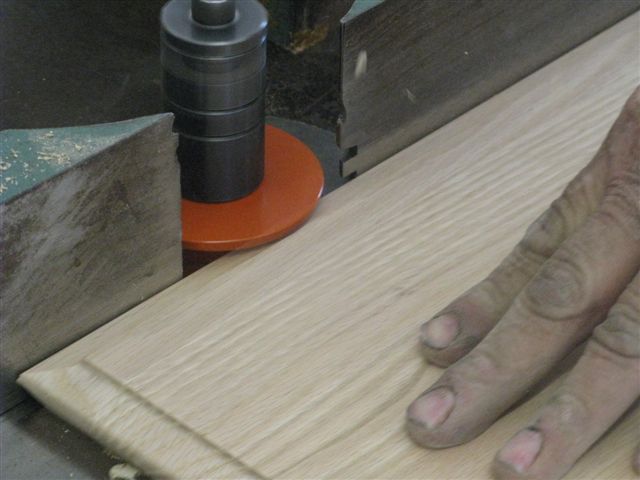
After cutting down the drawer fronts they were run through the shaper to give them the pattern and detail.
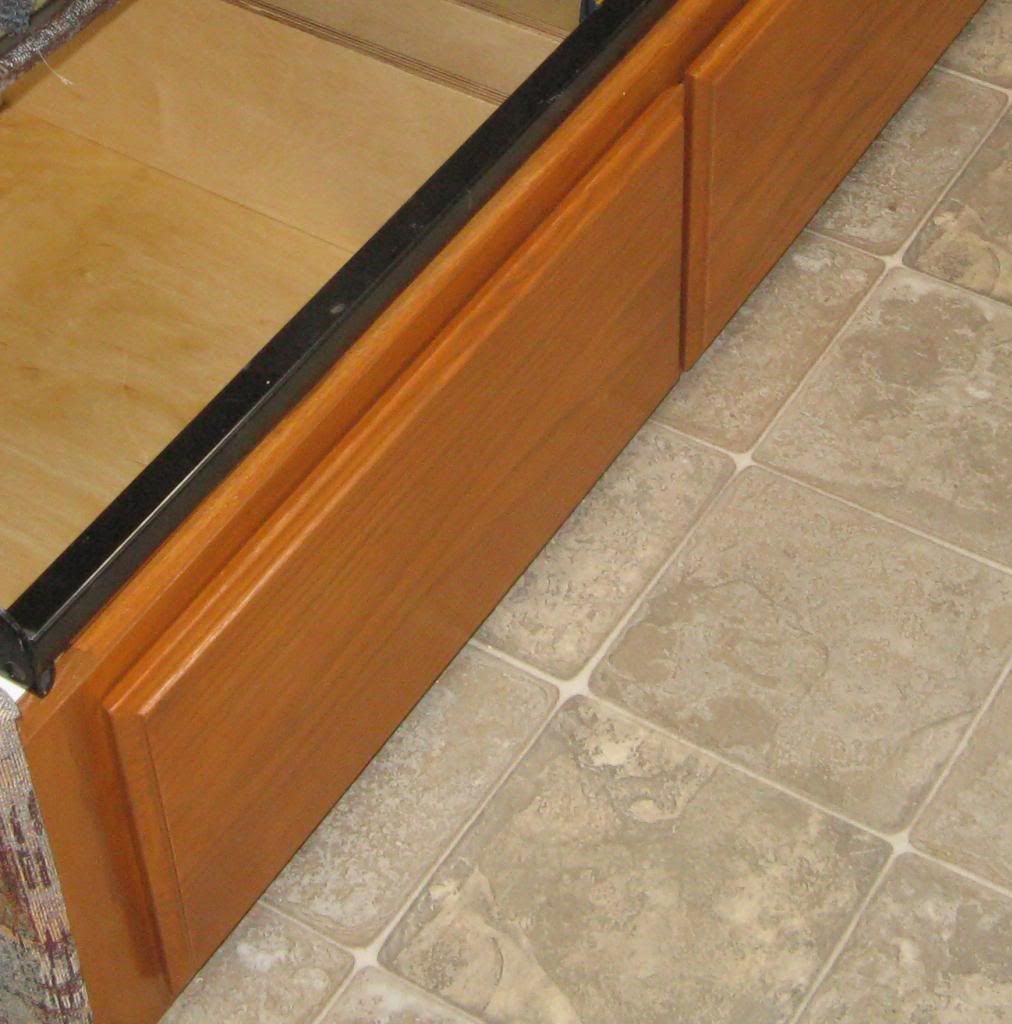
This particular cutter puts a back finger grip on the drawer front so a pull handle is not needed.
The drawers themselves came as a kit from BarkerDoor.com,
I chose UN-ASSEMBLED - 5/8" thick (11 ply) Baltic birch plywood Dovetailed joint construction.
To be real, I am impressed.
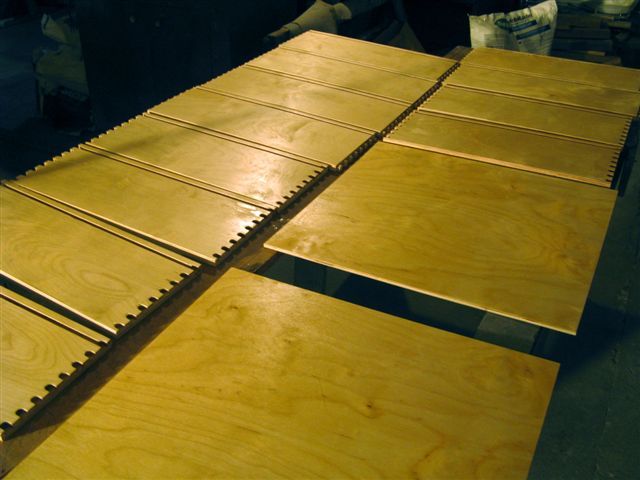
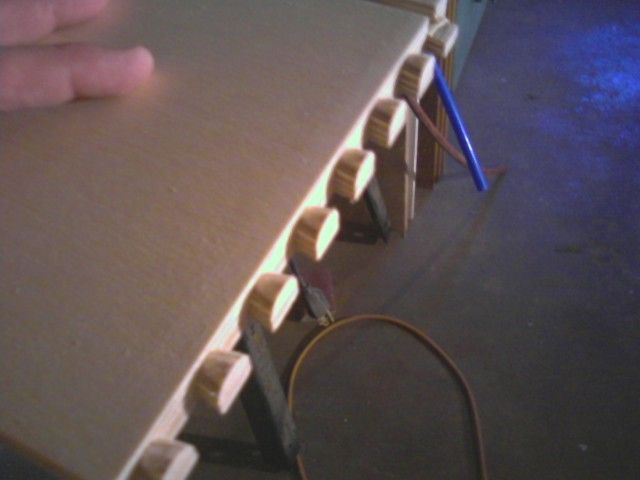
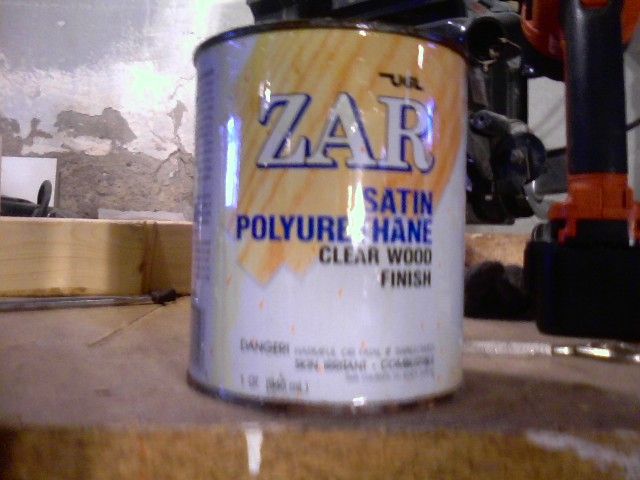
I put three coats of ZAR on the drawers and used 0000-steelwool between coats for a smooth finish
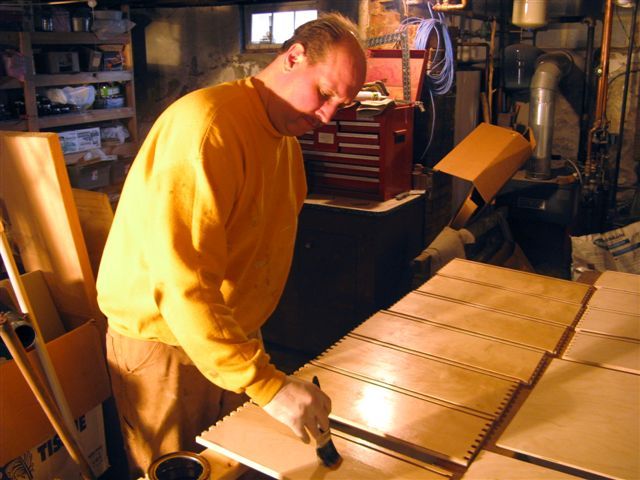
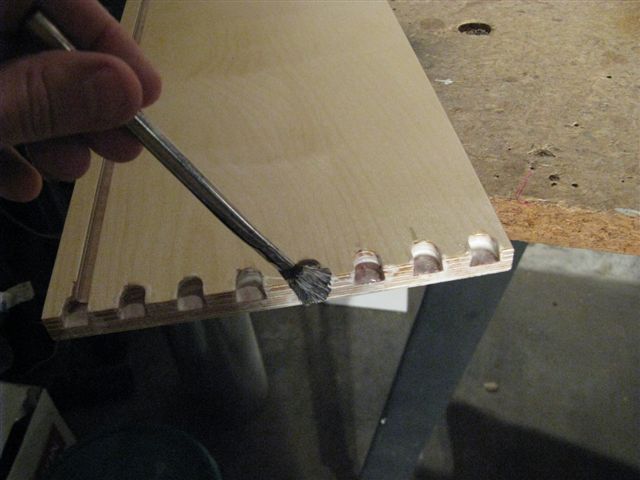
Glued the Dove Tails and assembled the drawers.
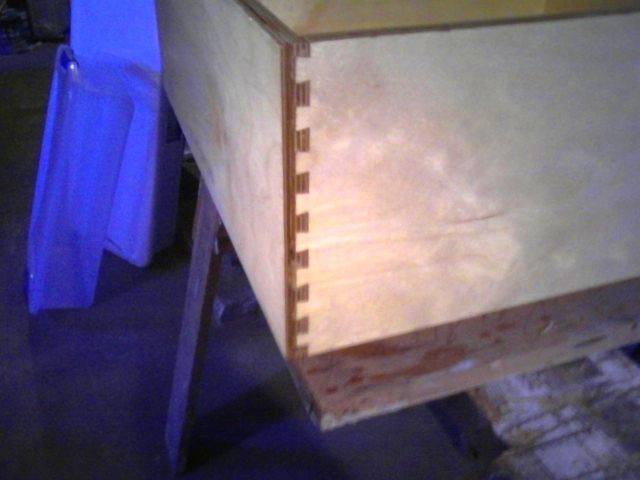
Matching the interior stain proved to be more a challenge than I anticipated,
however I found a nice oil-based gel stain that was so close only I could tell the difference.

After three coats of stain I installed the face frame.
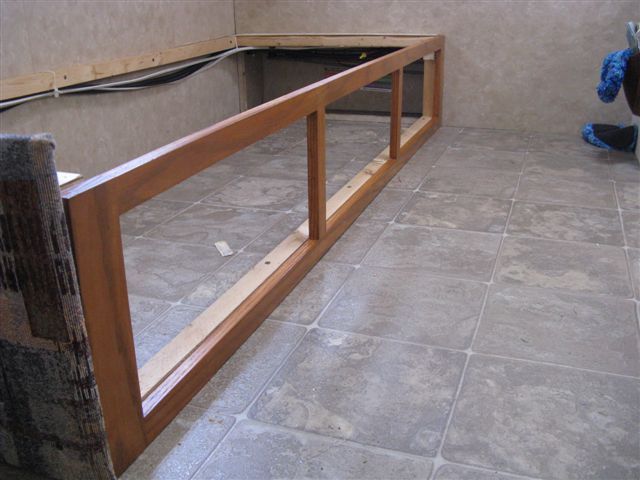
I used Pocket Screw Joints to attach the frame from the back and not mar the finish. (Also makes it easier to remove and install in another RV)
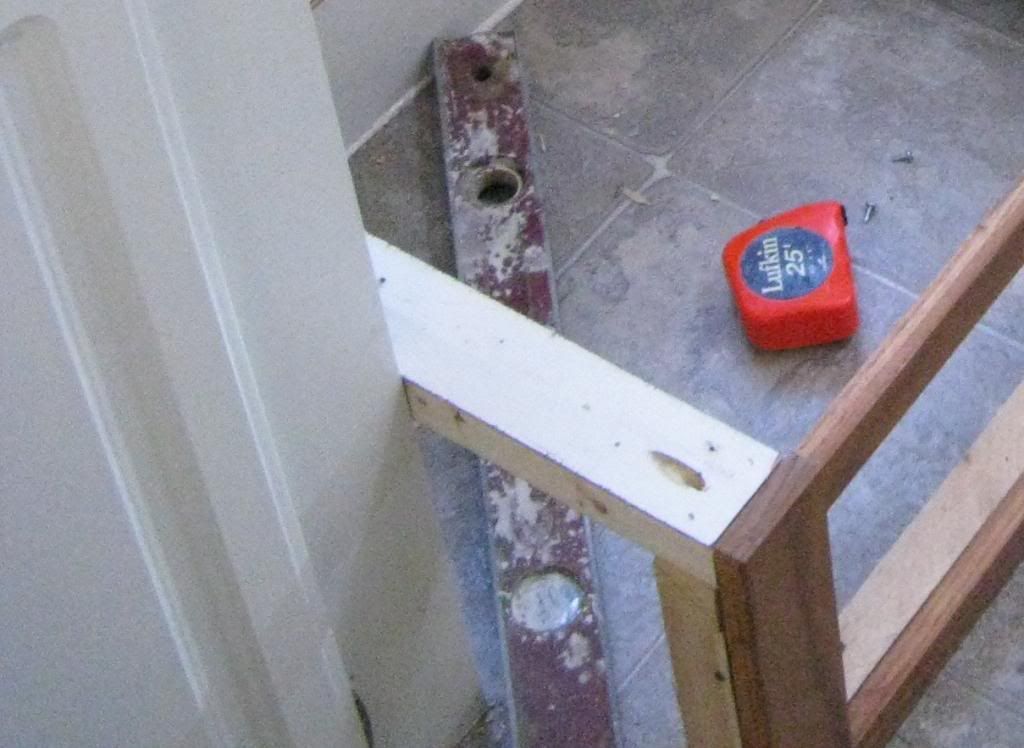
Someone gave me three sets of RV8400 full extension draw guides, the price was right to I decided to use them.
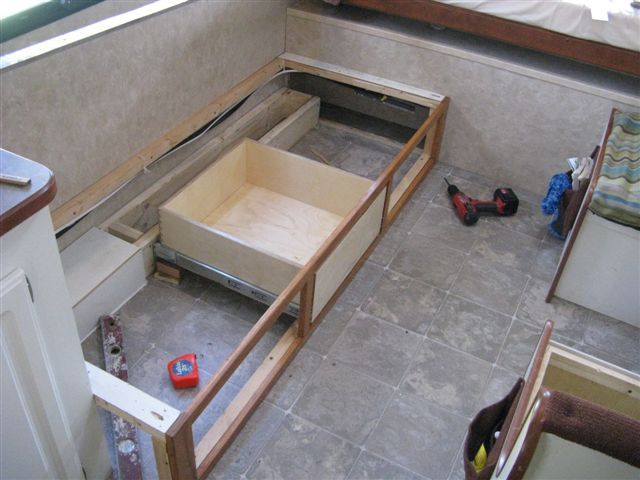
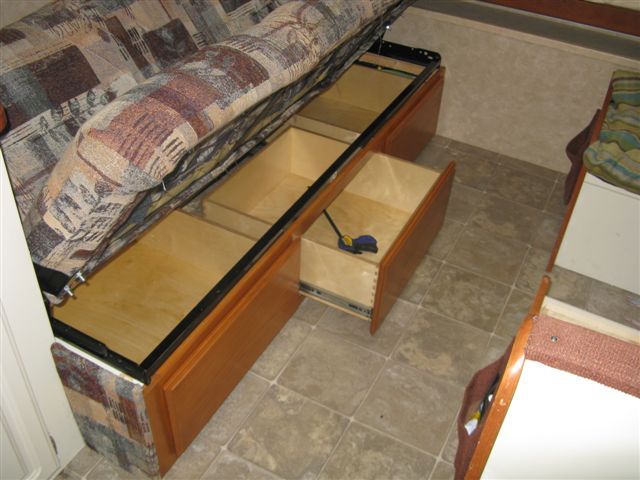
All three drawers installed.
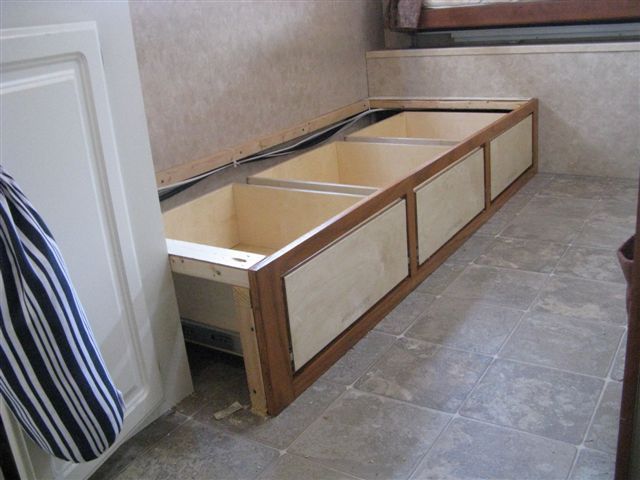
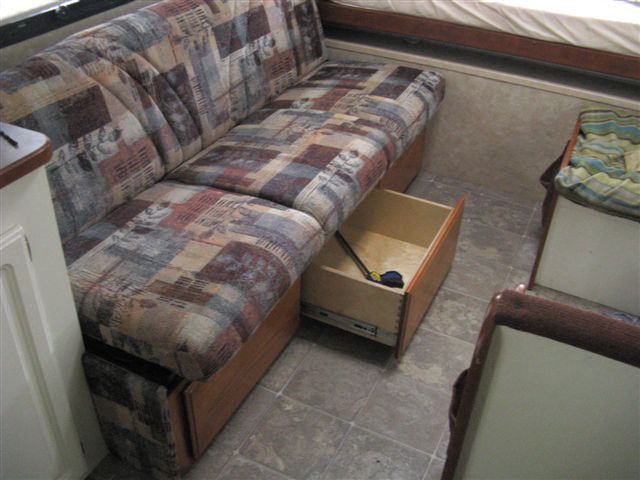
Attached the drawer fronts to the Barker Drawers and it looks awesome!
In the close up you can see the back finger grip on the drawer front.
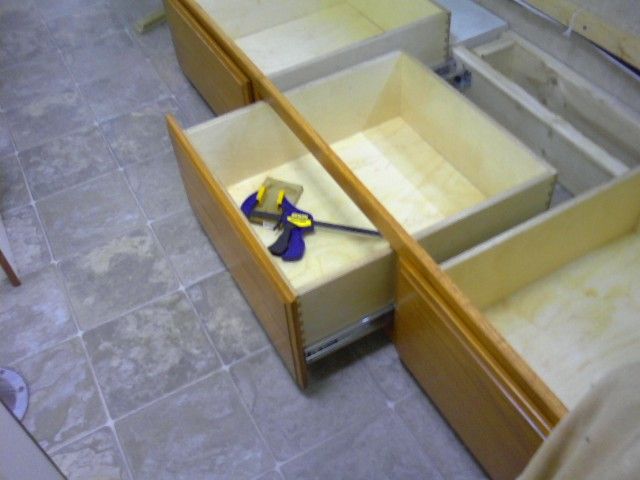
Re-installed the Sofa and DW and I have a place for our clothes!
UPDATE: Since the original completion of this project,
I added magnetic cabinet door latched to the back of the drawers to keep them from rolling open if the TT was not quite level.
And a simple door lock from Home-Depot on the back of the drawer front to keep it secure during travel.
Just lift up the front of the Sofa reach in and lock it and it is secure.

PLEASE if you comment do not quote the post, there are way too many pictures that will bog down the blog…….
My Photo Bucket Log!
Moderator edit to re-size pictures to forum limit of 640px maximum width.

And noticed the wasted / unused space beneath it.

And decided that the space could be used for DW and I to keep our Clothing, so I removed the Jack Knife Sofa

Measured out the area and removed the frame front.


My Buddy gave me some oak he had that had gone Moldy that I decided to make the dresser from.


Off to the Wood Shop to see what I could come up with;


I wanted to use biscuits to hold the frame together but decided to use a Domino Biscuit using a Festool.


Cut and glued the face frame and clamped it together


Glued all the oak together into a big slab which will get cut down into individual drawer fronts


After cutting down the drawer fronts they were run through the shaper to give them the pattern and detail.
This particular cutter puts a back finger grip on the drawer front so a pull handle is not needed.


The drawers themselves came as a kit from BarkerDoor.com,
I chose UN-ASSEMBLED - 5/8" thick (11 ply) Baltic birch plywood Dovetailed joint construction.
To be real, I am impressed.


I put three coats of ZAR on the drawers and used 0000-steelwool between coats for a smooth finish


Glued the Dove Tails and assembled the drawers.


Matching the interior stain proved to be more a challenge than I anticipated,
however I found a nice oil-based gel stain that was so close only I could tell the difference.

After three coats of stain I installed the face frame.

I used Pocket Screw Joints to attach the frame from the back and not mar the finish. (Also makes it easier to remove and install in another RV)

Someone gave me three sets of RV8400 full extension draw guides, the price was right to I decided to use them.

All three drawers installed.


Attached the drawer fronts to the Barker Drawers and it looks awesome!
In the close up you can see the back finger grip on the drawer front.


Re-installed the Sofa and DW and I have a place for our clothes!


UPDATE: Since the original completion of this project,
I added magnetic cabinet door latched to the back of the drawers to keep them from rolling open if the TT was not quite level.
And a simple door lock from Home-Depot on the back of the drawer front to keep it secure during travel.
Just lift up the front of the Sofa reach in and lock it and it is secure.

PLEASE if you comment do not quote the post, there are way too many pictures that will bog down the blog…….
My Photo Bucket Log!
Moderator edit to re-size pictures to forum limit of 640px maximum width.
