Forum Discussion
DeadeyeLefty
Sep 16, 2012Explorer
Haven't had much time for the trailer this summer between work and diving, but now that the season is starting to slow down a bit, I can pick up were I left off.
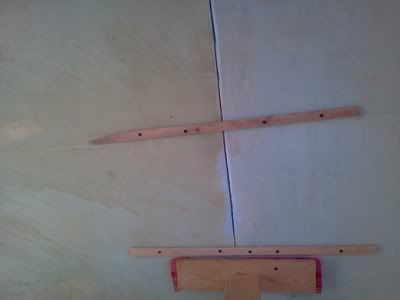
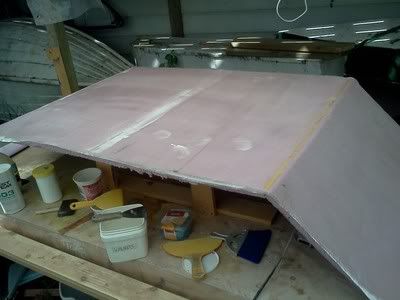
Right now, I'm joining the three panels forming the back wall (flat center panel and two corners). They are attached to the internal form and have strips of 1/4 ply across the seam on the inside so that the mating edges can't move independently during the layup.
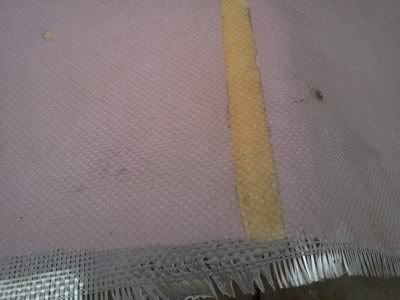
Then I opened up the seam a little bit to allow some room for the expansion of the canned foam that's serving as an adhesive for the core and added the foam.
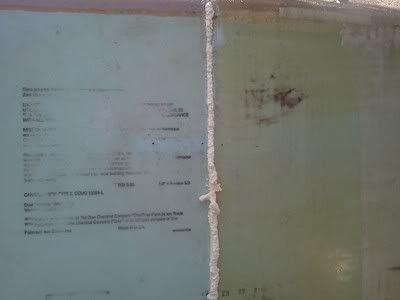
Once the foam has had a chance to expand and fill the joint, I sanded it and laid on a thickened epoxy mix to seal the pores in the foam and fill any remaining imperfections. While that was still wet, I laid a strip of 2" glass tape across the seam and then a layer of 10" tape over that. That's to ensure I have two layers of cloth over the seam itself and the loading is spread over a wide swath of the adjoining panels.
That's typical of how I will be doing all the seams.
While that was kicking off, I laid up the next panel in sequence:
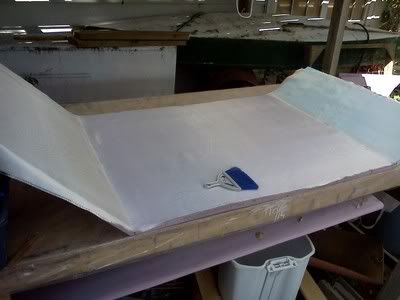
I have only two more panels plus the roof to do this way, then the nose area will be done as a single unit in place on the trailer.
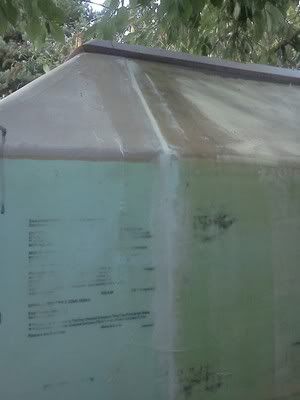
At this point, it looks like deconstruction more than construction, but sometimes progress is like that !
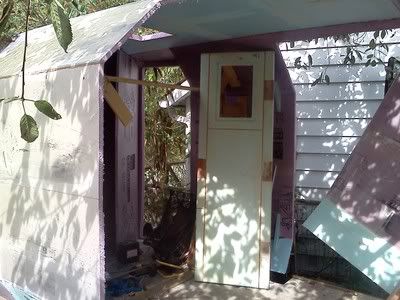
(I'm about ready to cut down that cherry tree above the trailer !!!)
Right now, I'm joining the three panels forming the back wall (flat center panel and two corners). They are attached to the internal form and have strips of 1/4 ply across the seam on the inside so that the mating edges can't move independently during the layup.
Then I opened up the seam a little bit to allow some room for the expansion of the canned foam that's serving as an adhesive for the core and added the foam.
Once the foam has had a chance to expand and fill the joint, I sanded it and laid on a thickened epoxy mix to seal the pores in the foam and fill any remaining imperfections. While that was still wet, I laid a strip of 2" glass tape across the seam and then a layer of 10" tape over that. That's to ensure I have two layers of cloth over the seam itself and the loading is spread over a wide swath of the adjoining panels.
That's typical of how I will be doing all the seams.
While that was kicking off, I laid up the next panel in sequence:
I have only two more panels plus the roof to do this way, then the nose area will be done as a single unit in place on the trailer.
At this point, it looks like deconstruction more than construction, but sometimes progress is like that !
(I'm about ready to cut down that cherry tree above the trailer !!!)
About DIY Maintenance
RV projects you can tackle on your own with a few friendly pointers.4,410 PostsLatest Activity: Jan 18, 2025