Forum Discussion
DeadeyeLefty
Dec 14, 2012Explorer
Thx Paz !
I've been carrying on with the glassing as I get the time to. It's nothing that shows up in pics very well so I haven't been keeping the thread up to date. It's just been more of the same. The shell is about half glassed now and I'll put up some more pics when I start doing the front end because the technique there will be a little different.
But since you asked...
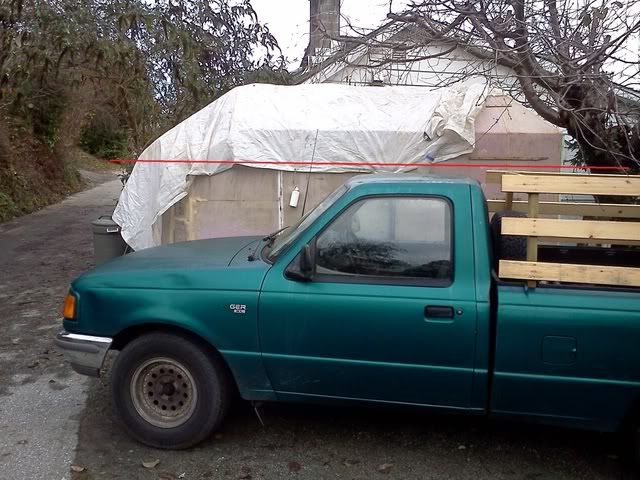
Here's a shot with the truck that will tow it. The dogs will be in the bed of the truck with a tarp over it to keep them out of the weather and still let them poke their noses out. My thought is that the airflow over the tarp will see a smooth transition to the nose of the trailer (the red line in the pic) rather than trying to pull a box through the air.
And one more...
Because I'm going to have solar on the roof, I had to run a transverse stringer to carry the weight out to the sidewalls, otherwise the roof would sag under the weight and hold water. The water wouldn't soak through the epoxy, but a little sag would collect a little water, which would add a little more weight, that would collect a little more water....and so on.
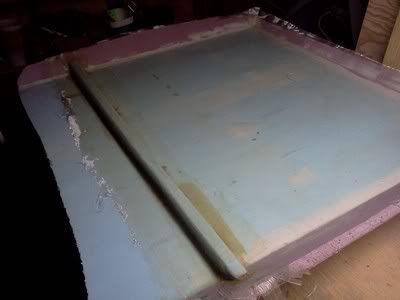
Here's the underside of the roof section:
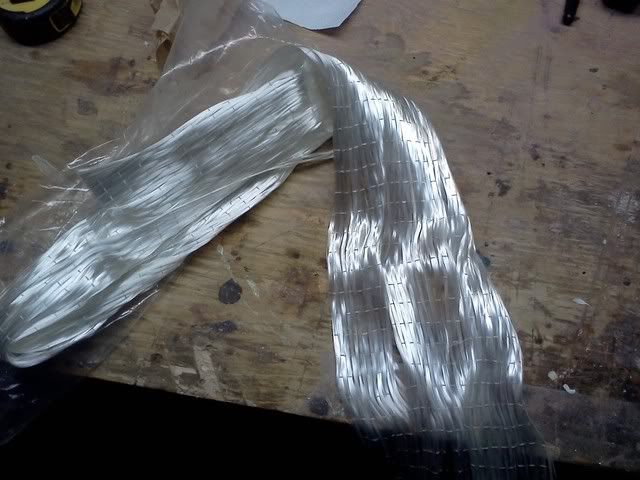
The structural member is unidirectional tape, which is like normal glass tape except that all of the strands run the same way. It's used to make a long structural shape and then covered in a layer of 6oz cloth to tie it all together.
This is the uni:
And this is what the cross section of the stringer looks like:
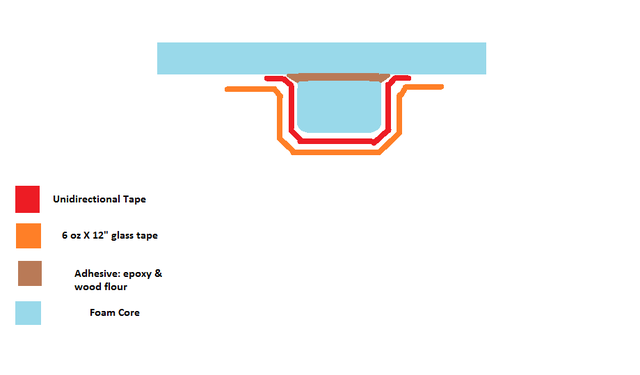
As you can see, the uni forms a hat section attached to the inner roof skin and the foam core becomes almost redundant, as opposed to the skins where the foam core is structural: it holds the two skins a fixed distance apart, which is what generates the strength in this style of construction.
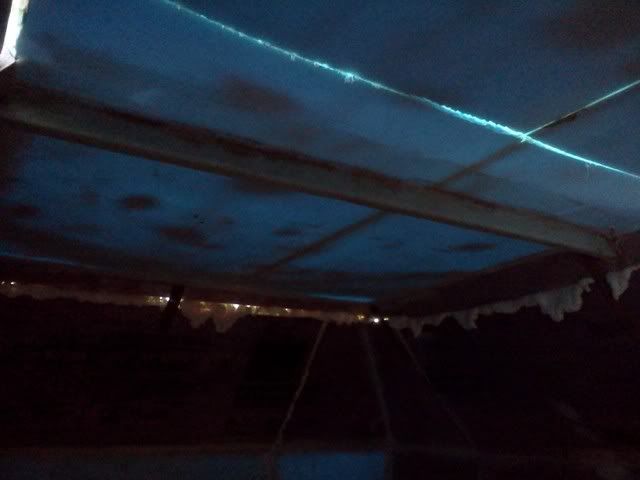
A pretty dark pic, but this one shows the roof section offered up and the coring glued together with polyurethane (canned) foam. It doesn't eat the polystyrene (styro) foam and sands the same, which makes it easy to fair it invisibly with the core so the seam disappears. I would much rather sand the foam to a fair surface than sand a bunch of fairing putty after the fact !
Glassing is a bit like painting in that most of ones time is spent in prep work to get a good finish.
The joint has since been filled, trimmed and sanded and is awaiting the tabbing (strips of tape) that make the joint structural.
Once that's done and the sidewalls are tabbed to the floor, I can remove the two straps that are holding the back wall plumb and the back half will be self supporting. I've gotten used to working around those wood formers, but the straps are a pretty awkward to work around !
I am tentatively planning on going back to school on May, so that's a bit of a 'soft' goal for completion. I need to drop a few hundred bucks for more glass cloth and, being a 'discretionary' project, that isn't in the budget right now...so Project Glacier will live up to its name for a little while longer.
I've still been collecting materials as I find deals here and there. Since the dinette seats will likely be the bed on one side (like a tent trailer) and a pedestal-mounted chair on the other, I lucked into a cockpit seat from a boat I was working on. It's in great shape, comfy and has white vinyl upholstery so it will go with however I do the interior. Because it will be next to the door as you come in, I wanted to avoid a seatbox just so it didn't look so closed in. I lose some storage space (which is already at a premium) but I have a plan for that too.
;)
I've been carrying on with the glassing as I get the time to. It's nothing that shows up in pics very well so I haven't been keeping the thread up to date. It's just been more of the same. The shell is about half glassed now and I'll put up some more pics when I start doing the front end because the technique there will be a little different.
But since you asked...
Here's a shot with the truck that will tow it. The dogs will be in the bed of the truck with a tarp over it to keep them out of the weather and still let them poke their noses out. My thought is that the airflow over the tarp will see a smooth transition to the nose of the trailer (the red line in the pic) rather than trying to pull a box through the air.
And one more...
Because I'm going to have solar on the roof, I had to run a transverse stringer to carry the weight out to the sidewalls, otherwise the roof would sag under the weight and hold water. The water wouldn't soak through the epoxy, but a little sag would collect a little water, which would add a little more weight, that would collect a little more water....and so on.
Here's the underside of the roof section:
The structural member is unidirectional tape, which is like normal glass tape except that all of the strands run the same way. It's used to make a long structural shape and then covered in a layer of 6oz cloth to tie it all together.
This is the uni:
And this is what the cross section of the stringer looks like:
As you can see, the uni forms a hat section attached to the inner roof skin and the foam core becomes almost redundant, as opposed to the skins where the foam core is structural: it holds the two skins a fixed distance apart, which is what generates the strength in this style of construction.
A pretty dark pic, but this one shows the roof section offered up and the coring glued together with polyurethane (canned) foam. It doesn't eat the polystyrene (styro) foam and sands the same, which makes it easy to fair it invisibly with the core so the seam disappears. I would much rather sand the foam to a fair surface than sand a bunch of fairing putty after the fact !
Glassing is a bit like painting in that most of ones time is spent in prep work to get a good finish.
The joint has since been filled, trimmed and sanded and is awaiting the tabbing (strips of tape) that make the joint structural.
Once that's done and the sidewalls are tabbed to the floor, I can remove the two straps that are holding the back wall plumb and the back half will be self supporting. I've gotten used to working around those wood formers, but the straps are a pretty awkward to work around !
I am tentatively planning on going back to school on May, so that's a bit of a 'soft' goal for completion. I need to drop a few hundred bucks for more glass cloth and, being a 'discretionary' project, that isn't in the budget right now...so Project Glacier will live up to its name for a little while longer.
I've still been collecting materials as I find deals here and there. Since the dinette seats will likely be the bed on one side (like a tent trailer) and a pedestal-mounted chair on the other, I lucked into a cockpit seat from a boat I was working on. It's in great shape, comfy and has white vinyl upholstery so it will go with however I do the interior. Because it will be next to the door as you come in, I wanted to avoid a seatbox just so it didn't look so closed in. I lose some storage space (which is already at a premium) but I have a plan for that too.
;)
About DIY Maintenance
RV projects you can tackle on your own with a few friendly pointers.4,410 PostsLatest Activity: Jan 18, 2025