D_E_Bishop
Mar 06, 2014Explorer
Tileing our kitchen backsplash
There were several posts about a year ago regarding installing tile backsplashes. The use of a very simple(someone else’s words)method of adhering the tiles to the thin wall material used in RVs. I suggested it to my DW and she immediately found several tiles she liked and brought samples back to the storage yard for me to look at. Well I finally got around to installing the tiles, 1” X 1” on 12” square mats and using Simple Mat. The simple mat is a double side sheet of about 9” by 18” and each box of mats will cover 10 square feet.
I did measure and layout the area to be tiled on butcher paper and then cut the tile sheet for the best coverage. It also allowed me to stack the pieces in the order of installation.
Well as I found out, it’s simple in a kind of rudimentary way. I found it to be very hard to cut with scissors and pretty easy to cut with a utility knife. I learned that you should trim the edges down to a point that the tile adhesive is right to the edge of the mat. The side that goes against the wall is edge to edge like tape, the tile side is little lines of adhesive and may be ½” short of the edge. I had a full row of the 1” tile come loose and had to use contact cement on them because the little lines were too far from the edge to hold the tile.
My two biggest problems were difficulty in getting enough light to see in the narrow space between the exhaust hood and the counter top and not enough space to work easily. Wearing trifocals doesn’t help either.
All in all, the job was kinda/sorta easy and fast but hard on my back because for two and a half days I was bent over. Because I couldn’t see, not all the tile are lined up and some of the 12” squares, WEREN”T. Amazing how a tenth of an inch can multiply when working with little squares. So would I do it again?, yes in a heartbeat. The DW is so happy with her new tile and to be rid of the old Plexiglas panels that always fell off during a very stressful point in a drive and scared the bejesus out of us and the colors match better than the old vinyl walls. I would however make my work area a large and well lit as possible, even going so far as to remove the vent hood and maybe even the MW cabinet. I would also hand select the tile and measure to make sure they were all the same size sheets. I would also trip the simple mats to insure adhesive right to the edge and move my big self healing cutting board out to the dinette table.
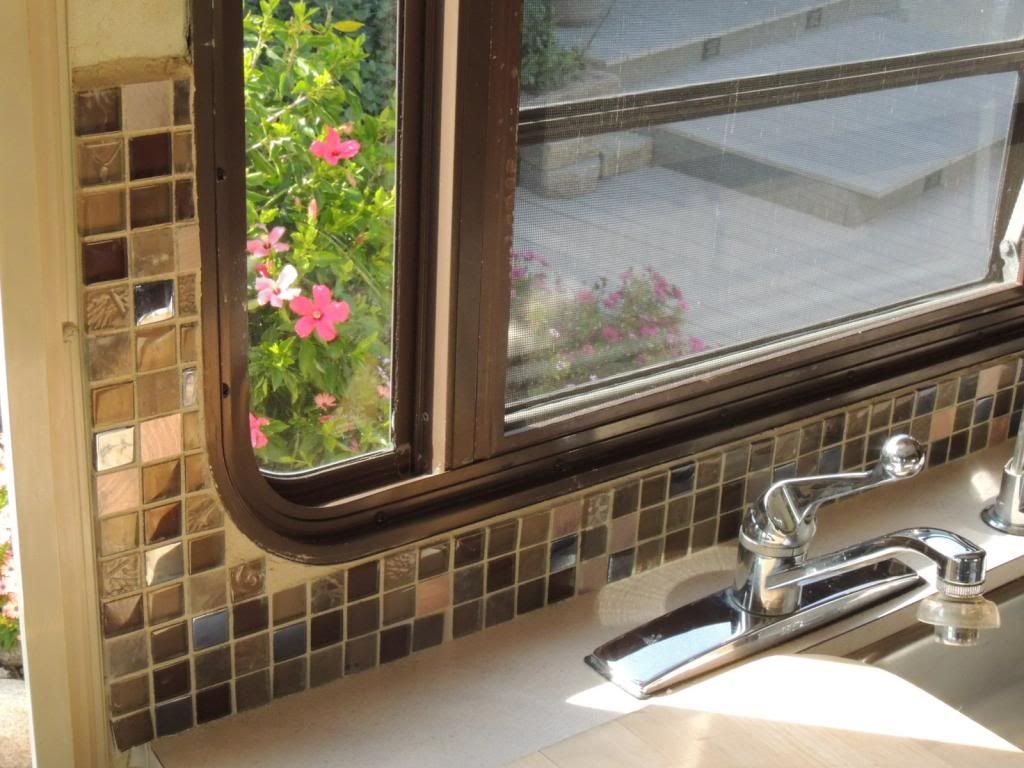
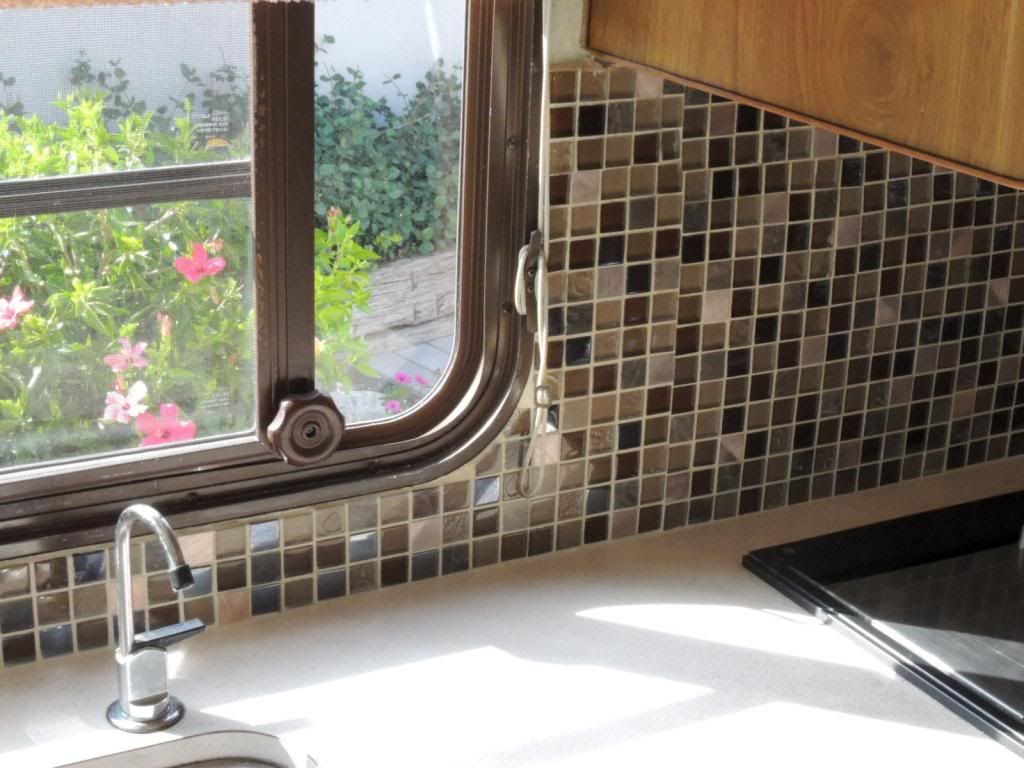
There are some parts I hate because I didn’t match every tile seam but I’ve included pictures that show all my mistakes. It is a great project.
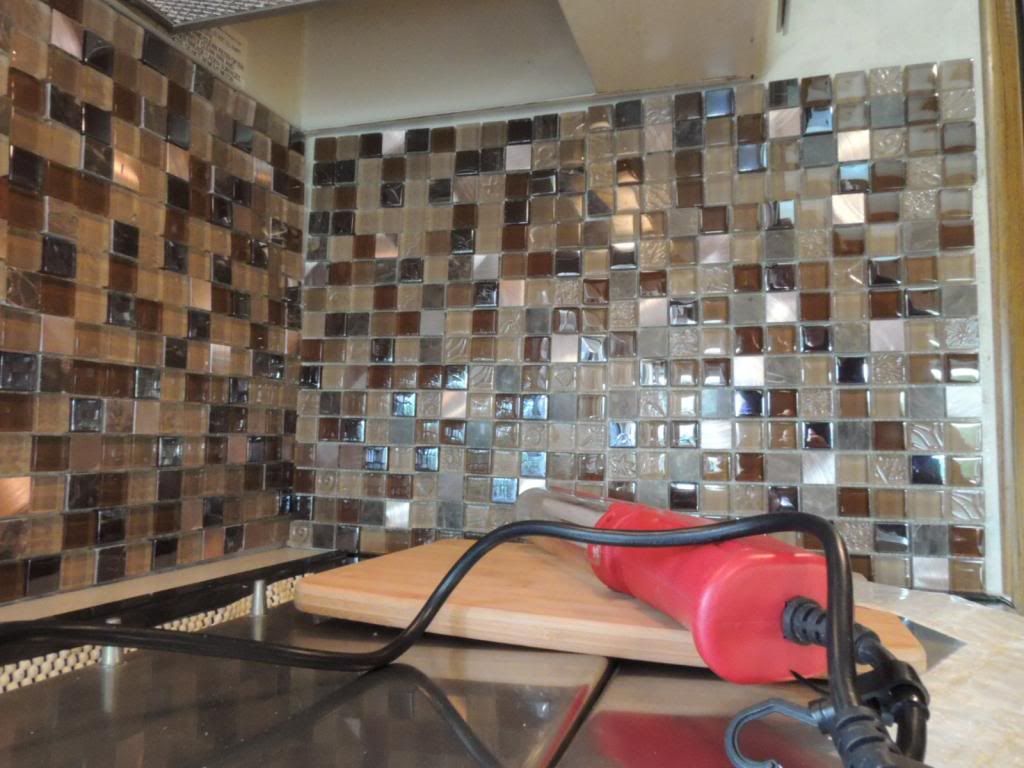
Side and back of stovetop.
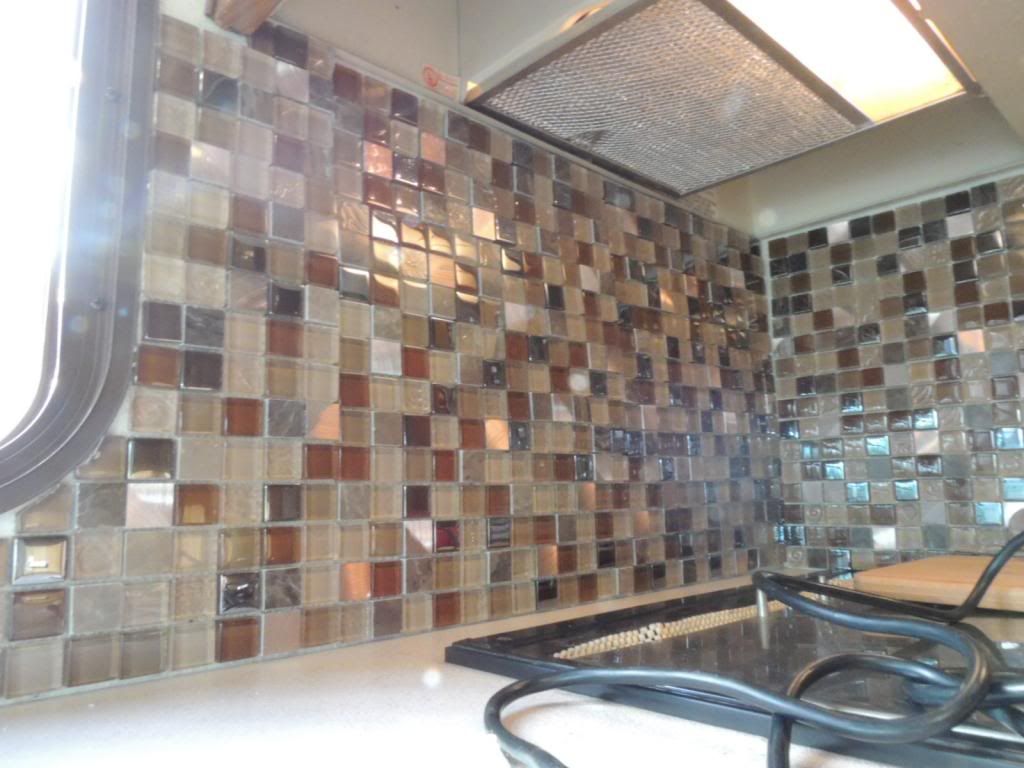
Same as previous.
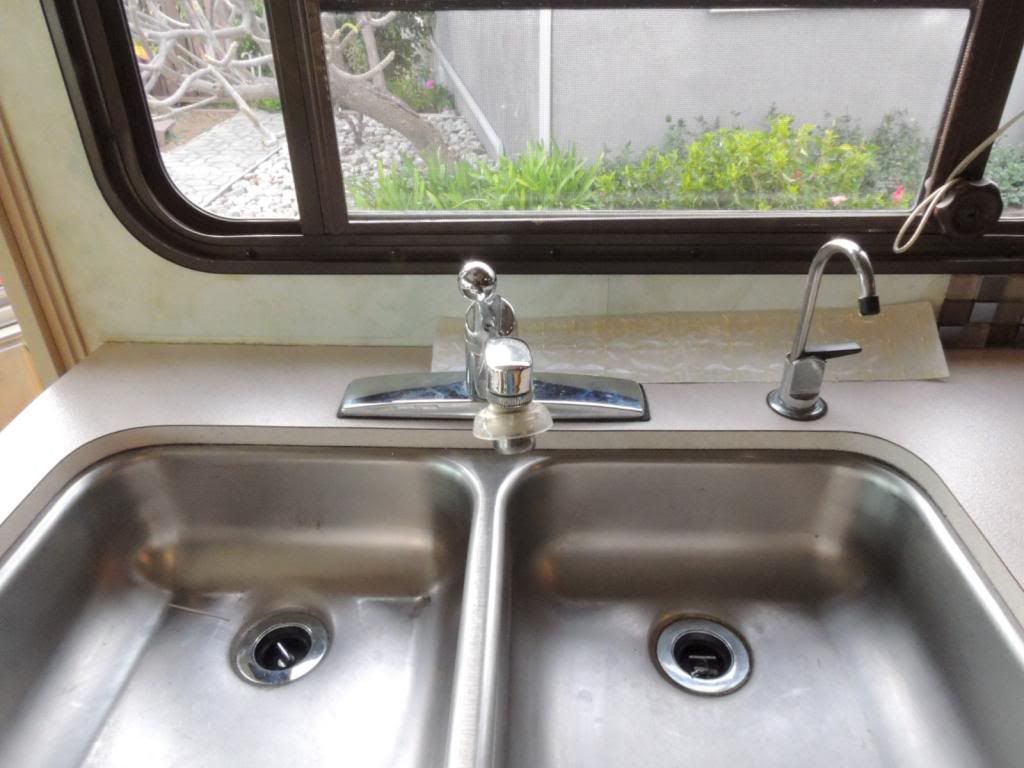
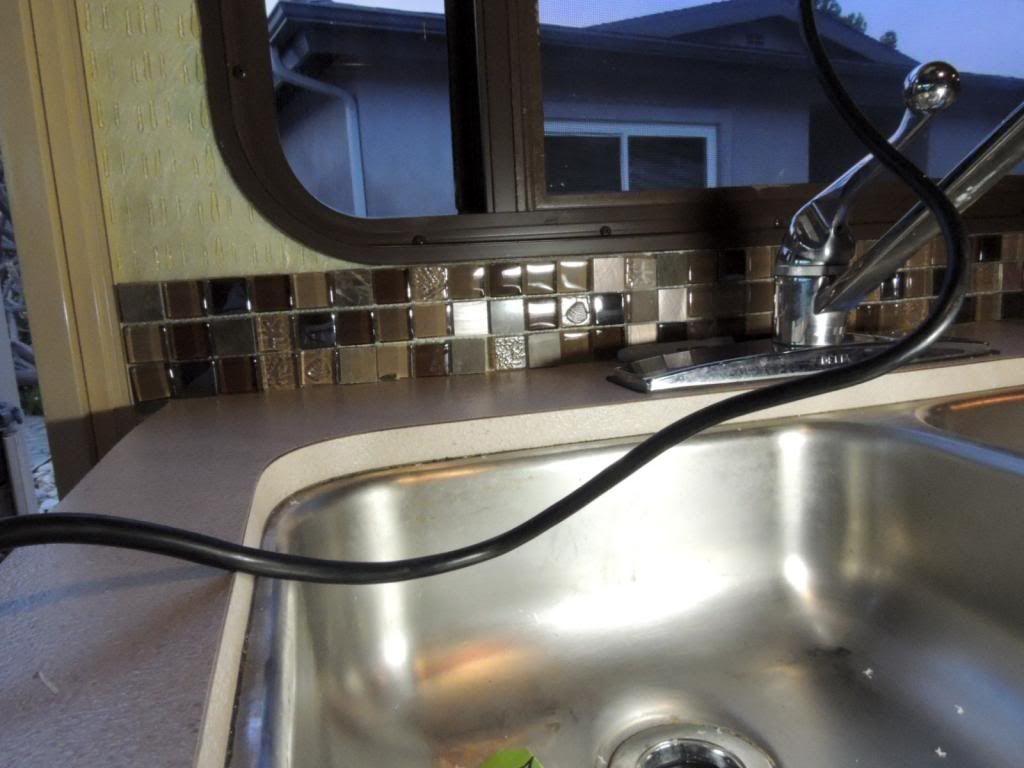
Two of behind faucets before tile and with the simple mat laying there.
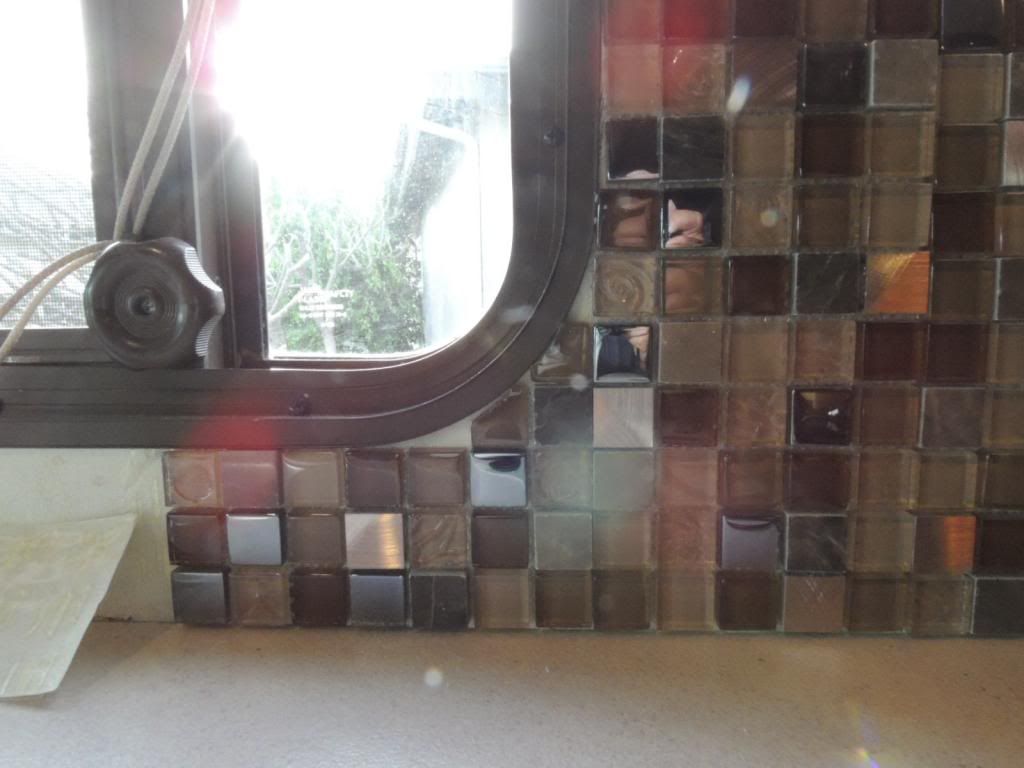
Before doing side of window
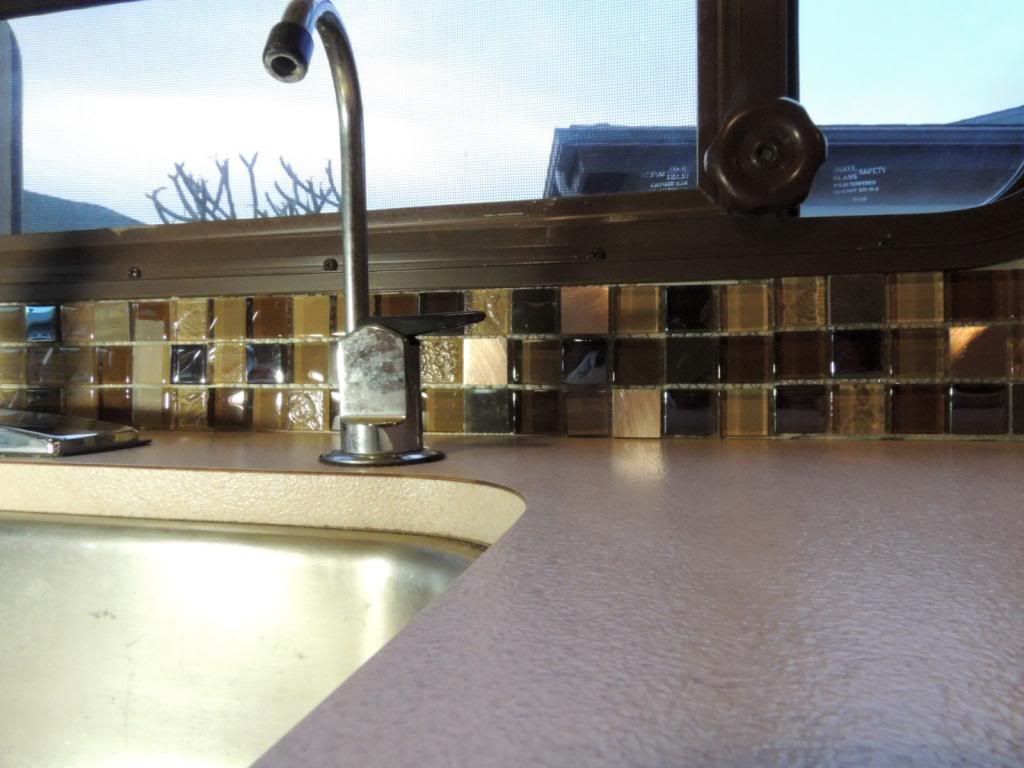
Behind faucets.
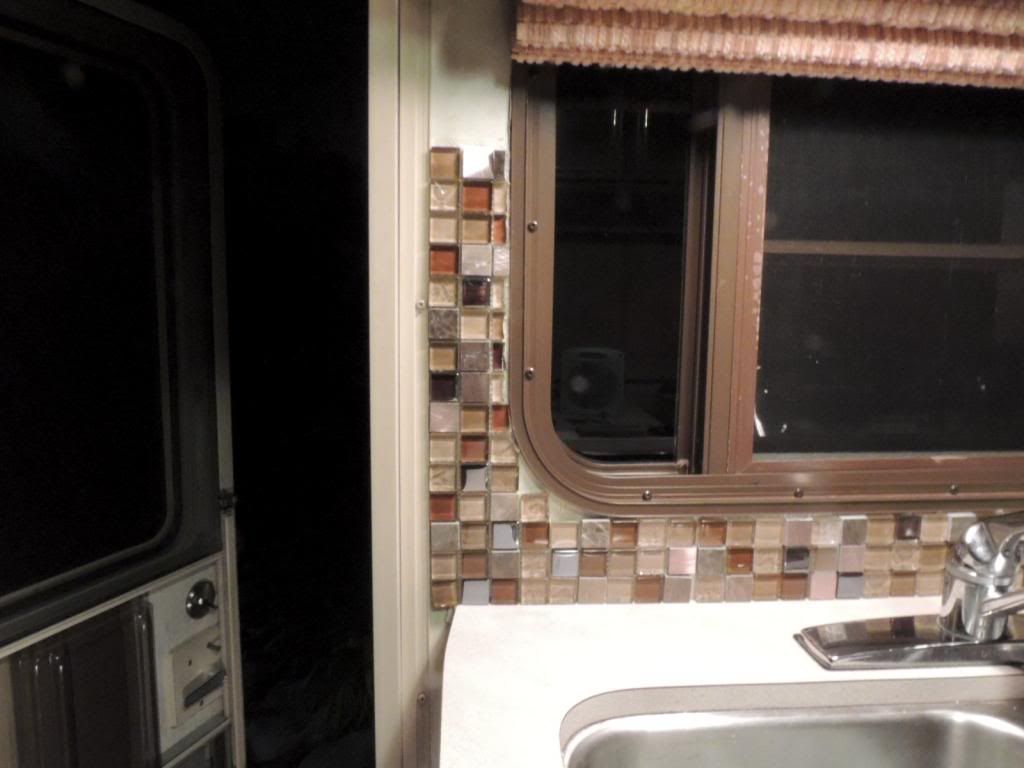
Left side of kitchen window
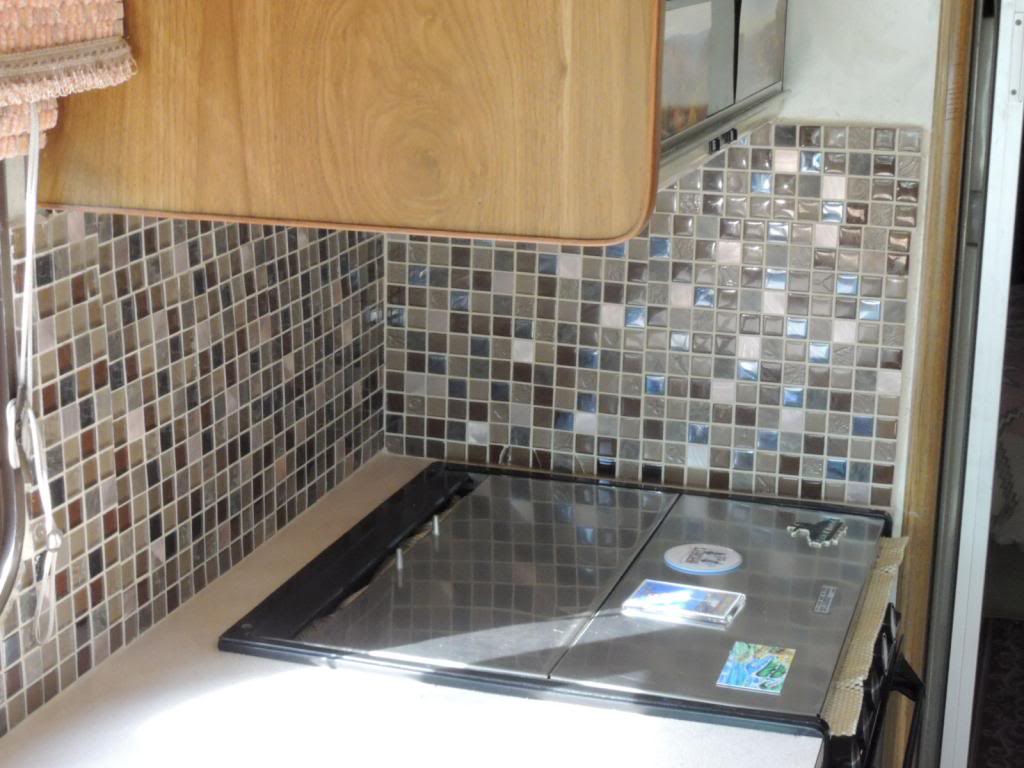
This and the next two are finished grout.
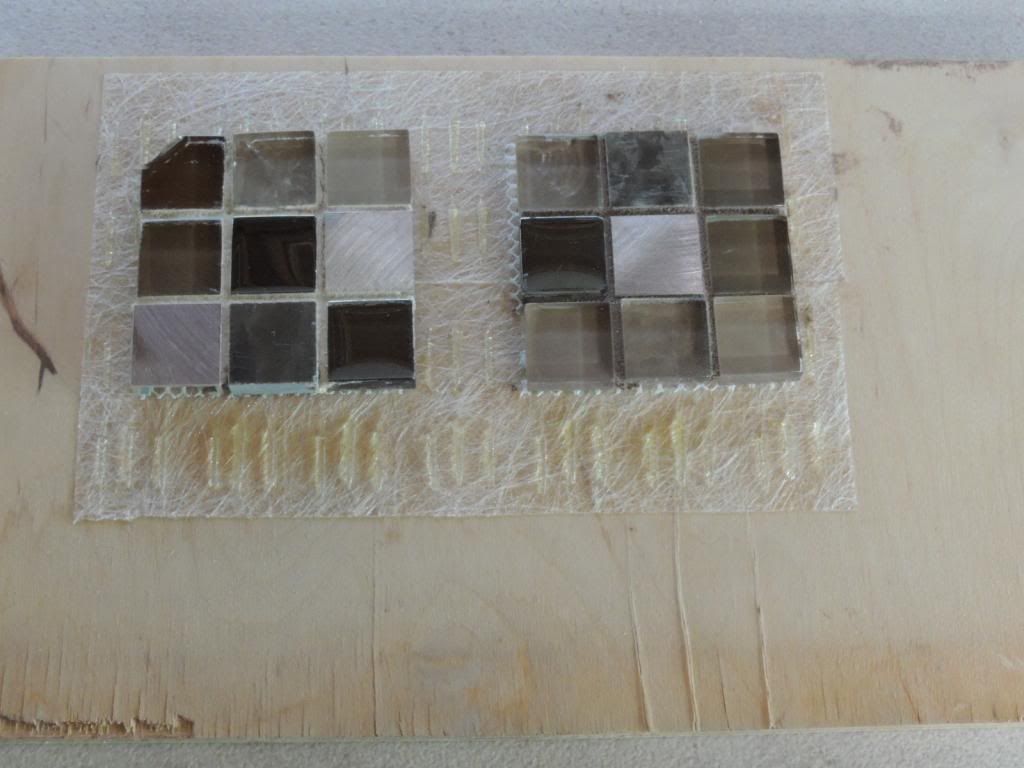
This is a piece of scrap birch ply that I put some of the Simple Mat and tile on so DW could see effect of two different grout colors.
I did measure and layout the area to be tiled on butcher paper and then cut the tile sheet for the best coverage. It also allowed me to stack the pieces in the order of installation.
Well as I found out, it’s simple in a kind of rudimentary way. I found it to be very hard to cut with scissors and pretty easy to cut with a utility knife. I learned that you should trim the edges down to a point that the tile adhesive is right to the edge of the mat. The side that goes against the wall is edge to edge like tape, the tile side is little lines of adhesive and may be ½” short of the edge. I had a full row of the 1” tile come loose and had to use contact cement on them because the little lines were too far from the edge to hold the tile.
My two biggest problems were difficulty in getting enough light to see in the narrow space between the exhaust hood and the counter top and not enough space to work easily. Wearing trifocals doesn’t help either.
All in all, the job was kinda/sorta easy and fast but hard on my back because for two and a half days I was bent over. Because I couldn’t see, not all the tile are lined up and some of the 12” squares, WEREN”T. Amazing how a tenth of an inch can multiply when working with little squares. So would I do it again?, yes in a heartbeat. The DW is so happy with her new tile and to be rid of the old Plexiglas panels that always fell off during a very stressful point in a drive and scared the bejesus out of us and the colors match better than the old vinyl walls. I would however make my work area a large and well lit as possible, even going so far as to remove the vent hood and maybe even the MW cabinet. I would also hand select the tile and measure to make sure they were all the same size sheets. I would also trip the simple mats to insure adhesive right to the edge and move my big self healing cutting board out to the dinette table.
There are some parts I hate because I didn’t match every tile seam but I’ve included pictures that show all my mistakes. It is a great project.

Side and back of stovetop.

Same as previous.

Two of behind faucets before tile and with the simple mat laying there.


Before doing side of window

Behind faucets.

Left side of kitchen window

This and the next two are finished grout.


This is a piece of scrap birch ply that I put some of the Simple Mat and tile on so DW could see effect of two different grout colors.