Forum Discussion
CHV_FRK
Jul 06, 2010Explorer
My leak was on the black tank flush to tank connection.
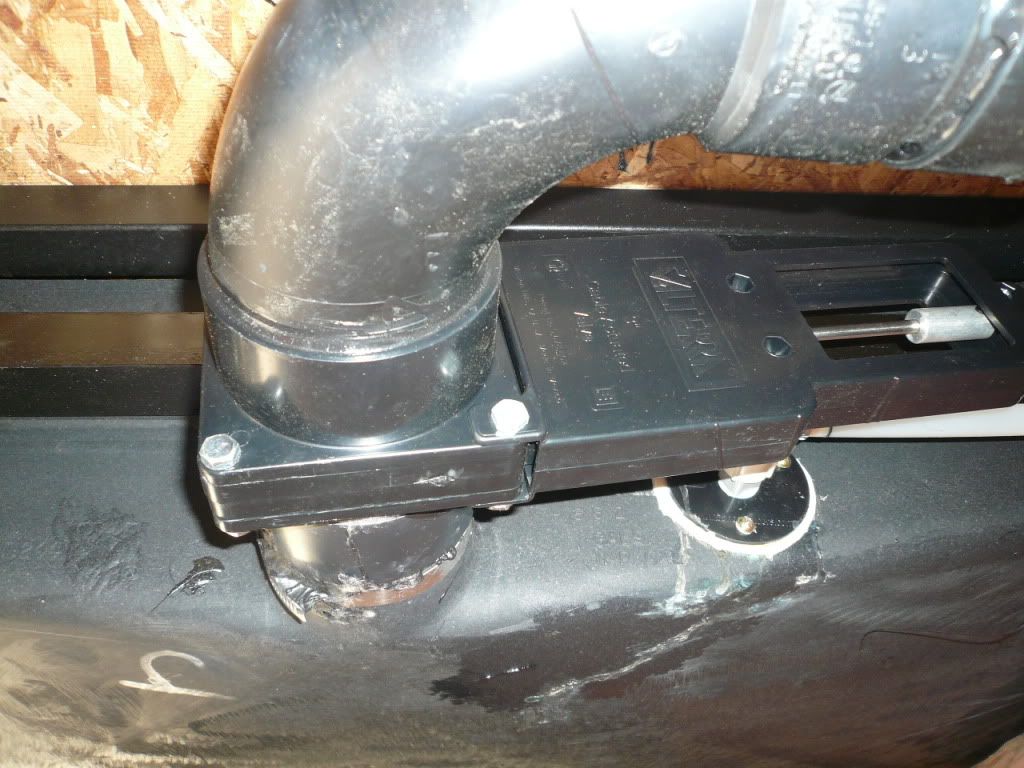

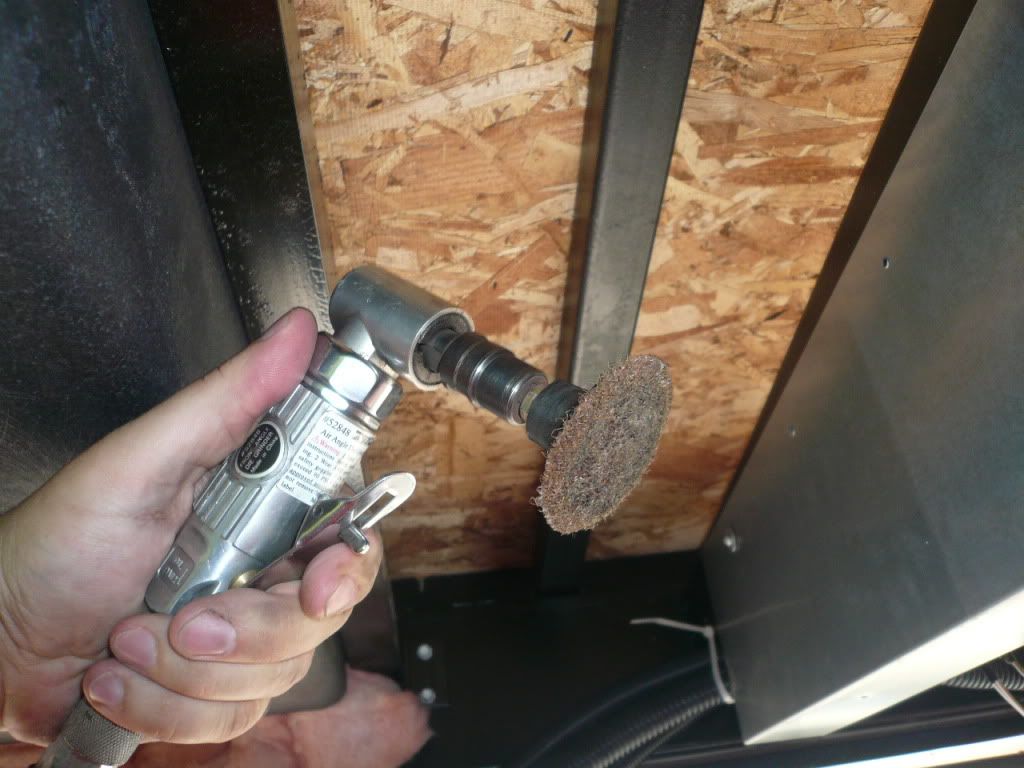
The silicon (if that's what they used) was separated from the tank on about 3/4 of the surface. As you can see they attached it where some of the embossed logo and writing is on the tank surface and there is additional embossing below the flush flange. After cleaning up I ground the surface flush with a 3m prep pad and cleaned the surface once again.
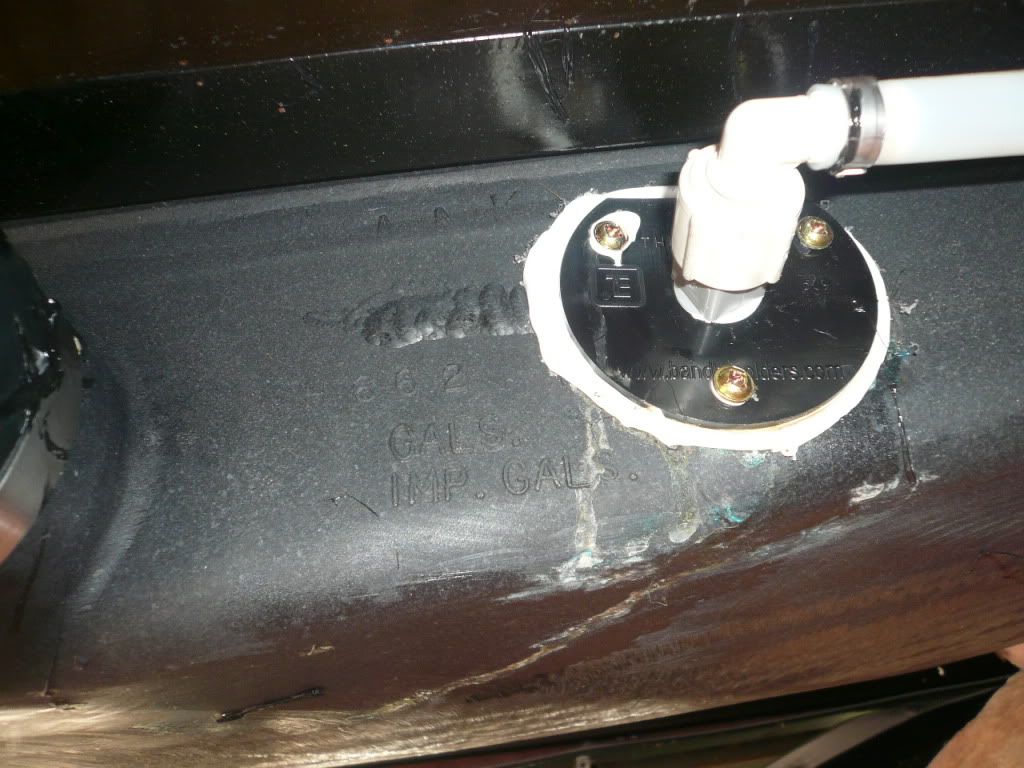
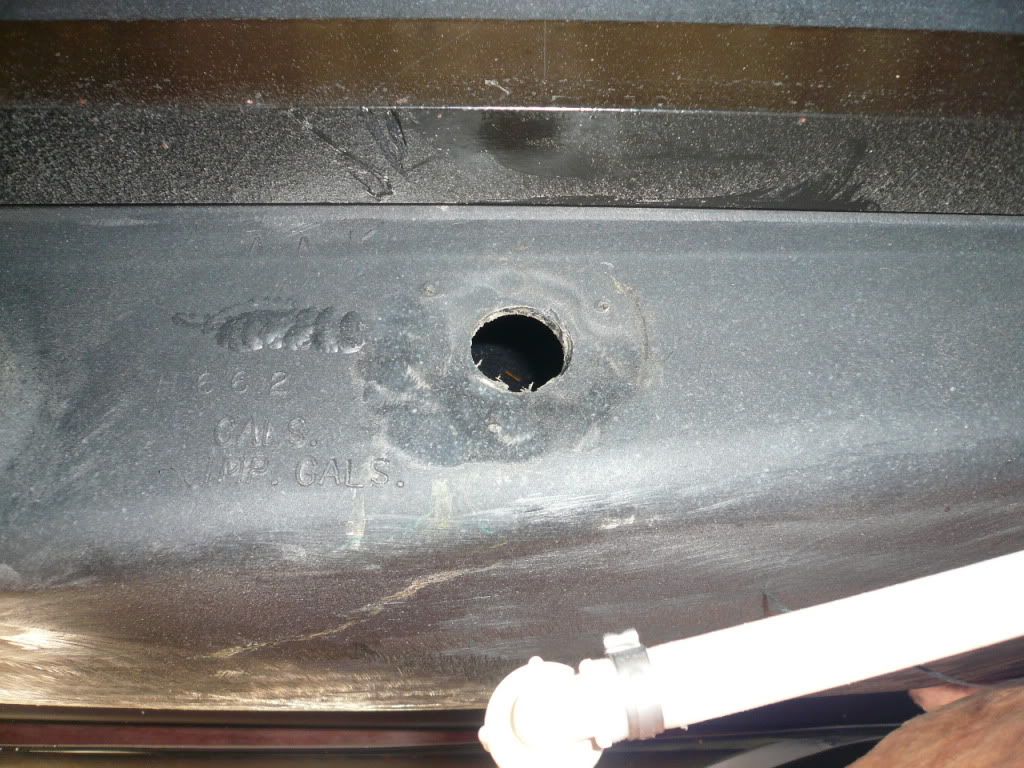
I flushed the connection and unclogged one nossel that was plugged up, cleaned, and then reinstalled with clear 100% silicon caulk. I allowed this to set up over night.


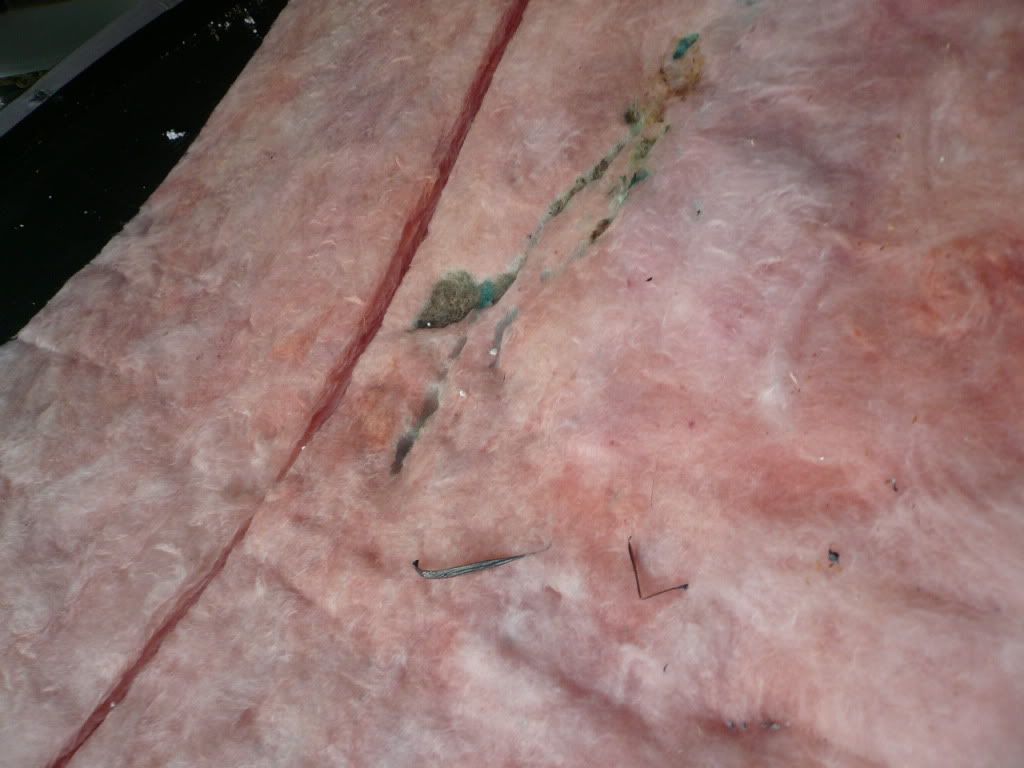
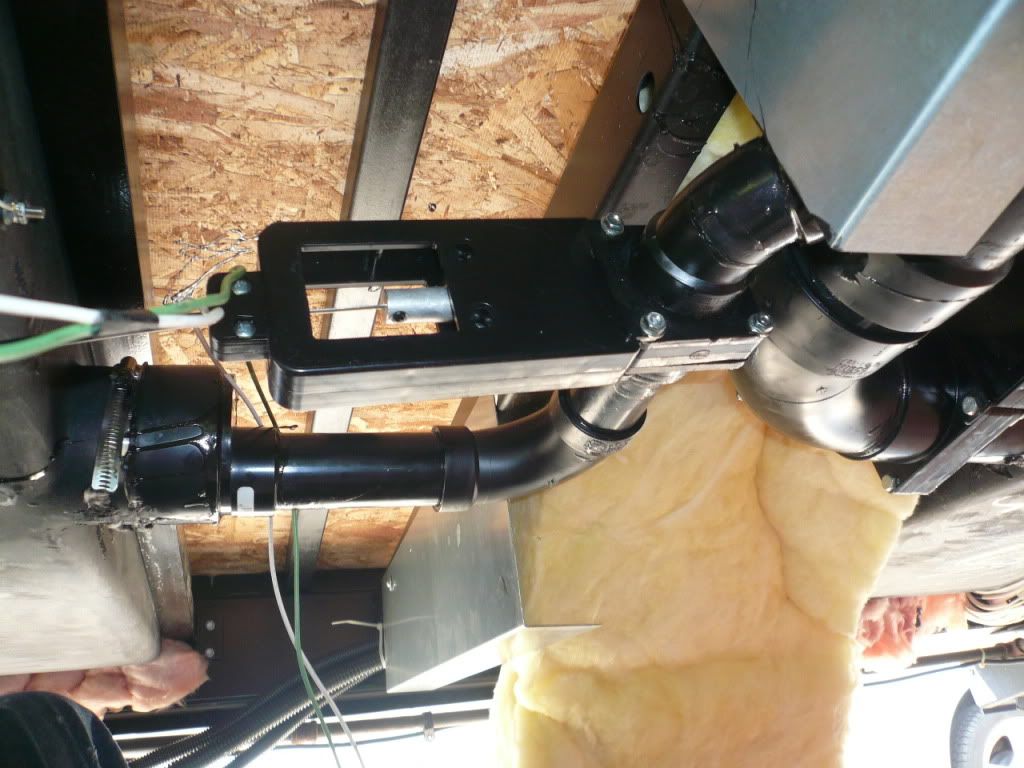
While the bottom was off I took the opportunity to clean and lube the valves since I've had a small black tank leaky valve. You really need to disassemble the entire valve to more easily reassemble the seals. This means not only the 4 bolts and nuts, but the 4 screws and nuts on the upper valve assembly where the cable attaches. I didn't cut my pipe as Loydt did, I just attached a rachet strap to the front frame and looped it around the piping to hold it while I cleaned, lubed with white lithium, and reinstalled the black tank valve. While I was here I did the front grey tank valve as well. That one actually stunk! I think I'll be adding flush connections to both grey as well. Anyway, I took the opportunity to add a little insulation although I don't think it will do that much, but I had a few pieces laying around the garage so I tossed them in. I also think that tank heaters will be in our future.


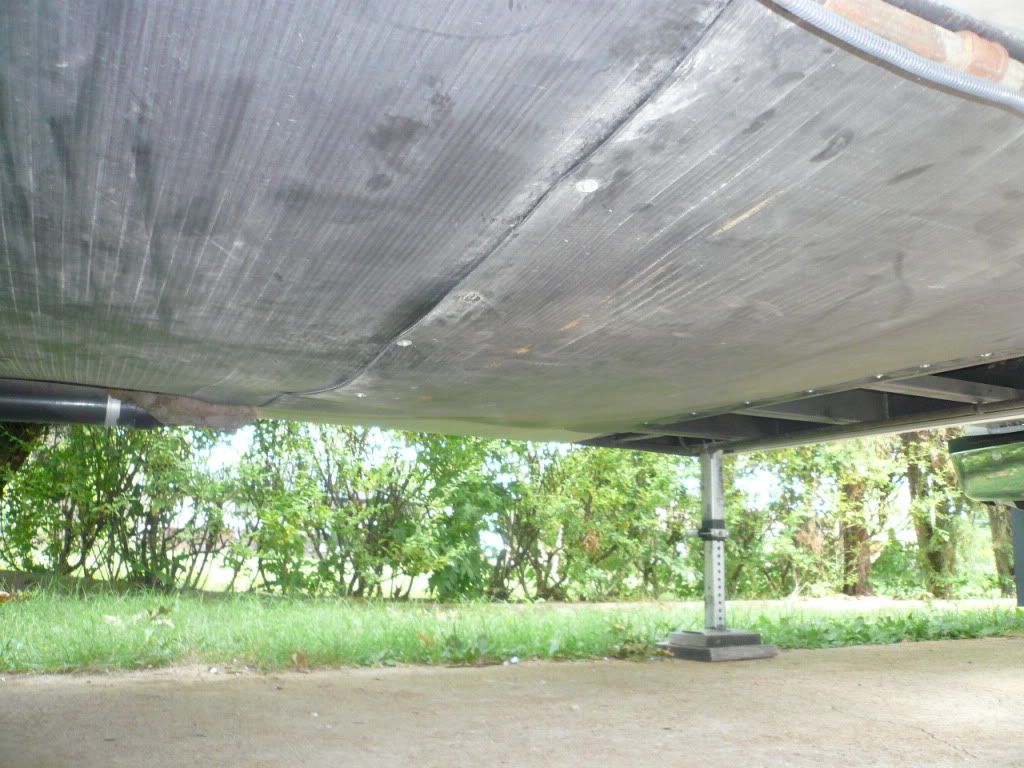
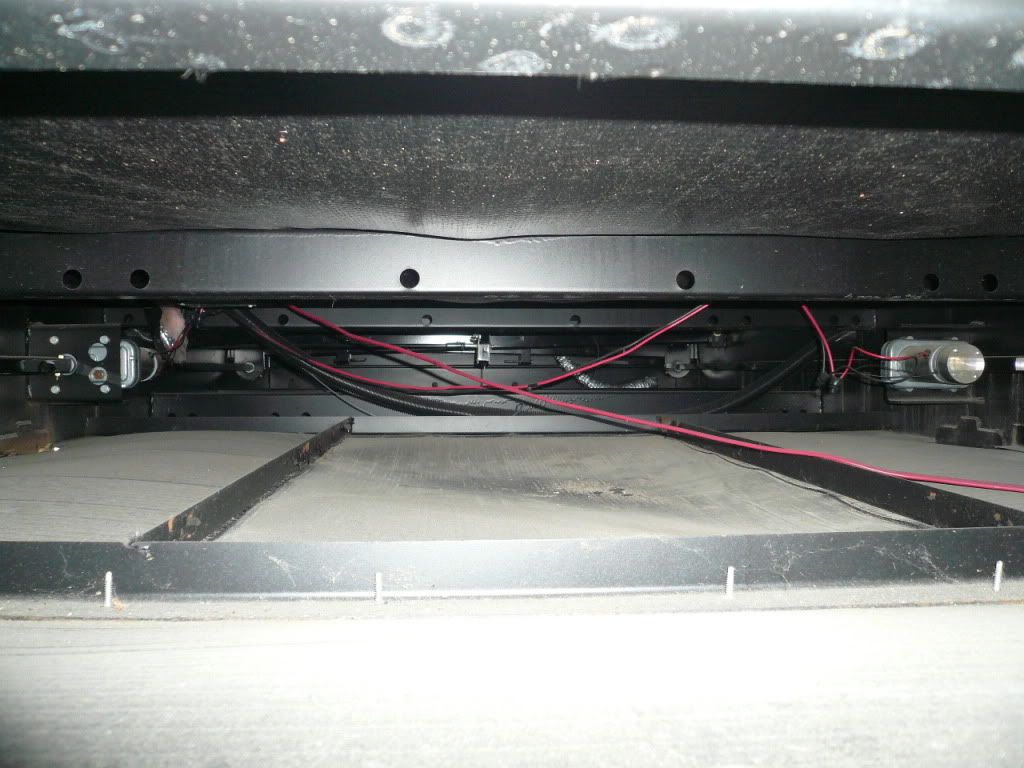
FYI... our underbellys are set up the same RLSA/RLTS. All the previous photos are under the front two panels. Here's a couple shots of what you can see from the little access panel in front of the axles.
LOOKING FORWARD-Rear grey tank and valve. With easy access this will be lubed later if need be.
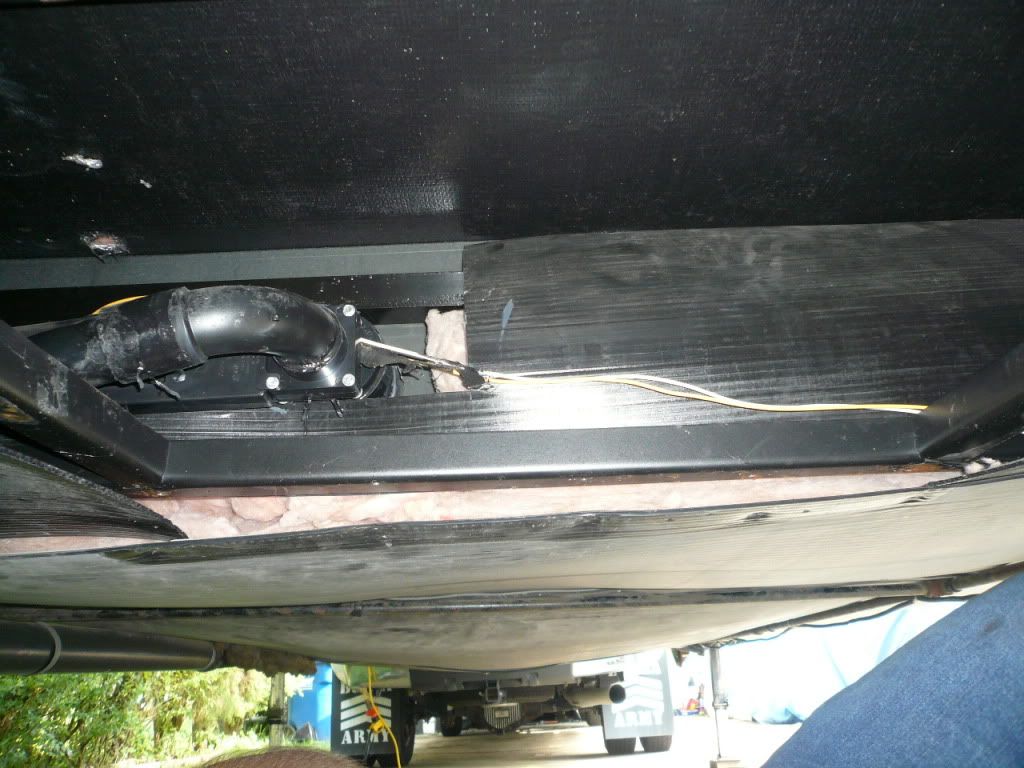
TOWARD CURBSIDE-Drive cog (COGSWELL COG) for the curb slide.

TOWARD REAR-Notice the slide motors are accesible from the access panel behind the axle.
The silicon (if that's what they used) was separated from the tank on about 3/4 of the surface. As you can see they attached it where some of the embossed logo and writing is on the tank surface and there is additional embossing below the flush flange. After cleaning up I ground the surface flush with a 3m prep pad and cleaned the surface once again.
I flushed the connection and unclogged one nossel that was plugged up, cleaned, and then reinstalled with clear 100% silicon caulk. I allowed this to set up over night.
While the bottom was off I took the opportunity to clean and lube the valves since I've had a small black tank leaky valve. You really need to disassemble the entire valve to more easily reassemble the seals. This means not only the 4 bolts and nuts, but the 4 screws and nuts on the upper valve assembly where the cable attaches. I didn't cut my pipe as Loydt did, I just attached a rachet strap to the front frame and looped it around the piping to hold it while I cleaned, lubed with white lithium, and reinstalled the black tank valve. While I was here I did the front grey tank valve as well. That one actually stunk! I think I'll be adding flush connections to both grey as well. Anyway, I took the opportunity to add a little insulation although I don't think it will do that much, but I had a few pieces laying around the garage so I tossed them in. I also think that tank heaters will be in our future.
FYI... our underbellys are set up the same RLSA/RLTS. All the previous photos are under the front two panels. Here's a couple shots of what you can see from the little access panel in front of the axles.
LOOKING FORWARD-Rear grey tank and valve. With easy access this will be lubed later if need be.
TOWARD CURBSIDE-Drive cog (COGSWELL COG) for the curb slide.
TOWARD REAR-Notice the slide motors are accesible from the access panel behind the axle.
About Fifth Wheel Group
19,040 PostsLatest Activity: Jul 08, 2013