Forum Discussion
Mudshovel
Jun 06, 2013Explorer
Here is some progress on the left wall.
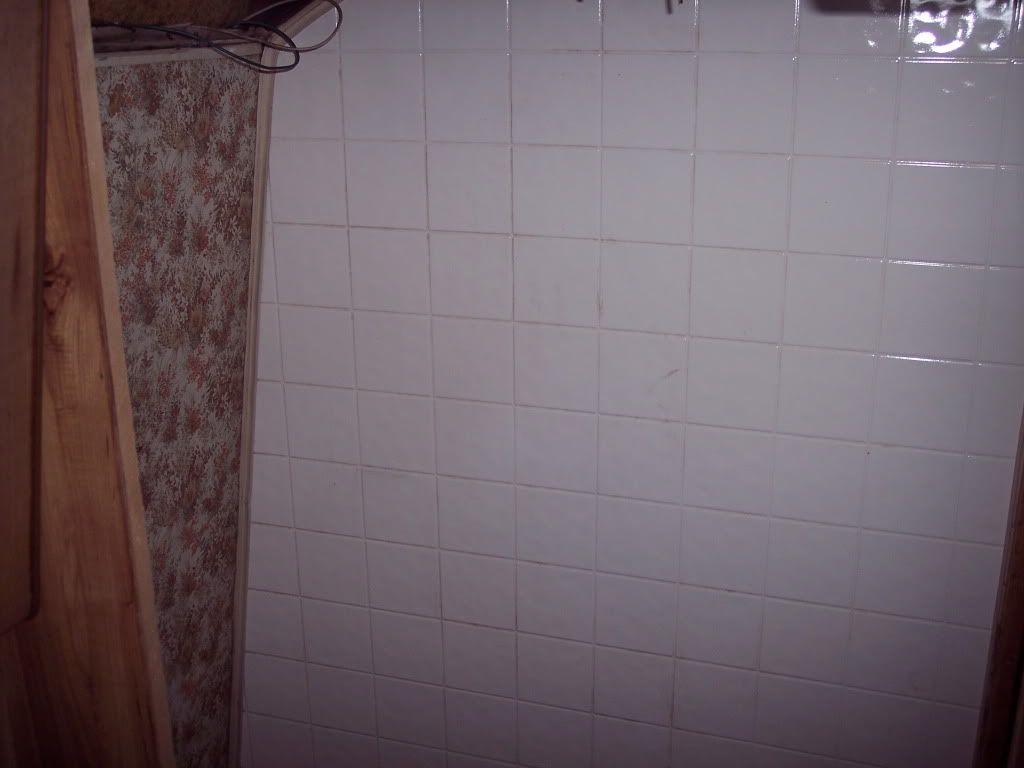
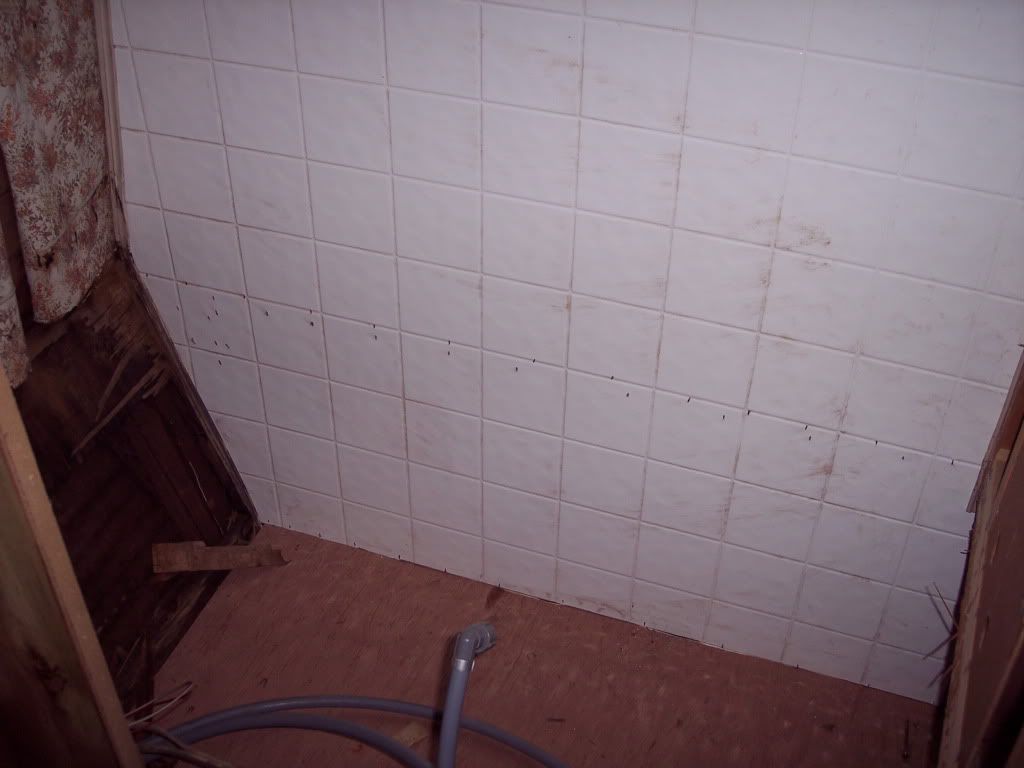
Started at the rear in the bathroom wall wich is the shower, used some fake tile board. Looks good however I know the key to this stuff being used is absolutly NO water leaks inside or out.
This was a fun panel to cut, I actualy cut the angles perfect the first time but shorted the width buy 2", oops what's the saying? messure once cut twice or was it messure once, cut then drive back to the hardware store and try to perfect the cut? lol
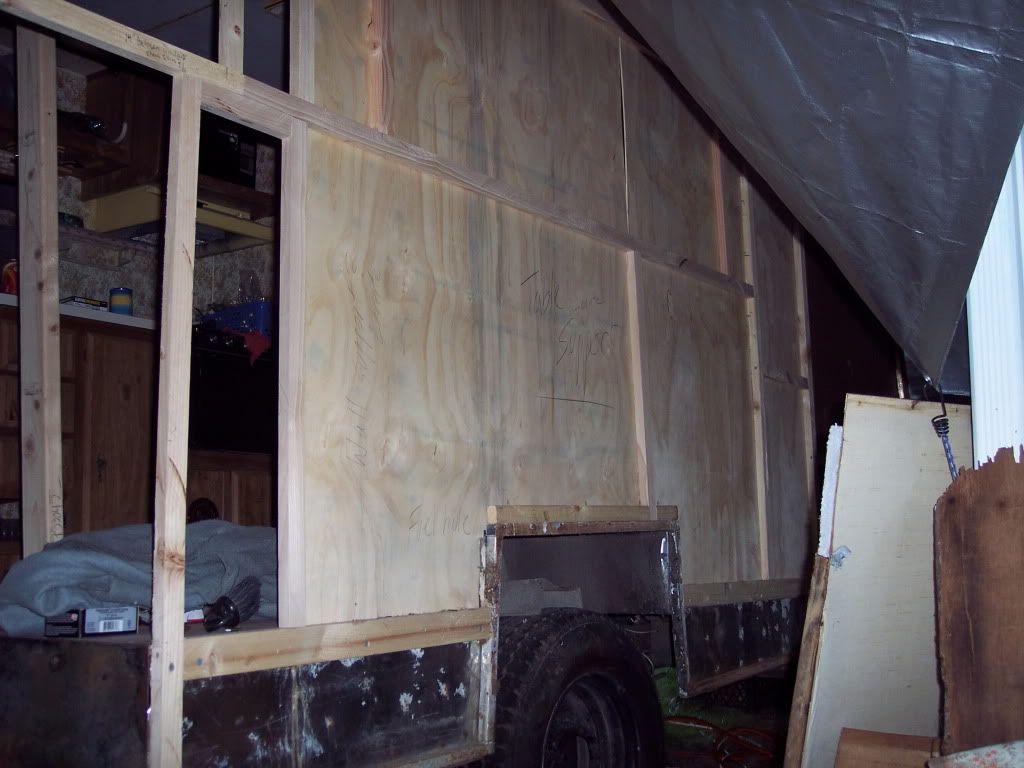
I can't paint a picture on how hard it was to get these panels hung without any help. Wall is starting to get stronger.
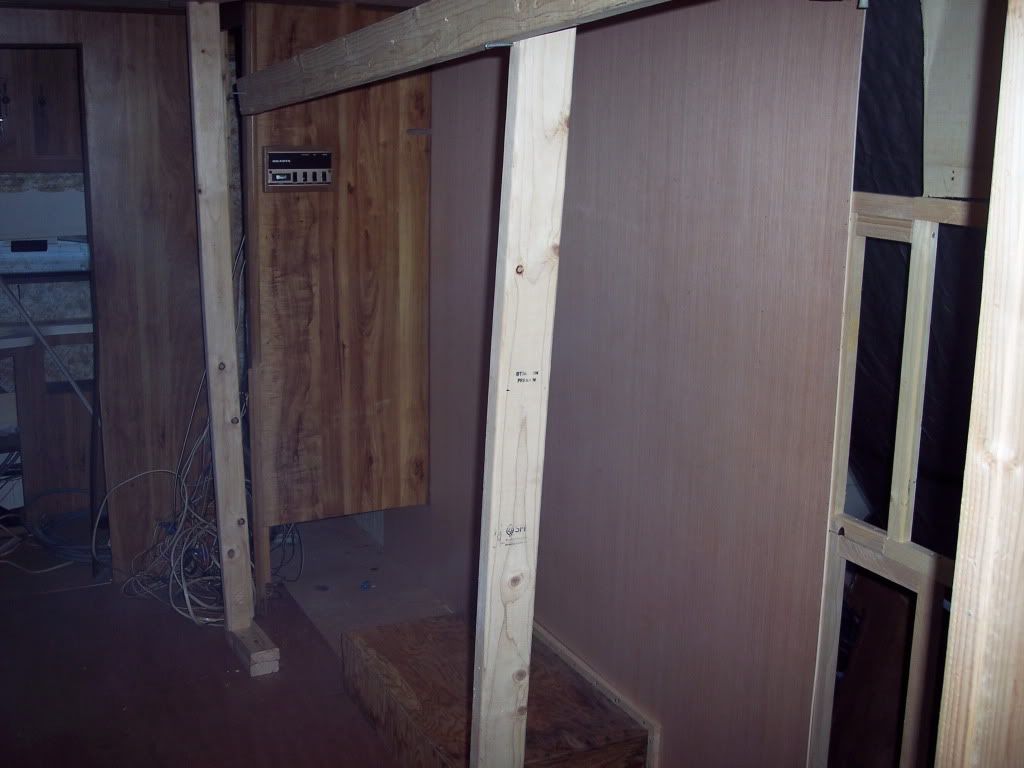
From the inside.
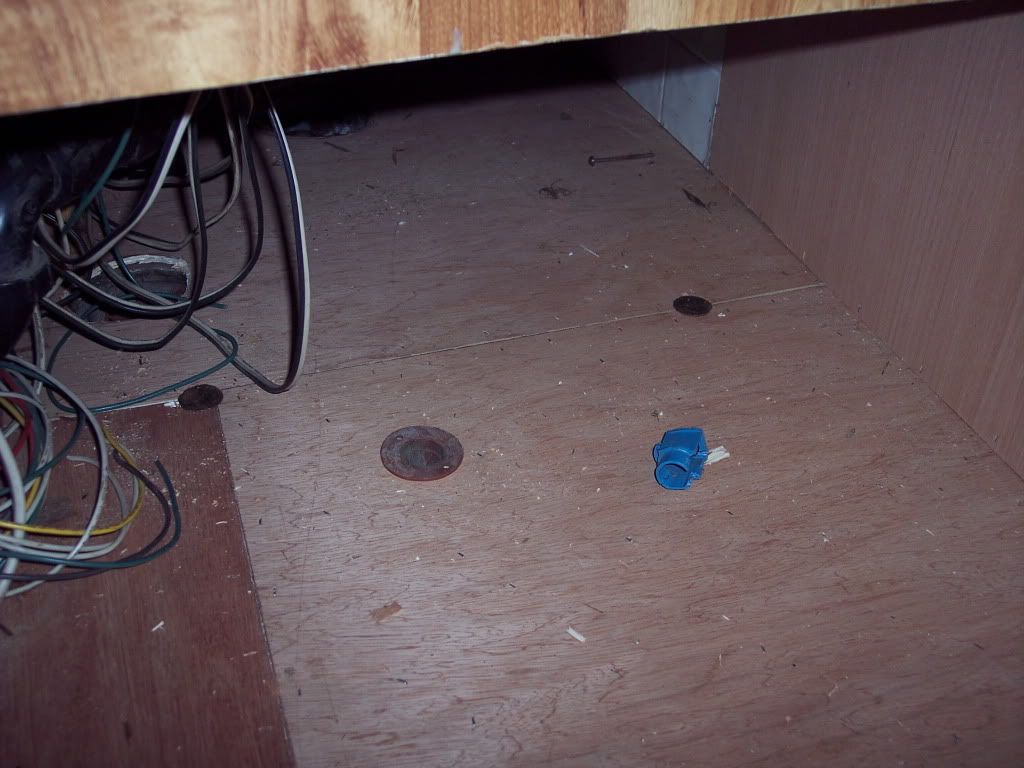
Got the floor bolted back down to the frame and drilled the holes for the LP lines and electrical. When I removed the plastic gromet from the LP line I found the line was almost rusted through where is sat in the gromet my MH has steel LP lines, I will inspect the other two lines for damage and replace them as needed with copper.
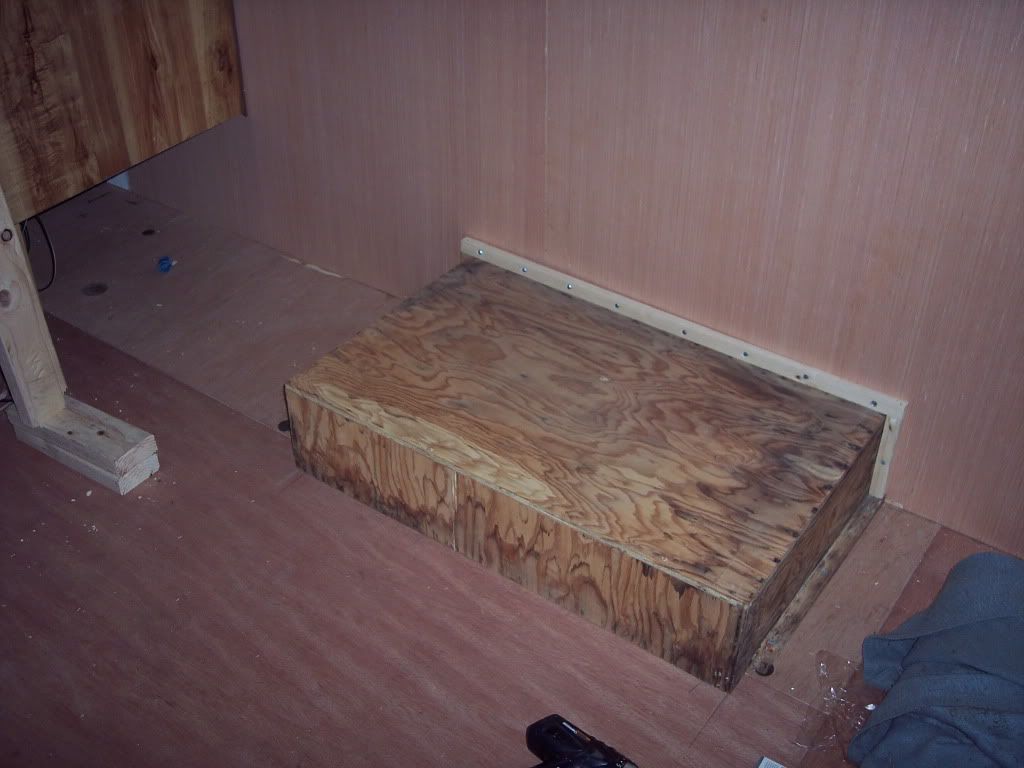
Left wheel well box, I salvaged this and replaced a few pieces of wood on it.
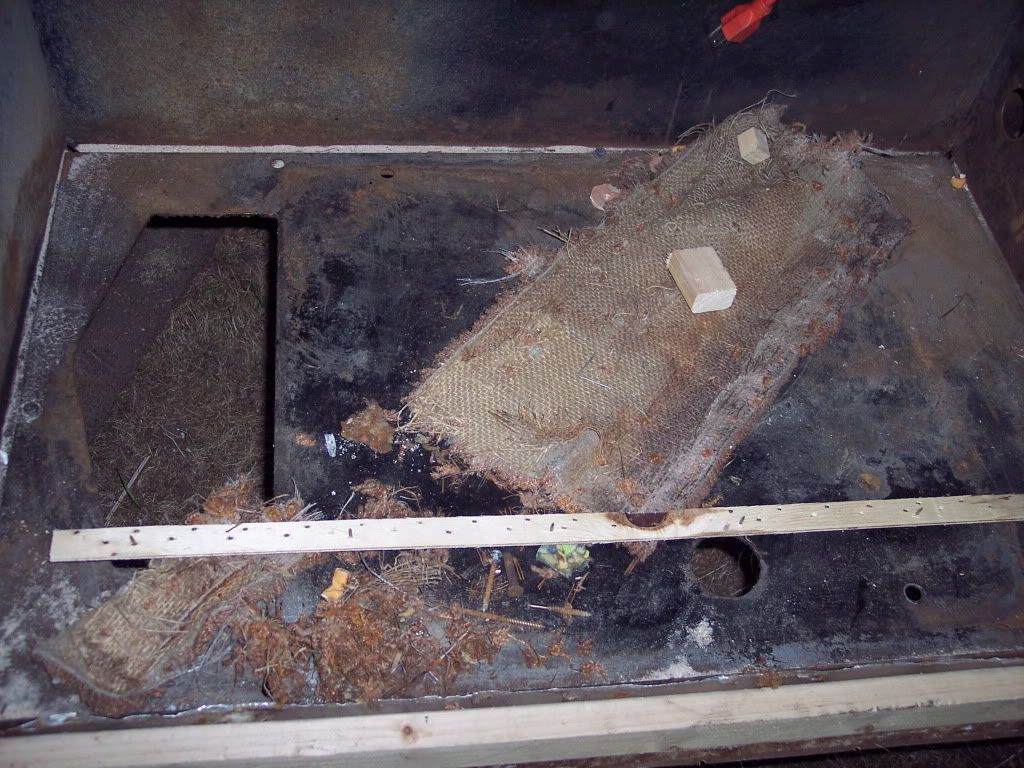
Look close at this picture I pulled about a thousand staples and some carpet and tack strips, I was at it for a bit!
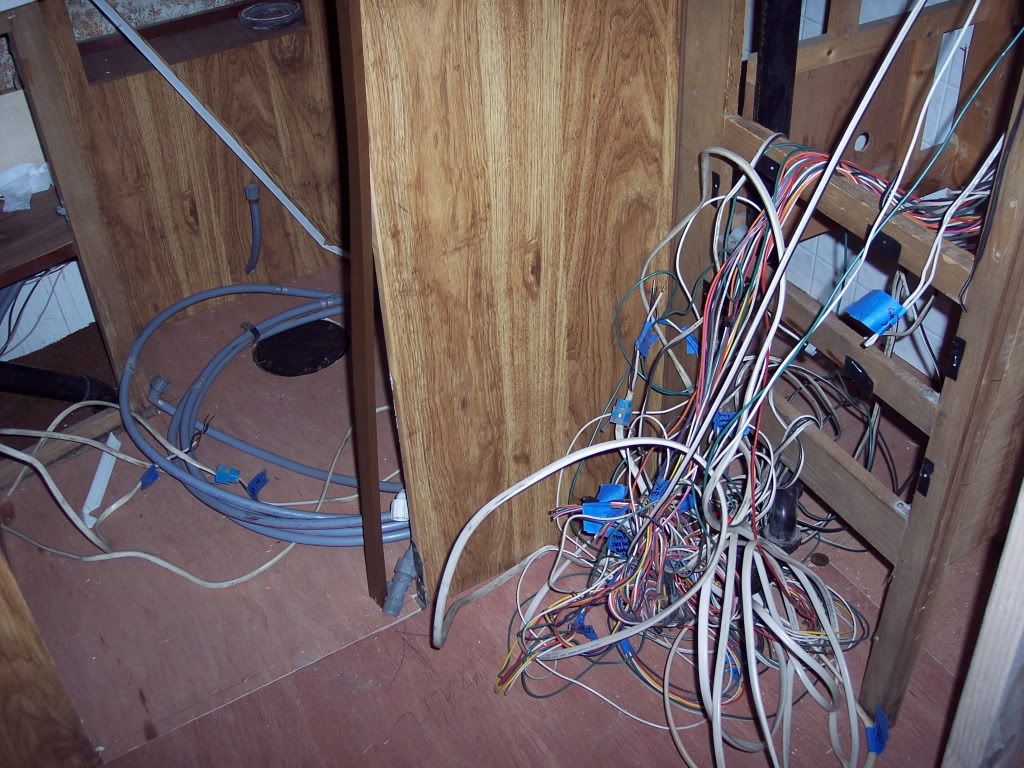
Another shot of the electrical spilling everywhere, I swear it's growning in size everytime I see it.
I think at this point I've decided I'm going to start the repairs to the overhead bunk area because I'd like to have as much wall in as I can before installing the genset as I'm worried it's wieght is going to pull down on the side and I don't want to rack the panels I have already installed, well I guess I could support the box from the underside until the wall is done. There really is not much supporting this heavy thing I'm sure all combinded it's enough and I have no idea how the factory installed as it don't look like it would be easy at all to put in at a later date when it's all done, compartment opening is large enought but I think there would be some sore backs and a lot of scraped up parts on the way in. Any body ever done this maybe have a good idea? I cut the junk wall away and used a engine hoist and the floor lifted up a lot after I got it out. hummm.
Well that's all I got for now. When I do get to the outside panels and siding I plan to move the MH from the cove it's at now and would love to get a shot of the over picture, you can't even take in the size of the project in person where it sits.
Started at the rear in the bathroom wall wich is the shower, used some fake tile board. Looks good however I know the key to this stuff being used is absolutly NO water leaks inside or out.
This was a fun panel to cut, I actualy cut the angles perfect the first time but shorted the width buy 2", oops what's the saying? messure once cut twice or was it messure once, cut then drive back to the hardware store and try to perfect the cut? lol
I can't paint a picture on how hard it was to get these panels hung without any help. Wall is starting to get stronger.
From the inside.
Got the floor bolted back down to the frame and drilled the holes for the LP lines and electrical. When I removed the plastic gromet from the LP line I found the line was almost rusted through where is sat in the gromet my MH has steel LP lines, I will inspect the other two lines for damage and replace them as needed with copper.
Left wheel well box, I salvaged this and replaced a few pieces of wood on it.
Look close at this picture I pulled about a thousand staples and some carpet and tack strips, I was at it for a bit!
Another shot of the electrical spilling everywhere, I swear it's growning in size everytime I see it.
I think at this point I've decided I'm going to start the repairs to the overhead bunk area because I'd like to have as much wall in as I can before installing the genset as I'm worried it's wieght is going to pull down on the side and I don't want to rack the panels I have already installed, well I guess I could support the box from the underside until the wall is done. There really is not much supporting this heavy thing I'm sure all combinded it's enough and I have no idea how the factory installed as it don't look like it would be easy at all to put in at a later date when it's all done, compartment opening is large enought but I think there would be some sore backs and a lot of scraped up parts on the way in. Any body ever done this maybe have a good idea? I cut the junk wall away and used a engine hoist and the floor lifted up a lot after I got it out. hummm.
Well that's all I got for now. When I do get to the outside panels and siding I plan to move the MH from the cove it's at now and would love to get a shot of the over picture, you can't even take in the size of the project in person where it sits.
About Motorhome Group
38,777 PostsLatest Activity: May 24, 2026