Forum Discussion
8,453 Replies
- Also working on the passenger side. Leveling things out before starting the fiber glassing on this side as well.
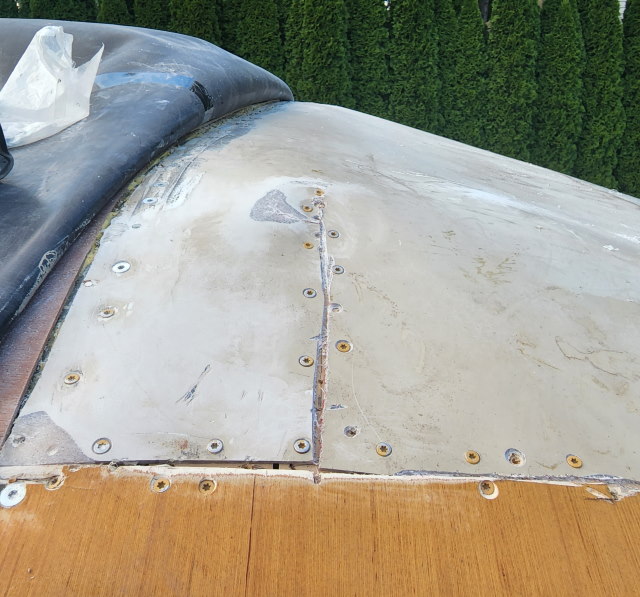
- Here's some more prep for the drivers side fiberglass on top. Some sanding and smoothing for preparing for the next round of applying fiberglass and resin is in order.
Just like painting, the prep is way more time intensive than the actual glassing procedure.
Getting things leveled out, but still not to my liking.
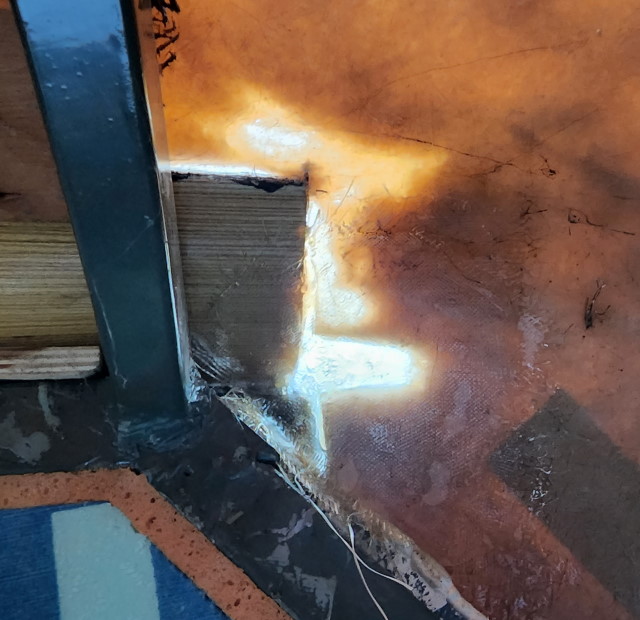
- I needed to keep the old fiberglass in place, until I can add new cloth and resin on the top side.
Therefore, I added some plywood on the inside, and then screwed through the fiberglass into the plywood.
This is a pic of the passenger side, and the drivers side looks similar with the plywood on the inside.
I do need to cut the end of the screws off before I start insulating the inside, though.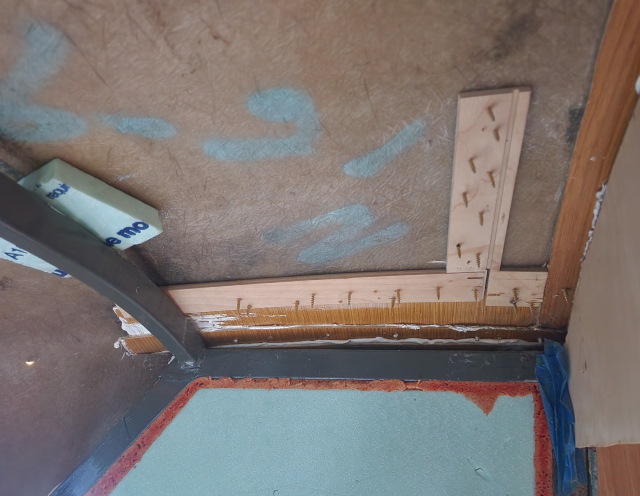
- I then switched to the passenger side, as that still needs additional work as well.
Fiberglass like wood, will bend in one direction, but not 2.
As such, I had to cut a couple of slits in the fiberglass to make it bend and fit where it is supposed to.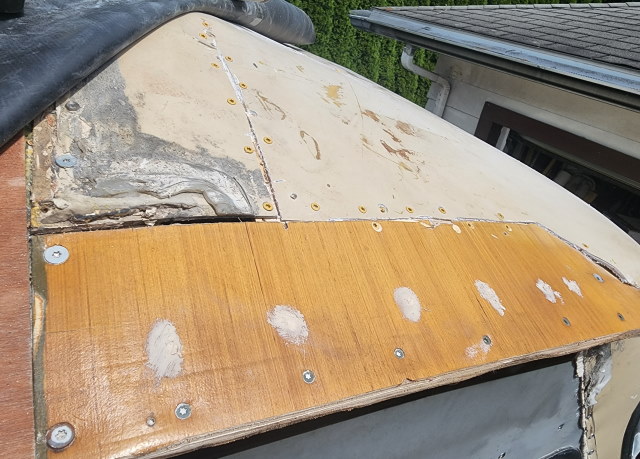
- I finally added a bunch of extra layers of fiberglass cloth and resin on the drivers side.
It is finally getting to the point where it's flattening out, instead of being dished in the center.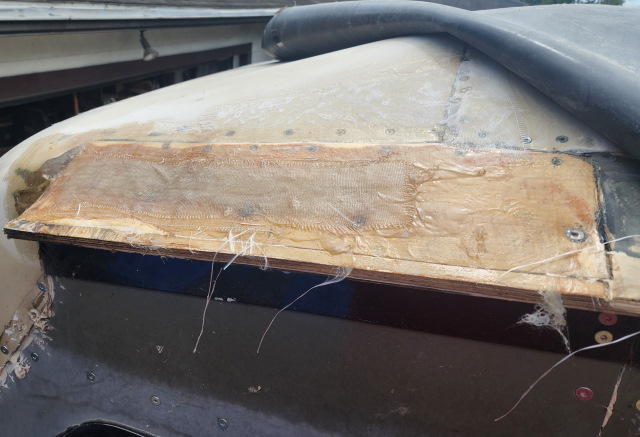
ro_sie wrote:
In case you didnt get the email. Harbor Freight is having a huge clearance sale this weekend. So huge, that I am going this afternoon.
Yes, I did see that, thank you.
Hope you had a good trip and spent a bundle! Lol... ro_sieExplorerIn case you didnt get the email. Harbor Freight is having a huge clearance sale this weekend. So huge, that I am going this afternoon.
- While it may not look like it, I added several layers of fiberglass this evening.
Since this area if not fully flat, I figured I would try a couple of things.
First, I mixed up a 1 oz of fiberglass and put down a couple of layers of fiberglass cloth. Then, I mixed up 2 ox of fiberglass resin and proceeded to spread that onto fiberglass cloth.
Turns out that with a 1" wide brush, I can spread about 2 oz of resin before it starts to harden.
As such, I put down a couple of layers of cloth in an effort to try and level the surface out a little bit.
So far so good.
- Moving on to the outside of that area, I started by adding one layer. A little of this has an air bubble that will be sanded off before adding more layers.
Now that the first layer is in place, I can add several more at once to speed things along.
- I added a couple more layers of glass cloth and resin on the inside over top of the pilot's seat area.
About Motorhome Group
38,748 PostsLatest Activity: Aug 19, 2025