Forum Discussion
8,453 Replies
- Another hump tonight, Capt'n.....
- I then moved all the weight onto the next piece, which was a little over 4 feet long.
What a concept. Lol. After gluing this smaller piece down, I pulled the TPO back over top of it, and left it sit for the night.
By he time that was finished, it was dark again.
We are supposed to have another rain event tomorrow, so that will probably stop the progress on the roof for a day.
Getting closer to the next major gluing event. - I then cut my last piece for the center, that goes at the front, shown here, cut but not yet glued.
- Got up early this morning and finished gluing the center pieces of plywood on the roof. Waited for another 3 hours for the glue to dry, and went back outside to continue.
I put another piece of 4 x 8 on the roof in the center, just in front of the one at the rear, and proceeded to put a bunch of weight on it as well.
sundancer268 wrote:
Will the new plywood be coated with POR-15 or just the glue for the TPO?
I don't really see the need for Por 15 here. The TPO will be glued down directly to the plywood, so that should be just fine for water proofing. sundancer268ExplorerWill the new plywood be coated with POR-15 or just the glue for the TPO?
- By the time I got the plywood in place and weighted down, I knew it would be well past dark at the 3 hour mark for the adhesive to dry, so I just left everything up there and pulled the TPO back in place, (sort of).
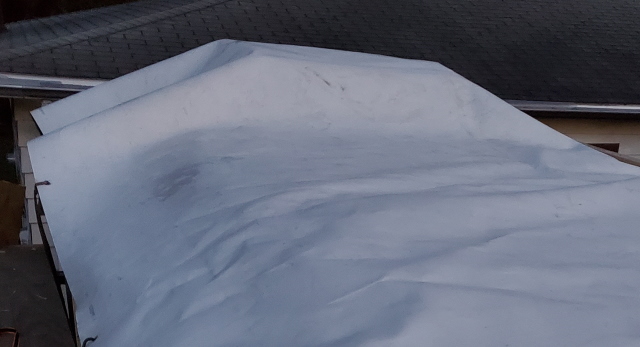
And that Capt'n, is how the roof ended up looking lumpy!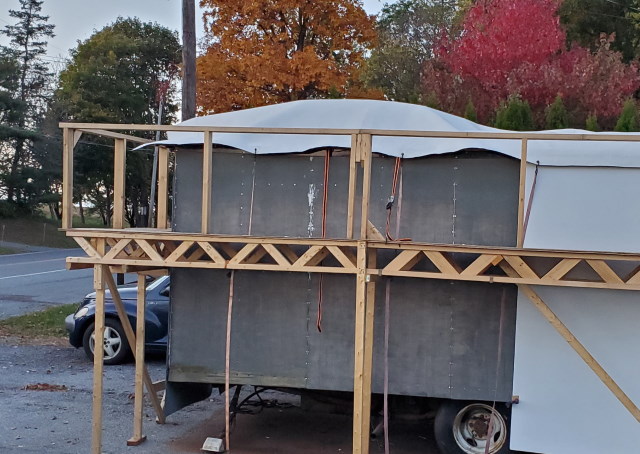
- In case you missed it in the last picture ----- I missed my mark on the plywood by about an inch.
When the plywood went down, it was off just a little, and with that adhesive, it is very difficult to move once the 2 make contact.
Fortunately, I left enough overhang here at the back, so I could trim a little off, so it's not a problem.
It would have been much nicer if I would have had a second person to help lay this down, but, it's close enough. Trimming an inch off will be just fine.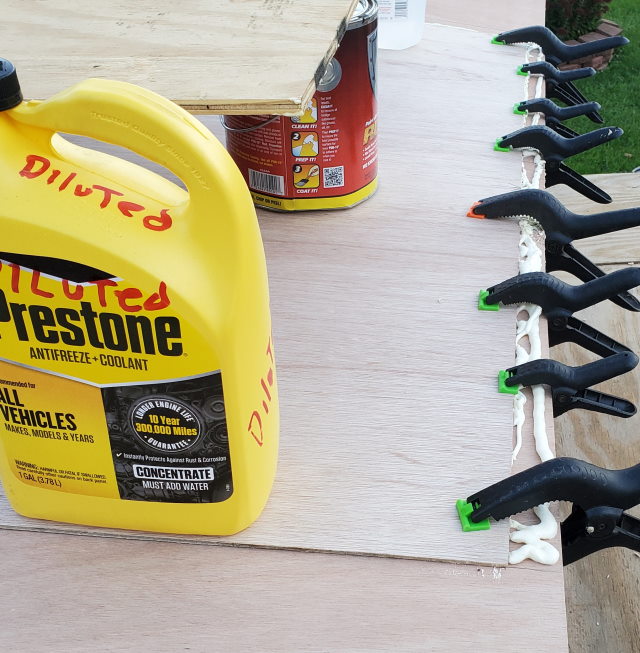
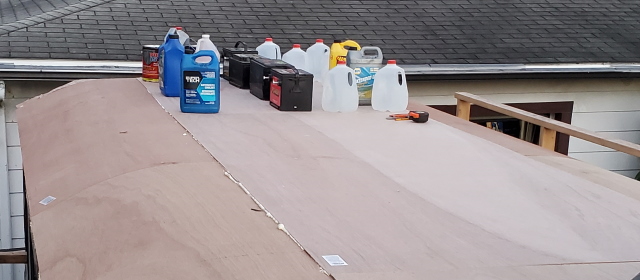
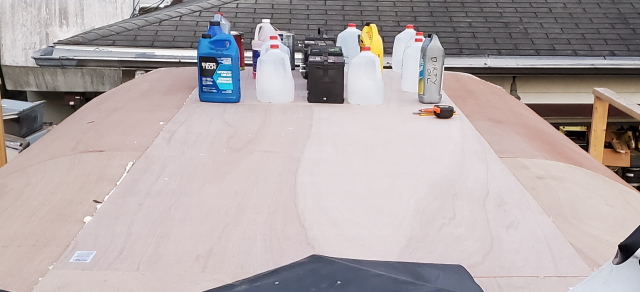
- After putting the adhesive on the roof plywood, it was time to lay the new piece in place and put some weight on top of it, while the adhesive cures. That takes about 3 hours, and then the weight can be removed.
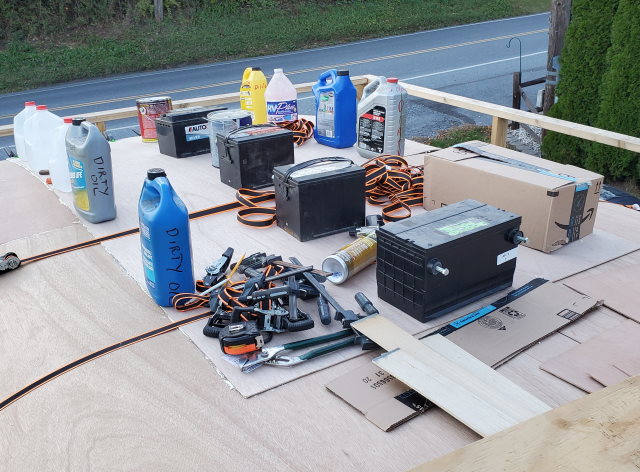
Looks like a jungle out there... Lol...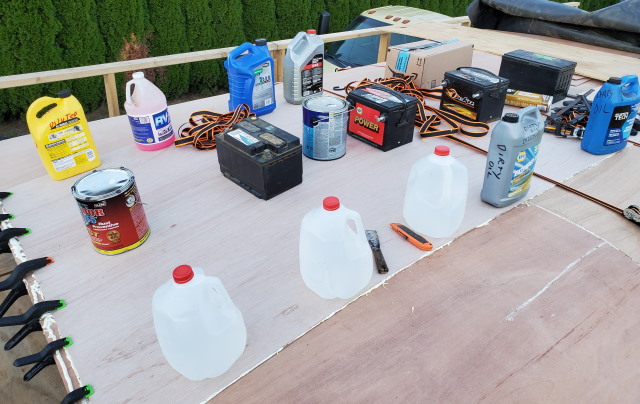
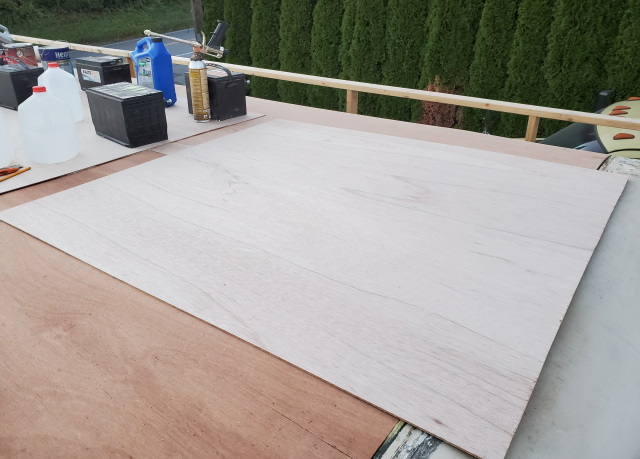
- First, I needed to center the plywood on the roof. I am not sure how well this will show up, however, I found the center of the roof, as well as the center of the plywood I was putting down.
The bottom arrow shows a pencil mark on the roof, 2 feet to the passenger side of center.
The top arrow shows the center of the bottom plywood and the center of the top plywood.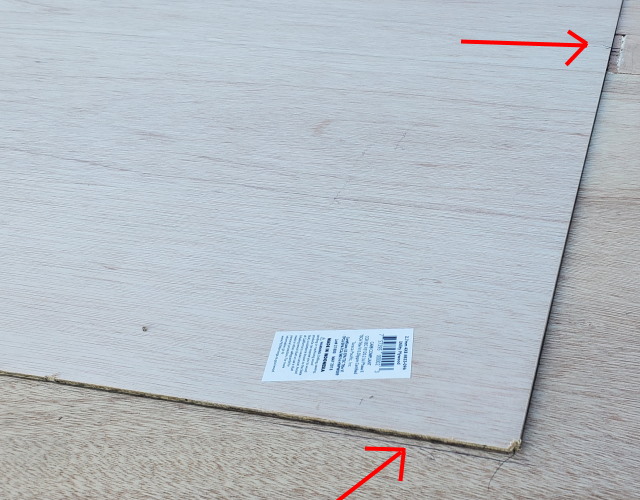
This is the rear of the roof, showing the center of the new plywood and the center of the current roof.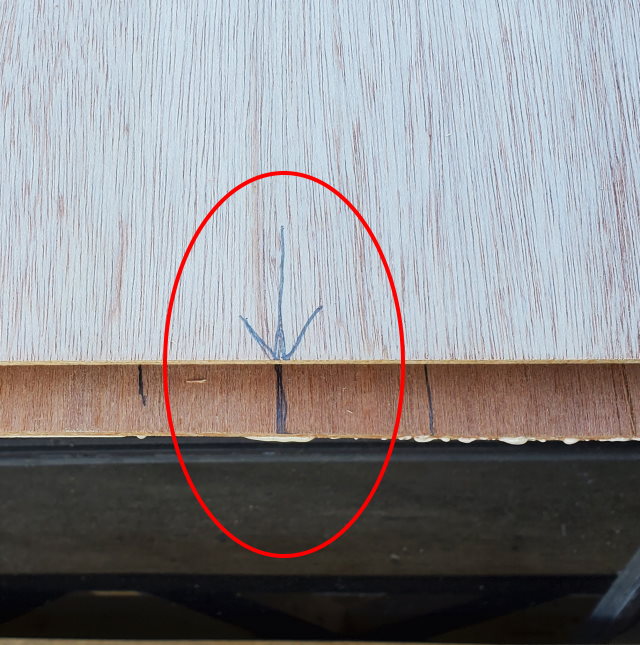
Putting pencil marks all around the plywood on the roof, gave me a reference point for when I put down the new plywood, as well as where to put the adhesive.
About Motorhome Group
38,769 PostsLatest Activity: Apr 24, 2002