Forum Discussion
8,453 Replies
- I had to add a little glue between the original plywood and the cedar boards, at the top end of the door. Evidently, I didn't have enough glue up there, and about an inch or two up top, did not glue together.
Here you can see the glue line and the extra glue dripping at the top edge.
It's always best when clamping wood, to add an extra wood block between the clamp and the wood, to avoid putting a dent in the wood from the clamp.
Here you can see that I have wood on both top and bottom of both sides of the plywood.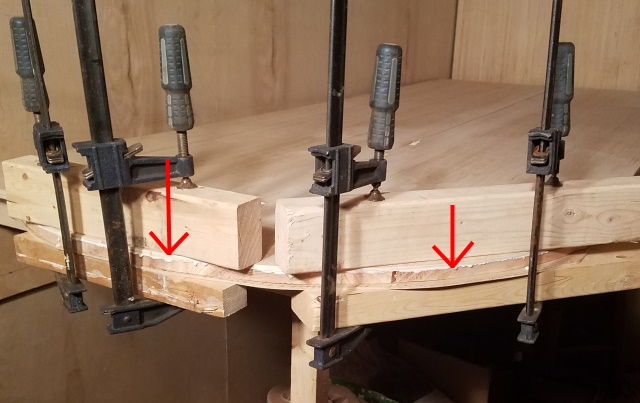
- Here is the opposite side of the bath door, after I glued a piece of 1/8" plywood over the cedar boards. That extra ply on the opposite side really stiffened up the door overall.
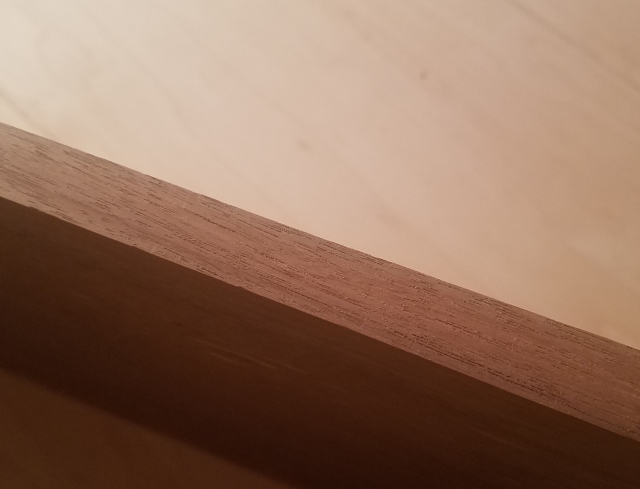
At this point, it's only about 7/8" thick, but I'll be adding more wood to it, so it will end up a little thicker than that.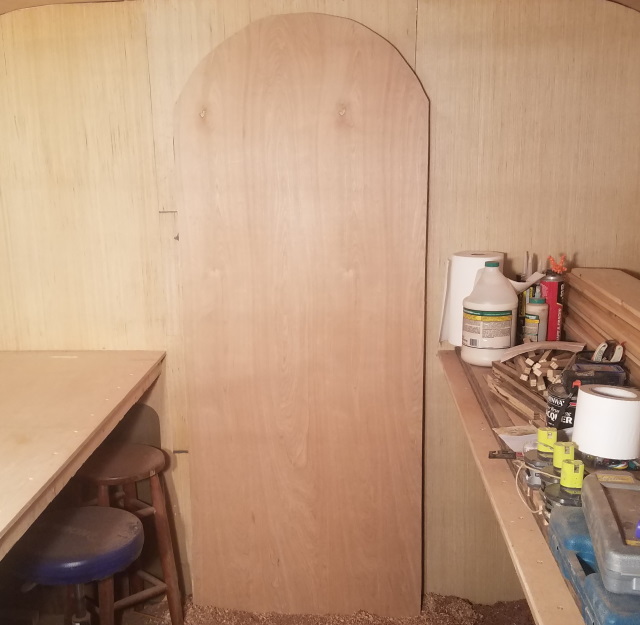
- Then I flipped it over, and took another picture with the cedar boards showing. I showed them to the wife, and asked her which she liked better.
The cedar board look is the winner. Yup, those are the same cedar boards I just glued plywood on. Lol.
I glued plywood over the cedar to strengthen the door, so I'll be adding more boards for the look we want. Yes, it's still light weight, and will be.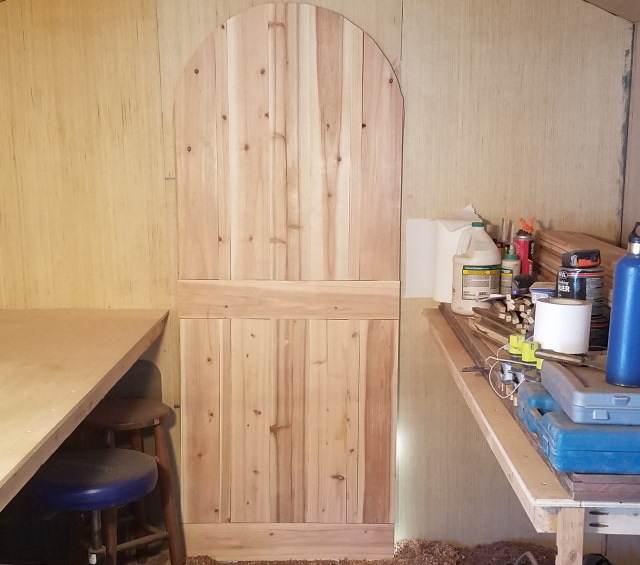
- By the way, before I glued the other side of the bath door, I sat the piece up against wall, and took a picture to see how it would look. Here is the plywood side.
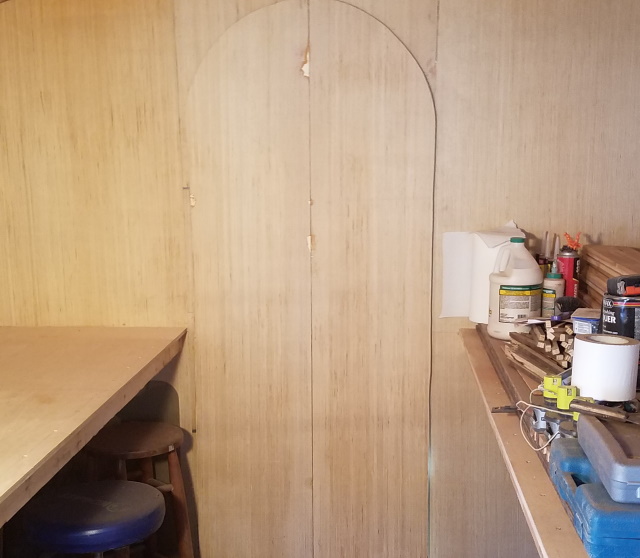
- Although you can't see it, I added another piece of plywood to the other side of the bath door. I then threw a couple of pieces of 3/4" plywood on top to hold it down, while the glue dries.
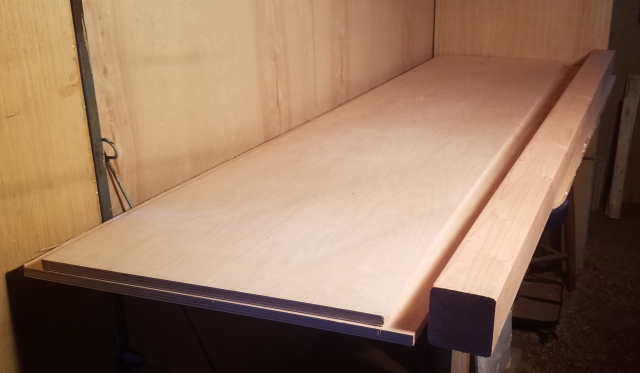
- Add a couple of clamps, and now you've got a nice wide board. No, I didn't glue it yet, but that will eventually happen.

- When it's done right, this is how it will look when finished. A nice, clean, straight, edge. Yippee!
So, it can be done without an expensive jointer. It does take a little longer, but it will work just fine. - Then we end up looking like this, with a nice straight edge, that is ready to be glued to another nice, straight, board.
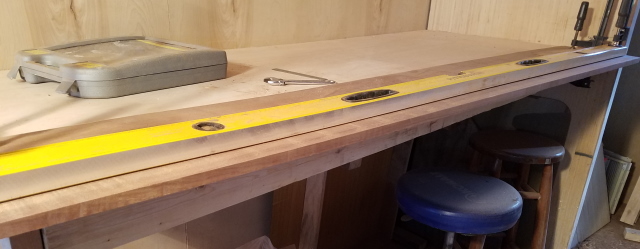
- Next was to set the distance between the level, and the edge of the black walnut board. I set this to an additional 1/8" at the most narrow area along the edge.
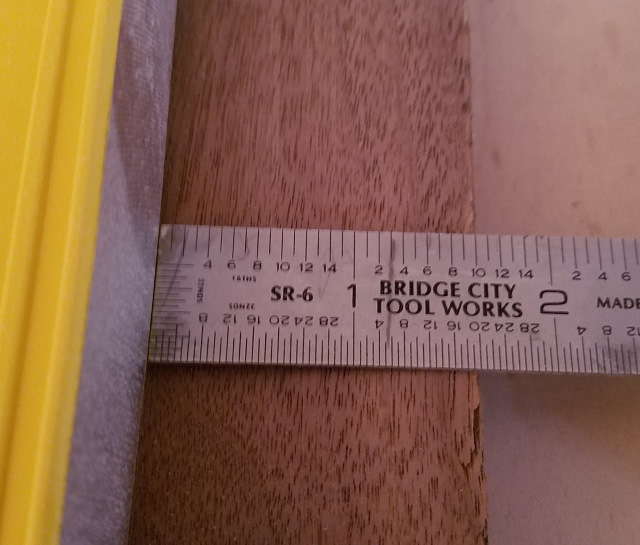
- First step was to measure the distance between the side of the router bit, and the edge of the router base. We have 1.5 inches.

About Motorhome Group
38,771 PostsLatest Activity: Apr 20, 2026