Forum Discussion
8,453 Replies
 ro_sieExplorerI take it the weather is too bad to be working on the project. Low 50's in upstate Sc today/
- I pulled out the partially finished kitchen sink to have another look at it.
I made up a temporary frame for the outside, to simulate a counter top. Purpose is to figure out how to mount this to the counter.
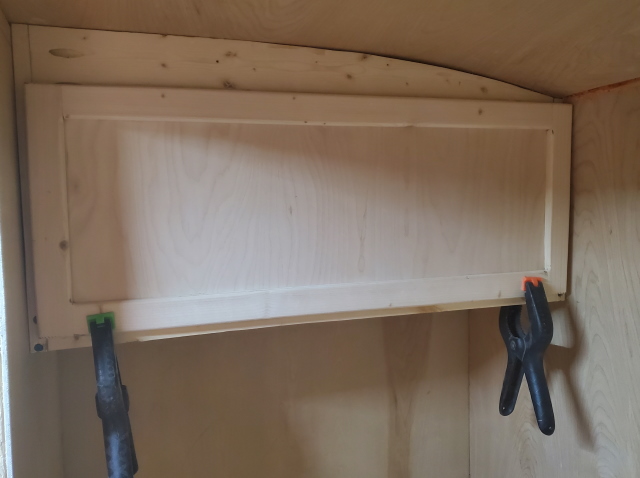
- At that point I used a piece of wood to prop the door open for the picture. No, that is not my permanent door holder, just in case you wondered.

- After purchasing a set of hinges today, I installed them and fastened the door to the front.

- After removing the clamps, I glued and nailed my plywood to the frame. I need to countersink the nails yet.
Then, I used my portable router and trim bit to cut the hole out.
- One of the last steps to do before gluing the plywood front on, was to add a piece of wood the the front of the shelf. That will give a ledge to keep things from sliding out willy nilly when opening the door.
I will probably add a bungie cord, or something similar part way up the opening, to also keep items in place.
That glue will be dry tomorrow, and I can glue the plywood front on.
I'll have to pick up a pair of hinges for the door yet.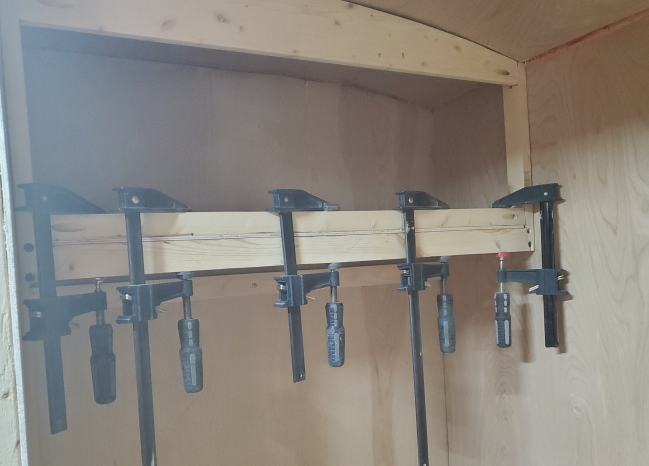
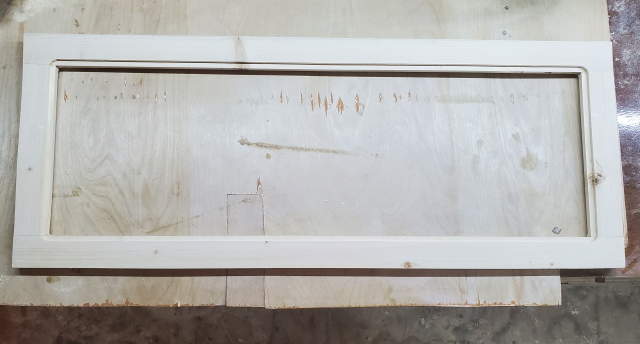
- Next, I cut, trimmed and sanded a 1/8" thick piece of plywood, that will be glued over the framing. Here again, was another test fit.
I will say, having curves on the ceiling, or anywhere else, does indeed complicate things just a little bit, when it comes time to make them fit.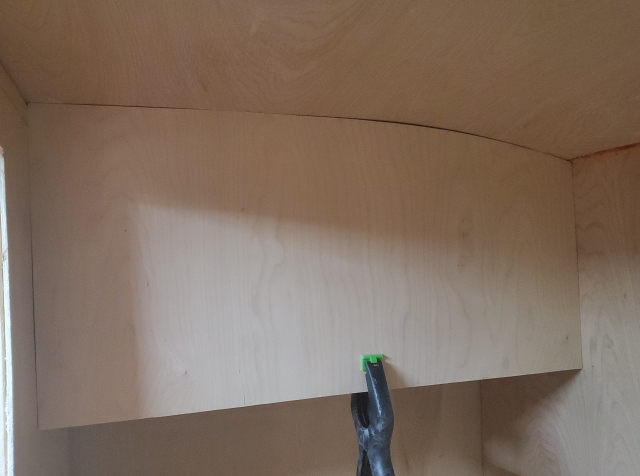
- Alrighty. Now that the glue has dried for the door over the toilet, I clamped it in place to check the fit, and am happy with how it is looking so far.
- Then after applying glue, it's time to apply weight. Paint and tools make wonderful weights for smaller jobs.

- The back side of the frame waiting for the plywood insert to be glued in place.
Test fitting the plywood in place.
About Motorhome Group
38,748 PostsLatest Activity: Aug 03, 2025