Forum Discussion
8,453 Replies
- Here's the setup I attached to my router to help guide the router and keep it steady and straight while cutting the taper.
This was kind of a trial and error setup until I got the rough angle that I wanted.
The near side is a piece of 1/8" plywood screwed to the router base.
The opposite side is about 3/8" high and also held on with 2 screws.
The 1/8" thick piece was held against the edge of the plywood and the thicker side was sitting on top of the plywood.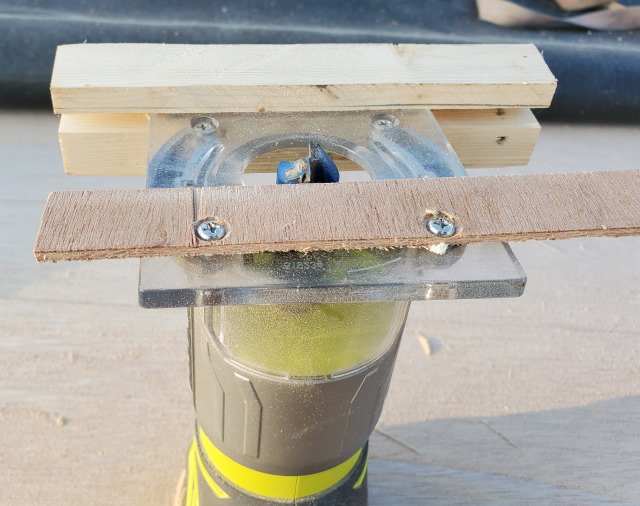
- I pulled out my grinder with a flap sanding wheel attached, and proceeded to smooth out the little edge on the top and the bottom.
That makes it look like this. Nice and smooth with rounded edges.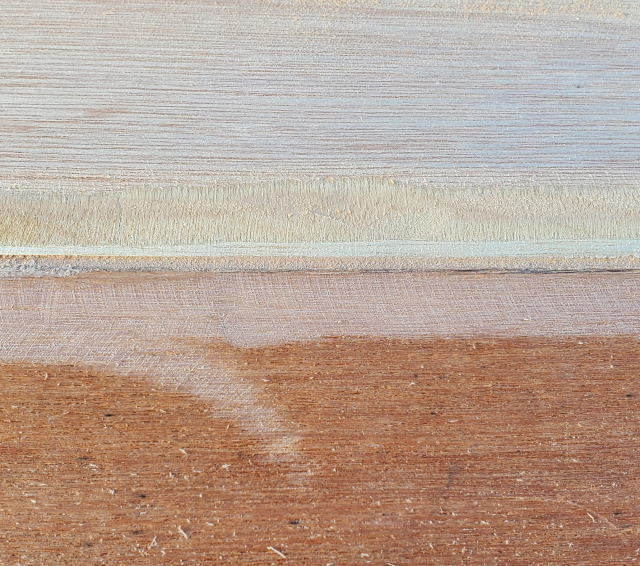
- Another rainy night in Georgia, ..... ah, make that Pennsylvania. Ugh.
Earlier this week, the forecast was for mainly sunny and a few clouds.
Unfortunately, they neglected to tell me that it was going to be foggy/rainy/drizzly for 2/3rds of the day before the sunshine showed up. Oops.
Anyhow, the plywood that I put on the center of the roof, has been tapered on the sides to eliminate a sharp drop at the edges of the plywood.
I built a little jig on my cordless router to operate on a taper to help make it easier to git 'er done.
Here's the pic after the run with the router.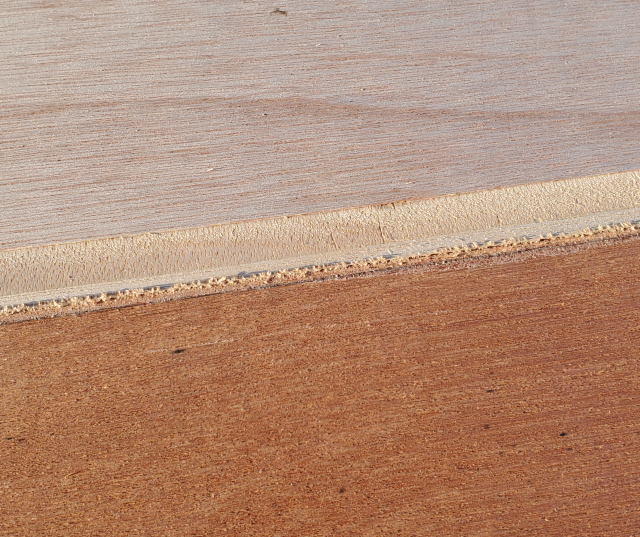
That left just a small edge at the top and the bottom, with the majority removed. - This is the front side, which had "trim" around the edges. This was also stapled, over the top of the "plywood".
And THAT is why many an rv has issues when driving/hauling one of them down he road.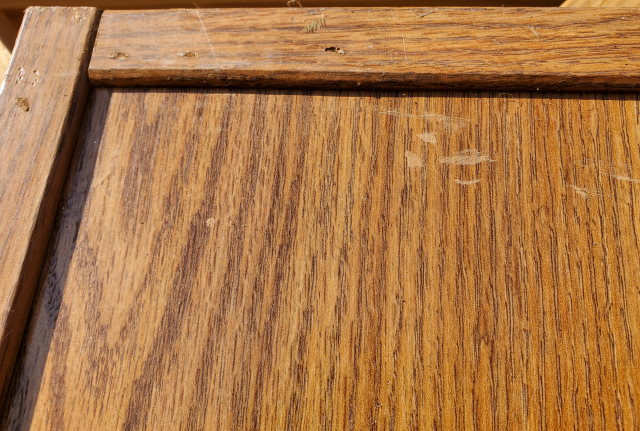
- The corners were stapled together with one staple at each one, and again, no adhesive.
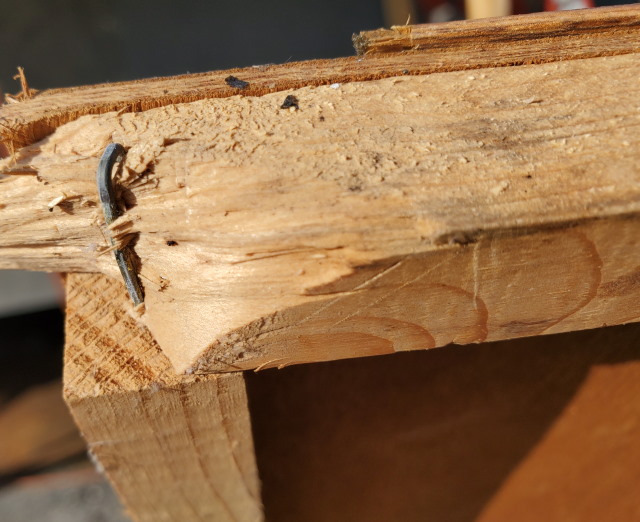
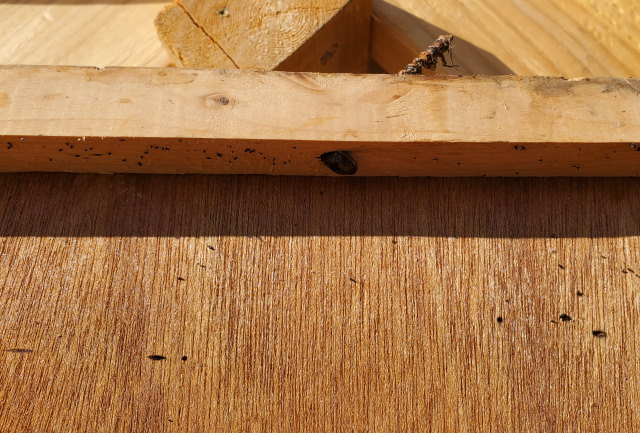
- This is one of the cross pieces that is 3/4" x 1.5". There are no staples, nails, screws, or adhesive holding the thin plywood to the cross piece. The plywood was staples around the outside edges only.
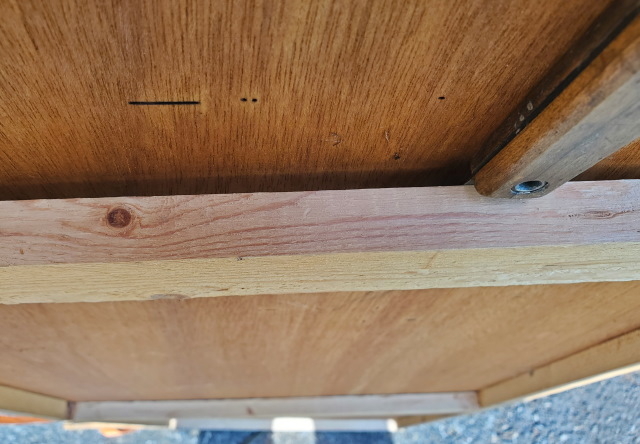
- This is what holds the top of the "wall" to the ceiling. Just a couple of screws only.
- This is the back side of that piece. As you can see, the edges have pieces of wood that are about 3/4" x 3/4". The center cross pieces are about 3/4" x 1.5".
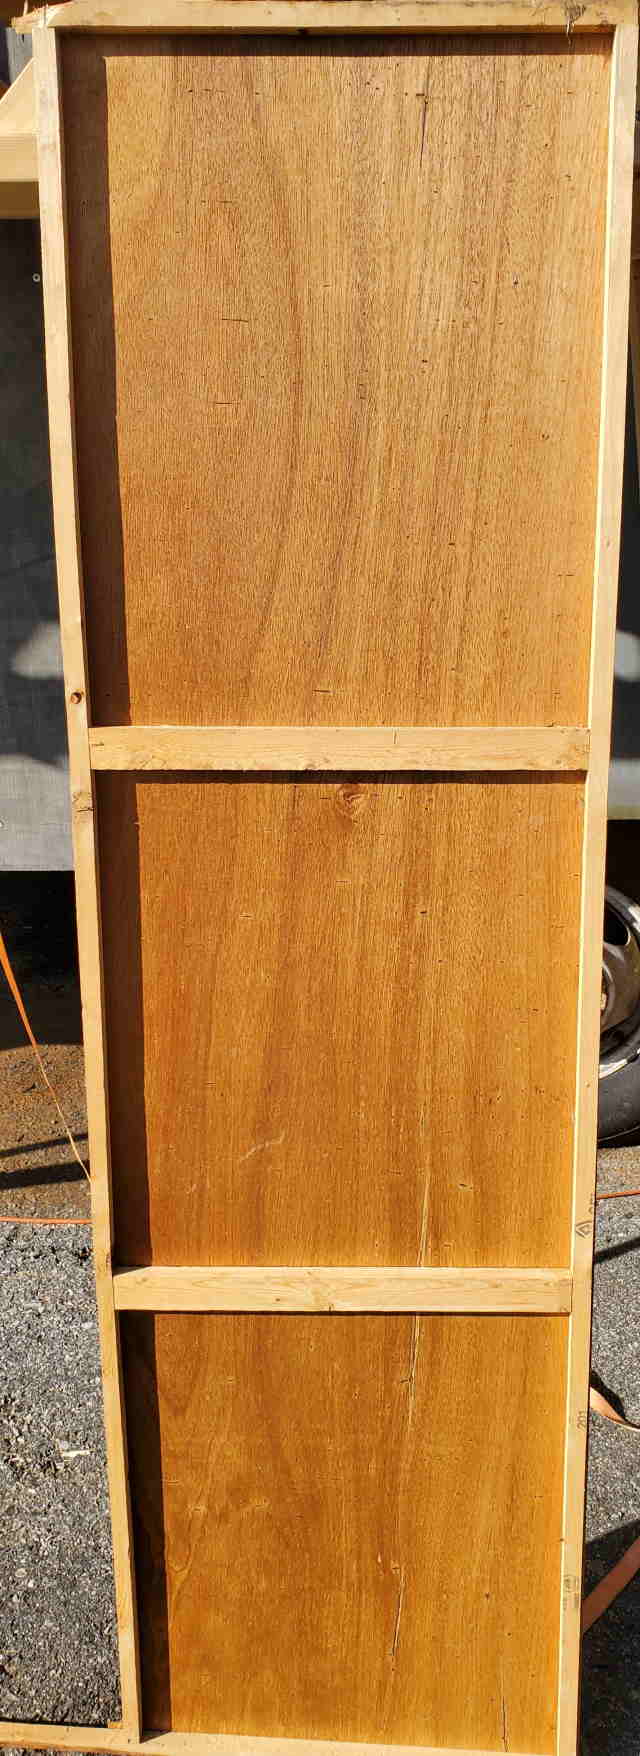
- Little side trip tonight. Here's a few pictures of a small "wall" partition that came out of a typical rv.
Front side with oak looking vinyl glued to 1/8" plywood.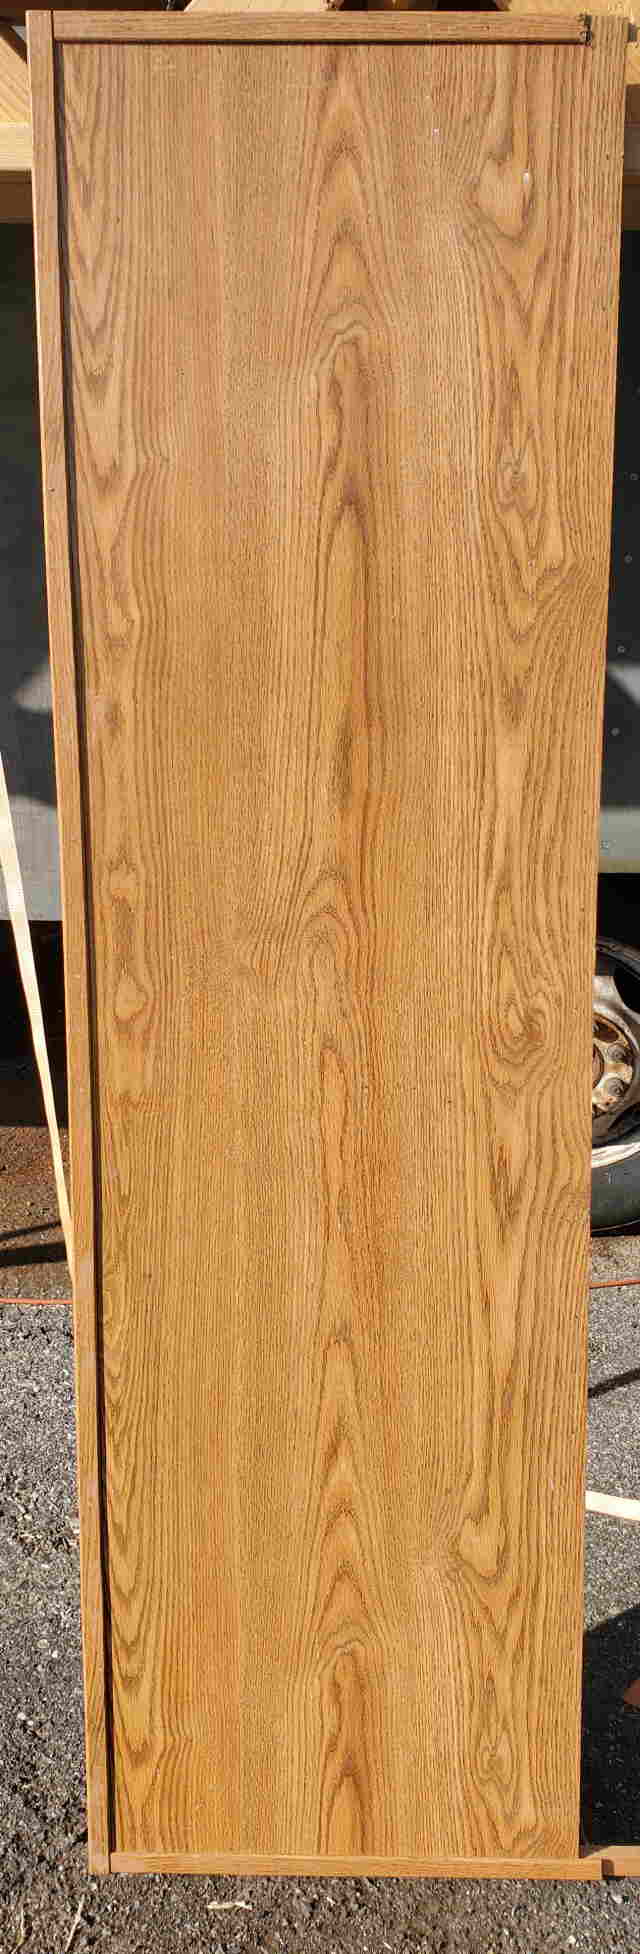
- After getting it all cleaned up, I applied new adhesive, and then held it down with my nylon straps. The plywood took the bend nicely.
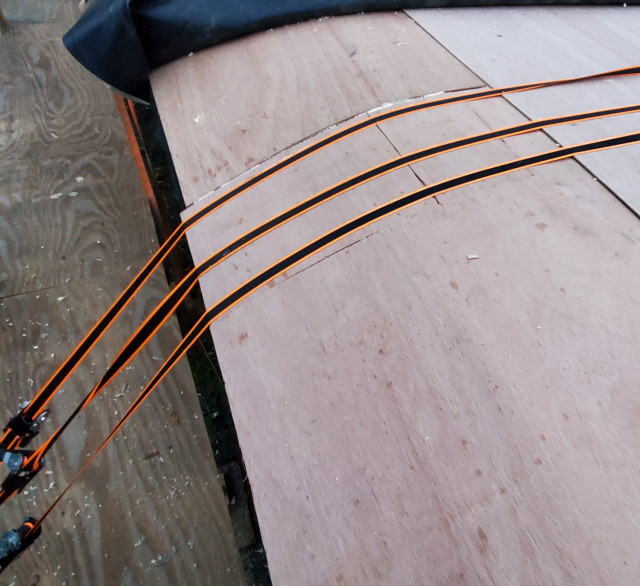
Now it's just time to wait and let it cure over night.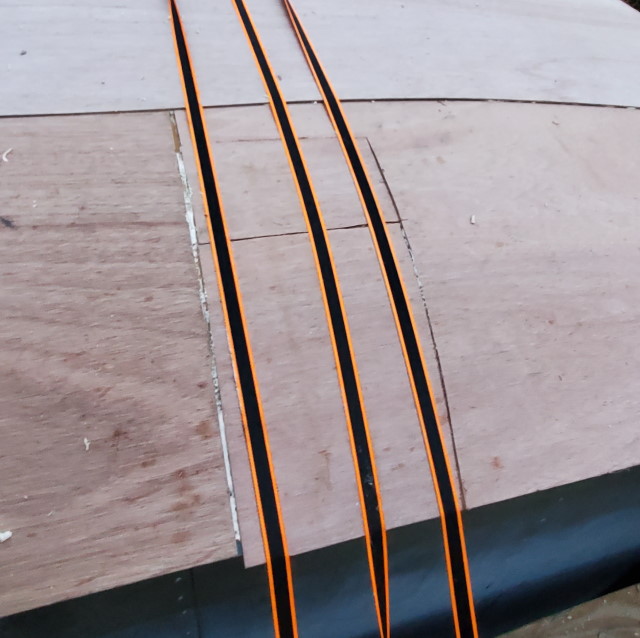
About 30 seconds after I strapped this down, raindrops started falling on my head. Lol.
That was fine. I pulled the TPO back into place and strapped it down and called it a night.
About Motorhome Group
38,769 PostsLatest Activity: Dec 31, 2014