Forum Discussion
8,453 Replies
- As you know, if you have followed this thread for a while, I am an inquisitive person. I like to examine some things for myself and make my own decision.
Such was the case, with wood and glue. No, not to join 2 pieces of wood together. I was curious as to how it would work to cover a piece of wood to make it water proof.
So, I took a piece of cedar, and coated part of it with the Titebond 3 that I have just to seed how it would darken the wood.
Titebond doesn't dry fully clear, so I was expecting it to really cover the grain of the wood.
Well, it did darken it a little, but not nearly as much as I thought it would.
The center section here, is where the glue was applied. The rest of the wood has no finish on it at all.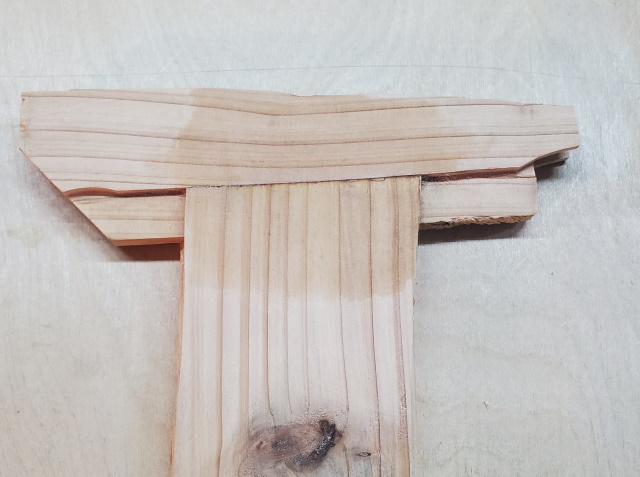
- With that properly lined up, I was able to glue and nail the walnut to the face. Yay!
I also cleaned this area out, and started playing with a water tank to see where I want to locate it.
In the background, with the blue arrow, I also started a platform for the shower floor.
It's starting to feel better, more like I am actually getting something done. Wahoo!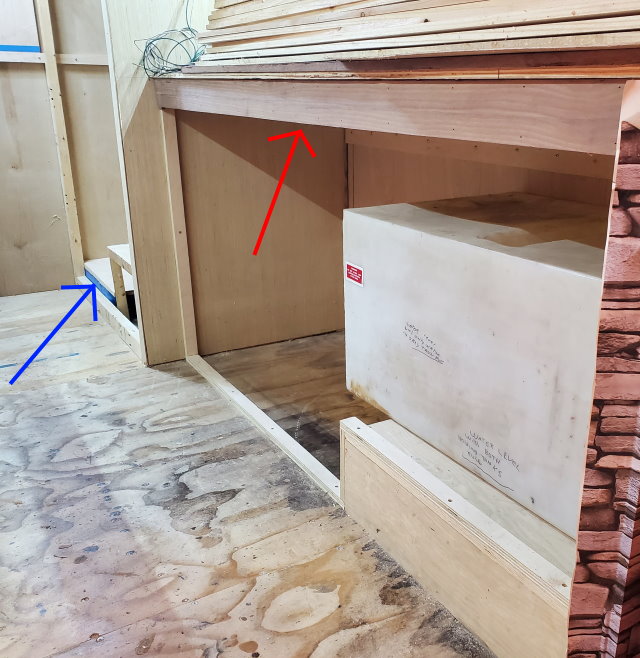
- Here is what happened. The plywood wasn't quite flush as the space shows here.
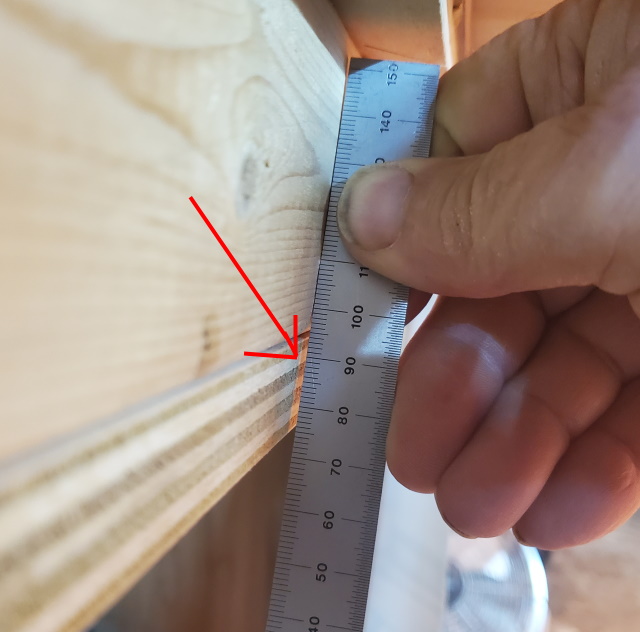
When I to put the walnut up here, this is what happened. It would not stay flush top or bottom. Oops.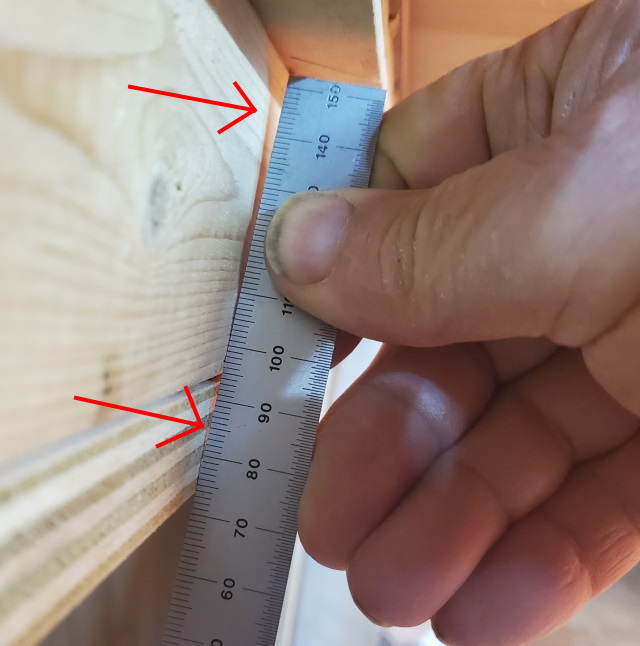
So, I removed the screws holding the plywood up, and re-aligned the plywood and the 2x3 and screwed it fast again. - Here is what I screwed up the other night.
When I put the plywood frame in place I didn't get it correctly lined up here.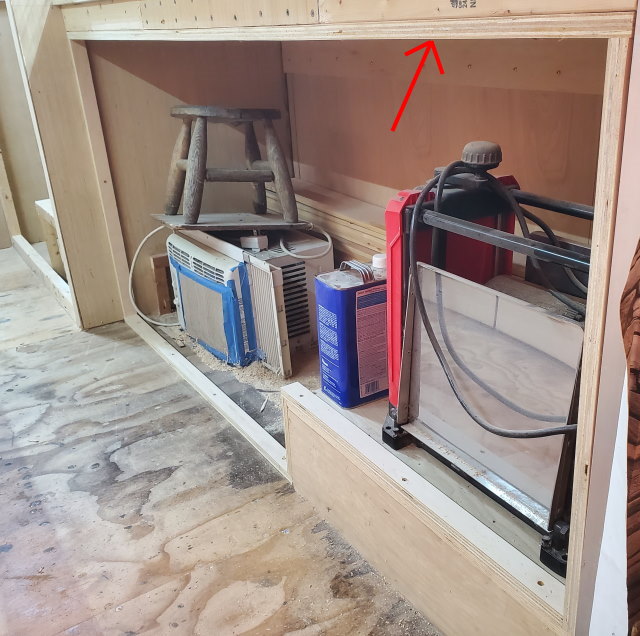
- Well, bummer. Some of what I wanted to post tonight, I forgot to take a picture of. Duh!
I'll get 'em up tomorrow. - I also have a piece of black walnut ready to glue into place.
- After all that "screwing around", lol, I created this.
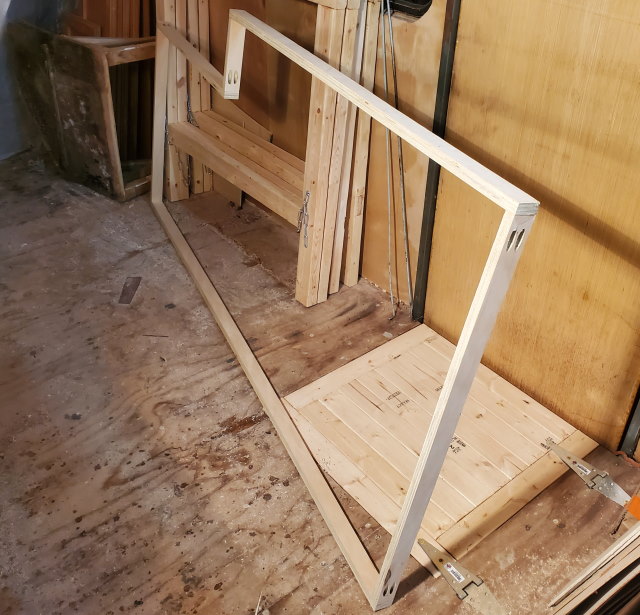
It then goes here, and is screwed fast.
- What ya gonna do, what ya gonna do, if you work yourself into a corner while trying to screw an assembly together?
Well, here's what I did. Since I did not have enough room to get the drill in here, I used a ratchet with a short square drive that fits the screw head, and just wound it in by hand. Took a little longer, but worked like a champ!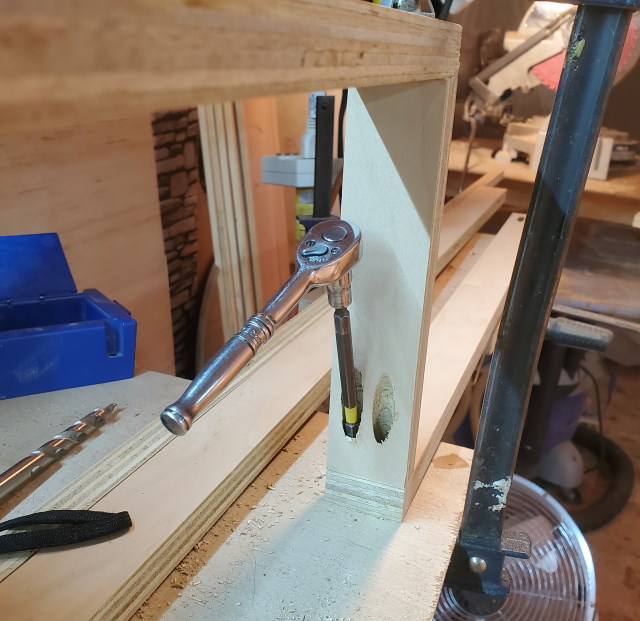
- While reading about FRP install, I decided I could do a little extra work in the kitchen.
I cut some 3/4" plywood into 1.5" wide strips. Assembling them with the Kreg system is made easier by using this particular clamp. It does a really nice job of holding things together while putting the first screw in.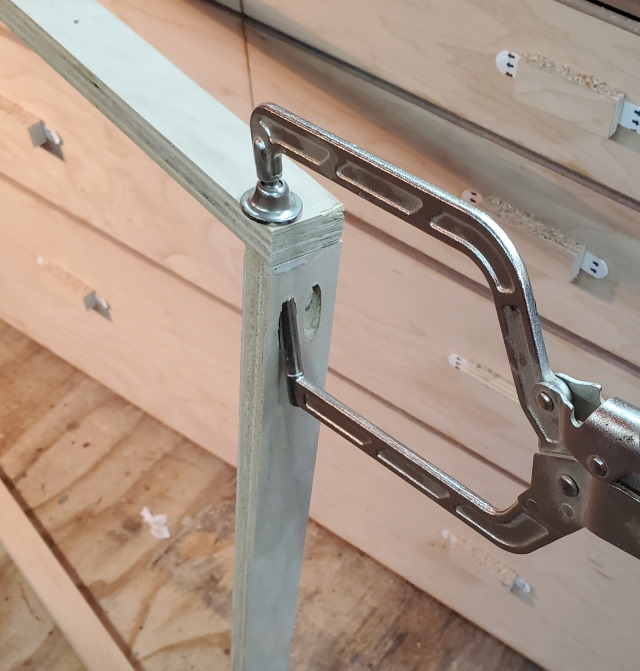
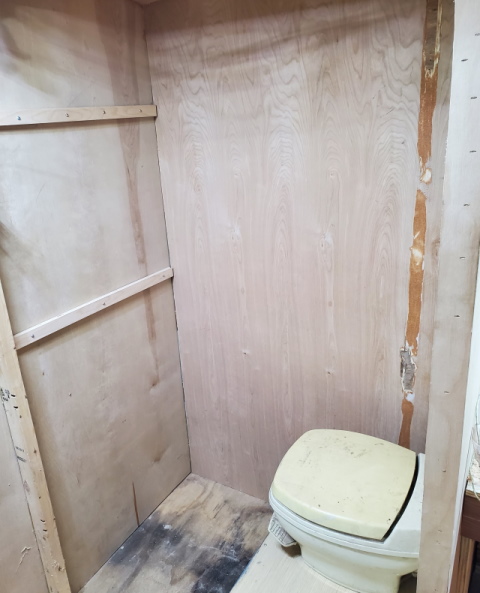
- Here we go. All cleaned up and waiting on the next step.
About Motorhome Group
38,768 PostsLatest Activity: Nov 21, 2015