Forum Discussion
8,453 Replies
- Added a 1/4" piece of plywood, to the front of the 2 x 3, after cutting 1/4" out of there, so the plywood fit flush with the rest of the 2 x 3.
Also added a piece of 1/2" thick plywood to the rear of the 2 x 3, and glued both of them in place, along with screws, and clamps. Left my brace in place to keep the counter level, and we'll wait until tomorrow and see how it looks after pulling the brace out.
If I need to, I can add a "leg" under that section to help support it.
That's the "quick" version tonight. I am beat and going to bed. - I made a couple of cuts in the 2 x 3 to allow for enough movement to straighten the whole length of it, and checked it with my level, not for level, but for a straight edge.

- Just about the time you think you are making some good headway, along comes a spider, and sits down beside ya!
Discovered today, that my one kitchen counter is slightly warped and not flat like it's supposed to be.
This pic makes it look much worse than it actually is. The bowed portion is actually only about 3/16" in the center, but I didn't like how it looked, so I decided to take some action to straighten it up.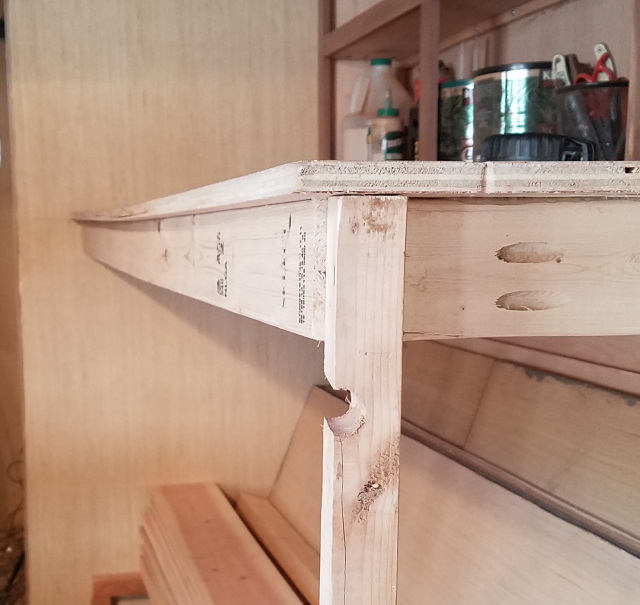
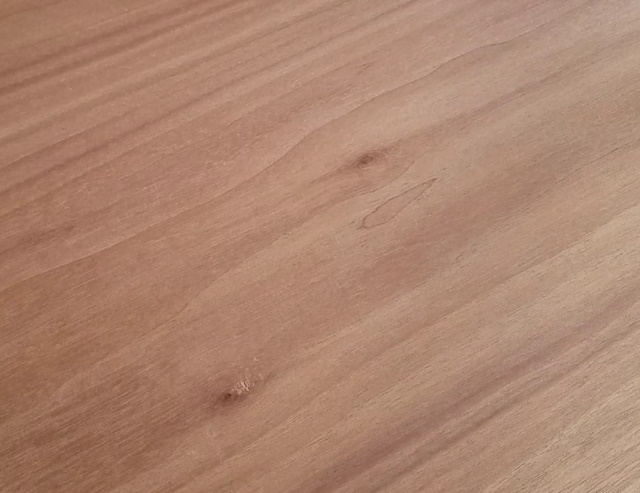
- Here are a couple of pictures of 2 pieces of walnut. The top piece in each picture has Por 15 on it.
The bottom piece in each picture has Lacquer on it.
The big difference between the 2, is the lighting. The first picture has natural sunlight, (well, actually, cloudy light, as it was overcast today).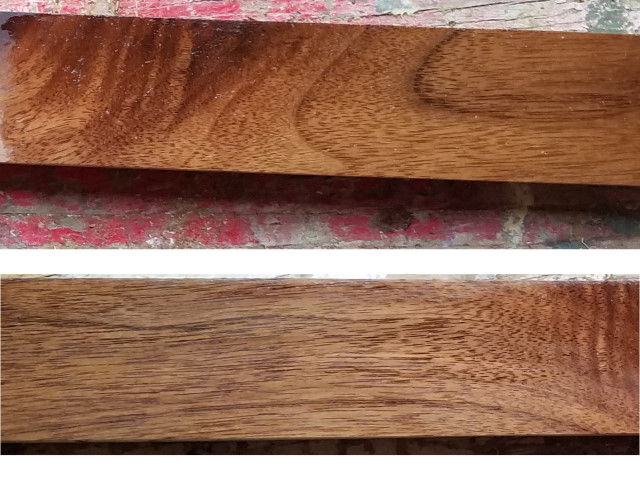
The second picture has the light from a Halogen bulb. They have a tendency to give a reddish tint to the wood, as you can see in this second pic.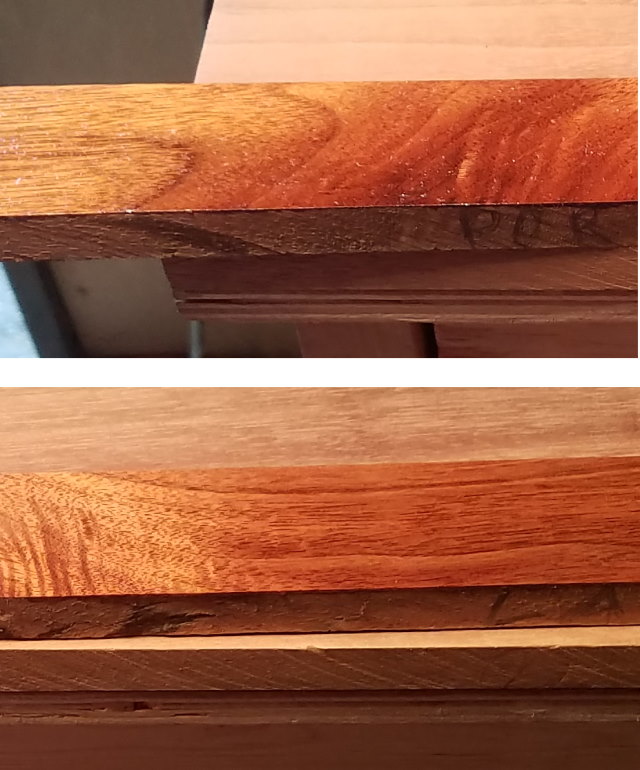
- Here's a little trick that I have used over the years when using Lacquer. I wet a paper towel with Lacquer Thinner, and give the wood a quick wipe.
That tells me what the wood will look like with the Lacquer finish on it. The thinner dries in a matter of seconds, so it's not like you have a lot of time to have a look.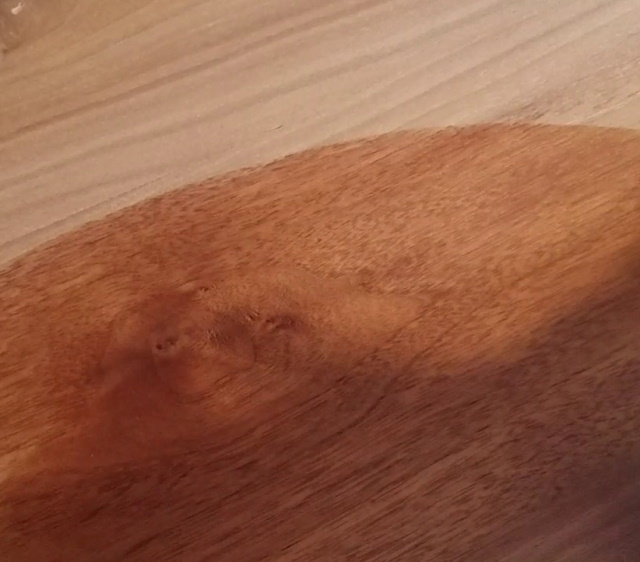
- After switching to a finer 120 grit, those scratches finally disappeared. It does take a while, but the coarse scratches are gone.
- Nothing like spending the hottest part of the day working outside. Lol.
Anyway, I spent a bunch of time sanding both of the counter tops. When I screwed the 2 pieces together, they ended up slightly mismatched at the joint.
As a result, I had to do a little sanding to level the 2 surfaces. My first round was with 40 grit.
This is what some of it looks like after a good sanding with a rough grit. Ah, yea, some circular scratches from the coarse sandpaper.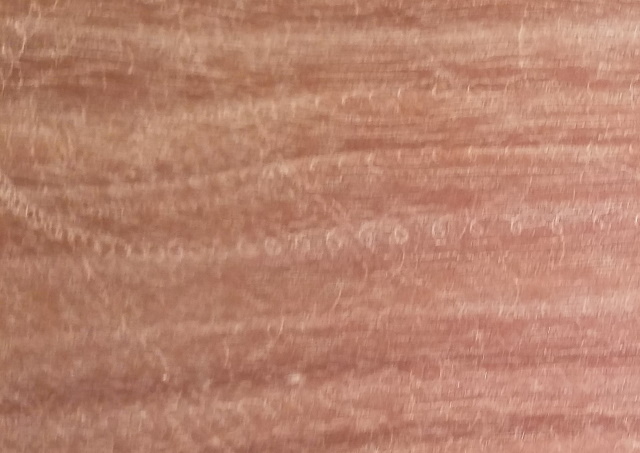
PastorCharlie wrote:
Have you considered renting a few sections of scaffolding and running a walk board between a couple towers on each side?
I have looked into that, but was also thinking, perhaps I am missing something, and someone has a better "mousetrap" that I had not heard of before. PastorCharlieExplorerHave you considered renting a few sections of scaffolding and running a walk board between a couple towers on each side?
- By the way, does anyone have a good, easy, quick, cheap, way of building a scaffold for temporary use to get up on the roof of an rv to work on the roof?
This is for a 36' 5th wheel, which probably needs the roof, (tpo/rubber) replaced. I'll need to be working from both the sides and the top of the roof.
I think the roof is about 11'6" high, and about 12'6" with the ac.
Nothing like asking for the impossible, is there?
About Motorhome Group
38,769 PostsLatest Activity: Jul 09, 2020