Tucson_Lawrence
Jun 03, 2013Explorer
lots of pics warning! 2004 Damon Challenger rehab update III (shower)
We purchased a motorhome last November and have been working to upgrade certain parts of it before our upcoming "travel around the US" year-long trip starting this fall. I thought some of you might like to see some of our "in progress" pics.
before... an empty space above the door
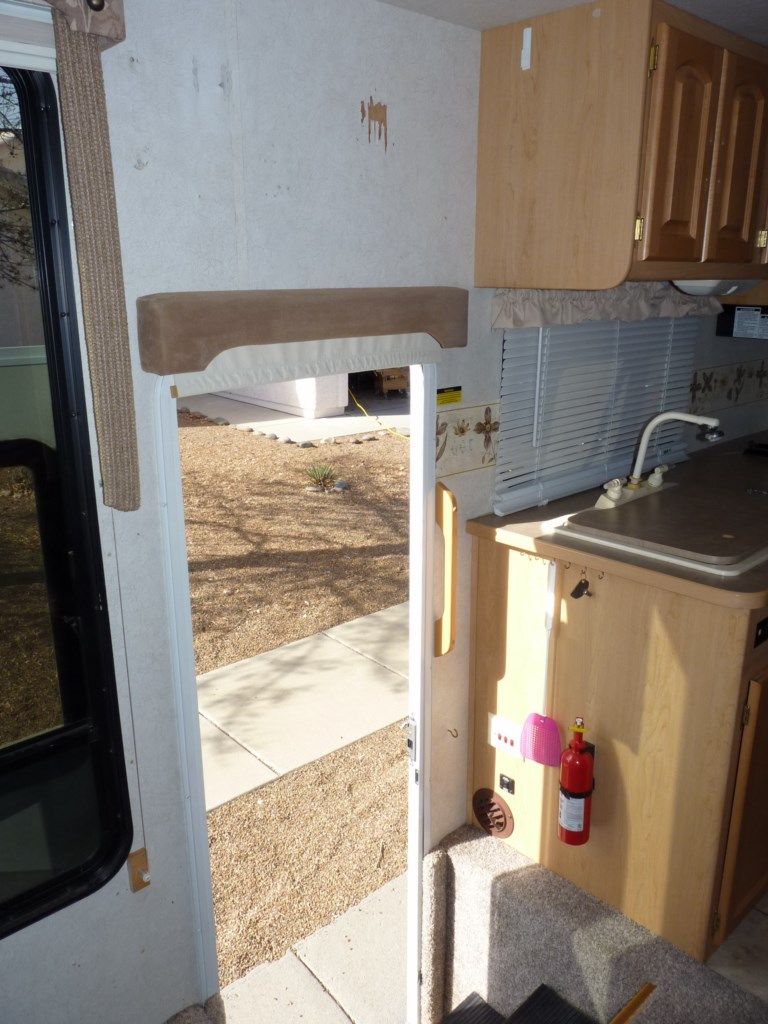
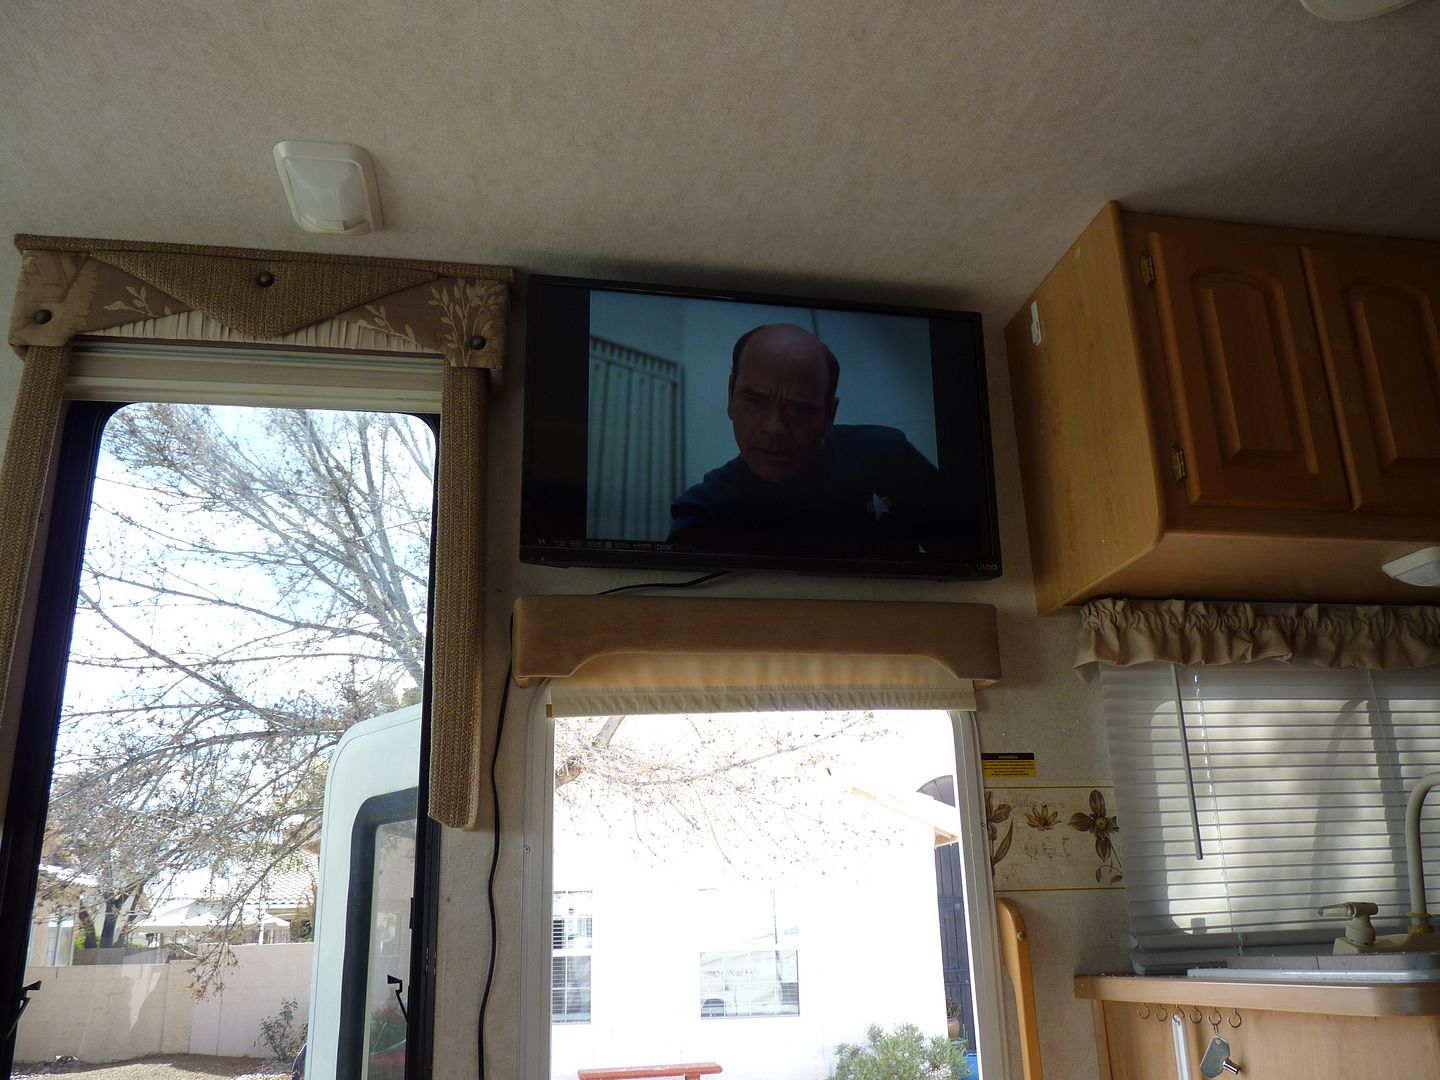
after- new TV on an articulating locking arm (we still need to hard wire everything in)
Before and after pics of the hardware (there were about 250 individual hinges, handles, hooks, etc) I sandblasted each piece, primed them, painted them with satin nickel finish, and then topcoated with lacquer.
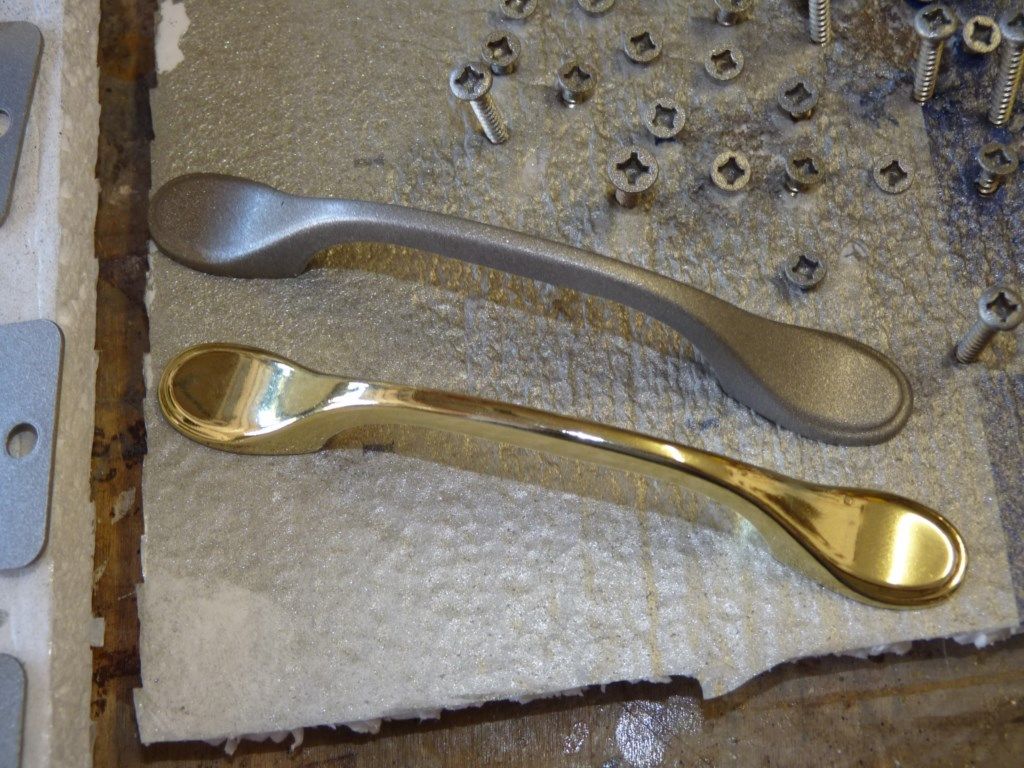
Yes, I'm even anal enough that I did the same process on the screw heads
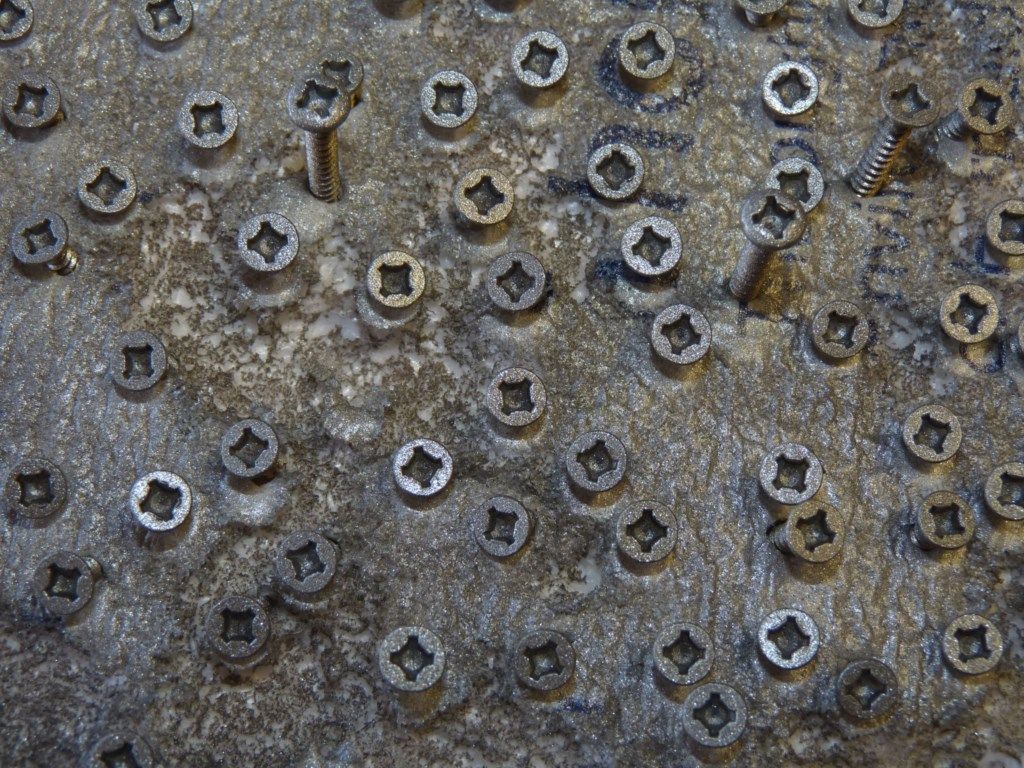
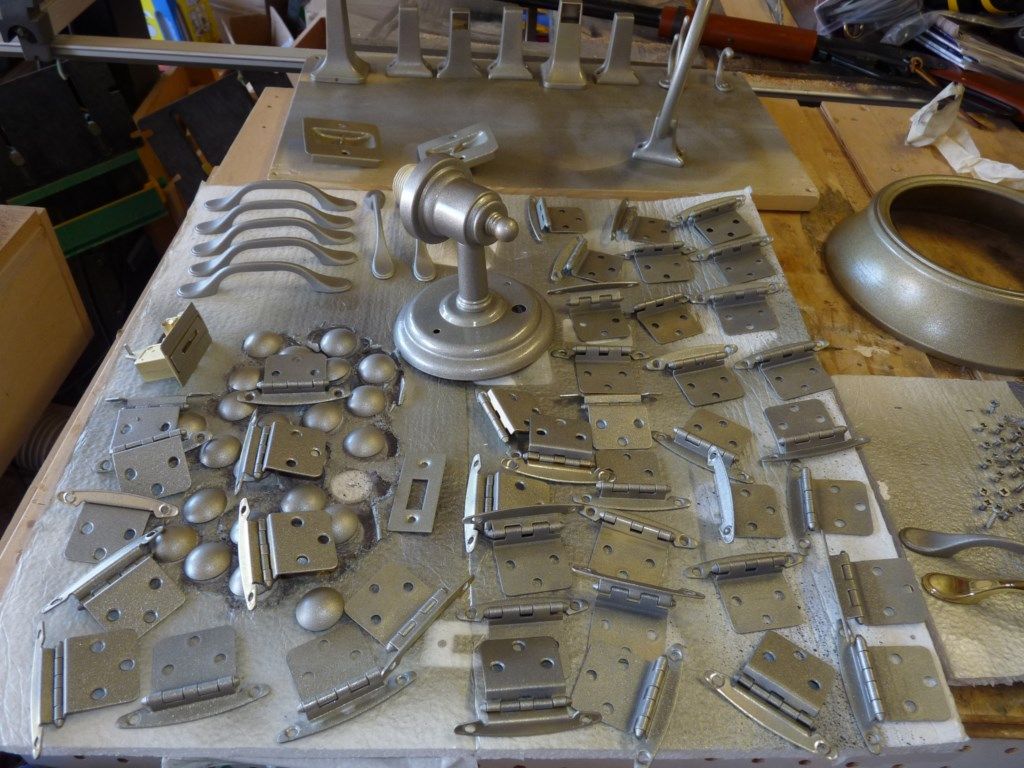
here's about a quarter of the pieces... we worked in batches
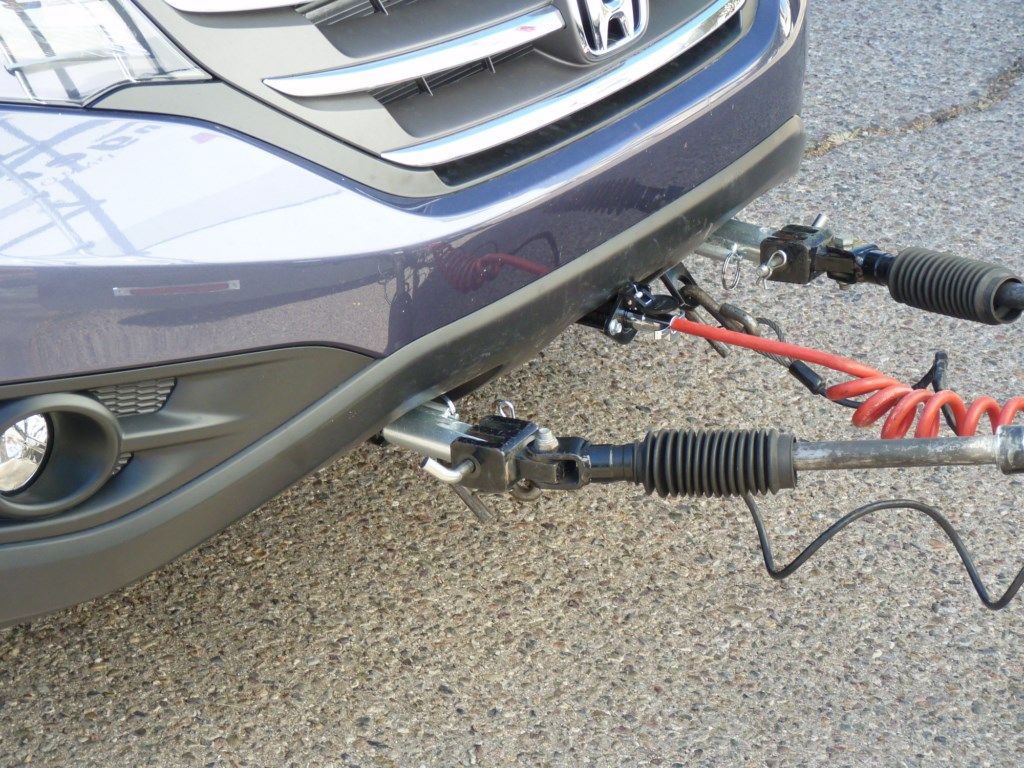
we mounted the towing attachments onto LOML's new car (and saved about $1500 doing it ourselves with help from some folks with both advice and assistance)
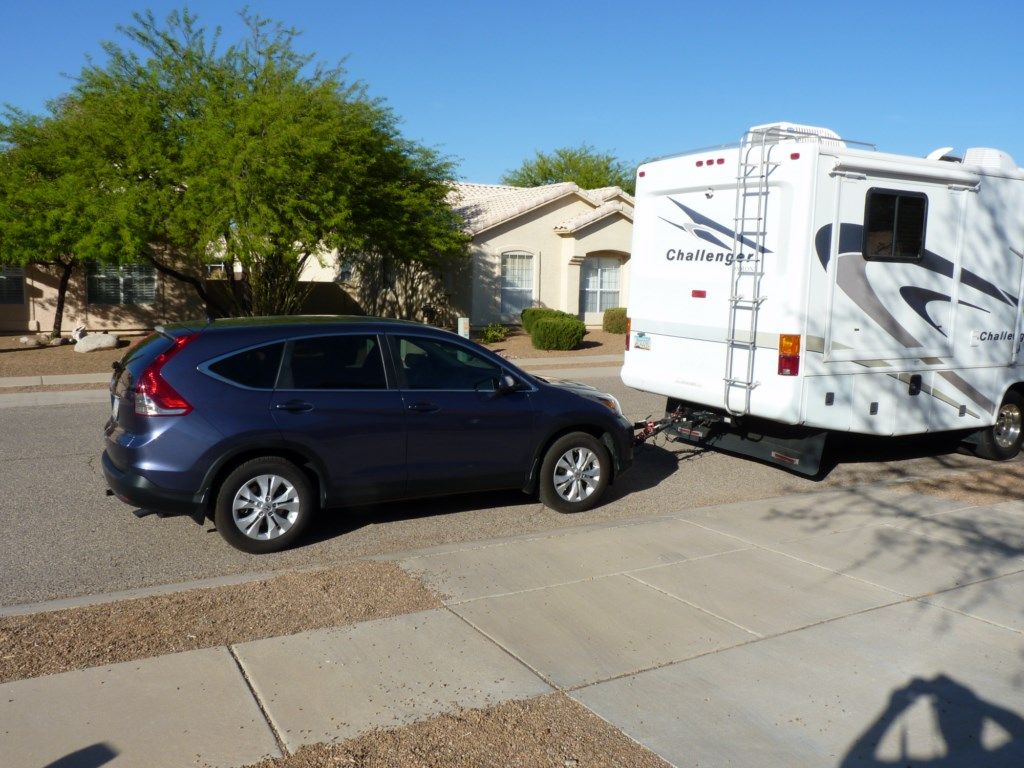
and here it is headed out for its first ride
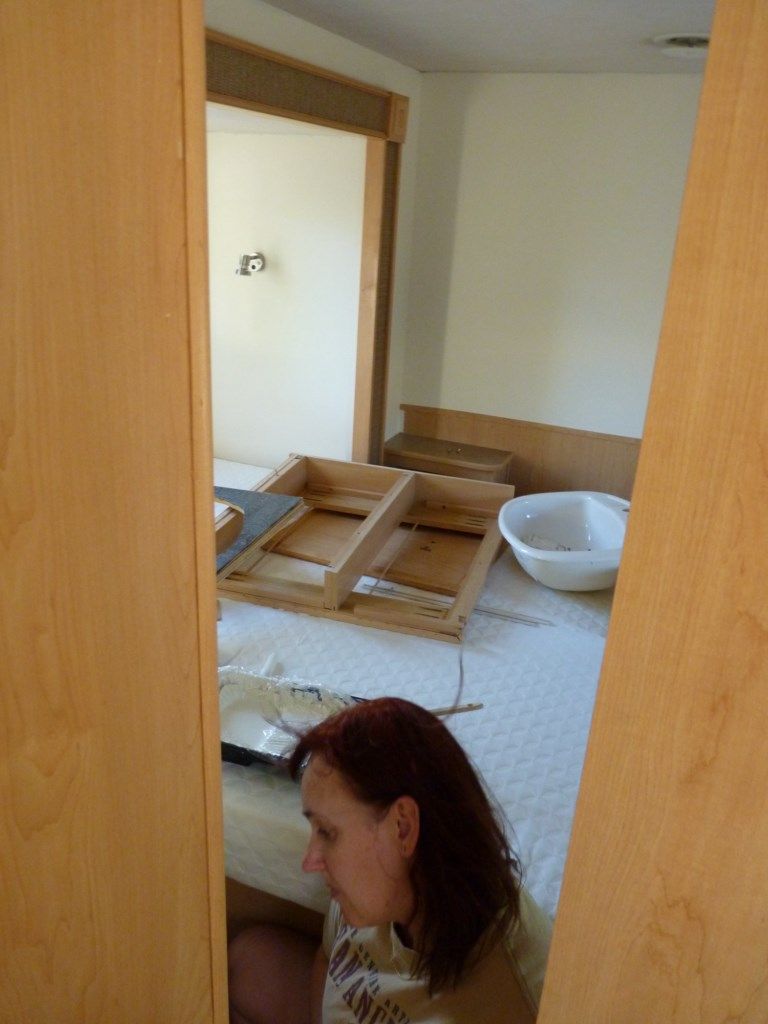
There was originally a wardrobe and tv at the end of the bedroom
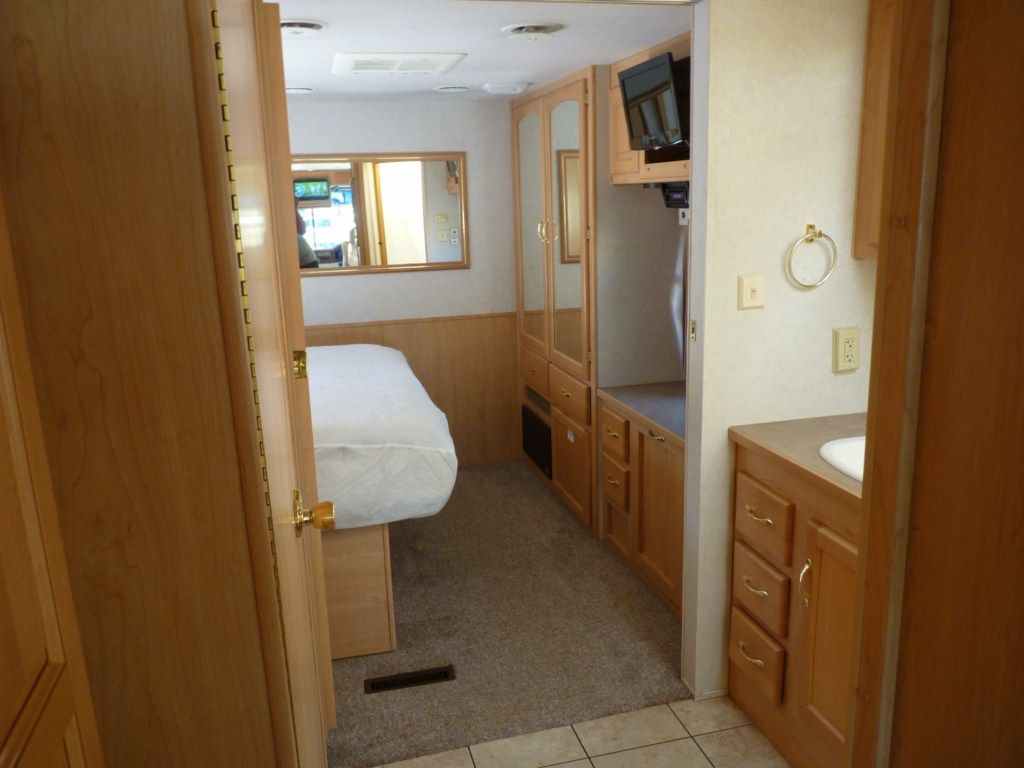
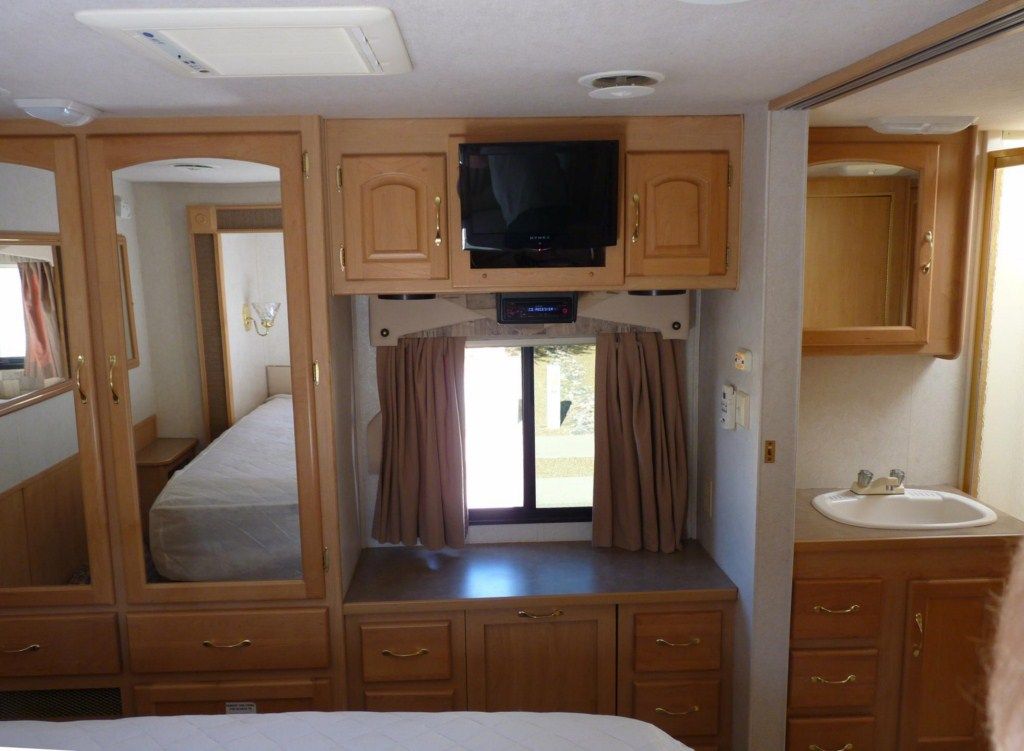
nice as it was, we tore it out
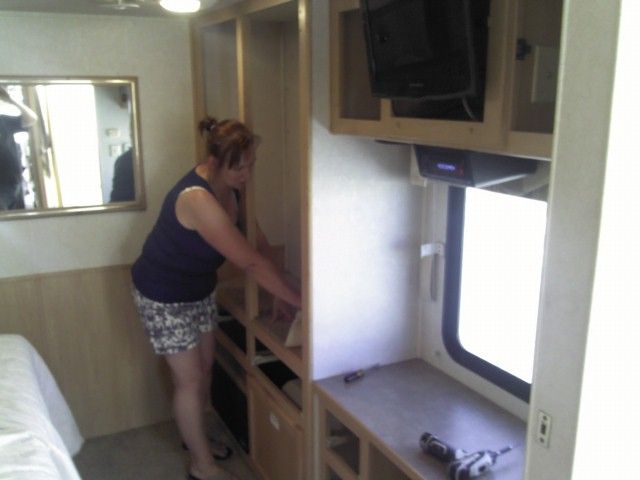
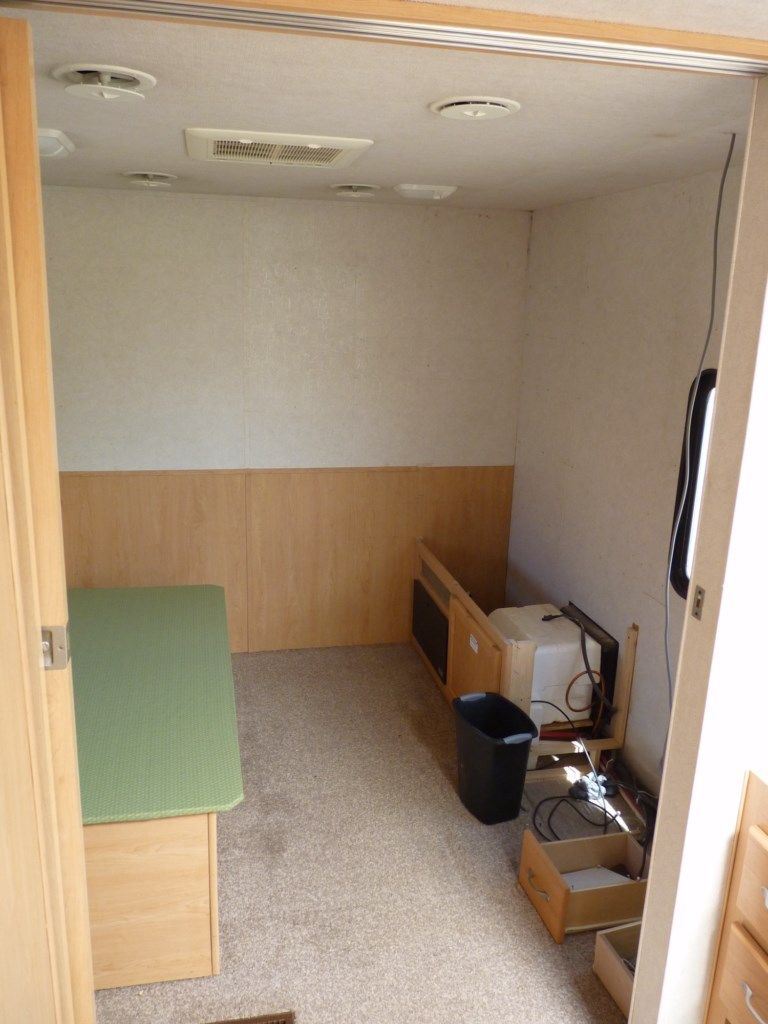
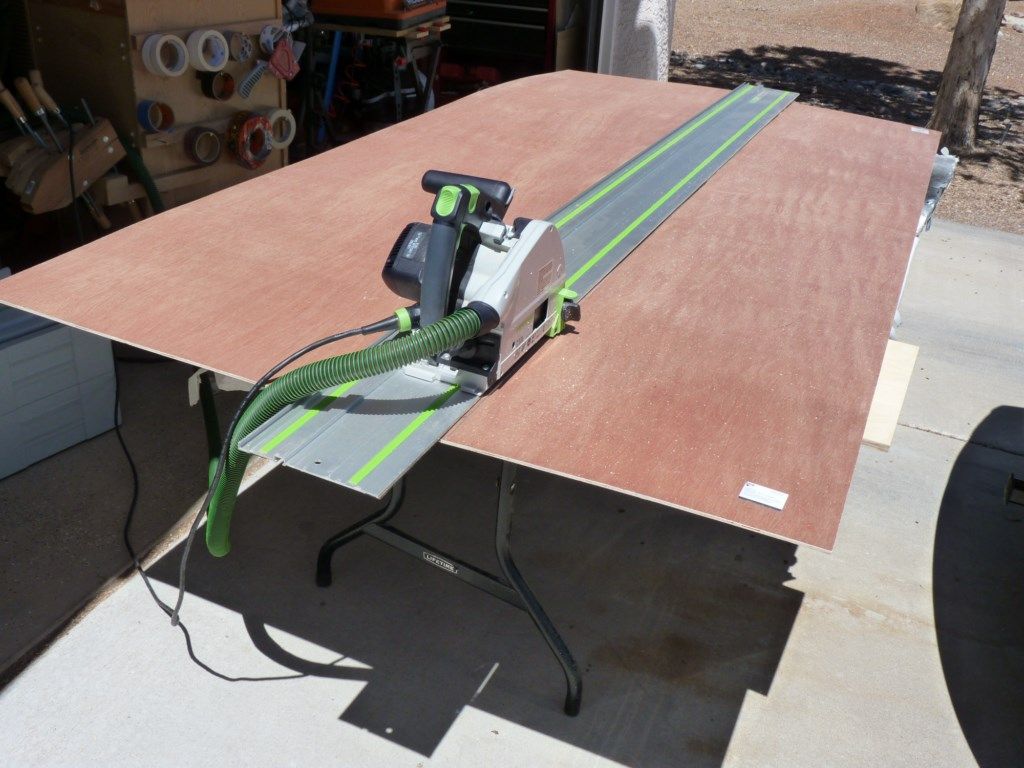
The wall between the bathroom and bedroom wasn't quite long enough or sturdy enough to hold the bunk beds we are building for this spot
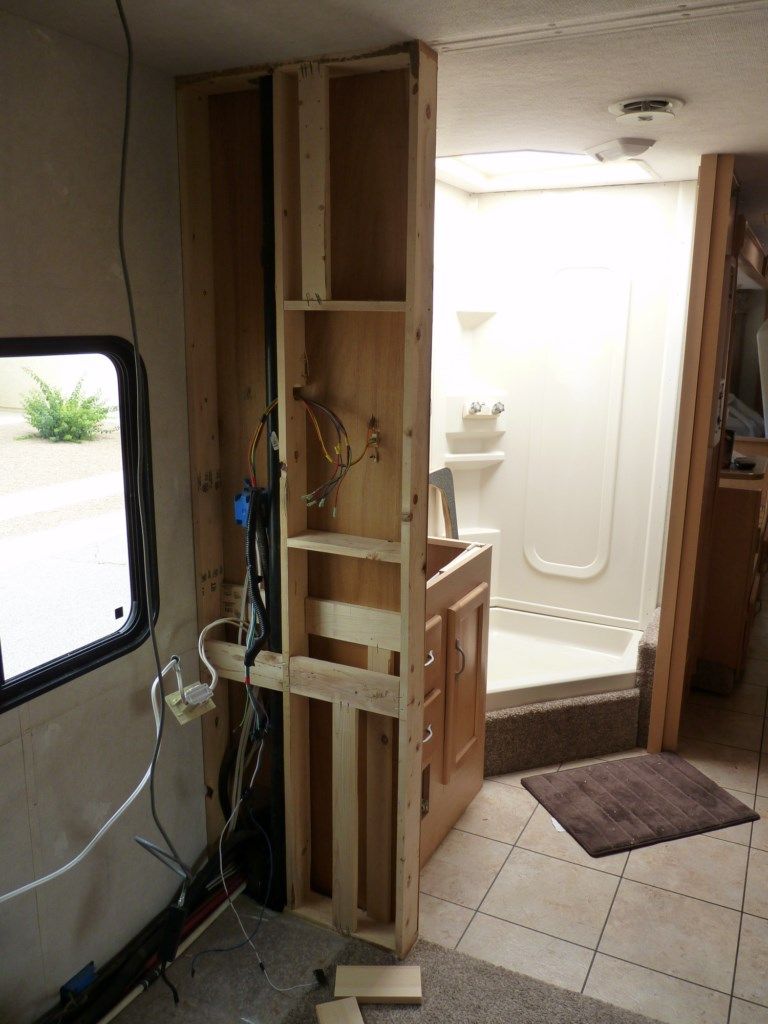
so we tore it out, extended it, and replaced some of the 1x4s with 2x4s to add some strength.
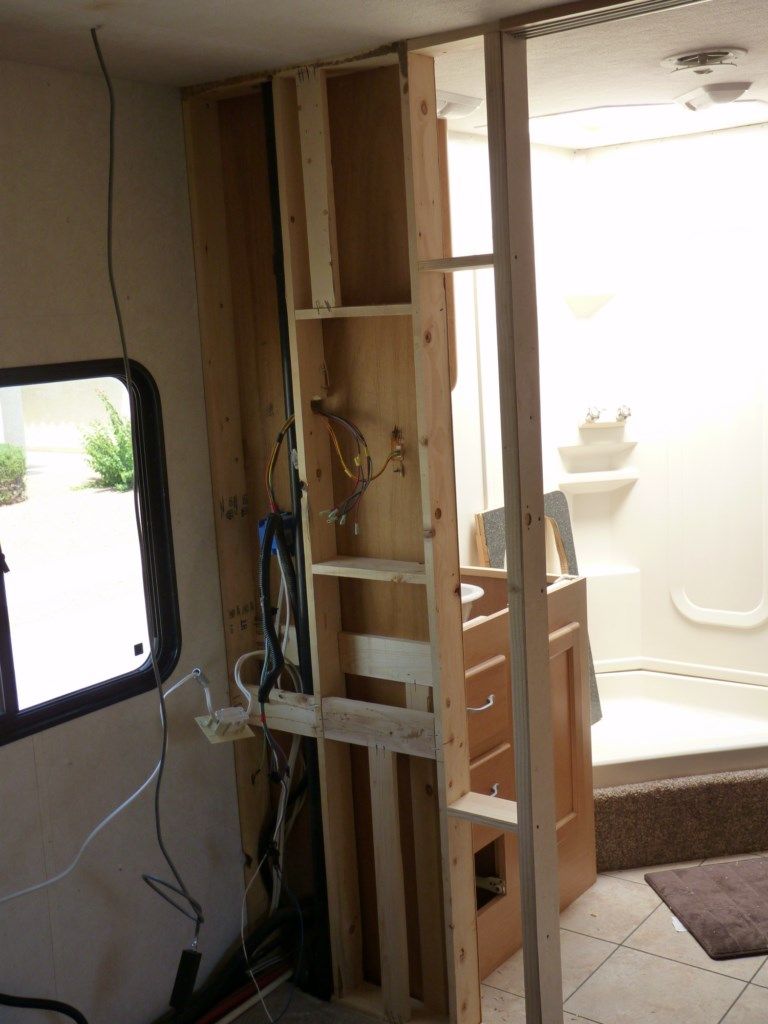
we also doubled the thickness of the ply for the skin
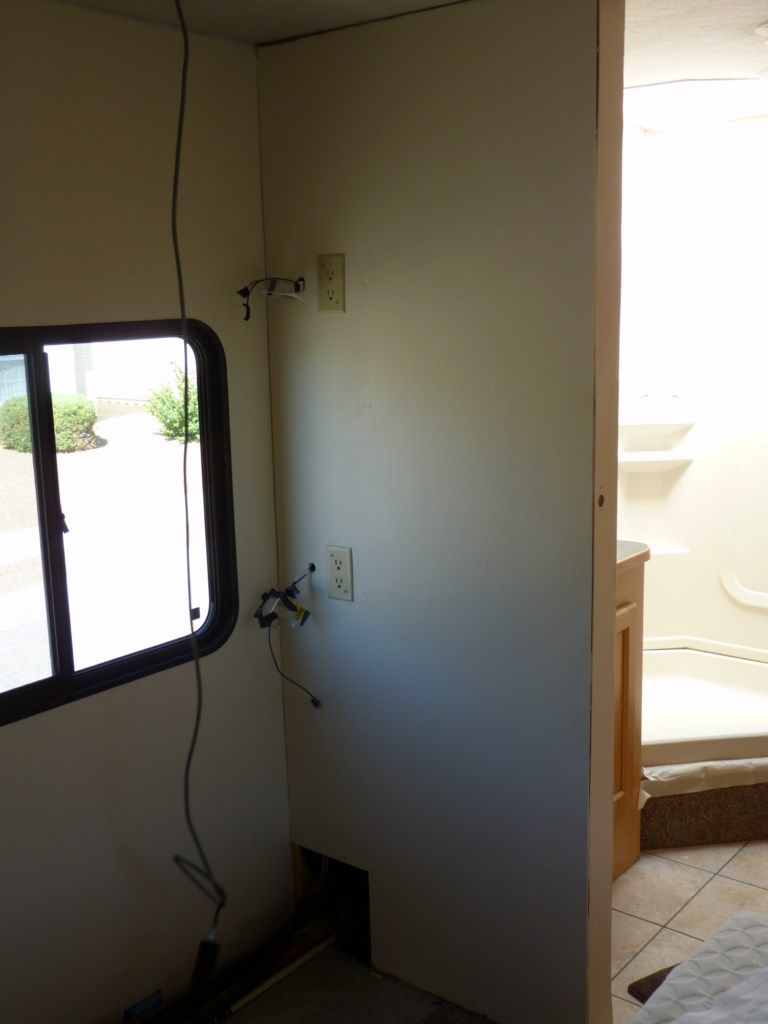
After priming and painting we also adjusted the electrical outlets so each bunk will have one. I also added a 12v power source for each bunk for charging electronics.
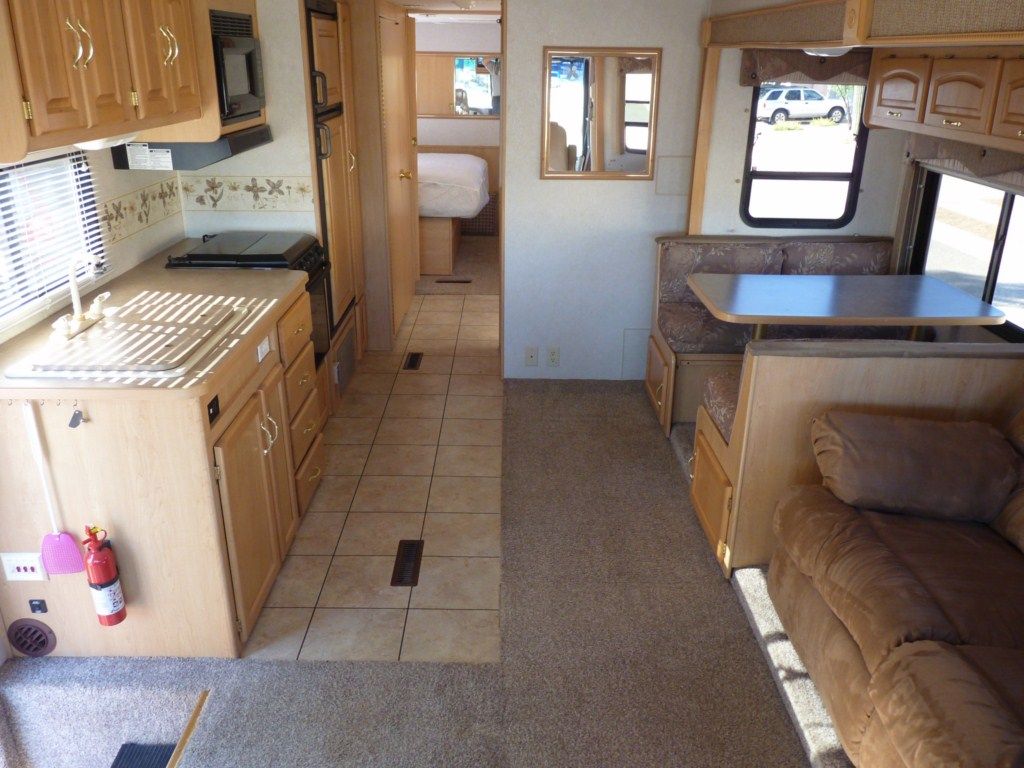
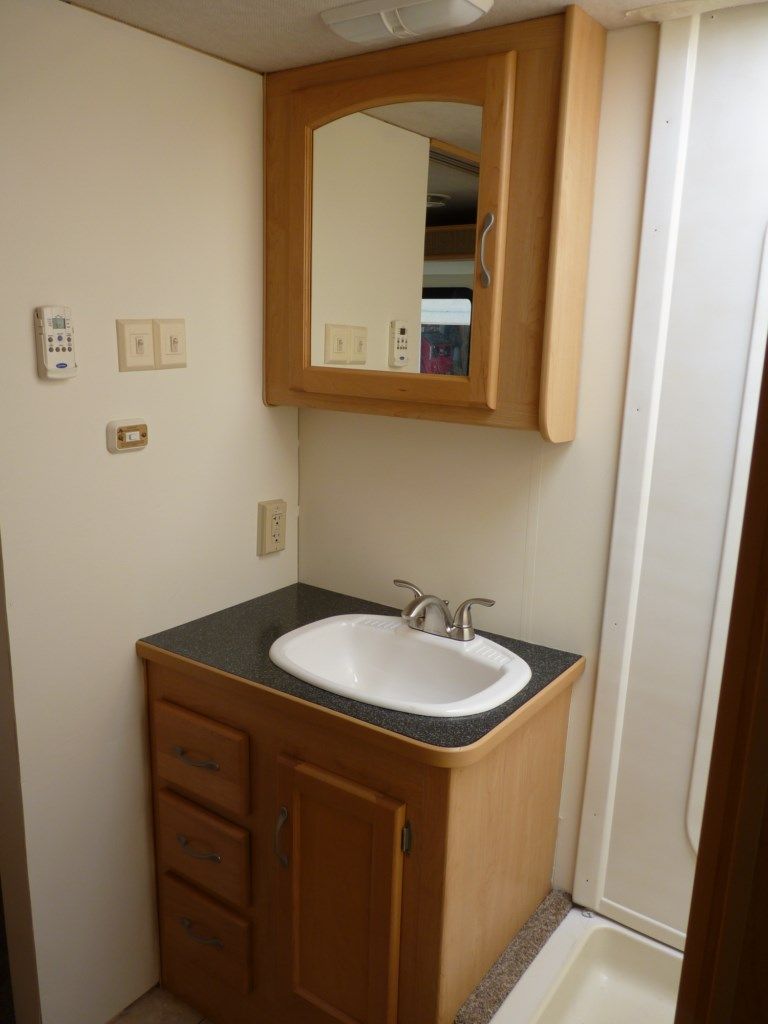
The sink before was white, plastic, and had a really poorly constructed faucet. The countertops were a dingy color as well.
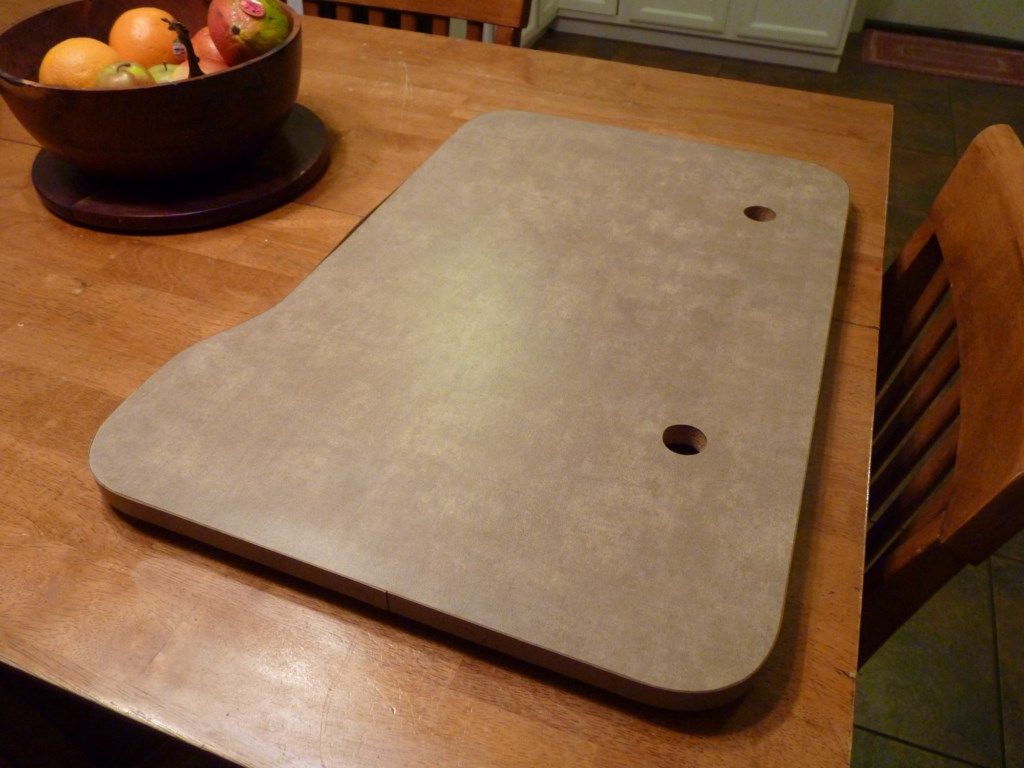
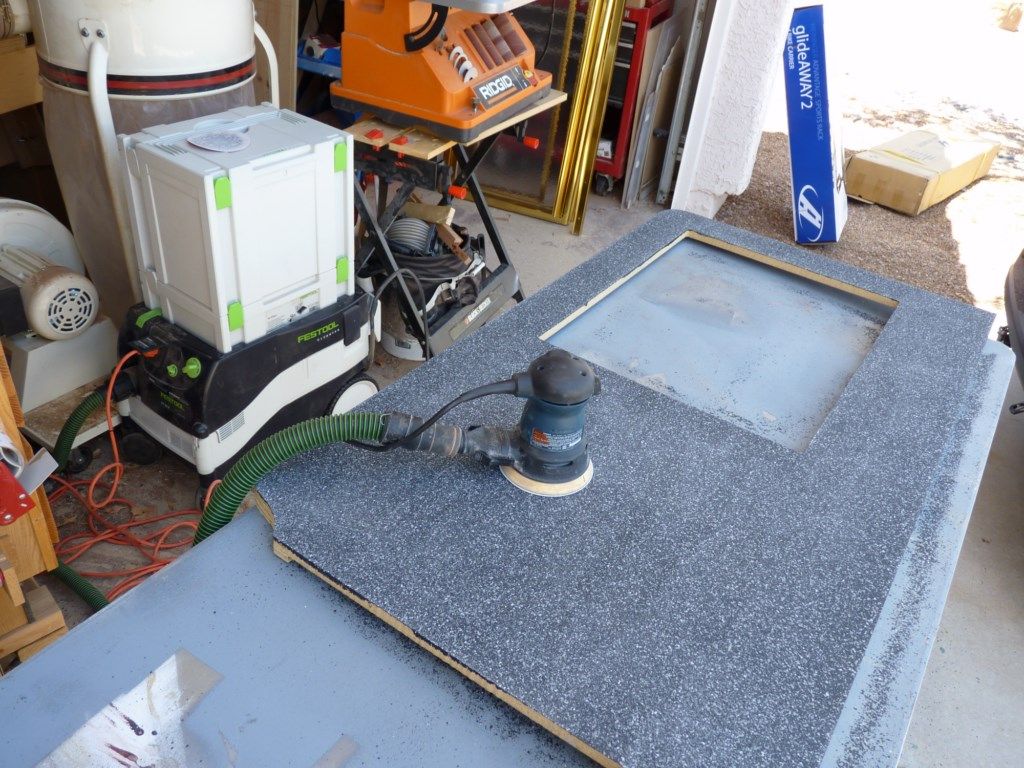
We used rustoleum countertop transformations on them and they turned out much nicer (with some additional effort above and beyond the "out of box" standard)
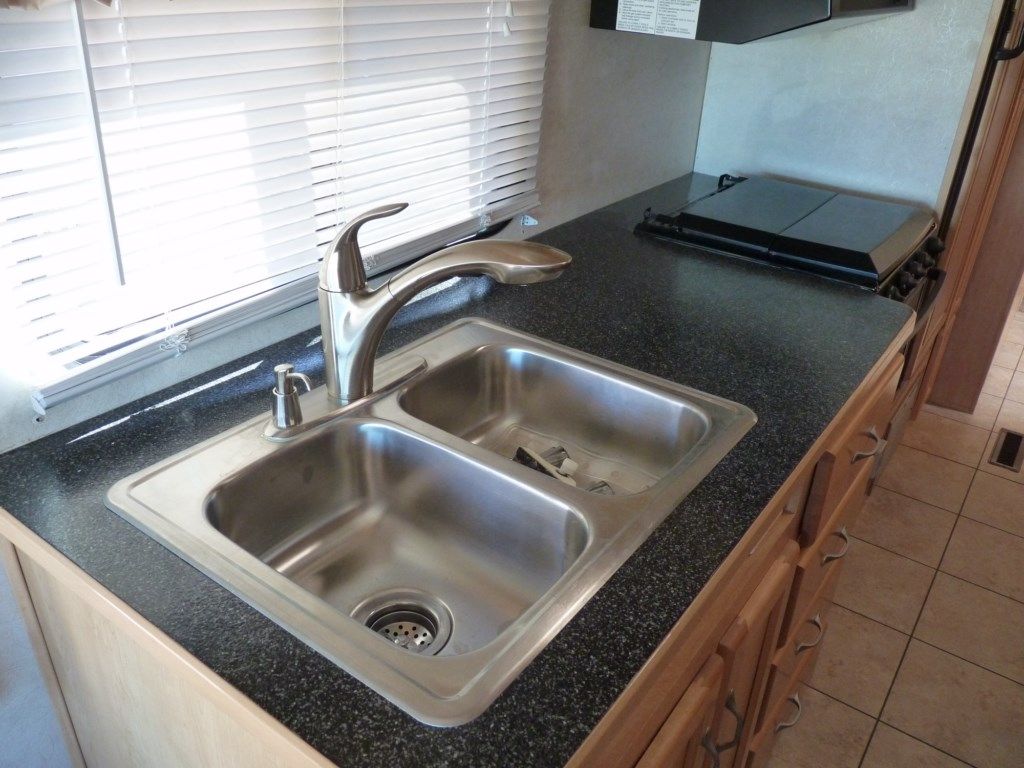
They even look better with a new sink and faucet
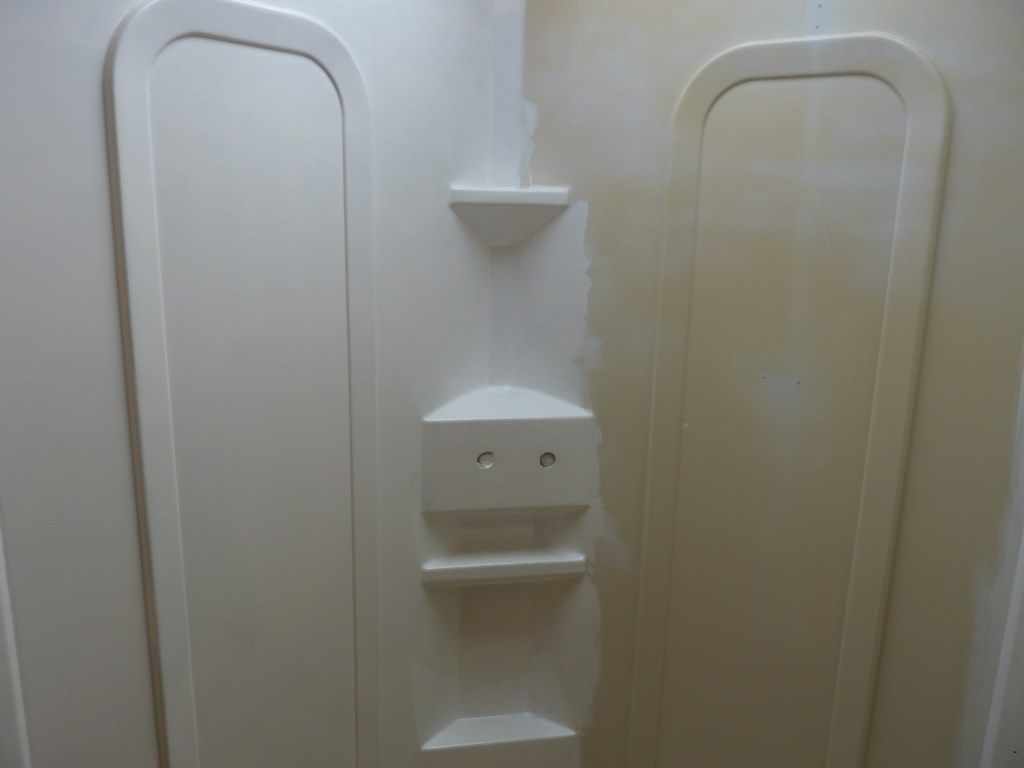
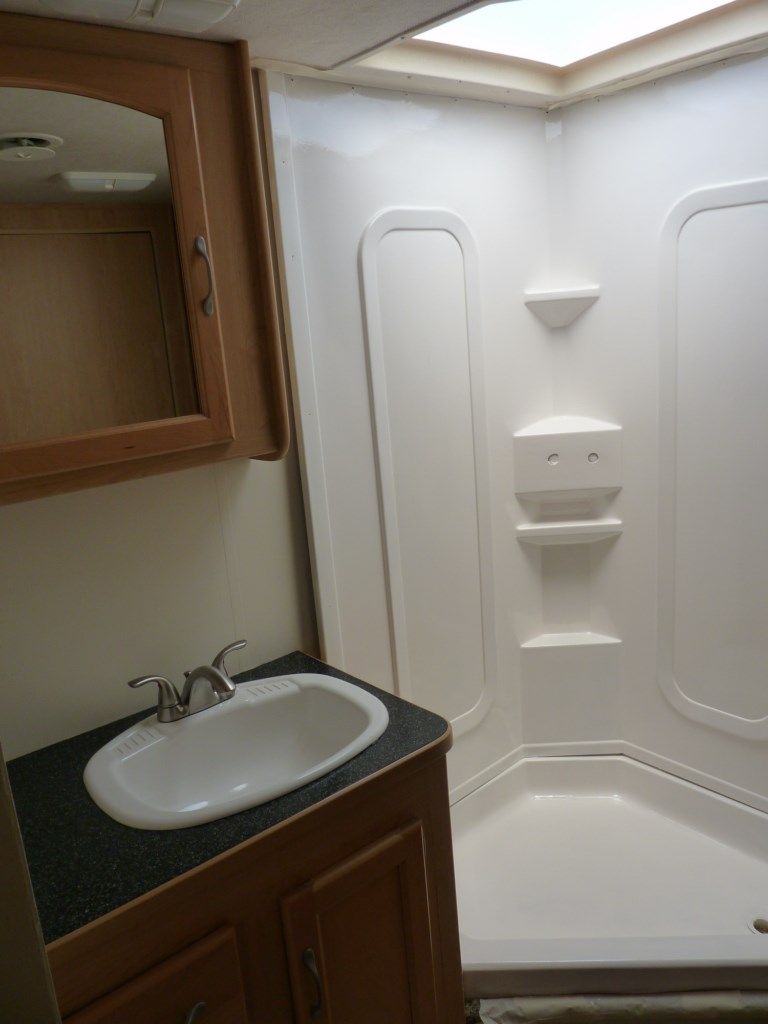
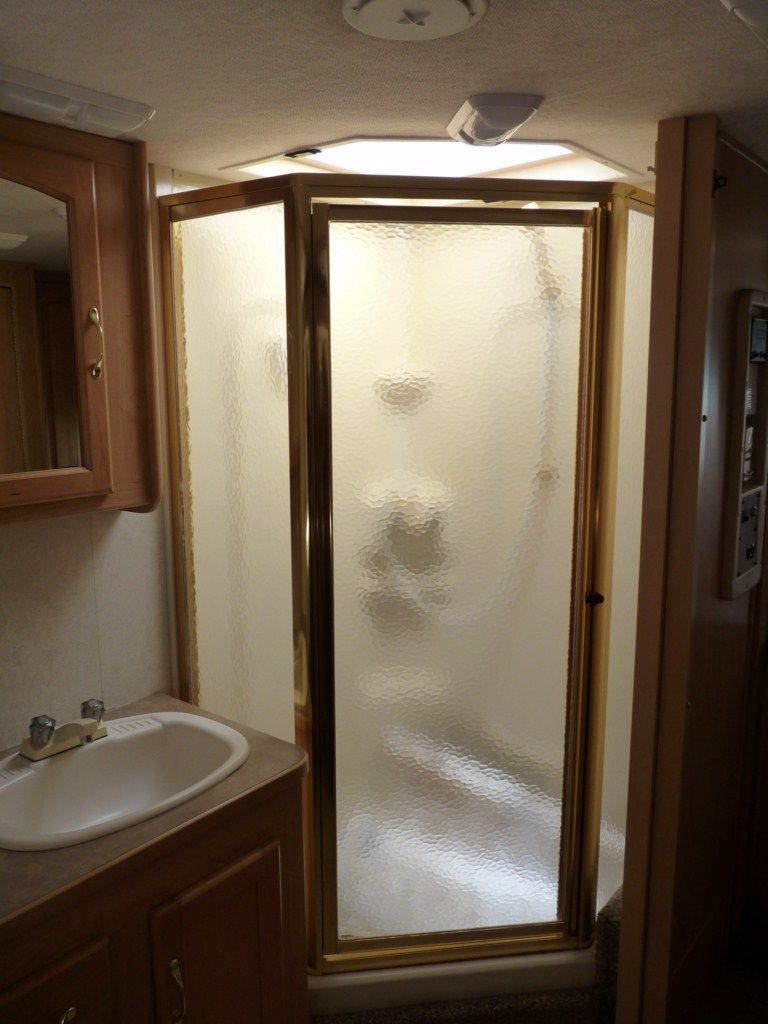
For the bathroom, the shower is getting a new white epoxy coat and the gold trim for the shower is being sandblasted and painted satin nickel.
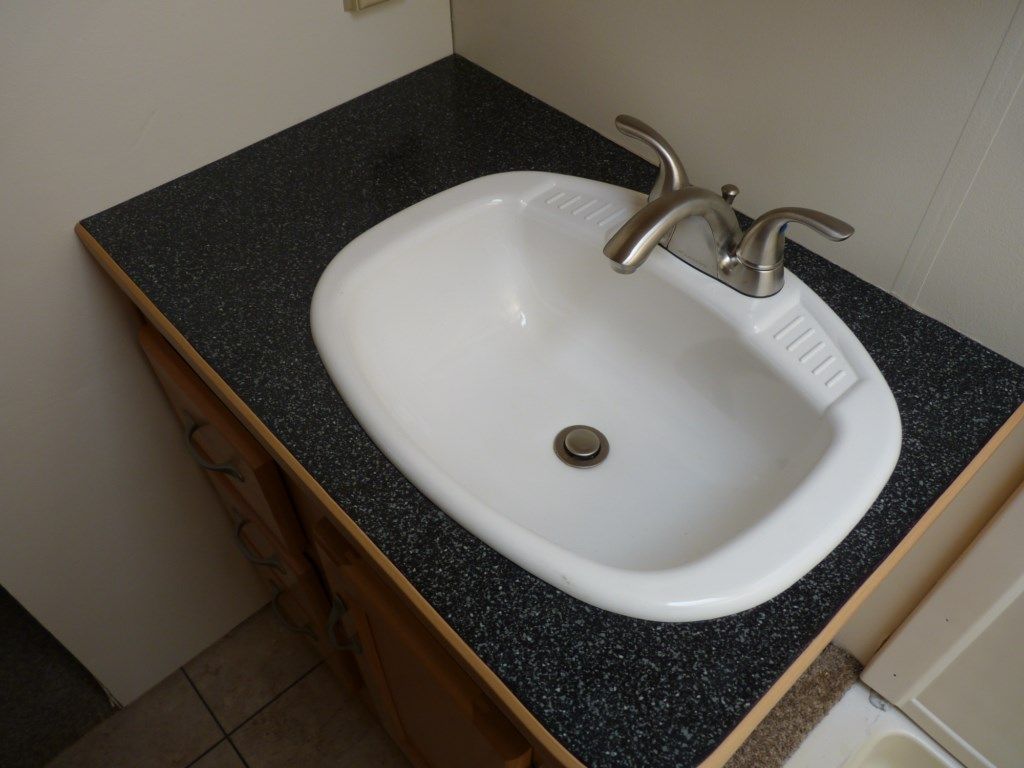
The original sink was yellowed badly and the faucet was pretty bad too so we re-epoxied the sink and added a new faucet along with a re-surfaced countertop.
We moved all of the switches (lights, AC control, slide) to the bathroom side of the wall so that they won't interfere with the bunk bed additions. The switches are also now straight (before they looked like the person that installed them had one leg shorter than the other...they were very crooked)
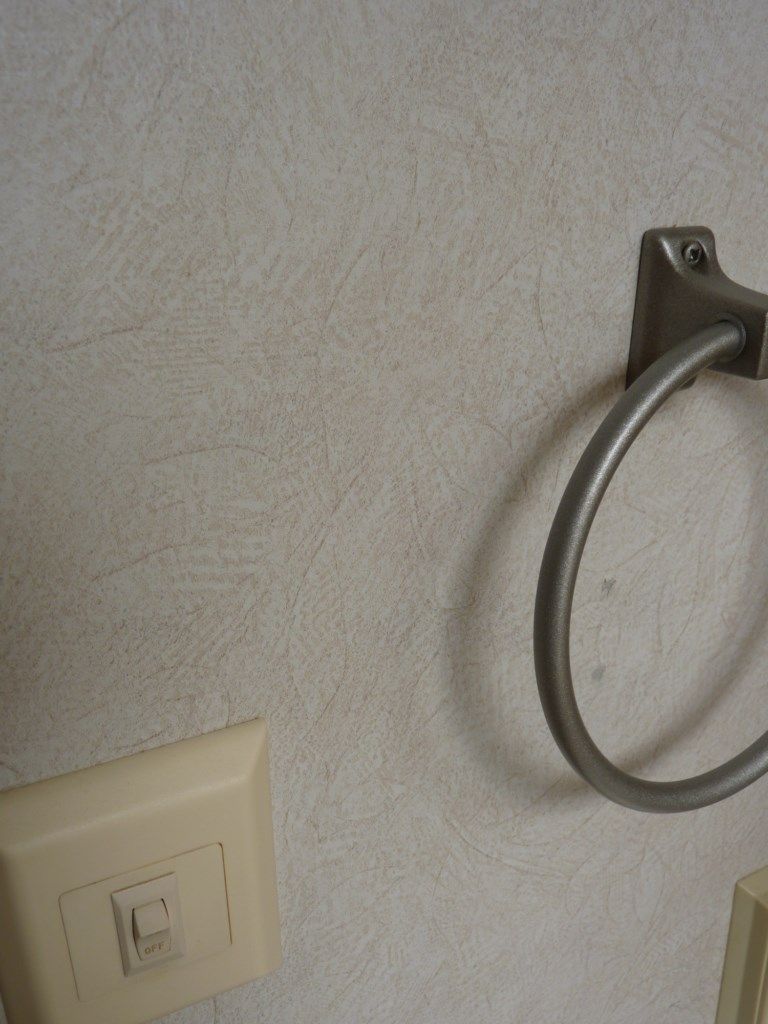
All the walls are getting a wash, a TSP treatment, a prime with shellac based primer, and then painted. We are also removing all the top and bottom trim and are replacing it with painted trim.
Here is the wallpaper before....
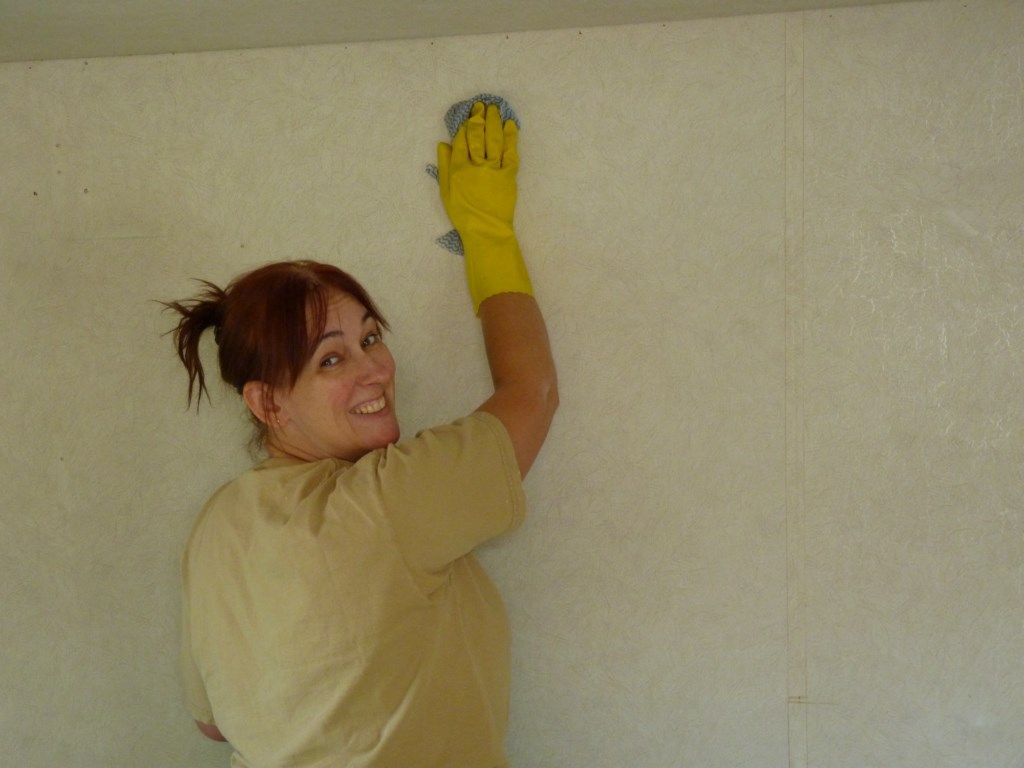
Here's a pretty lady doing a TSP treatment :)
After priming, the walls are much cleaner looking (the paint is an off white... There is enough wood to keep the decor looking interesting so an off white seemed a much better color than the grey.
Finally, my beautiful wife began recovering the cushions... from this
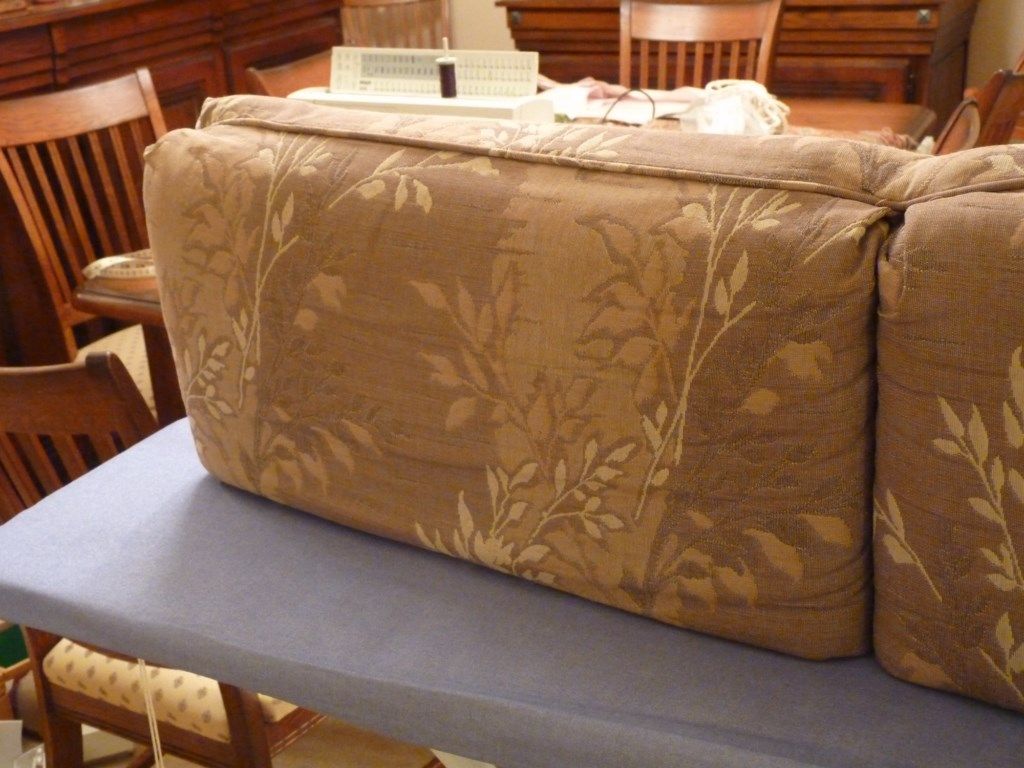
To this
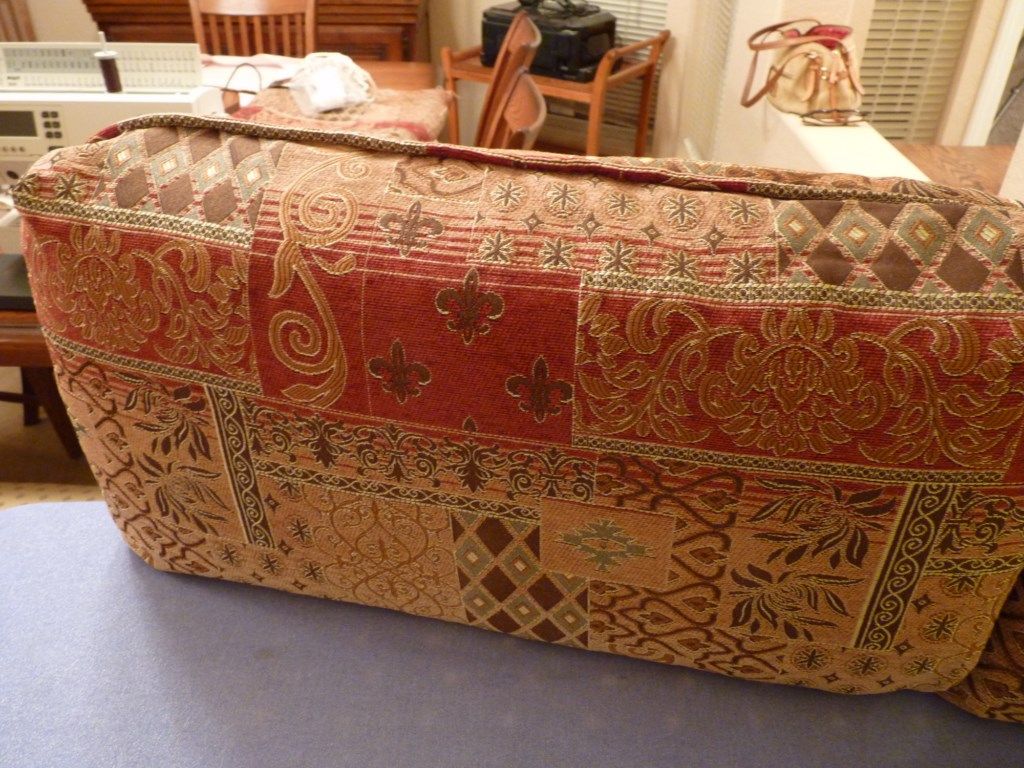
The fabric is a non-bleeding fabric that is appropriate for upholstery but we also are treating the fabric with both a stain guard (scotchguard) and a flame retardant.
We still have quite a bit more to do (more sandblasting and epoxy for the shower and surround, a lot more painting, recovering the captains chairs, adding the bunk beds and storage, and making a new dining room table) but we are trucking along and making our home-to-be as comfortable as we can.
Thanks for looking and I'd be happy to answer any questions and welcome supportive (or even non-supportive!) comments.
V/r
Lawrence
before... an empty space above the door

after- new TV on an articulating locking arm (we still need to hard wire everything in)

Before and after pics of the hardware (there were about 250 individual hinges, handles, hooks, etc) I sandblasted each piece, primed them, painted them with satin nickel finish, and then topcoated with lacquer.

Yes, I'm even anal enough that I did the same process on the screw heads

here's about a quarter of the pieces... we worked in batches

we mounted the towing attachments onto LOML's new car (and saved about $1500 doing it ourselves with help from some folks with both advice and assistance)

and here it is headed out for its first ride

There was originally a wardrobe and tv at the end of the bedroom


nice as it was, we tore it out


The wall between the bathroom and bedroom wasn't quite long enough or sturdy enough to hold the bunk beds we are building for this spot

so we tore it out, extended it, and replaced some of the 1x4s with 2x4s to add some strength.

we also doubled the thickness of the ply for the skin

After priming and painting we also adjusted the electrical outlets so each bunk will have one. I also added a 12v power source for each bunk for charging electronics.

The sink before was white, plastic, and had a really poorly constructed faucet. The countertops were a dingy color as well.


We used rustoleum countertop transformations on them and they turned out much nicer (with some additional effort above and beyond the "out of box" standard)

They even look better with a new sink and faucet

For the bathroom, the shower is getting a new white epoxy coat and the gold trim for the shower is being sandblasted and painted satin nickel.

The original sink was yellowed badly and the faucet was pretty bad too so we re-epoxied the sink and added a new faucet along with a re-surfaced countertop.

We moved all of the switches (lights, AC control, slide) to the bathroom side of the wall so that they won't interfere with the bunk bed additions. The switches are also now straight (before they looked like the person that installed them had one leg shorter than the other...they were very crooked)

All the walls are getting a wash, a TSP treatment, a prime with shellac based primer, and then painted. We are also removing all the top and bottom trim and are replacing it with painted trim.
Here is the wallpaper before....

Here's a pretty lady doing a TSP treatment :)

After priming, the walls are much cleaner looking (the paint is an off white... There is enough wood to keep the decor looking interesting so an off white seemed a much better color than the grey.

Finally, my beautiful wife began recovering the cushions... from this

To this

The fabric is a non-bleeding fabric that is appropriate for upholstery but we also are treating the fabric with both a stain guard (scotchguard) and a flame retardant.
We still have quite a bit more to do (more sandblasting and epoxy for the shower and surround, a lot more painting, recovering the captains chairs, adding the bunk beds and storage, and making a new dining room table) but we are trucking along and making our home-to-be as comfortable as we can.
Thanks for looking and I'd be happy to answer any questions and welcome supportive (or even non-supportive!) comments.
V/r
Lawrence
