kahoona
Jul 26, 2015Explorer II
Exterior DIY overhaul Photos for 2002 Coachmen Mirada
Hi
I have spent the last two months out in the S> FL sun making a number of repairs and updates to our 2002 Coachmen Mirada. It suffered from a number of age related problems and a some light collision damage.
I replaced the backup monitor with a larger LCD unit and color camera, adapting the new 5 wire setup to work with the old 4 wire one.
I replaced the deceased 3 to 5 year old solar panels with a new 100w panel and regulator. The 4 old ones were all 15w and produced no current at all. The new one cost far less than they had.
I repaired the airbox on our 4k onan genset. It was originally held together by post welds that came apart. Attempts to order a replacement using the model and serial number had failed so I drilled them out, added screws and bolts and a coating of epoxy glue where needed.
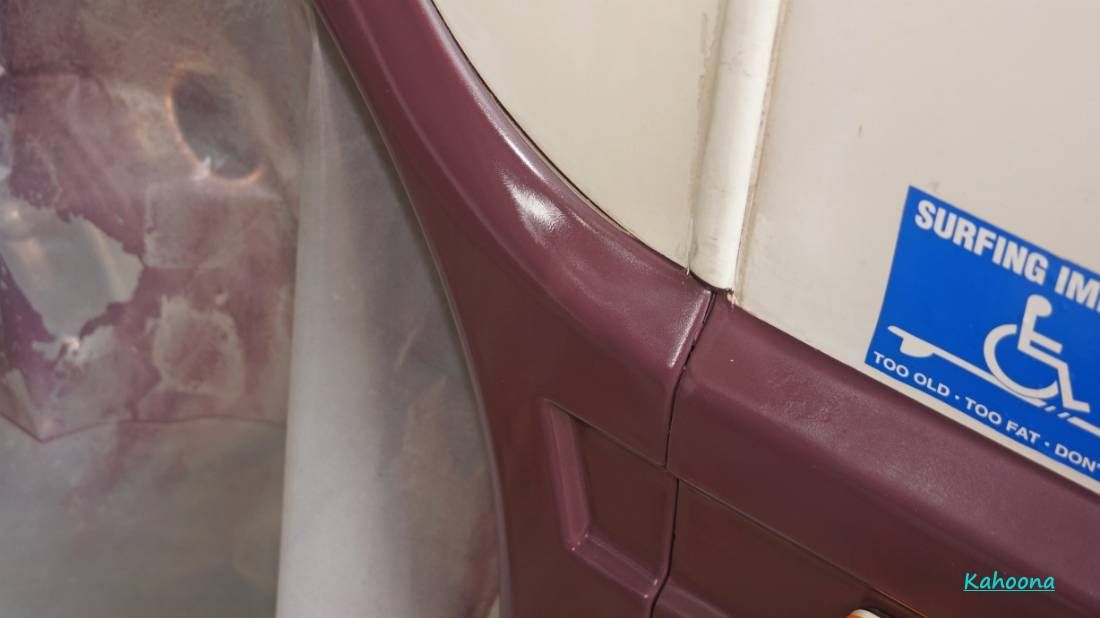
I repaired the body where a minor impact made me notice the serious declamation and rot in one area.


When I saw how much better the new paint looked I had to go all of the way around. Then I decided to clear coat.

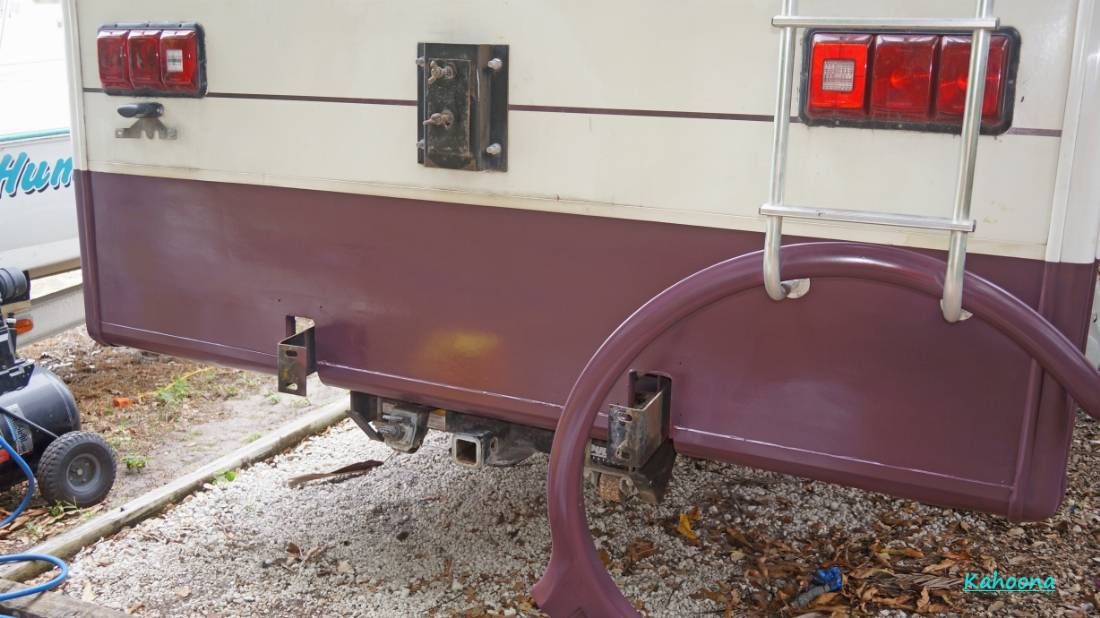


The old logos were getting really worn off so we removed them. I had some made in vinyl. They are in the mail now.

I did the upper part with Zep high traffic floor polish. It looks great but will probably only last a year. Then I will clear coat it properly.
When I tightened the bolts that held the hood on I found that the wood sections imbedded in the hood had rotted away so I filled the spaces with foam and then poured fiberglass and epoxy glue plugs to hold new bolts.


It looks pretty good now but I am sure that plenty more will go wrong soon enough!
There are more photos here
http://s875.photobucket.com/user/RalphaRoni/RV%20Hood%20repair/story
And here
http://s875.photobucket.com/user/RalphaRoni/RV%20paint%20job/story
And the entire story is posted here
http://www.irv2.com/forums/f84/poor-mans-paint-and-body-repair-job-253649.html
and in other places on that site.
Have fun everyone and keep it shiny!
I have spent the last two months out in the S> FL sun making a number of repairs and updates to our 2002 Coachmen Mirada. It suffered from a number of age related problems and a some light collision damage.
I replaced the backup monitor with a larger LCD unit and color camera, adapting the new 5 wire setup to work with the old 4 wire one.
I replaced the deceased 3 to 5 year old solar panels with a new 100w panel and regulator. The 4 old ones were all 15w and produced no current at all. The new one cost far less than they had.
I repaired the airbox on our 4k onan genset. It was originally held together by post welds that came apart. Attempts to order a replacement using the model and serial number had failed so I drilled them out, added screws and bolts and a coating of epoxy glue where needed.
I repaired the body where a minor impact made me notice the serious declamation and rot in one area.


When I saw how much better the new paint looked I had to go all of the way around. Then I decided to clear coat.


The old logos were getting really worn off so we removed them. I had some made in vinyl. They are in the mail now.

I did the upper part with Zep high traffic floor polish. It looks great but will probably only last a year. Then I will clear coat it properly.
When I tightened the bolts that held the hood on I found that the wood sections imbedded in the hood had rotted away so I filled the spaces with foam and then poured fiberglass and epoxy glue plugs to hold new bolts.


It looks pretty good now but I am sure that plenty more will go wrong soon enough!
There are more photos here
http://s875.photobucket.com/user/RalphaRoni/RV%20Hood%20repair/story
And here
http://s875.photobucket.com/user/RalphaRoni/RV%20paint%20job/story
And the entire story is posted here
http://www.irv2.com/forums/f84/poor-mans-paint-and-body-repair-job-253649.html
and in other places on that site.
Have fun everyone and keep it shiny!