Forum Discussion

Skinny_D's avatar
Skinny_D
Explorer
Jan 30, 2021

CONDENSATION on windows in winter

When camping in the snow in winter, we obviously get a lot of condensation on the windows. We prepared for this by getting a nice dehumidifier and making sure we have inverter and battery capacity to run it. However, the windows themselves are a cold condensing surface and seem to do much of the dehumidification of the indoor environment.

What then is the best way to remove the moisture from the window AND the trough where the drips collect? I've tried sponges and paper towels but they don't seem to do a good job. Any thoughts on this?


Click For Full-Size Image.


Click For Full-Size Image.
  • time2roll wrote:
    I just let them sweat. That is my dehumidifier ;)


    All Natural..

    But, folks do tend to get worried and obsessed over this minor issue..

    For folks that get worried about this..

    Sweating window glass is very normal with single pane glass and in reality harms nothing.. There IS a built in "drain" in the window channels that actually will drain most of the condensation that rolls down the window to the outside..

    The only thing that would concern me is the sweat on the window frame that is touching the wood paneling causing water damage over time but once again to reducing that means adding a moisture barrier to the window and frame..

    The reality is these windows and window frames were never designed for or intended to be used in extreme weather conditions.. They are like old houses that had single pane windows.. Those windows always would sweat in cold temps and on really frosty mornings the sweat would ice over.. Millions of old homes stood fast, some for a hundred yrs before the window frames rotted out..

    I am always amazed at the lengths people got to to camp in cold weather..
  • Get a long strip of 1/2 inch x 4" wide X necessary length of Styrofoam. Fasten it on the out side of the window in close contact with the glass.

    The condensation will still run down the window--but when it hits the warm glass it will return to the air.

    Translation--no more wiping.
  • There are a few things that can help, but we need some more details on your setup.

    First off the help,

    We went the shrink wrap plastic on the windows route. Our windows have a 1/2" wide flange strip all around the window that we can attach the 2 sided tape to to hold the plastic on.

    Like this


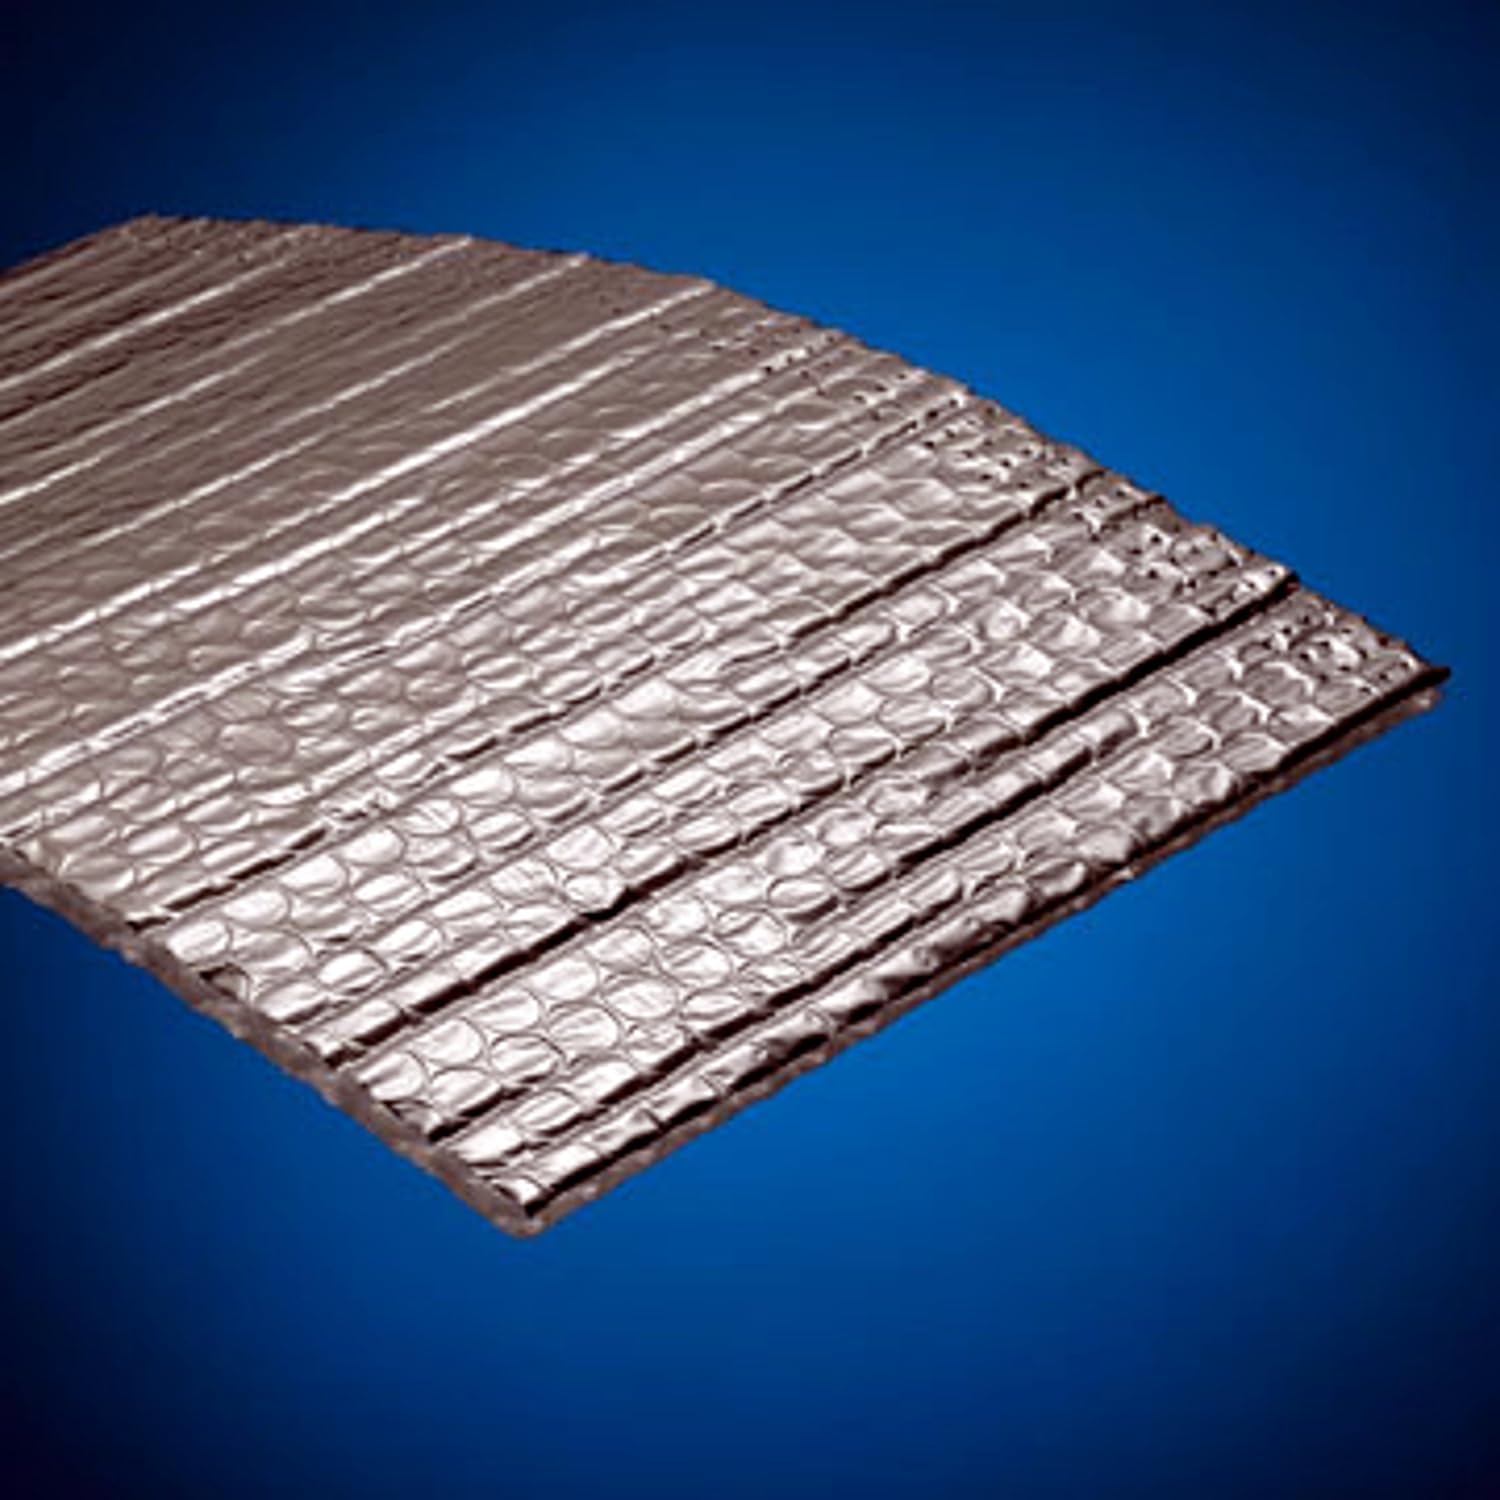
    While it takes time to do all the windows with that film, it is cheap compared to making or buying storm windows. The plastic film keeps the window clear all the time, helps keep the heat in and the cold out.

    However, the 1/2" wide flange strip is connected with metal to the outside, we go get a little condensation on the 1/2" flange. In the morning I use a dry wash close to absorb what forms overnight. And it is good the rest of the day until the next morning.

    The next part is doing moisture control inside the camper. You stated you have a dehumidifier but you did not state what the inside humidity was with it running? What is it?

    We have winter camped enough to sort out how to control the moisture, the learning curve created this list.

    1. Shrink wrap on all windows except next to the stove.
    2. When cooking or washing dishes, crack the only window not covered in film open to let the excess moisture out from cooking and dish washing. Close when you are done.

    3. When showering, open the roof vent (a good 3 to 4 inches, in the camper in the bathroom. Let all that high humidity go right out the vent. Close when done showering.

    4. Crank open a roof vent, in ours, it is the opposite end of the camper main bedroom. That vent needs to be open a good 1" up to keep up with the amount of moisture from 2 adults sleeping over night in a camper. Yes, you will loose some heat out the vent, but the moisture is wanting to get out, so let it go.

    5. Run a big enough dehumidifier to drop the moisture in the camper down to 45 - 50% or lower. Depending on the situation, we can sometimes close the ceiling vent if the humidity is 45% or lower.


    6. Get a humidity meter with high/low readings saving and out it in the camper. See one of ours. This is from the first day we went camping. You can see the max of 80% to the lowest of 45% on the first day. It scans over 24 hours to give the max/min. The 80% was from before we went into the camper.


    6. The last upgrade I did and has worked really well, install attic vents on the roof to vent the space between the ceiling and the roof top. This helps a lot.

    You really have to control the moisture in the camper when the conditions are right to create that heavy sweat on the windows. Higher humidity naturally seeks areas of lower humidity. It will migrate by itself or try to, which is outside. If you do not lower the humidity in the camper, it will seep up into the camper attic and be trapped there as the roof membrane has no vents to let it out like houses do. Left let go like this long enough, mold will start in the attic. I have seen it on campers where I replaced the roofs on them. Adding the attic vents lets the moisture get out and helps lower the issues in the attic. They also help let the high heat get out in the summer trapped up there.

    The attic vents look like this when installed. You need enough of them to align with the length and way your camper is made. Some I use 3 vents on, others 4 all depending on the camper size and floor plan.


    I use the JR Products brand no. 02-29125 Mushroom Style Plumbing Vent. Amazon and Ebay sell them. Prices are all over the map this year. Pre-covid they were 30% cheaper.

    This link will take you to my Flickr photo hosting site showing them being installed. https://www.flickr.com/photos/camper-johnb/sets/72157717497136833/


    Hope this helps


    John
  • We use small USB powered fans placed within a few inches of the windows, along with our dehumidifier. In our rainy/humid area, our windows used to look like yours, but we no longer have an issue.

    We also leave the roof vents open a crack for good ventilation. Uses more propane for heat, but keeps the humidity down.

    Works for us.

    Edit to add a bit of detail.
  • Best way is to prevent the warmer moisture laden inside air from hitting the window.

    You can do that with making "storm windows" for the inside from 1/8" or 1/4" thick plexiglass (if you can find it as it is in high demand now days for virus protection barriers). Cut plexy larger than the window opening and then a few screws to hold in place.. Could also add soft foam weather gasket material to help create a seal..

    Barring that you can buy window weatherization kits which use a tape in place clear plastic that you shrink to fit with a hair drier..

    Found HERE

    Other ways, folks have used clear bubble packing (yeah those plastic bubbles that everyone loves to pop), downside to those is makes it difficult to see through the window and the bubbles can make it difficult to establish a good seal..

    If you don't care about light or seeing though window, folks have used "reflectix" which is a thin aluminum foil backed insulation that has tiny bubbles like bubble packing in between the layers..

    Looks like this..


    Folks like it because it has about R3.7 insulation value in a very thin insulation.