Forum Discussion

jefe_4x4's avatar
jefe_4x4
Explorer
Aug 30, 2014

Guide repelling up armoring

This year has been tough on Cabeza de Vaca and he has a couple gouges: front drivers side and rear pass side where there was inordinate lateral pressure from the camper directly onto the guides. It couldn't possibly be operator error, could it? Nah. I just needed more shear value along the lower sides of the TC, so I added some long aluminum angle along the lower edge to spread the joy of going over rough roads. All I had was some redwood colored, 45 yr. caulk, so here it is. For some reason I had no trouble with the drivers rear guide so no armor plating there.
This is the pass side with aluminum angle full length:

This is the driver side with only a partial up armoring:

The screw holes were drilled exactly to fit and replace the existing bottom screws only with slightly larger and a tick shorter than the reach of the originals, which, BTW were very rusty. It seems Lance used the cheapest screw plating they could find. My retrofit uses stainless steel screws. No screws underneath.
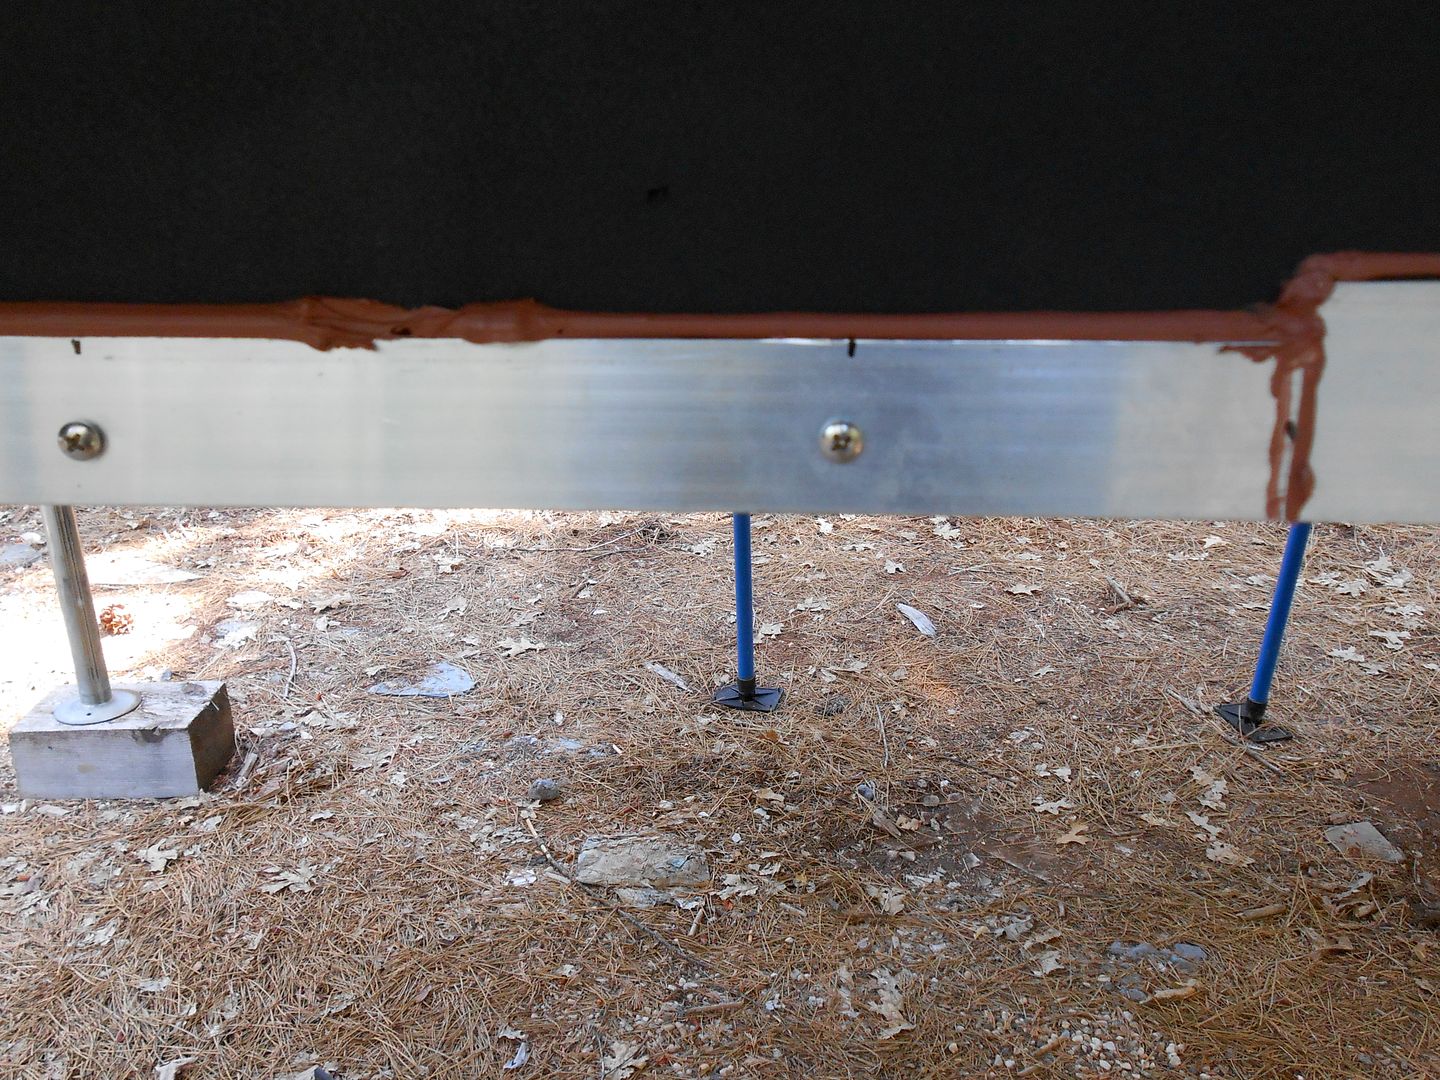

Those blue poles are drywall jacks. I bought four from China Freight to use on a diagonal when my TC is up high on its jacks for work underneath.
A couple weeks ago I used up a couple cans of spray-on bed liner on the side walls and especially the rear storage pods. The tar paper was getting a little tired in spots.
Not a very exciting way to spend Labor Day weekend, but be thankful I'm not camped 3 feet from your side window.
regards, as always, jefe
9 Replies

  • Mike:

    Yes. have. However, I'll be loading the rig in a few weeks (after I change out the truck's tires), and will make some more detailed photos for you.

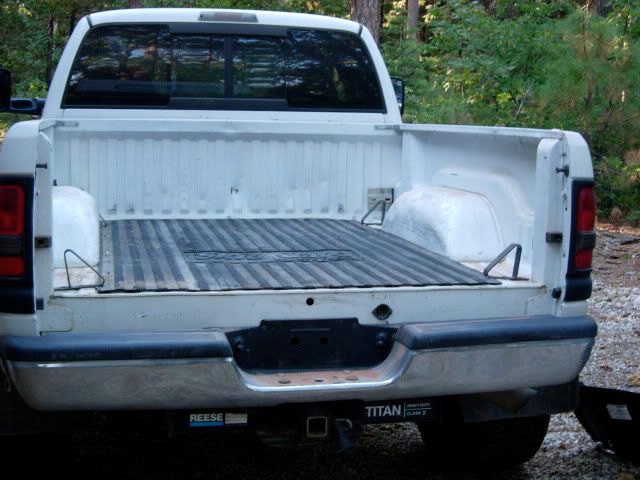
    On edit: do you see Jefe's rear guides in the above photo? n our case, the rear of our "tub" is just about the width of the opening in our truck bed (our tub is shaped like a T at the rear), so there is no need for rear guides: there would be no place/room to fasten them) (or, in our case, HD polypropylene blocking), because there is absolutely no room for the camper to "shift" left or right. So, the only thing I have at the rear are 2 x polypropylene closed cell "pads" as shock absorbers, and anti-shift devices (I have 0.25 inches clearance at both sides between T and steel bed side, so I squeeze these pads in there).

    I am a huge proponent of T shaped tubs, and would never consider a truck camper with just that narrow rectangular tub design (a non T tub design IMO places way too much stress on the tie-downs, when centrifugal and side wind forces are at play on such a behemoth mass sitting on a such a small 48 INCH wide tub base. As an example, these huge truck campers are like an elephant (analogy for super wide and tall truck campers) sitting on a thimble (analogy for the tiny 48 inch wide non T tub design).

    Imagine the truck camper with side saddles just sitting flat on the ground (no jacks attached, and nothing protruding our from under, like sewer outlets!) in a 60 MPH side wind (probably no problem, because side saddles and camper overhang are now the T adding stability. Now, lower the camper onto an 4 foot wide by 8 feet long (or, even worse, a 6 foot long) solid (concrete) platform 12 inches high on the ground, and retract the jacks completely. Apply a 60 MPH wind to the side of camper, and see what happens (a sensor in the camper under both conditions would be better)...
  • silversand wrote:
    ...on the deflection translation to altitude: i added 3/8ths inch to tub (height), with the new thicker under-tub flooring :B

    My guides are slightly different: HD polypropylene closed cell blocks several feet long fore of wells; same up front along truck bulkhead (lighter than steel and wood, with a bit more give...but they squeak!)


    Silver,
    Do you have any pics of your blocks and how they're arranged in your truck bed?
  • ...on the deflection translation to altitude: i added 3/8ths inch to tub (height), with the new thicker under-tub flooring :B

    My guides are slightly different: HD polypropylene closed cell blocks several feet long fore of wells; same up front along truck bulkhead (lighter than steel and wood, with a bit more give...but they squeak!)
  • Nice job jefe4x4, had to do the very same thing on my Lance 815, only 4 years ago.
  • Looks great, Jefe. I always wondered if those metal guides in your truck bed caused any damage to your camper. Your fix should do the trick.

    And for those wondering about these guides, here a pic to show you what Jefe is talking about.


    Along these same lines, I was thinking of constructing TC guides for my truck bed made out of 2x4s. One for each corner. I still need to draw up the plans, but that's one project I'll be working on once the weather cools off here.
  • Silver, that's a good idea that I shall do myself. Hijacking is allowed under part 39, paragraph TC of the international code of criminal Just Truck Camping. I'll cut back some of the front in a dental molding fashion to avoid having the mat slide forward into the voId. Actually, now that I think of it, Wolfman's hole idea has a lot of merit as it keeps the contiguous shape of the mat more easily. Living in the dry southwest, we have much less exposure to wetness around the camper bottom, so that may be enough.
    I took a very close look at the bed mat yesterday and find that low side of the wales are about 1/4" thick and the high side of the wales at about 3/8" thick and very sticky. Not much there there. I'm thinking that's a good thing as an anti-sway. Remember that a 1/4" defection down low can translate into a a few inches of wallow up top.
    jefe
  • Dadwolf:

    I don't want to hi-jack Jefe's Post (I'll make it fast):

    I'd thought about holes drilled n rubber,however, not having the mat itself there as a "water liner" seems like a perfect situation (I won't toss the cut sections, I'll save for possible later use)...'ll be cutting out ~ 6.5 sq ft of mat to expose bare metal tub, with drain holes and corrugated channel...

    ....now, back to the program :B
  • Good work Jefe.

    Would it help to drill some holes in the rubber mat to drain any water and possibly keep a little airflow going?
  • Jefe:

    Nice. I did precisely the same tub mod about 5 rears ago. Unfortunately, i had to remove the aluminum, to strip off the lauan glued to the tub bottom, replacing it with 6 side coated plywood, and, but the aluminum back in place :B

    My next project is cutting the rubber bed mat to the shape of the camper tub up front (ahead of the wheel wells). The rubber truck bed mat was like a swimming pool liner trapping water and holding it against front tub (truck is canted forward when camper is loaded). Not having all that rubber acting as a gasket around fore section will keep things drier (here in the northeastern rainforest LOL)...