It has been a while since I posted, been working on the camper but packing and getting ready to move has also moved in to the equation, things have been a bit hectic to say the least. Like a lot of my post this is long with lots of pictures
I ended up redoing the right side “shelf” after mulling over the knot comments, probably should have redid all the side pieces, but the others looked and felt solid and the right shelf piece was already cracking at one of the knots in question. I ended up modifying what I already had and added 1x4s to both sides
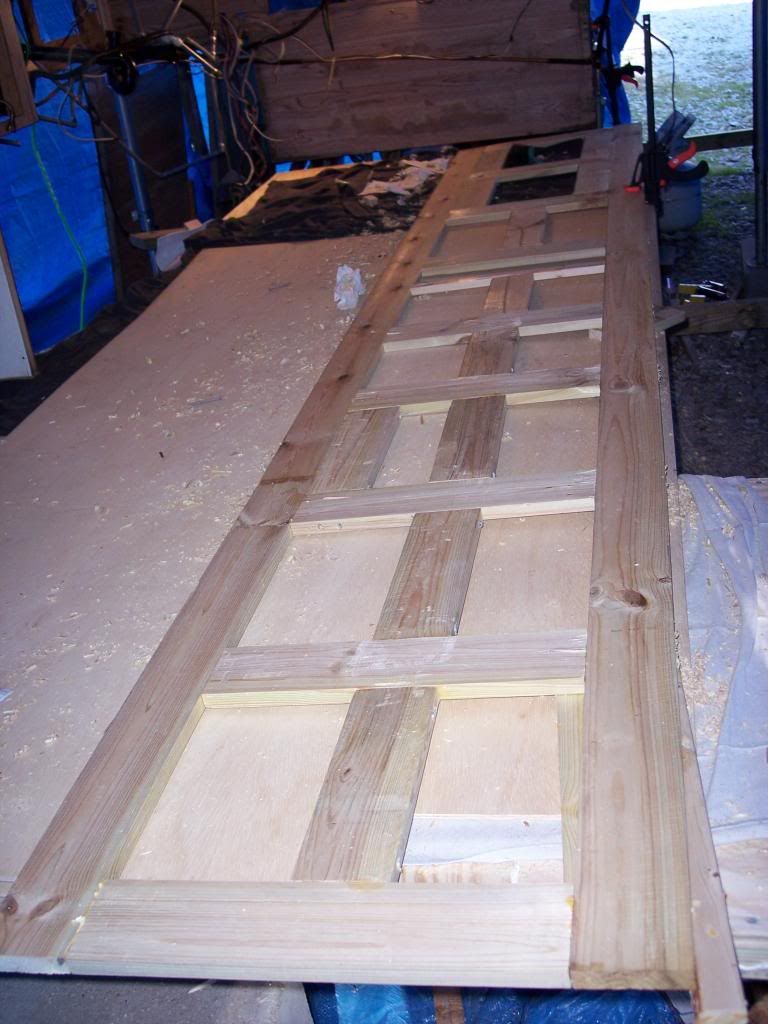
There are still knots but I’m hoping the beefier wood will counter that. Like I said before it is hard enough to find straight wood much less wood without lots of knots.
I then moved on to the front corners, the right side first. Lots of issues here.
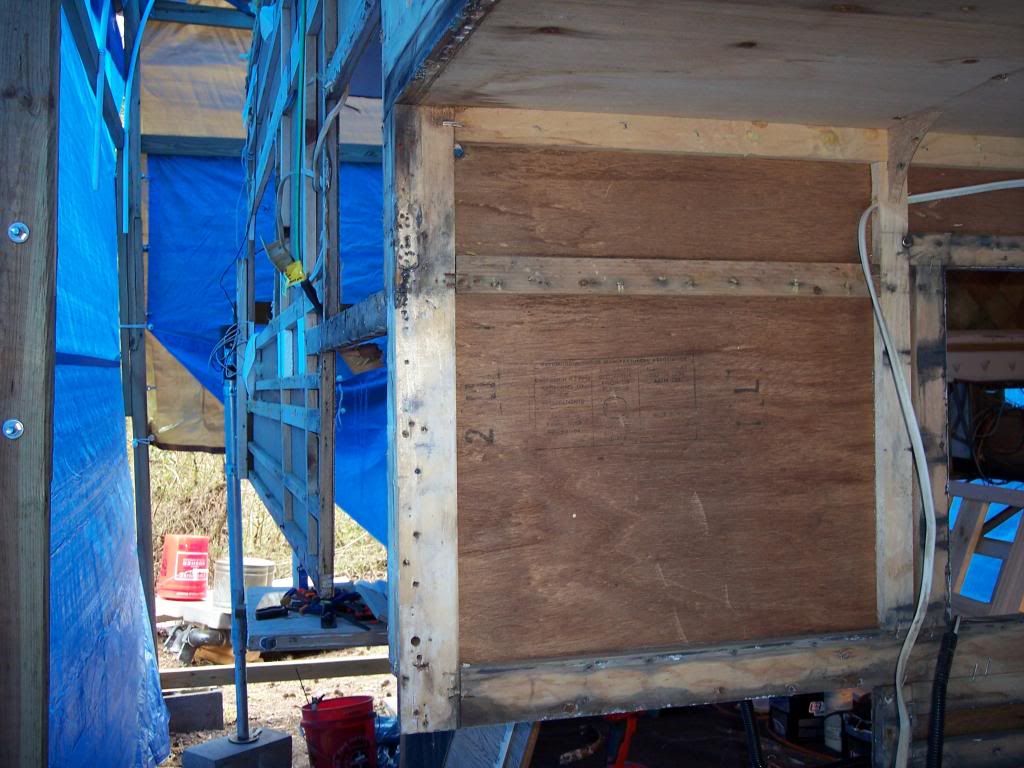
I removed the right front 1x3 and then replaced several pieces around the refrigerator vent and propane tank area
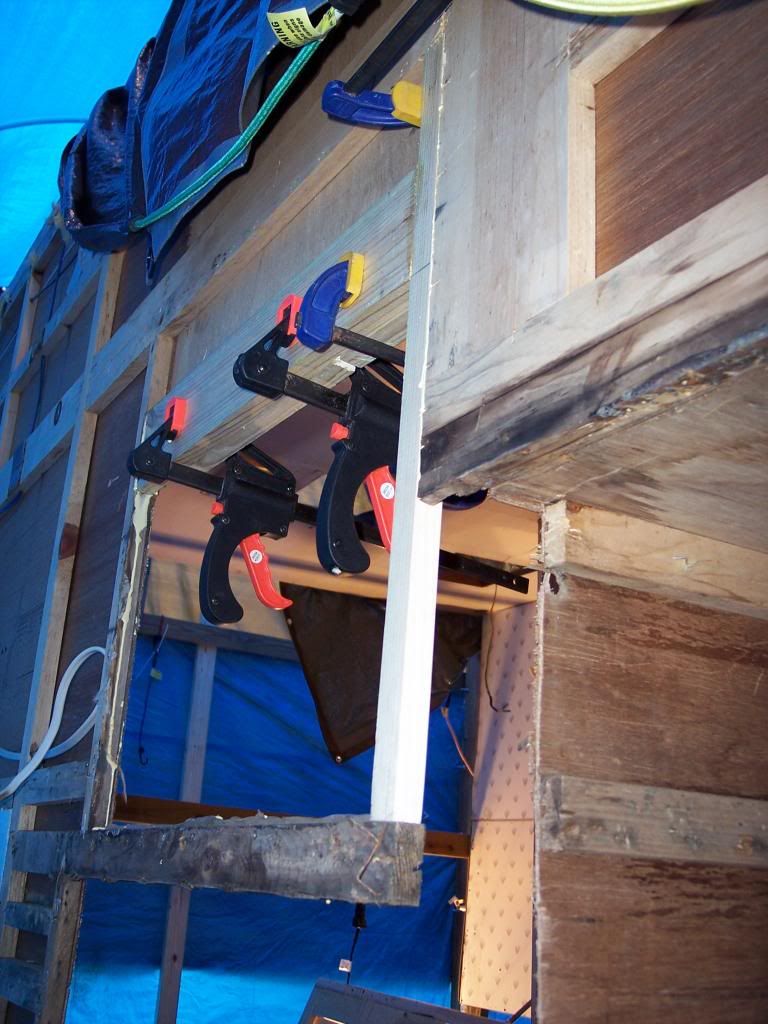
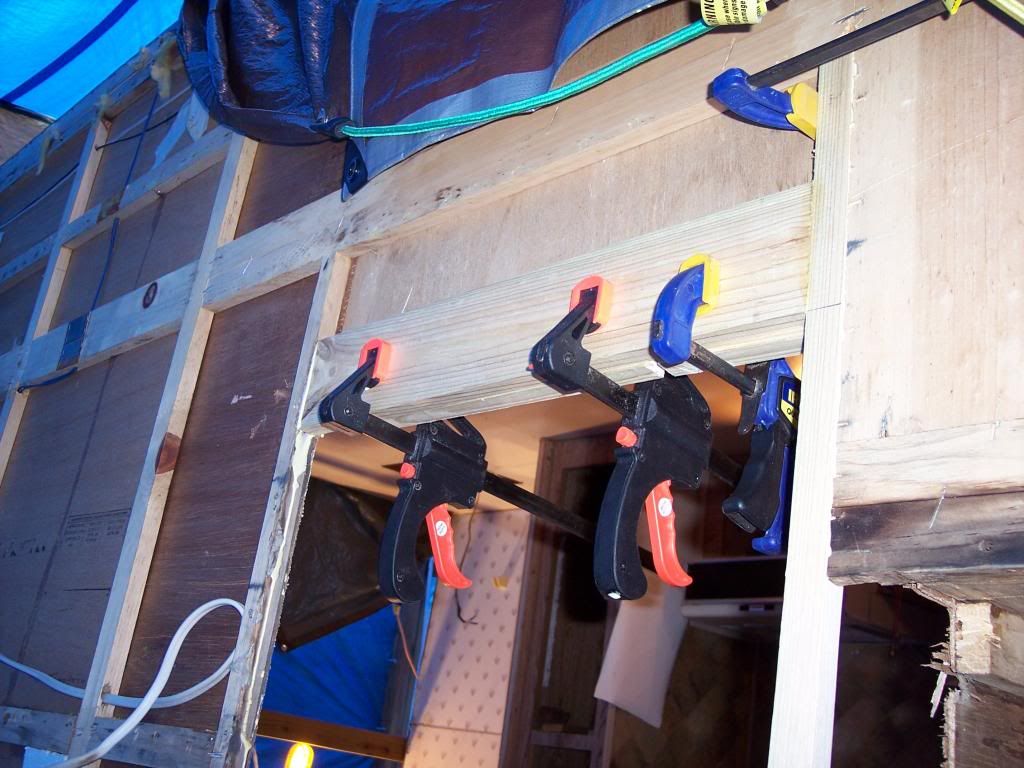
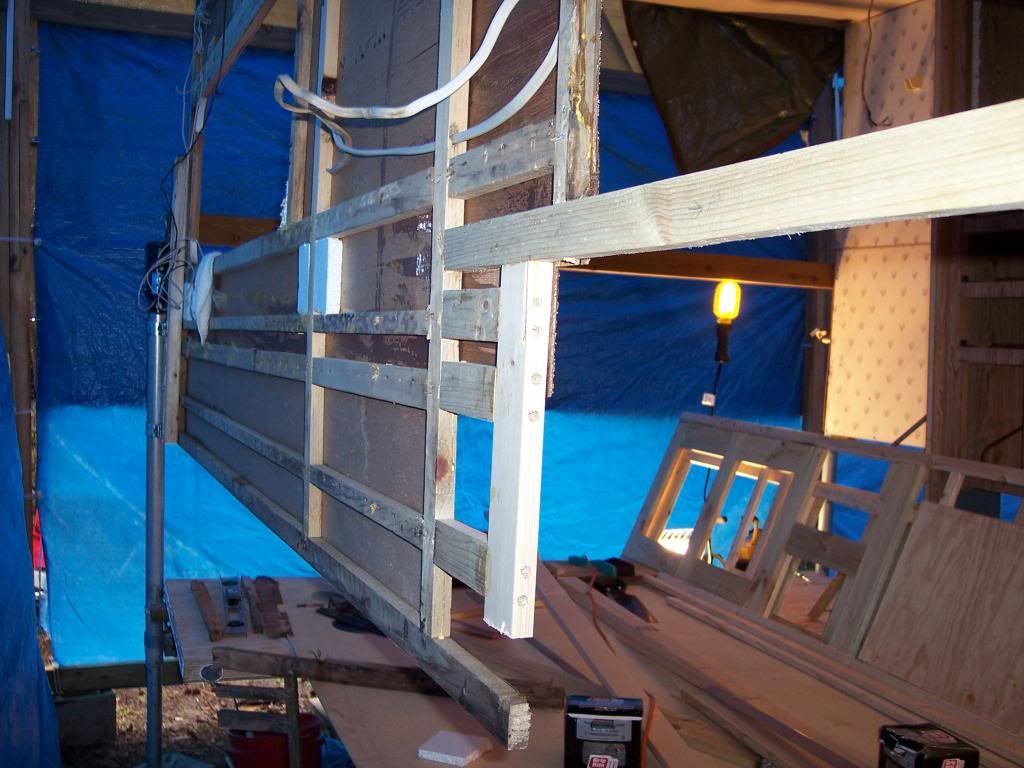
As states in several of the treads here you cannot buy wood that will fit properly so you have to make what you have work. I wanted to beef up the 1x3 originally used since I am using carriage bolts to hold the jacks on instead of screws so I made a 3x3 and modified the area to accept it
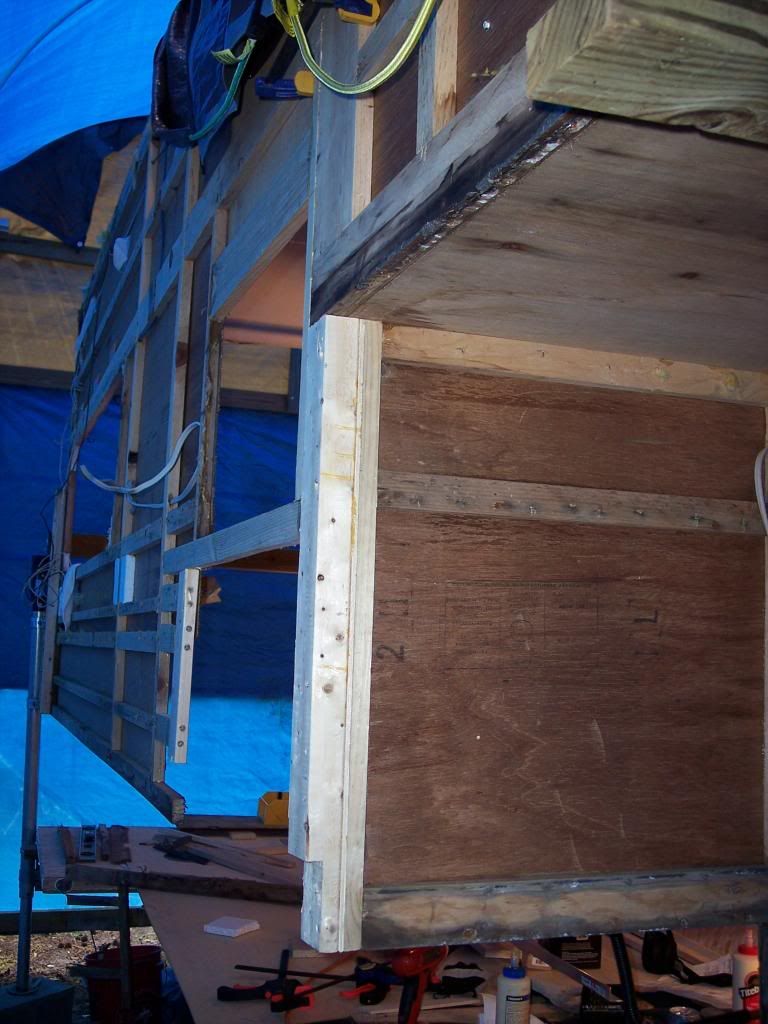
Then I installed a new lower piece, once again moving from a 1x2 to a 1x4
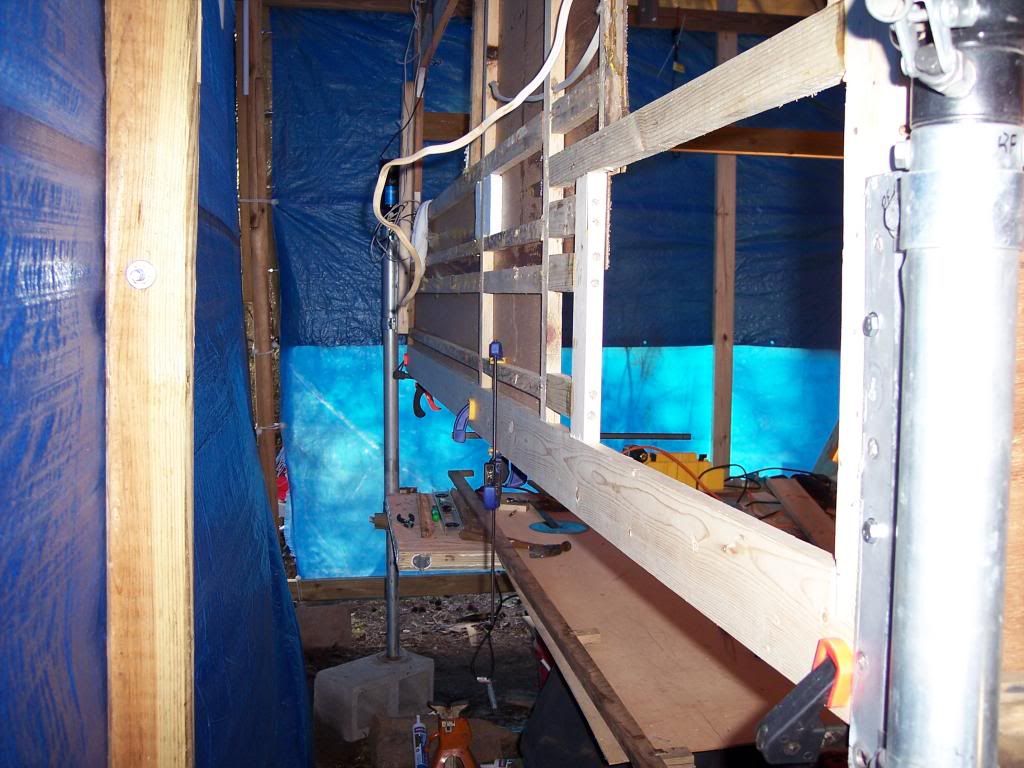
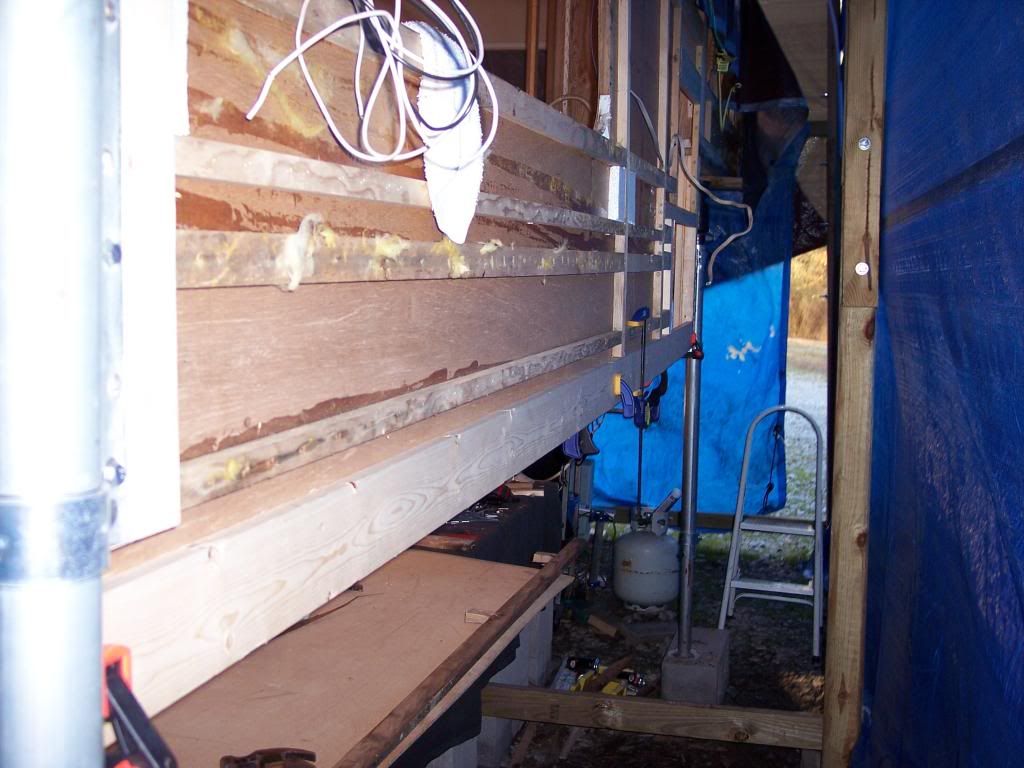
Then I moved to the left front which was in no better shape
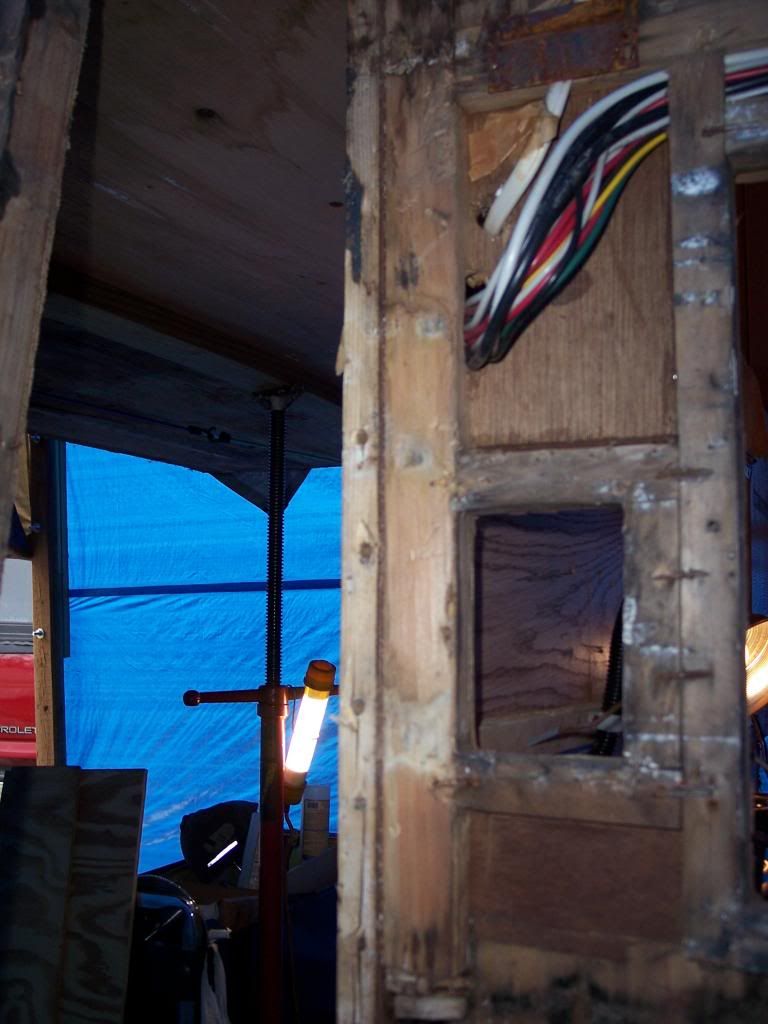
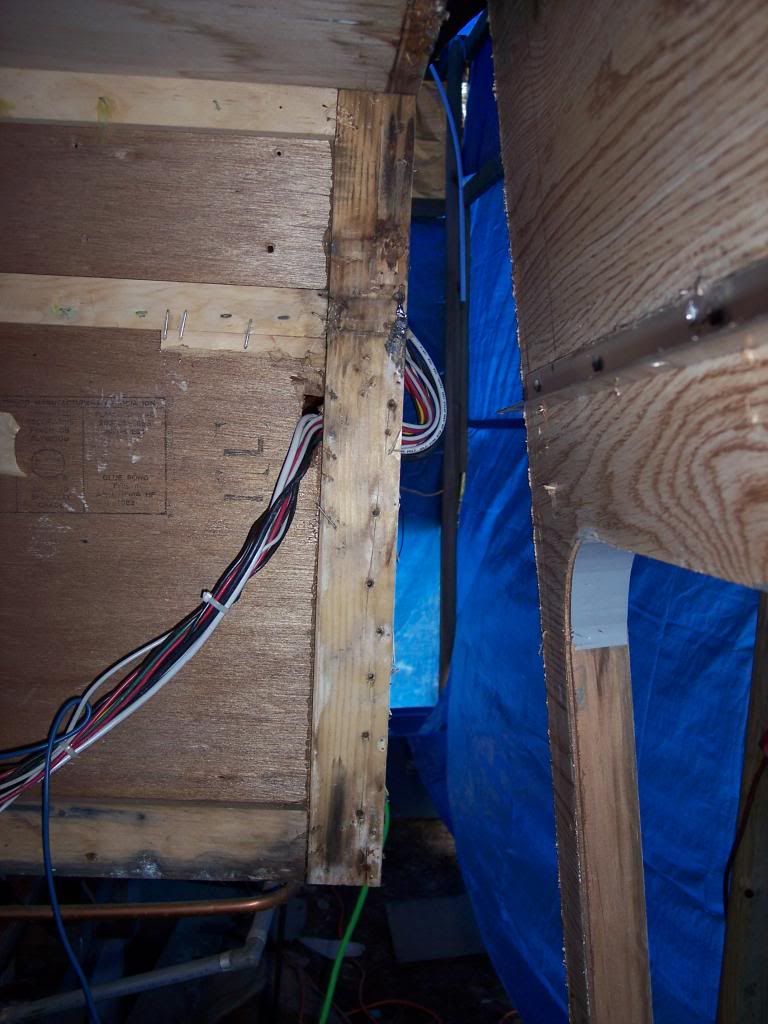
Not a lot of pictures on this side but here is the corner with the jack already mounted
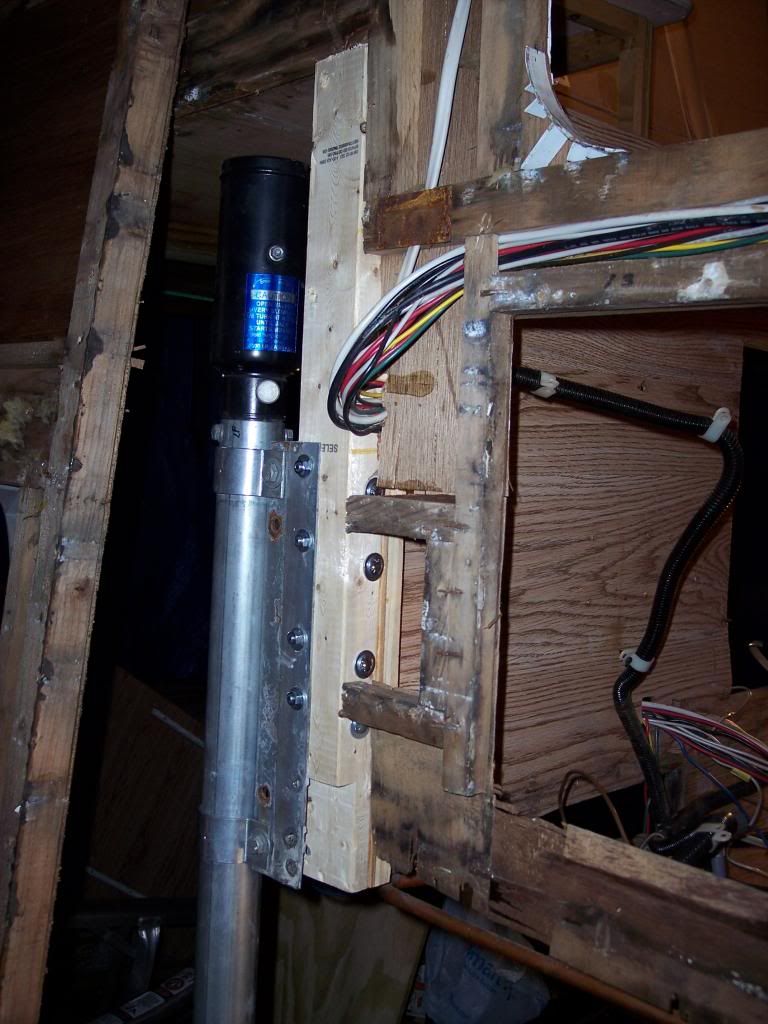
And the lower piece
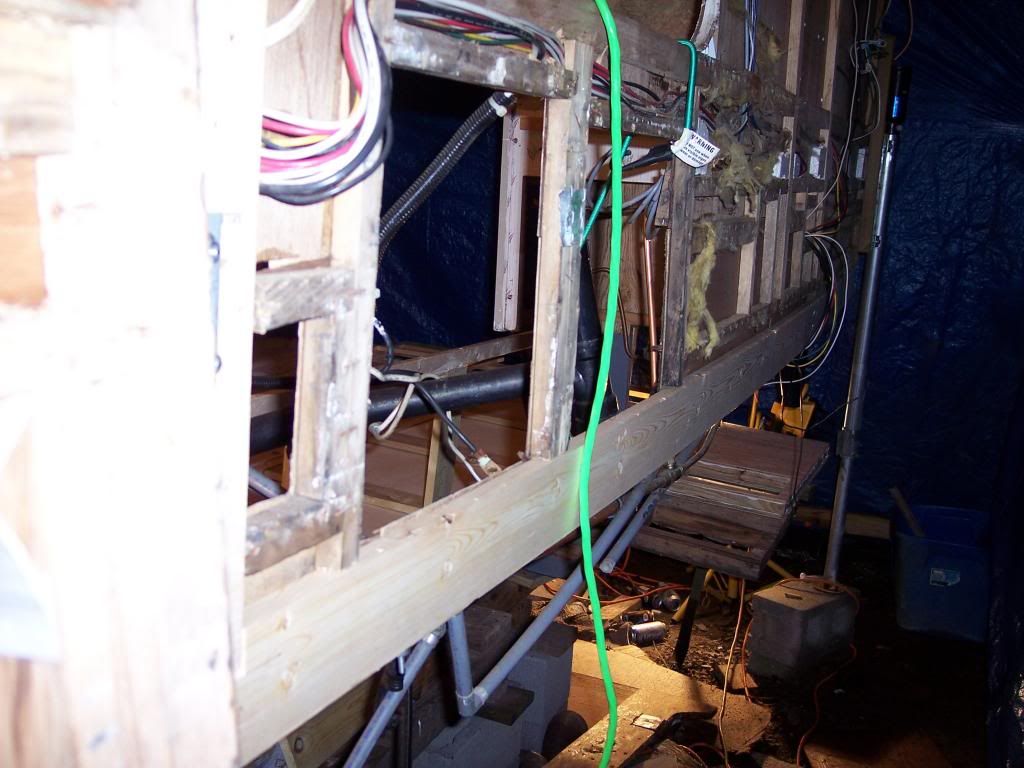
I still have a few pieces to replace on the left side around the water heater and battery areas and down the side where a previous owner had installed a strip of plywood to repair the rot that was already in place but with the knowledge that a move to Texas is in my near future I decided that the main structure needs to be handled before the detail stuff.
On to the front. When I removed the water tank I had noticed that the front panel was bowed, after a closer inspection this is what I found.
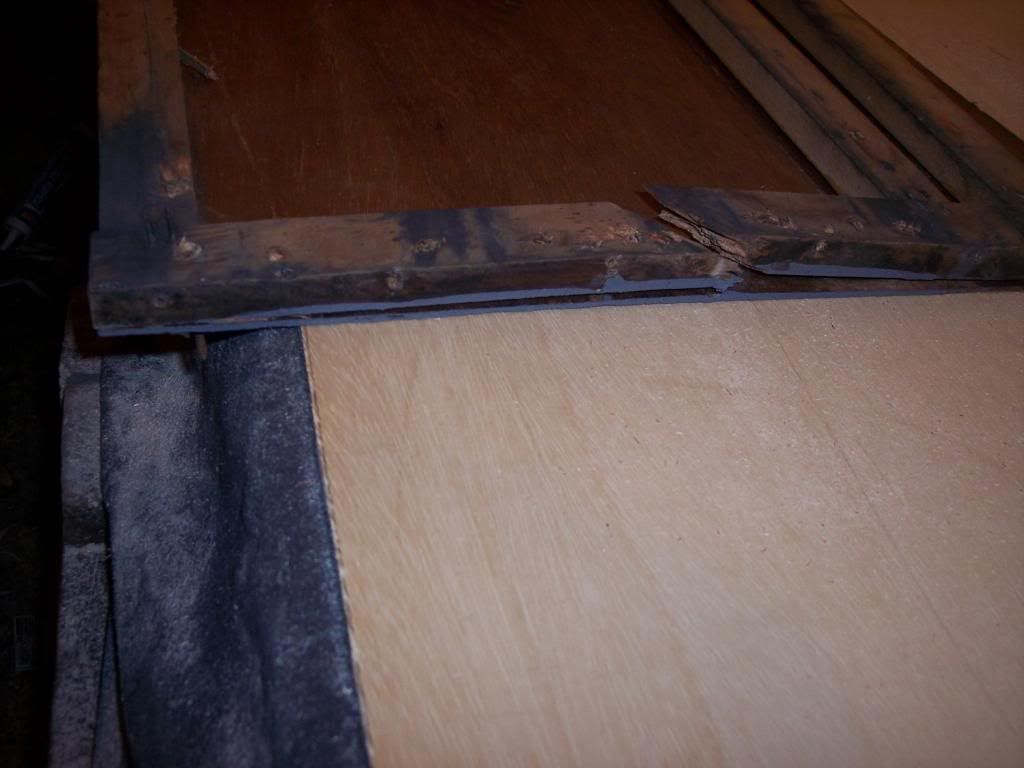
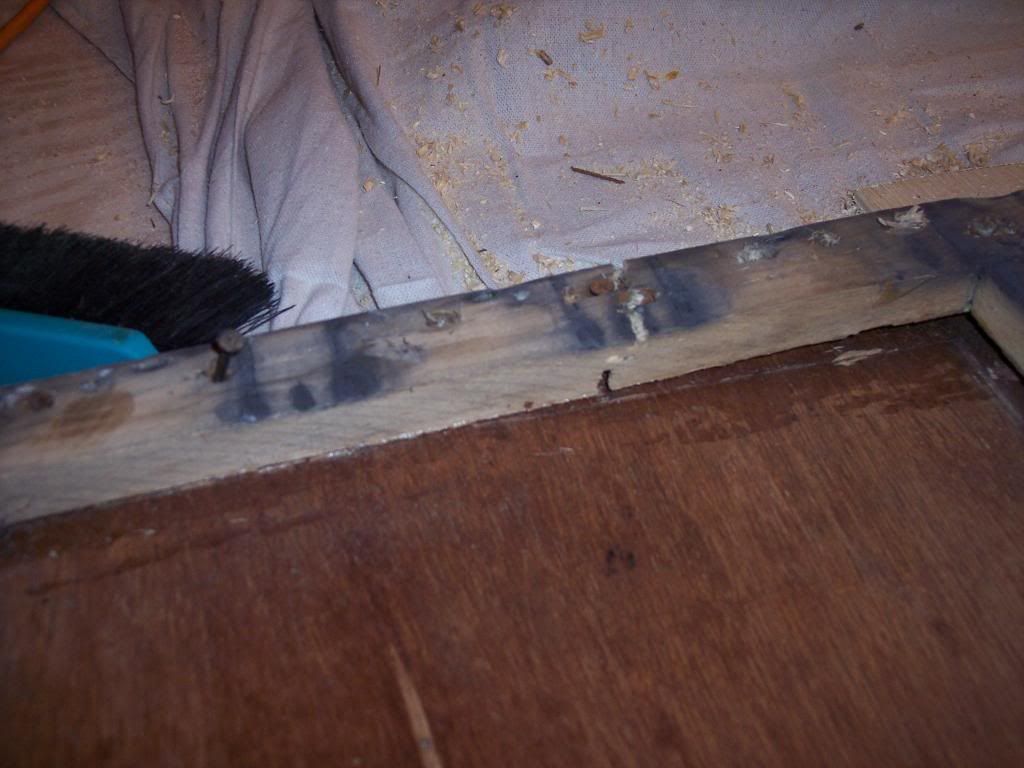
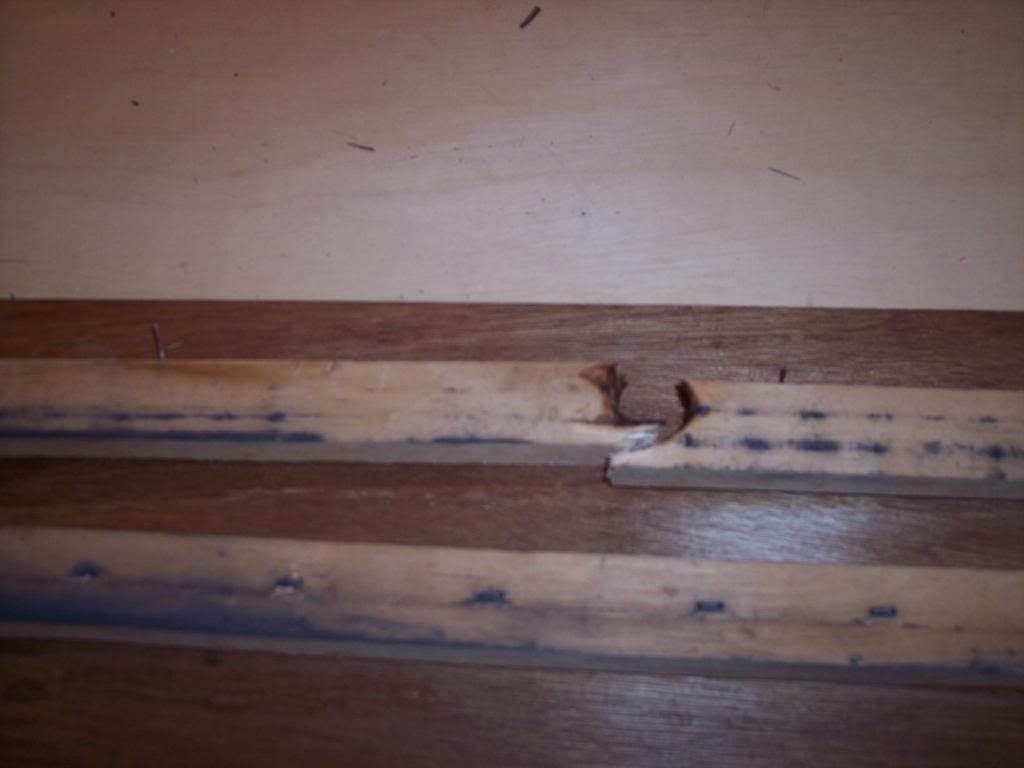
On 2 of those breaks it looks like the knot conversation is more than valid. So I removed, and rebuilt that section with 1x4s
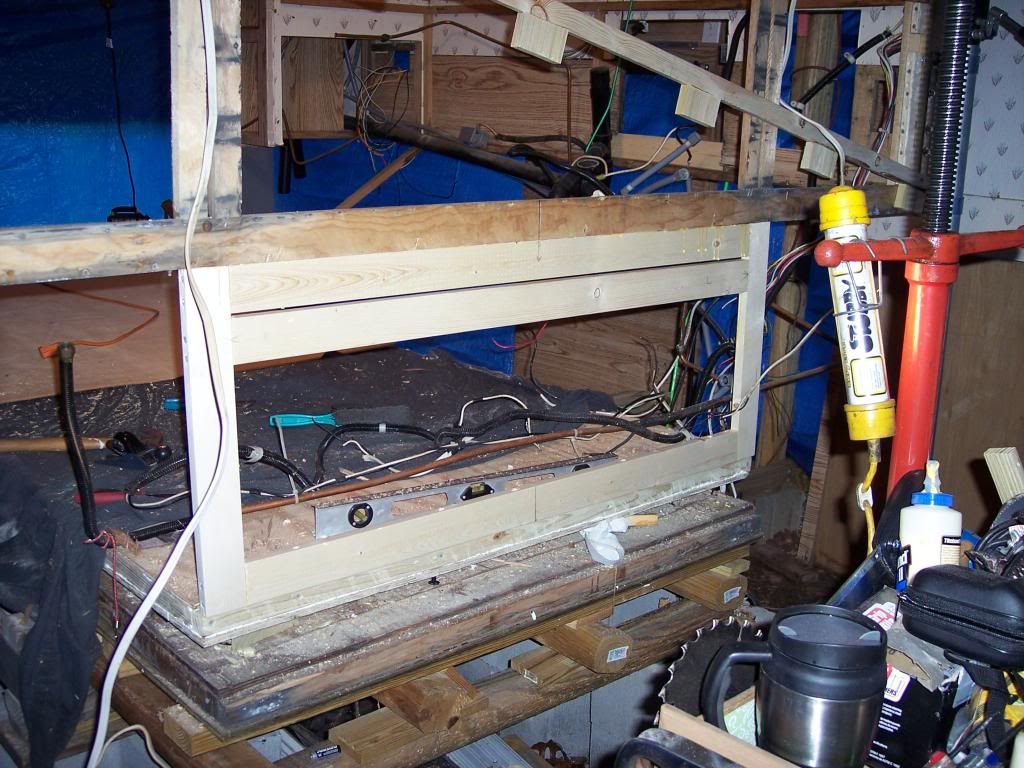
Then I added a new panel

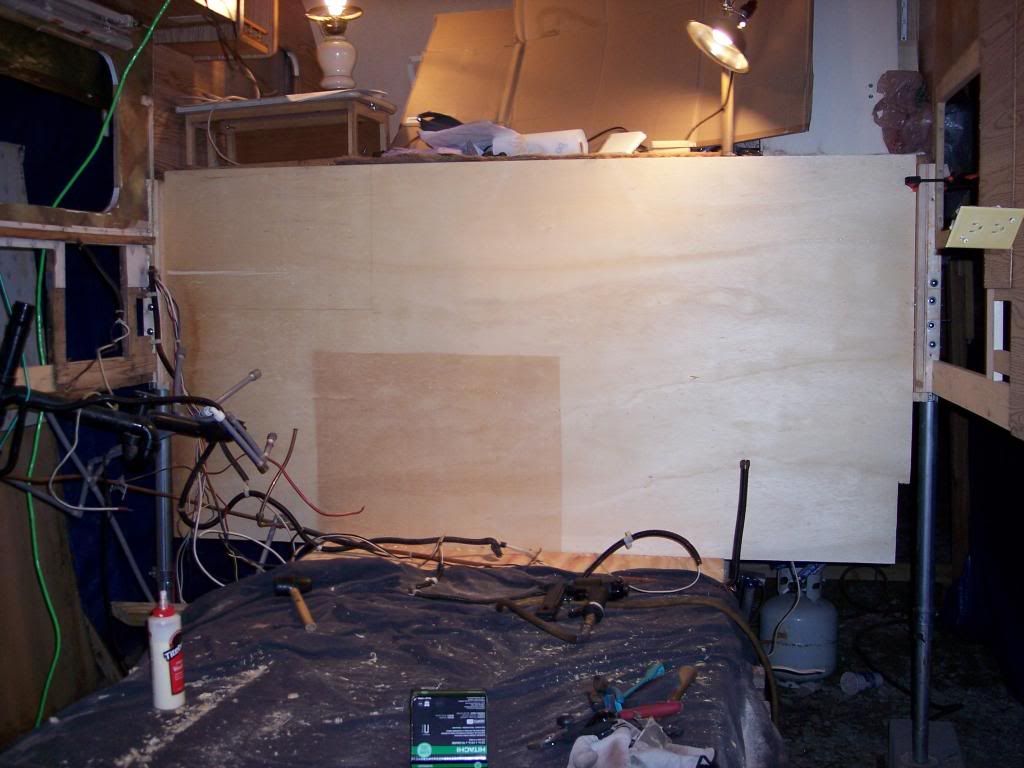
This was an old panel left over from a previous project, is does not match the new panels but because of the area and the fact we will be painting the whole interior it shouldn’t matter.
With that completed and the glue drying I started to insulate and assemble the left side shelf.
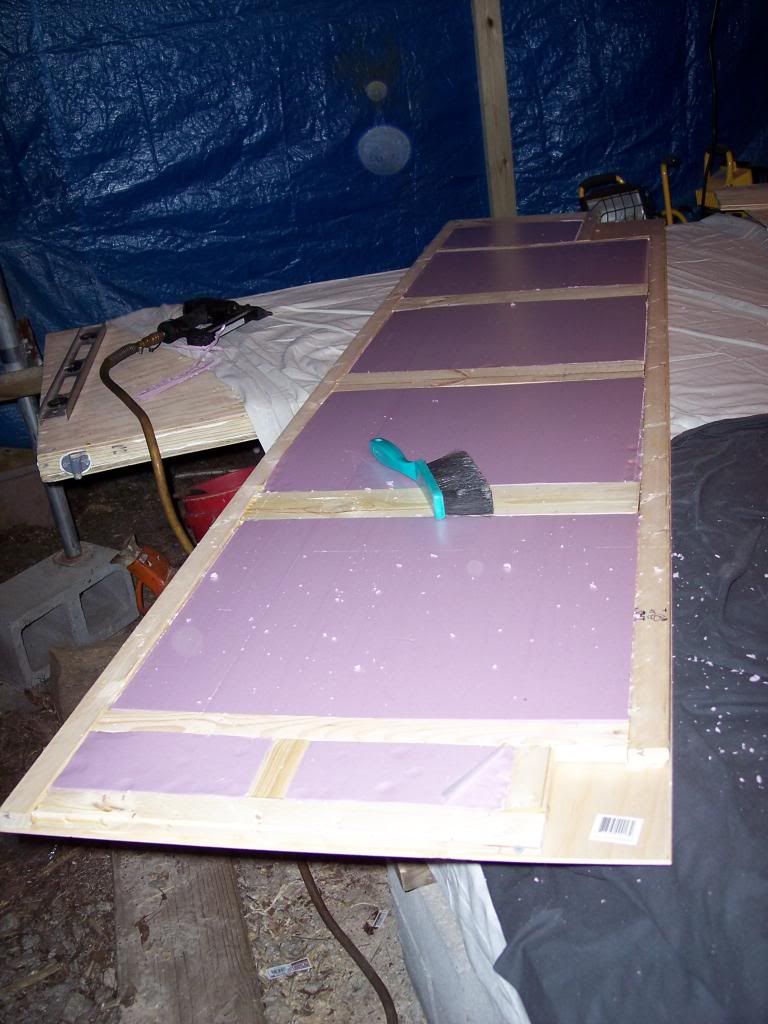
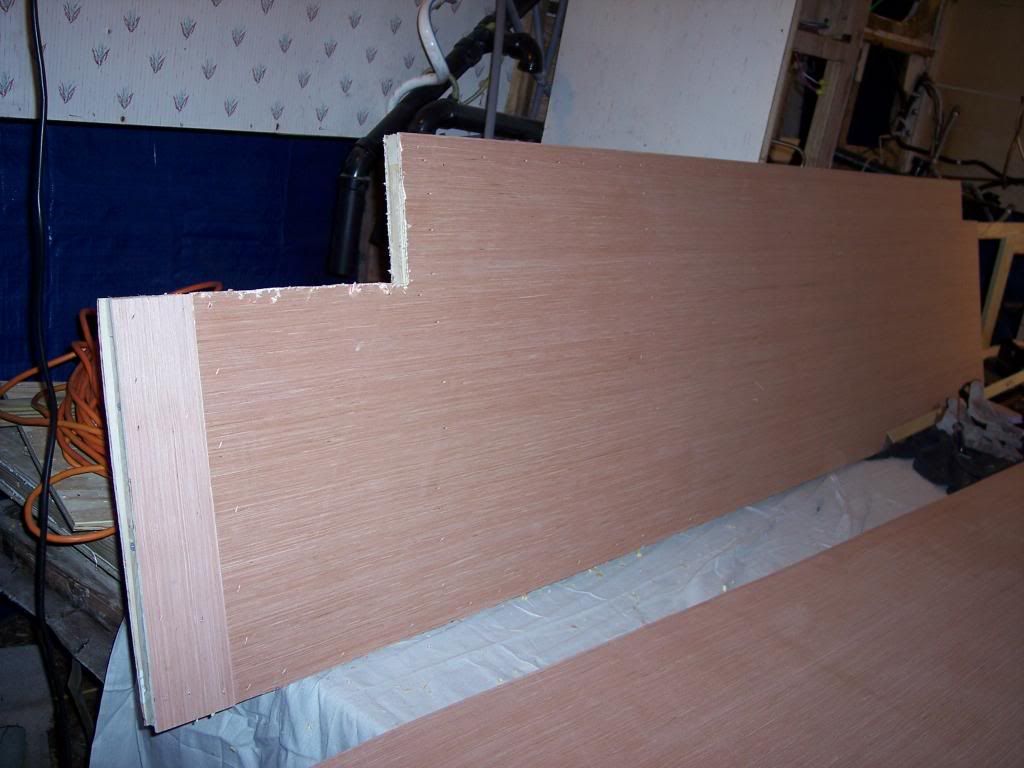
And mount the left side frame to the floor
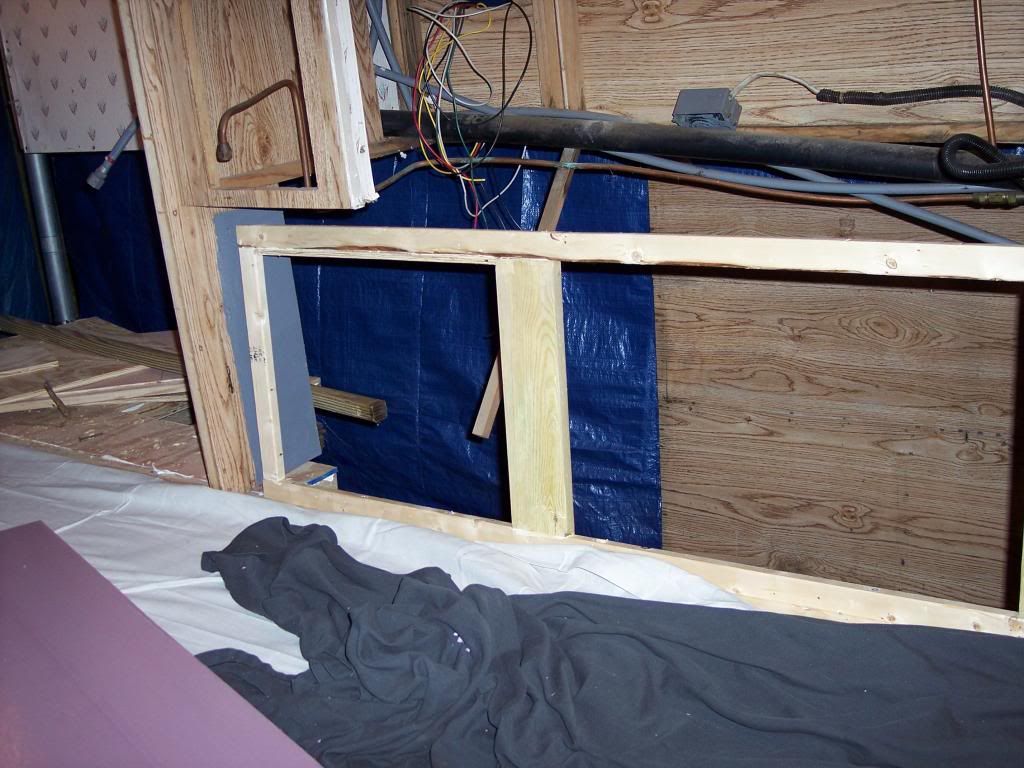
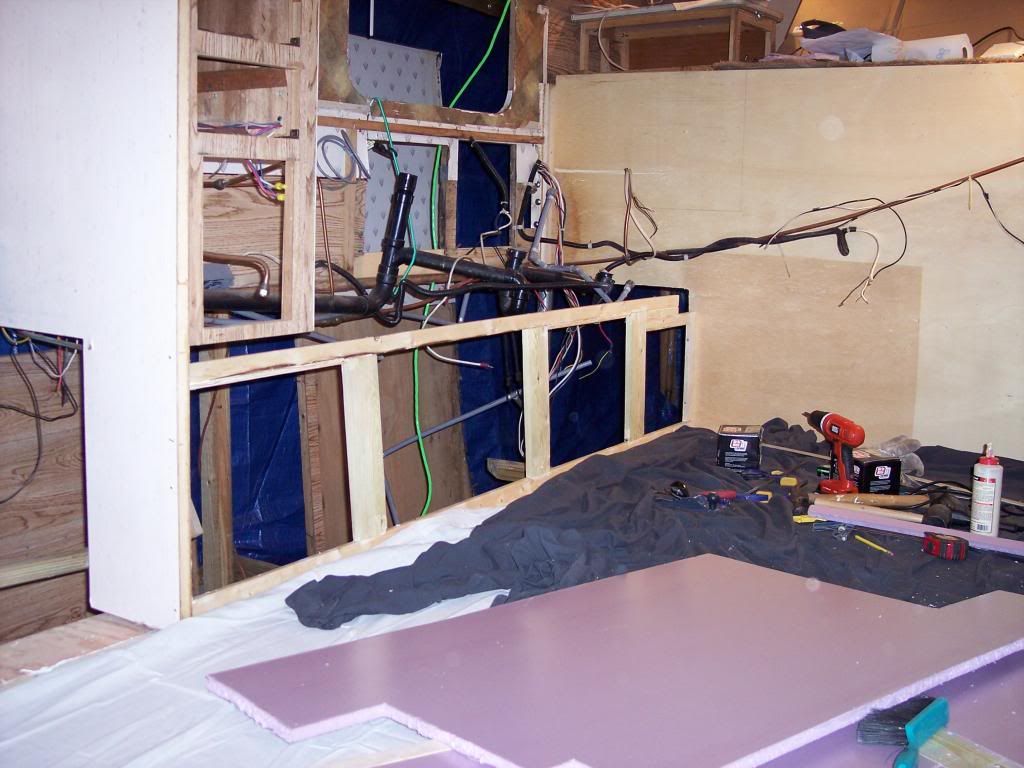
The right side frame
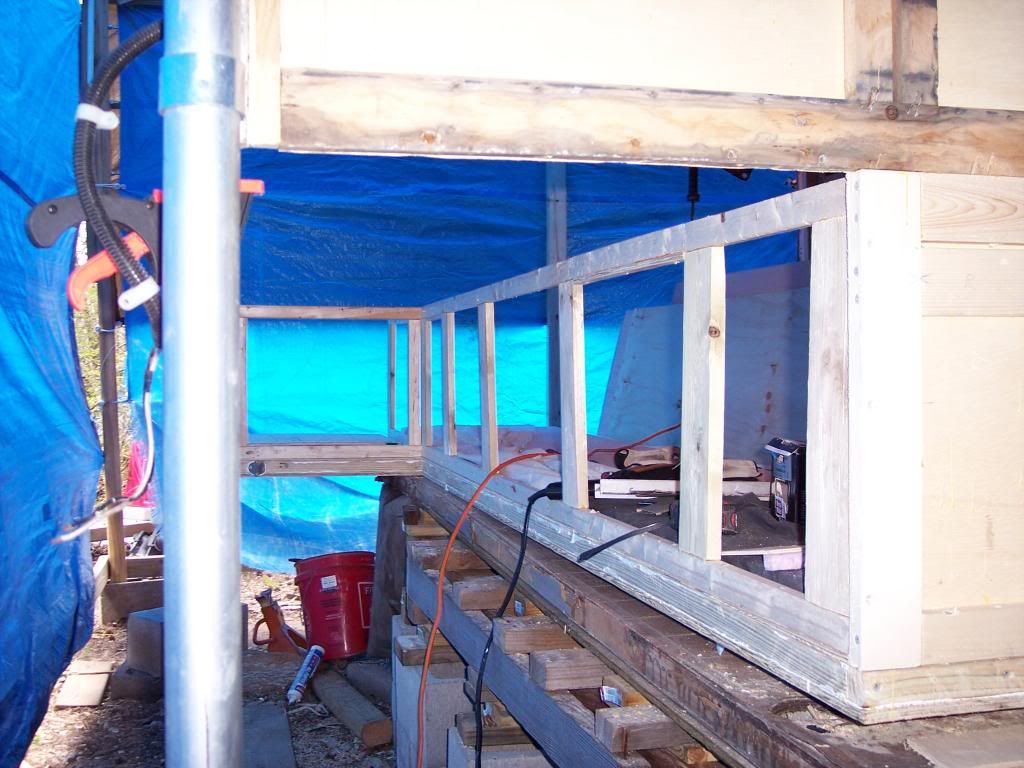
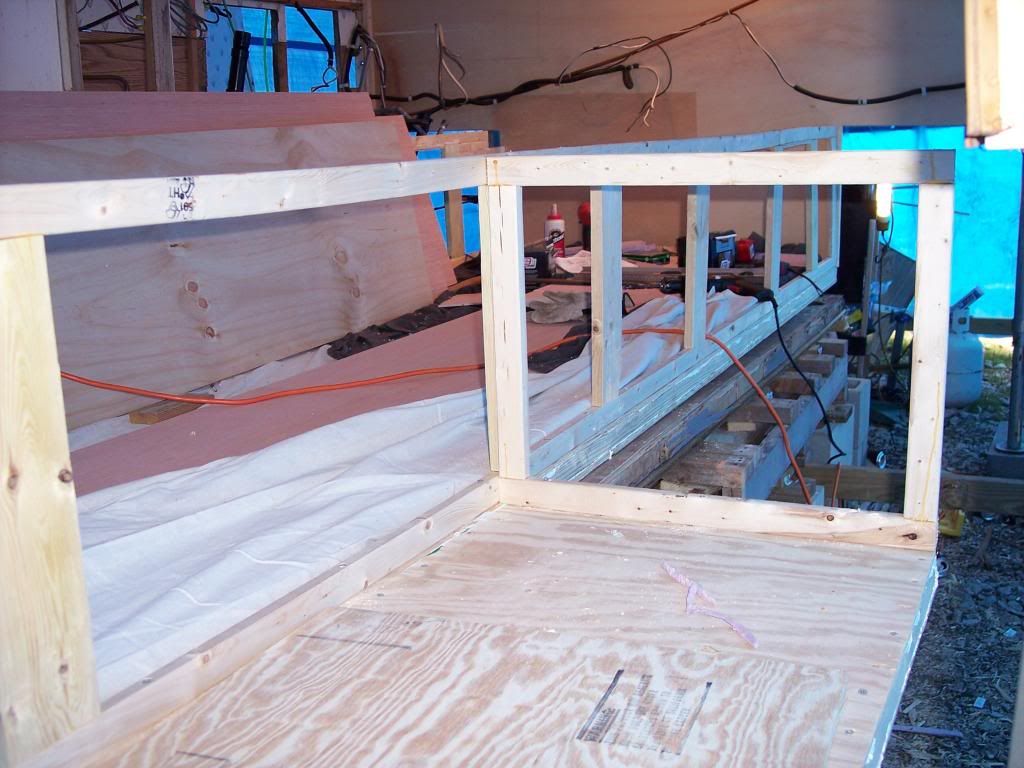
And the front to the floor
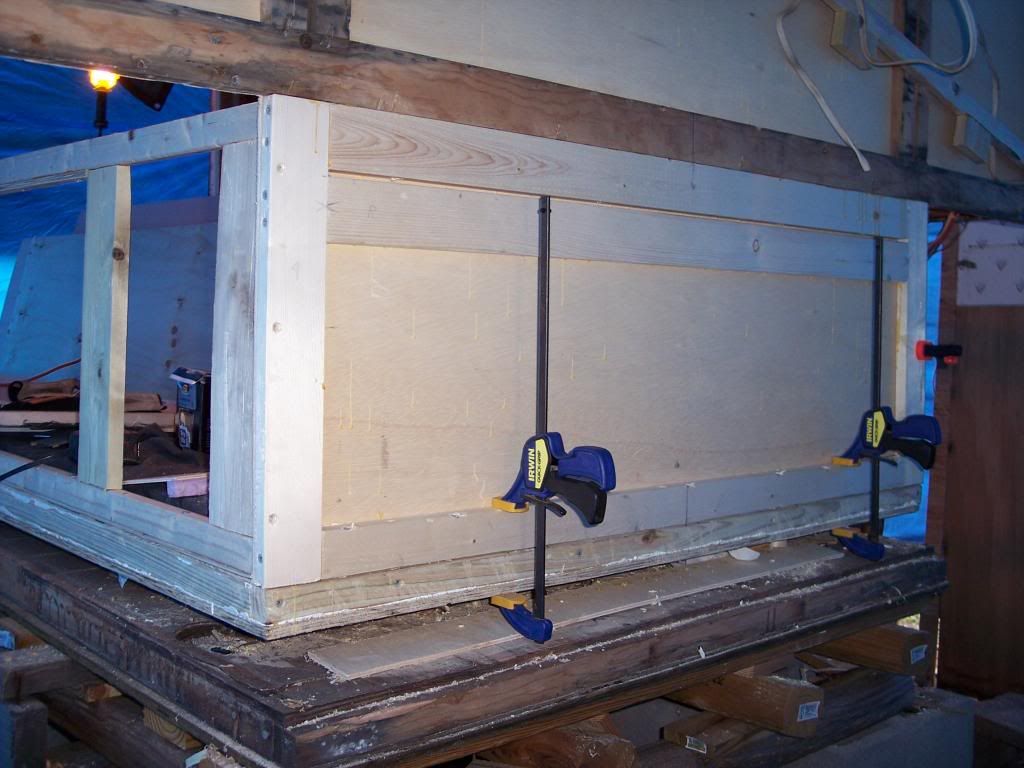
I don’t seem to have any pictures of when I assembled and insulated the right side shelf but here it is installed
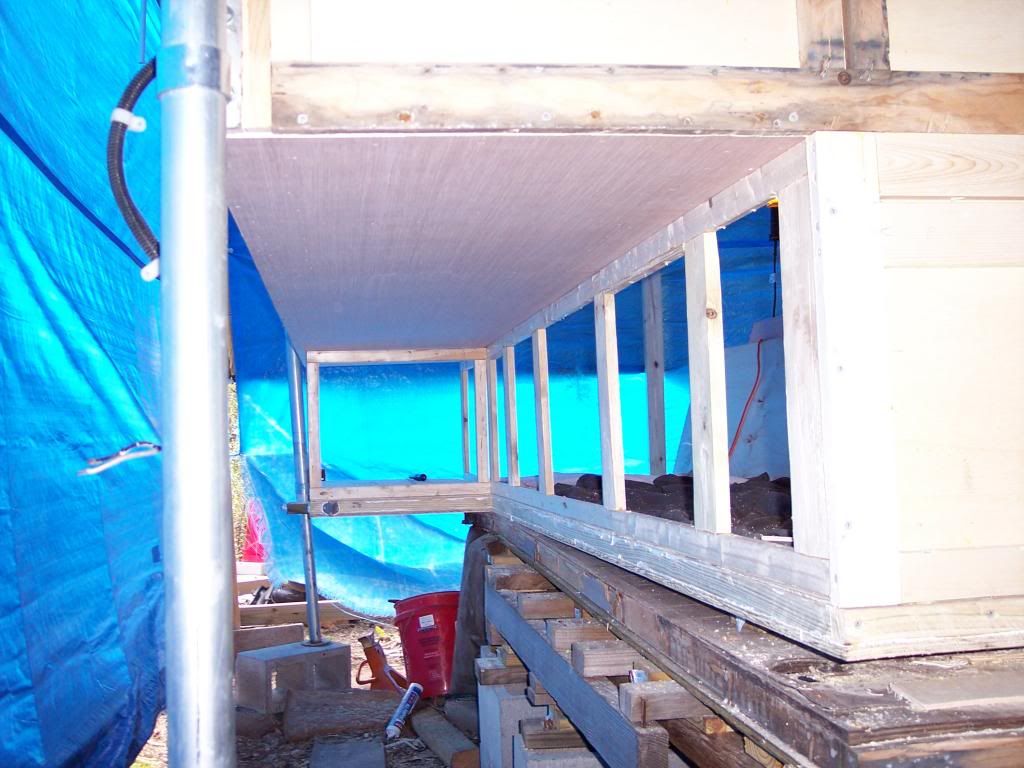
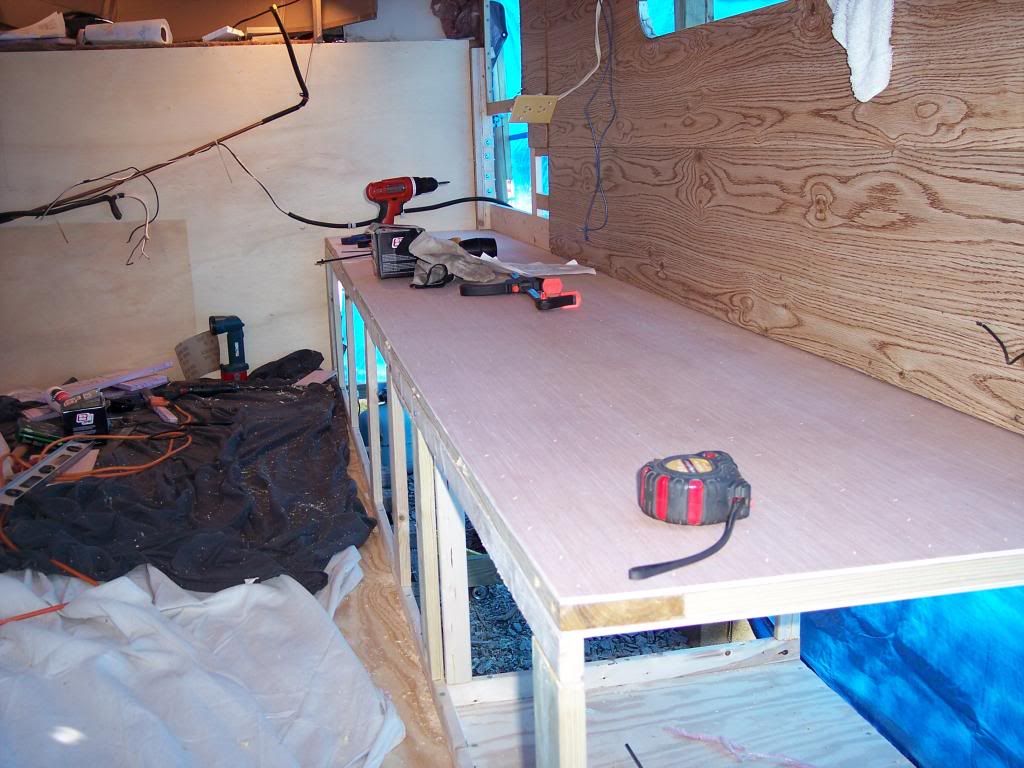
it looked the same as the left, yellowish wood and pink insulation. From there I moved back over to the left side and installed the rear corner pieces of plywood
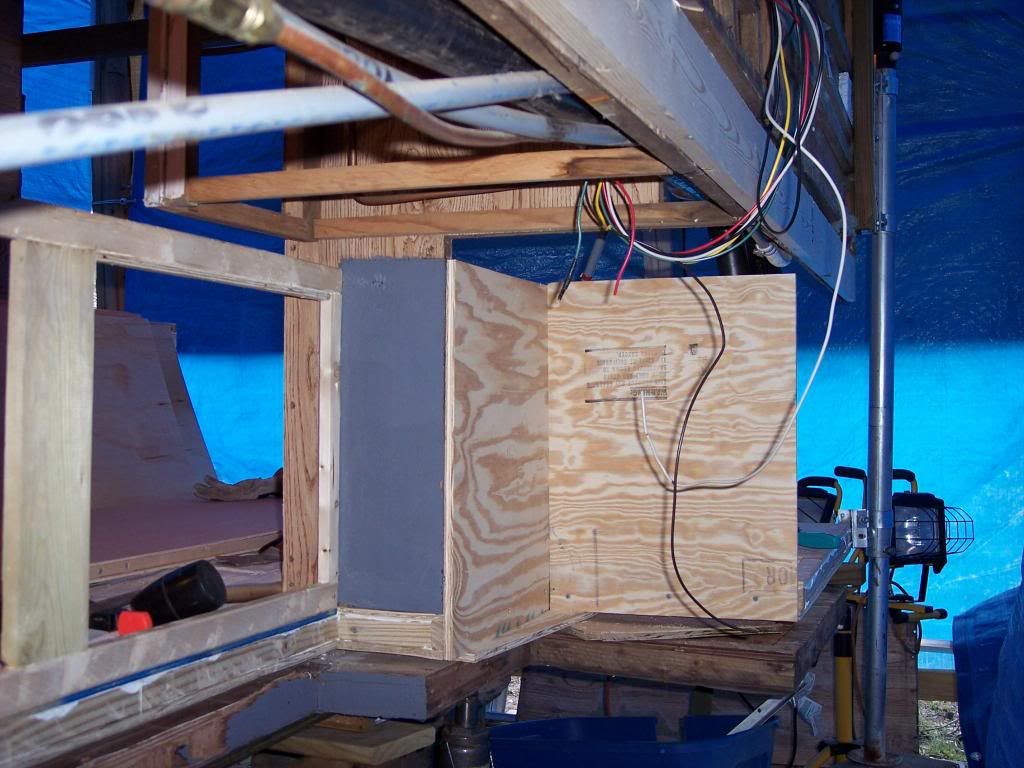
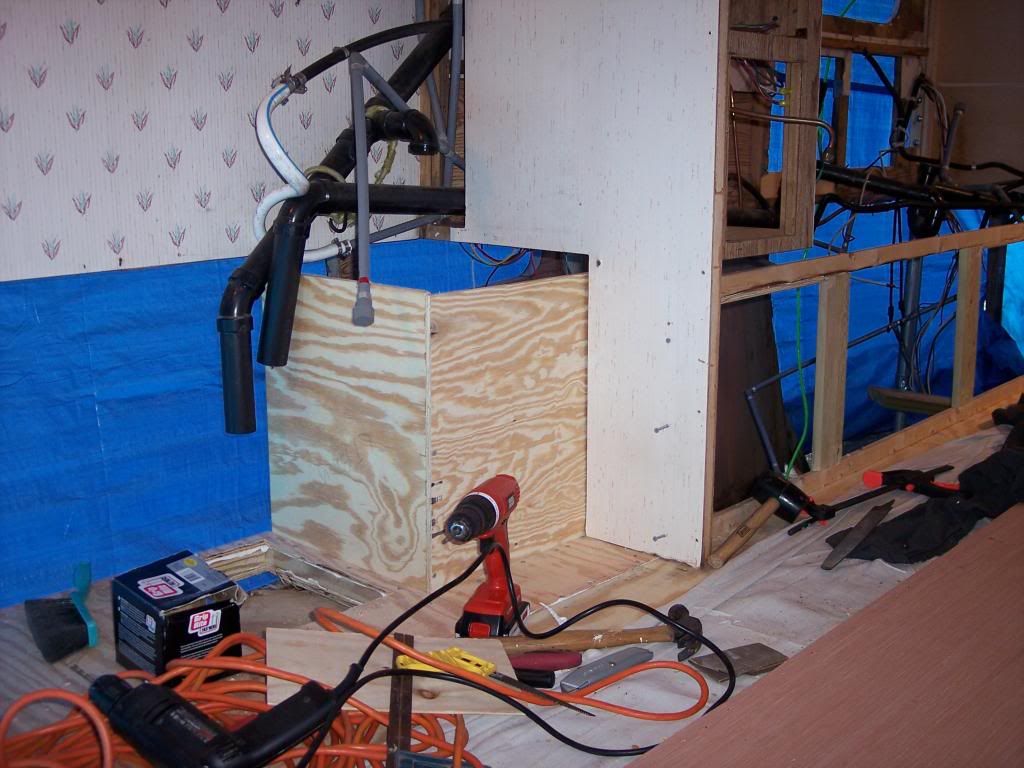
And one last picture of the left shelf mounted
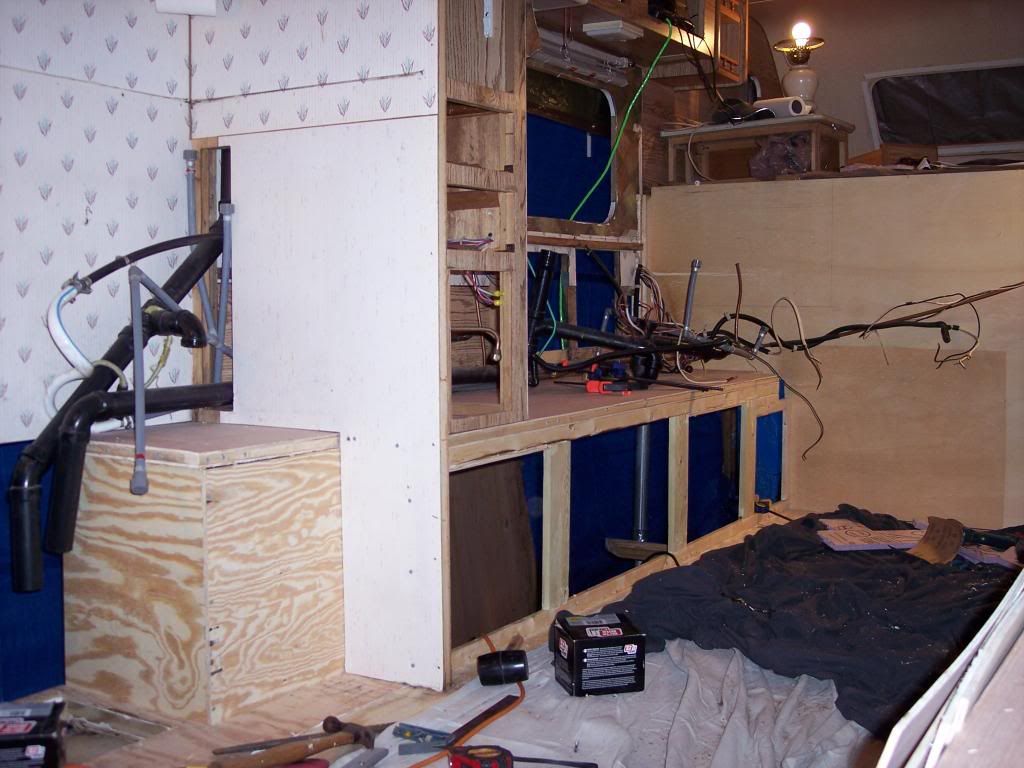
I have used lots of screws and glue to this point. Assembling for fit, disassembling, gluing and reassembling is taking up most of my time but I don’t want to get it glued and screwed and find I have to take it back apart. I plan to get the side panels assembled and insulated this week.
There is still is a good bit of wood I will need to replace in the cab over area but I will move back to the front when I have the rotted wood in the roof replaced and the rear wall rebuilt and reinstalled. I’m also hoping to have that done this week to but I am learning time management is not my strongest suit lol.
What is really on my mind is if I have to move it before I am completely done. The thoughts of completely reassembling it unfinished and then disassembling it again once in Texas is not a thought I am wild about. I actually thought about getting some of that plastic that they use to wrap things shipped on pallets and wrap the whole thing tight, load in on the back of the truck and go……. But I doubt it would make the 700+ mile trip like that.


