Wardster
May 05, 2016Explorer
New Digital Thermostat
Like most of the TC's out there, my Northern-Lite has a propane forced air furnace and a roof top air conditioner. As detailed in the pic below, the Atwood unit in my NL came with a thermostat that doesn't really allow you to accurately set the thermostat to a specific temperature.

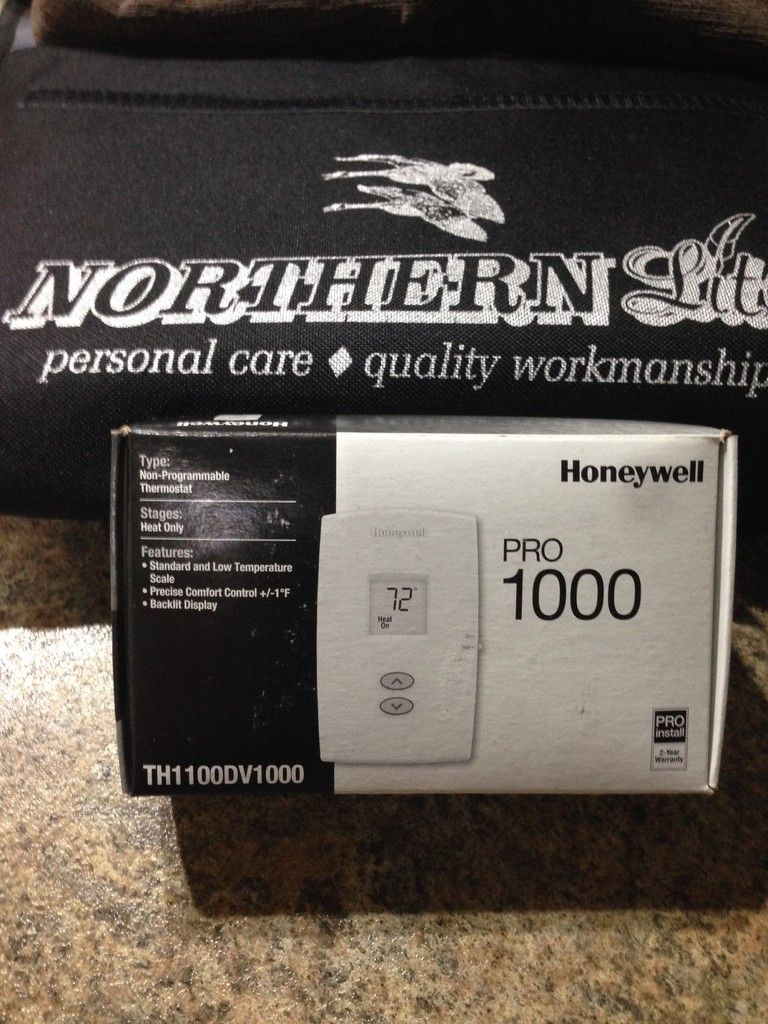
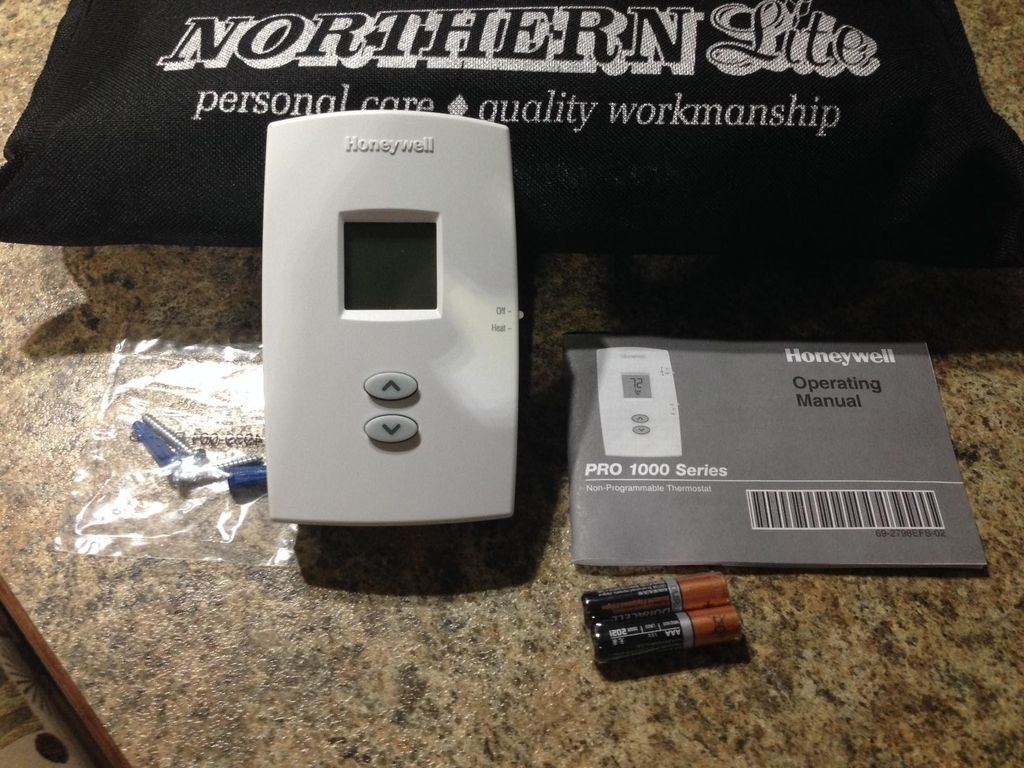
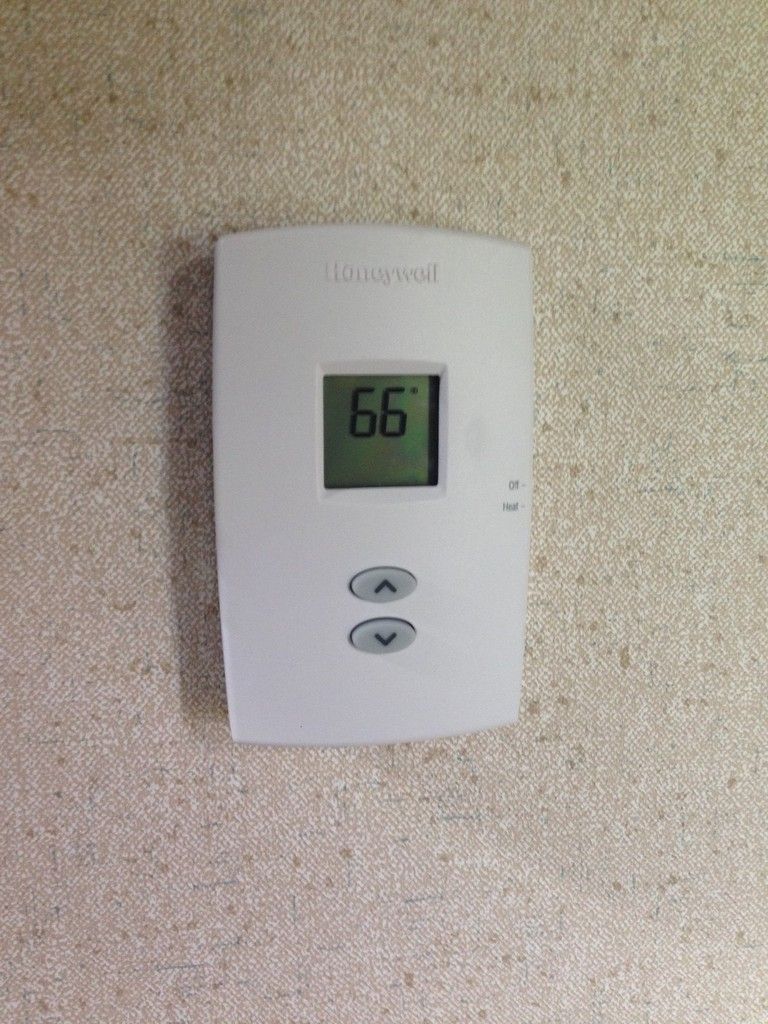
After doing a little research, I found a digital replacement for units with just heat - see below.
The first step was to remove the existing thermostat. The cover popped off and the base was held to the wall with two screws that I removed.

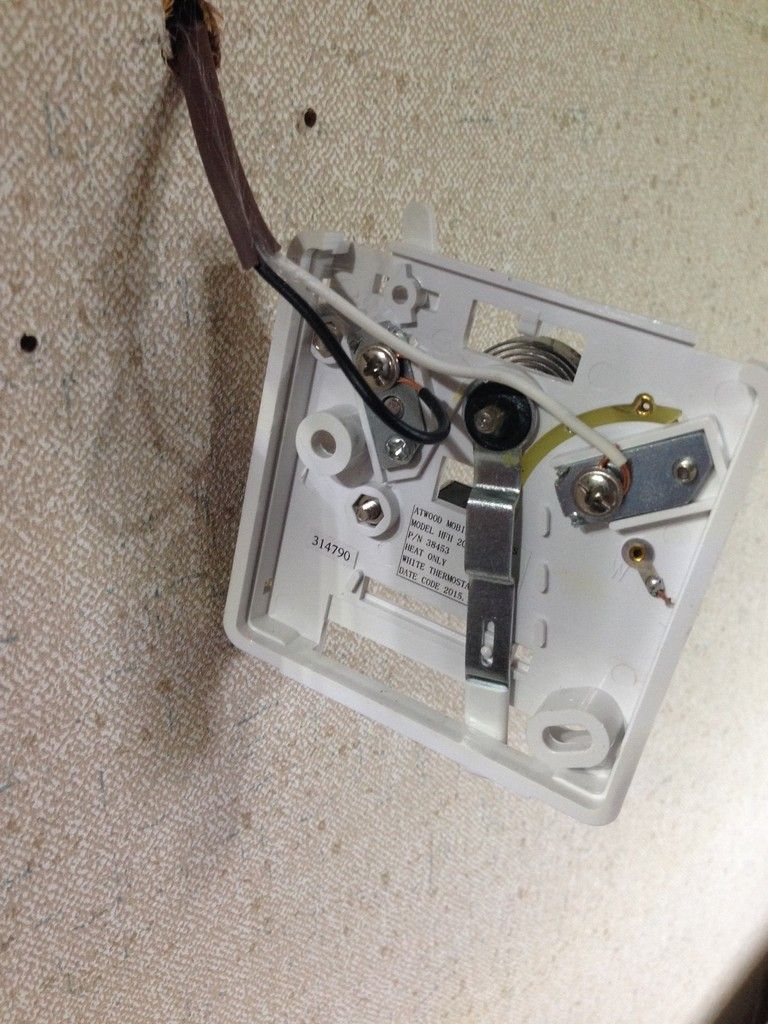
As you can see in the picture above, my Atwood had two wires on the thermostat, a white one and a black one. The white wire was connected to the 'W' and the black wire was connected to the 'R'. I made a note of this since I would attach the wires to the new thermostat the same way.
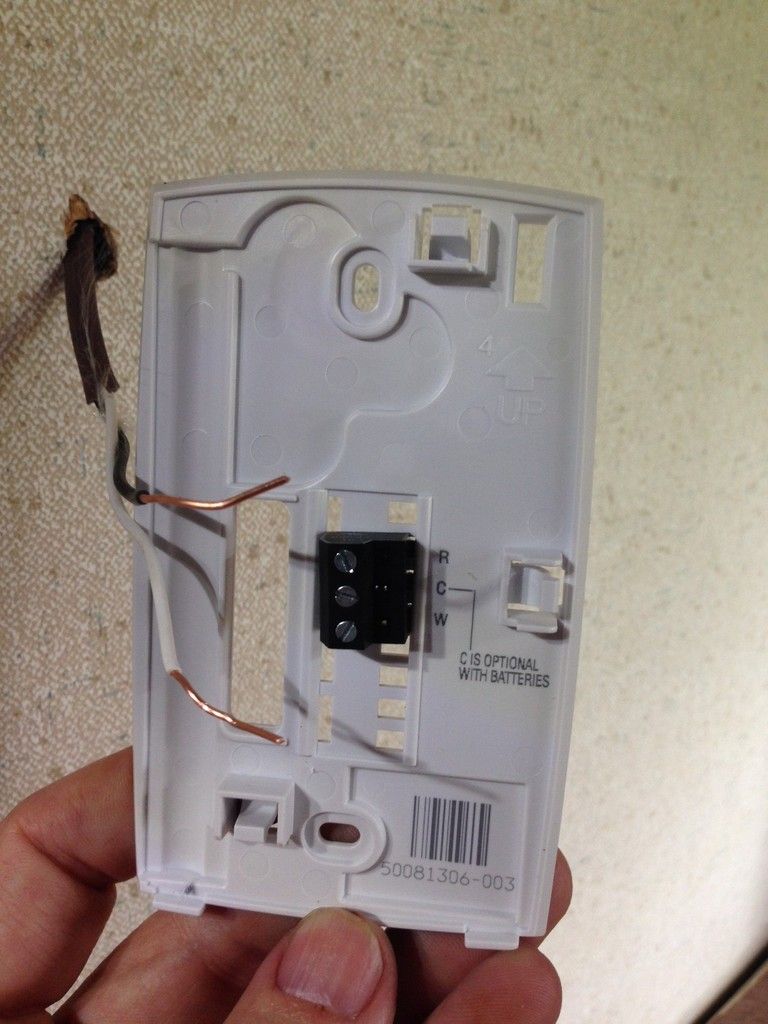
After disconnecting the wires, I removed the backing plate from the new thermostat and attached the white and black wires to the new terminals before attaching it to the wall.
I installed the provided batteries into the new thermostat, then attached it to the backing plate. After a quick test, I confirmed that everything works according to plan, so my days of playing the thermostat temperature game are over. It will be nice to simply set it and forget it like a Ronco Showtime Rotisserie.

After doing a little research, I found a digital replacement for units with just heat - see below.


The first step was to remove the existing thermostat. The cover popped off and the base was held to the wall with two screws that I removed.


As you can see in the picture above, my Atwood had two wires on the thermostat, a white one and a black one. The white wire was connected to the 'W' and the black wire was connected to the 'R'. I made a note of this since I would attach the wires to the new thermostat the same way.
After disconnecting the wires, I removed the backing plate from the new thermostat and attached the white and black wires to the new terminals before attaching it to the wall.

I installed the provided batteries into the new thermostat, then attached it to the backing plate. After a quick test, I confirmed that everything works according to plan, so my days of playing the thermostat temperature game are over. It will be nice to simply set it and forget it like a Ronco Showtime Rotisserie.
