Sir_Ken
Jul 14, 2016Explorer
Adding booster fans to your ceiling A/C vents.
I removed one of my ceiling vent covers and measured the opening in the ceiling. I would like to say the hole is perfectly round but it isn't. Roughly 5 inches in diameter.
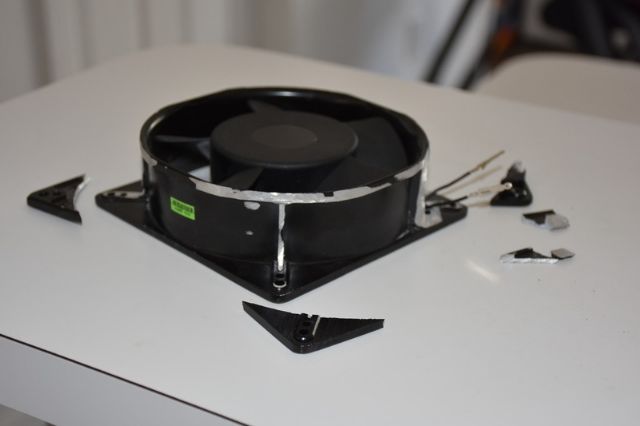
Here is what I started with, 127mm diameter, 38mm deep, 110V, 24W, .22A, aluminum cased, 16MPH, 123CFM, cooling fan.

Shaved off the ears of one side of the fan with a combination of hacksaw and dremel tool with a cut-off wheel. Followed up with a table top grinder to remove all of the flat sides of the fan to make it match the circular portion of the fan shroud. I left the opposite side of the fan as-is so that I would have a mounting flange with screw holes. Take care of the small wires and connector while you are at it.

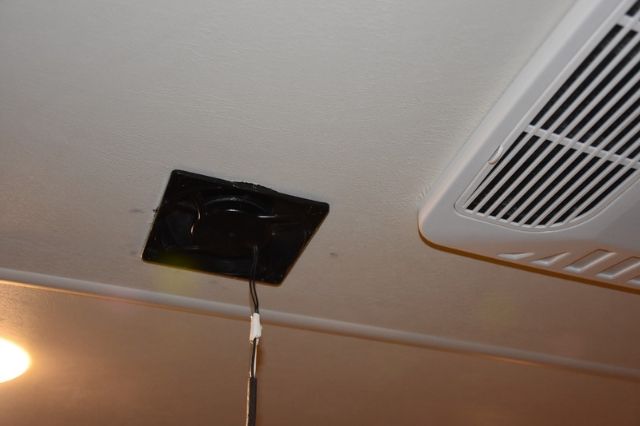
I temporarily installed the fan with temp wiring to see what my numbers would be. The vent started at 3.5 mph with the factory installed vent cover. With the booster fan turned on, it went up to 15.3 mph. Granted, the fan is rated for that mph, so that number shouldn't be a surprise however; it sure moves a lot more air now and would hopefully improve the initial cooling time.

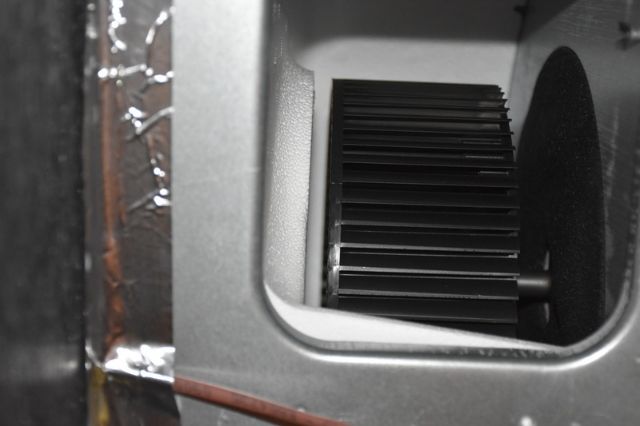
The fan depth of 38mm is almost exactly the depth of the first layer of Styrofoam in my ceiling. There now is no way to direct the direction the air is blowing but I think I will only put these fans outside the four corners of the main a/c unit. Hopefully this will decrease the time it takes my a/c to cool down the living room area of the rv on those hot summer days.
I will be running the wiring through the duct work back to the a/c unit and installing a single on/off switch on the a/c cover to activate the booster fans.
Here is what I started with, 127mm diameter, 38mm deep, 110V, 24W, .22A, aluminum cased, 16MPH, 123CFM, cooling fan.

Shaved off the ears of one side of the fan with a combination of hacksaw and dremel tool with a cut-off wheel. Followed up with a table top grinder to remove all of the flat sides of the fan to make it match the circular portion of the fan shroud. I left the opposite side of the fan as-is so that I would have a mounting flange with screw holes. Take care of the small wires and connector while you are at it.

I temporarily installed the fan with temp wiring to see what my numbers would be. The vent started at 3.5 mph with the factory installed vent cover. With the booster fan turned on, it went up to 15.3 mph. Granted, the fan is rated for that mph, so that number shouldn't be a surprise however; it sure moves a lot more air now and would hopefully improve the initial cooling time.

The fan depth of 38mm is almost exactly the depth of the first layer of Styrofoam in my ceiling. There now is no way to direct the direction the air is blowing but I think I will only put these fans outside the four corners of the main a/c unit. Hopefully this will decrease the time it takes my a/c to cool down the living room area of the rv on those hot summer days.
I will be running the wiring through the duct work back to the a/c unit and installing a single on/off switch on the a/c cover to activate the booster fans.
