D_E_Bishop
Jun 22, 2014Explorer
Changing cabinet door panels from wood to Smoked Glass
The conversion of our old {1989} 13" CRT TV over the dash to a 24", 720P flat panel and from VCR to BluRay took place over several months. The old sets were very small screen and used a lot of battery, so I changed them to 19" flat panel sets. The 19" in front did not have a DVD player built in and I ended up with an RF Modulator because the DVD didn't have any "F" connectors on the back.
When we took the DGKs for a two week trip, we discovered that the DW only brought BluRay format movies for the DGKs, so I found a 24" set with a wall brick and a BluRay player with a brick. I ditched the 19" set from the front,the DVD player and the RF Modulator. Bought and installed a 24" set and BluRay player only to discover that I forgot the HDMI cable needed to be run to the rear TV set. That process was to be the subject of another post, but, I screwed up and damaged the SD card with all the photos.
On our latest trip with the DGKs, it became obvious that I needed to have some way of controlling the BluRay player other than getting up, moving the front set to the side opening the cabinet with the BR player and making the change. A friend who we met camping and just happens to live down the street and had some major work done inside his rig had a new cabinet door made with smoked glass over the electronics and I thought to myself, self, you need to change that door to glass. Okay I said and as a good DH, I notified the DW what I was going to do. She suggested, wisely, that I do the doors on either side of the TV, not just the one with the electronics.
So here are some pictures from the original CRT set in the front to the point where the smoked glass panel cabinet doors are installed.
I hope you enjoy.

This is the original 13" set.
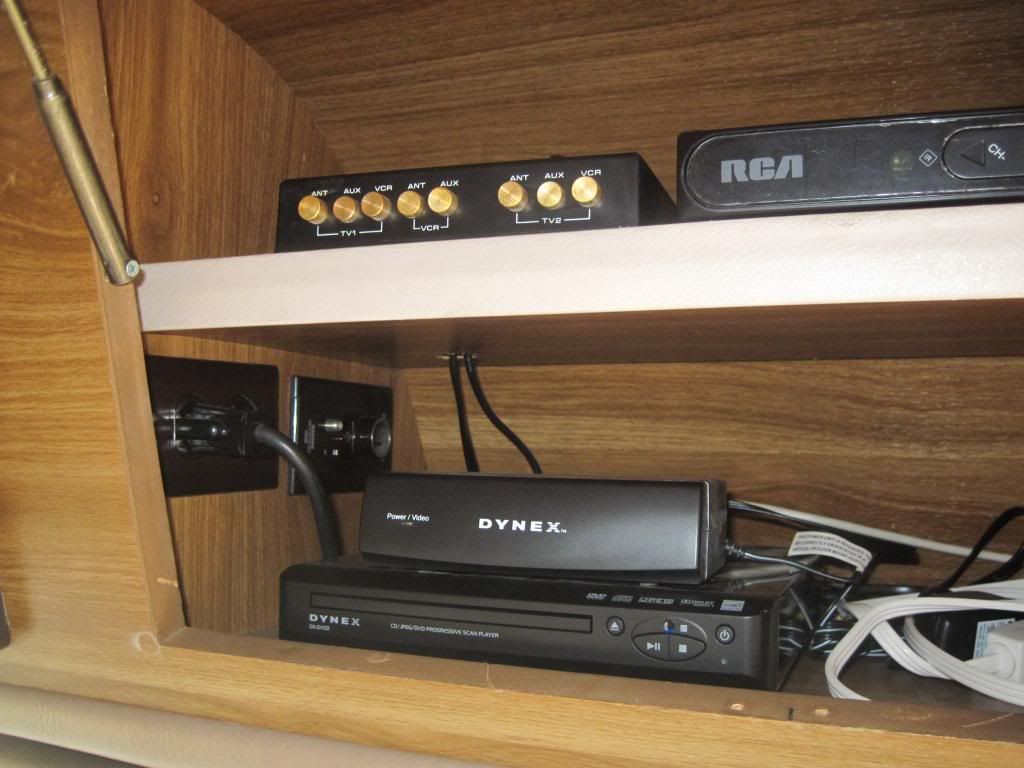
This is the electronics for the original set after I ditched the old VCR.
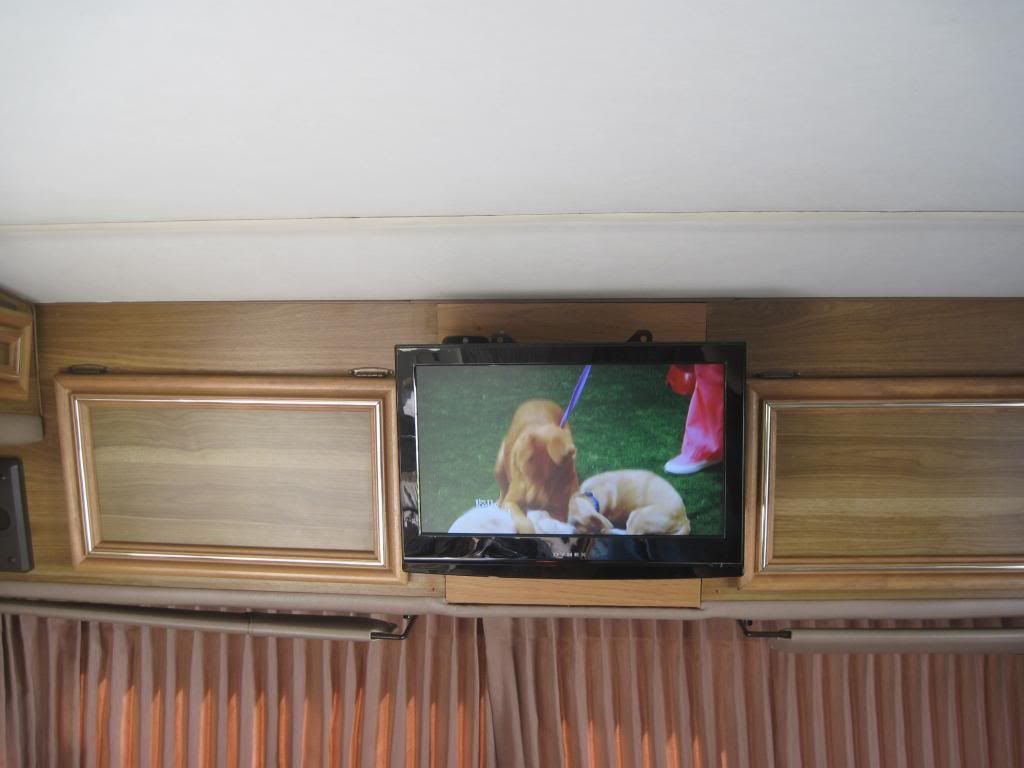
This is the new 19" set. You will notice the wood used to fill the hole left when I removed the old set is brown and the trim and door panels look green. The door panels and trim are vinyl clad luan ply and turned green over the years from UV exposure.
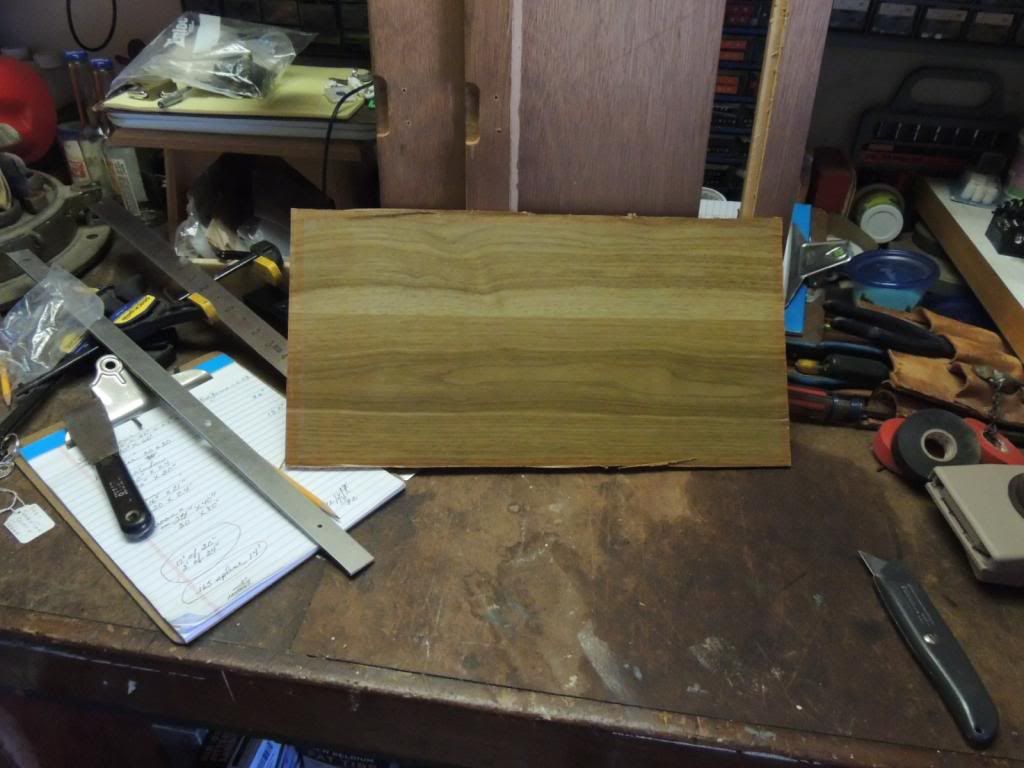
This shows one panel cut out of the door frame to allow setting the glass in. I cut out the luan ply with a utility knife. There were two layers of luan, one had vinyl on one side and the other was mahogany, they were bonded together so the rabit was a little over 2/10 0f an inch.
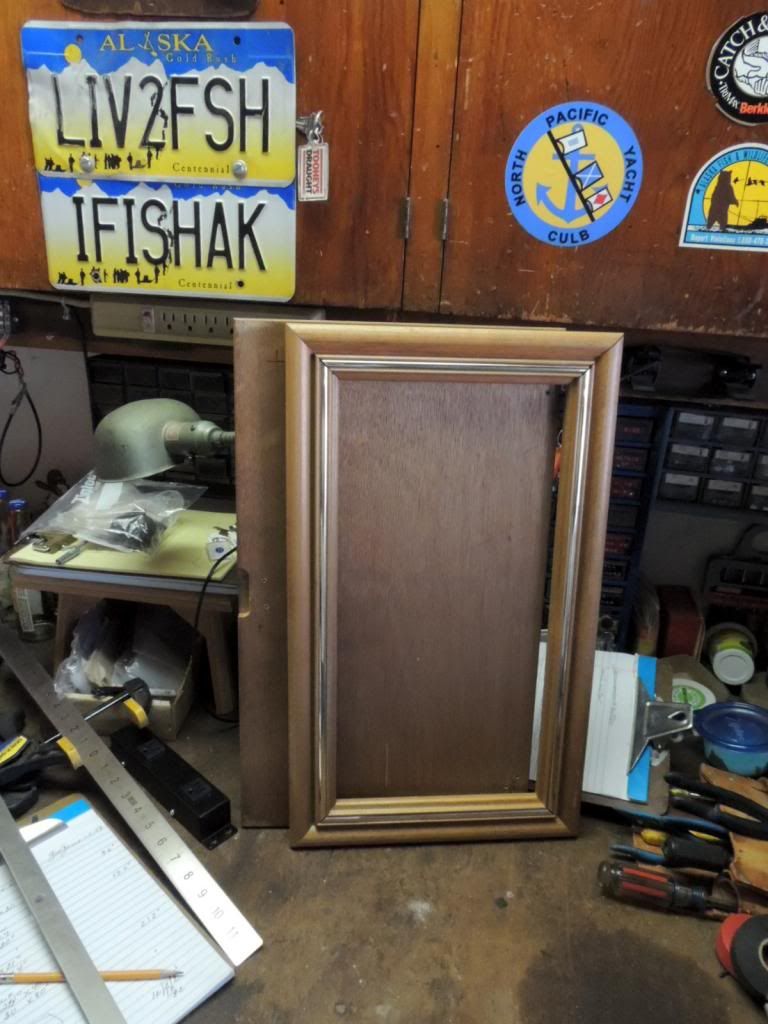
Another shot of one door with the panel cut out. Yes my work bench is a little messy. No excuse for that but there are three clipboards in view, each is at least one project to be done and there are several other things there that go in the RV. Notice the NPYC sticker, it has Club misspelled. I bet someone got yelled at over that.
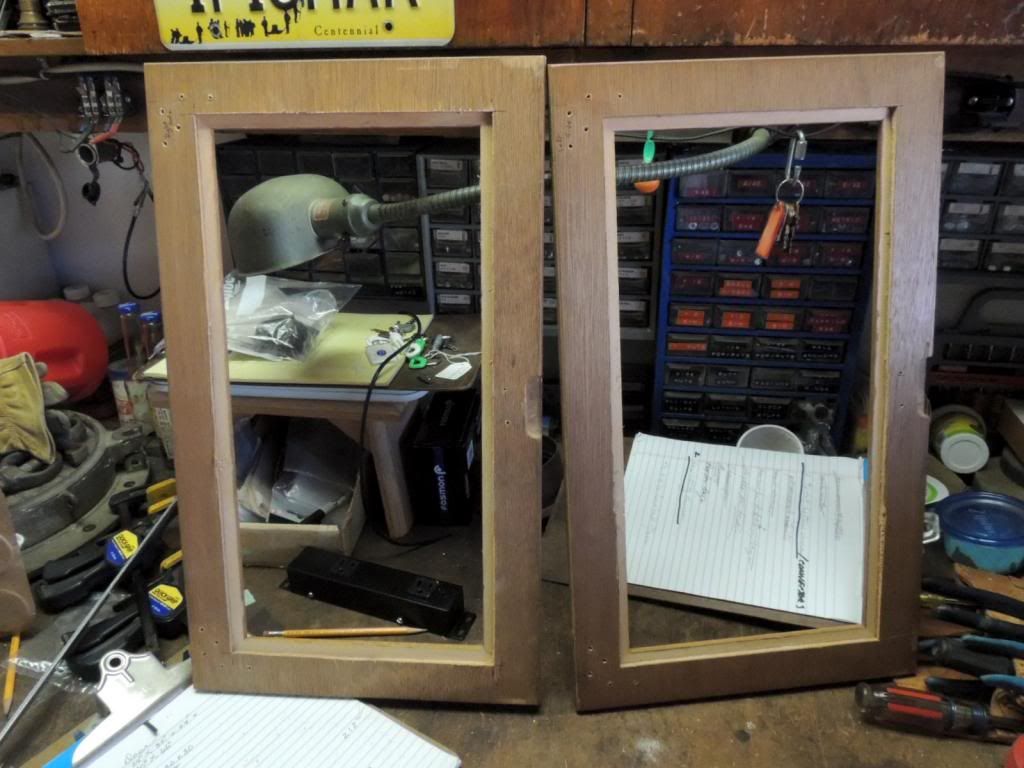
This one shows both panels out.

The new electronics cabinet. On the top shelf is the input selector, the BluRay player and on top of that is the electronic "one in, two out" splitter for the BluRay player. There are three LED indicators on the splitter which accounts for the glaring red light.
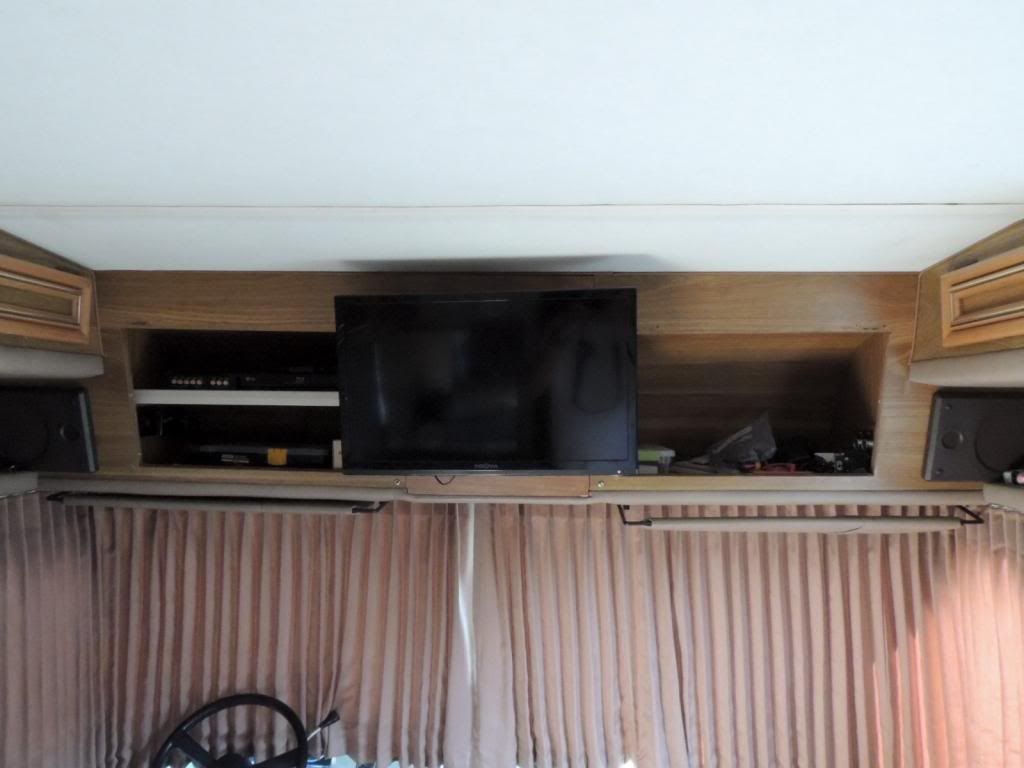
The area in front without the doors.
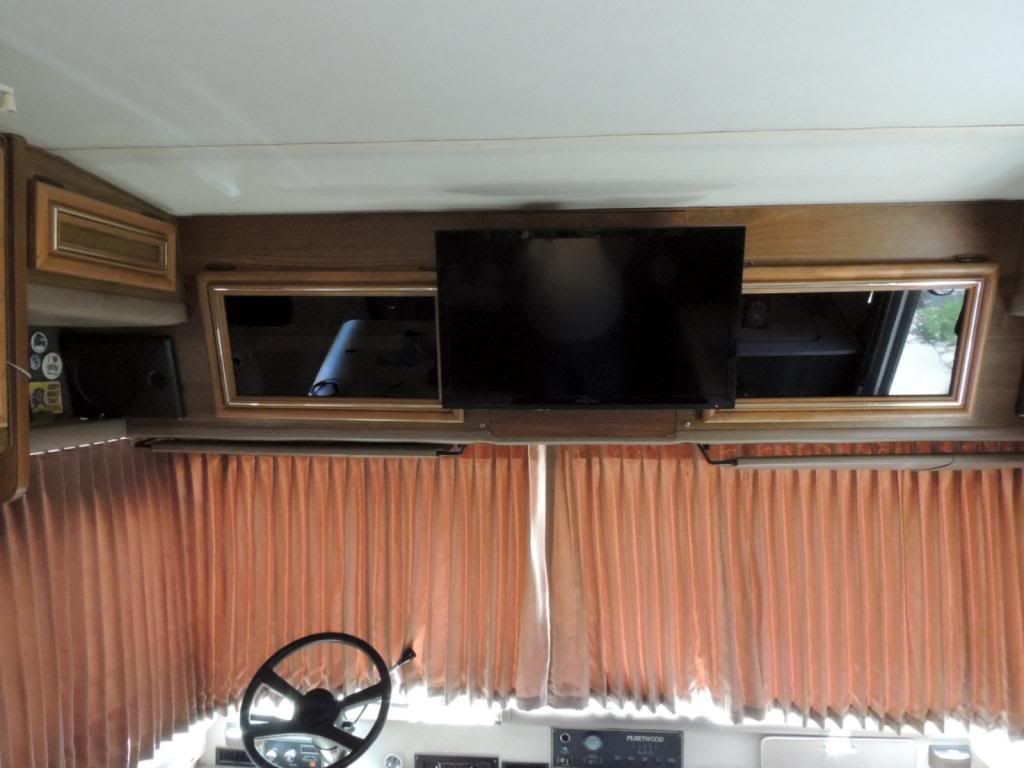
The finished project. Remotes work fine but I still have to plug in the 12vdc TV and BluRay player and turn on the inverter for the splitter. After the power is turned on there is no need to get up except to change discs or turn everything off.
It is not as neat a job as some because of the age of the rig. It was impossible to match the color, I did try adding some green dye to the stain but it looked terrible.
I am going to bring the power switches for the antenna amp and the TV set out to the panel where the TV is mounted. To use the BR player I have to open the door and insert the disc, so I decided I can turn the splitter and BR player on then.
I wish that I had the pictures of installing the HDMI cable from the electronics shelf to the rear TV. It took 38' of cable and of course I bought a 35' cable and had to add a 3' extension cable. The cable is very good 24 awg with Ethernet and 3D capabilities. The splitter is 120vac and I am looking for one that is 12vdc. I don't think it used much power even with the power required to operate the inverter.
The glass and installation was $48.00. I opted to let the glass shop install it in the door frames and that was half the cost.
Best of all, the DW likes the look of the new doors.
When we took the DGKs for a two week trip, we discovered that the DW only brought BluRay format movies for the DGKs, so I found a 24" set with a wall brick and a BluRay player with a brick. I ditched the 19" set from the front,the DVD player and the RF Modulator. Bought and installed a 24" set and BluRay player only to discover that I forgot the HDMI cable needed to be run to the rear TV set. That process was to be the subject of another post, but, I screwed up and damaged the SD card with all the photos.
On our latest trip with the DGKs, it became obvious that I needed to have some way of controlling the BluRay player other than getting up, moving the front set to the side opening the cabinet with the BR player and making the change. A friend who we met camping and just happens to live down the street and had some major work done inside his rig had a new cabinet door made with smoked glass over the electronics and I thought to myself, self, you need to change that door to glass. Okay I said and as a good DH, I notified the DW what I was going to do. She suggested, wisely, that I do the doors on either side of the TV, not just the one with the electronics.
So here are some pictures from the original CRT set in the front to the point where the smoked glass panel cabinet doors are installed.
I hope you enjoy.
This is the original 13" set.
This is the electronics for the original set after I ditched the old VCR.
This is the new 19" set. You will notice the wood used to fill the hole left when I removed the old set is brown and the trim and door panels look green. The door panels and trim are vinyl clad luan ply and turned green over the years from UV exposure.
This shows one panel cut out of the door frame to allow setting the glass in. I cut out the luan ply with a utility knife. There were two layers of luan, one had vinyl on one side and the other was mahogany, they were bonded together so the rabit was a little over 2/10 0f an inch.
Another shot of one door with the panel cut out. Yes my work bench is a little messy. No excuse for that but there are three clipboards in view, each is at least one project to be done and there are several other things there that go in the RV. Notice the NPYC sticker, it has Club misspelled. I bet someone got yelled at over that.
This one shows both panels out.
The new electronics cabinet. On the top shelf is the input selector, the BluRay player and on top of that is the electronic "one in, two out" splitter for the BluRay player. There are three LED indicators on the splitter which accounts for the glaring red light.
The area in front without the doors.
The finished project. Remotes work fine but I still have to plug in the 12vdc TV and BluRay player and turn on the inverter for the splitter. After the power is turned on there is no need to get up except to change discs or turn everything off.
It is not as neat a job as some because of the age of the rig. It was impossible to match the color, I did try adding some green dye to the stain but it looked terrible.
I am going to bring the power switches for the antenna amp and the TV set out to the panel where the TV is mounted. To use the BR player I have to open the door and insert the disc, so I decided I can turn the splitter and BR player on then.
I wish that I had the pictures of installing the HDMI cable from the electronics shelf to the rear TV. It took 38' of cable and of course I bought a 35' cable and had to add a 3' extension cable. The cable is very good 24 awg with Ethernet and 3D capabilities. The splitter is 120vac and I am looking for one that is 12vdc. I don't think it used much power even with the power required to operate the inverter.
The glass and installation was $48.00. I opted to let the glass shop install it in the door frames and that was half the cost.
Best of all, the DW likes the look of the new doors.
Note: Moderator edit to correct photo sizes.