wanether
Nov 15, 2013Explorer
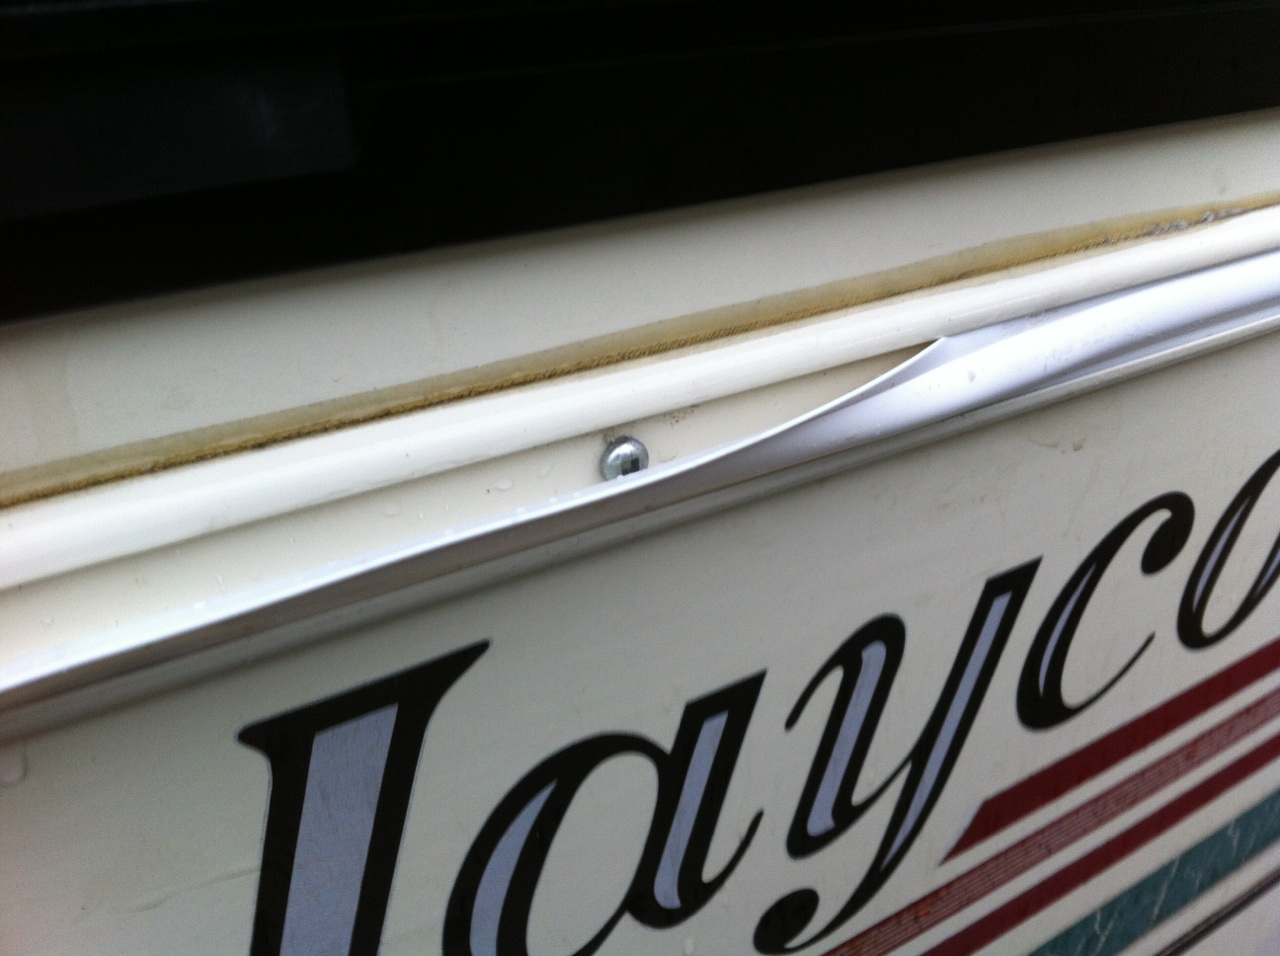
Easy way to install vinyl trim insert
Here it is 45 degrees and raining in Portland and I'm replacing the vinyl trim inserts on my Jayco. Installing the new stuff was slow going, I would pinch about 12 inches and then squeeze it in the channel, the temperature outside wasn't helping much either. After about 30 minutes of struggling and cursing I figured there had to be a better way.
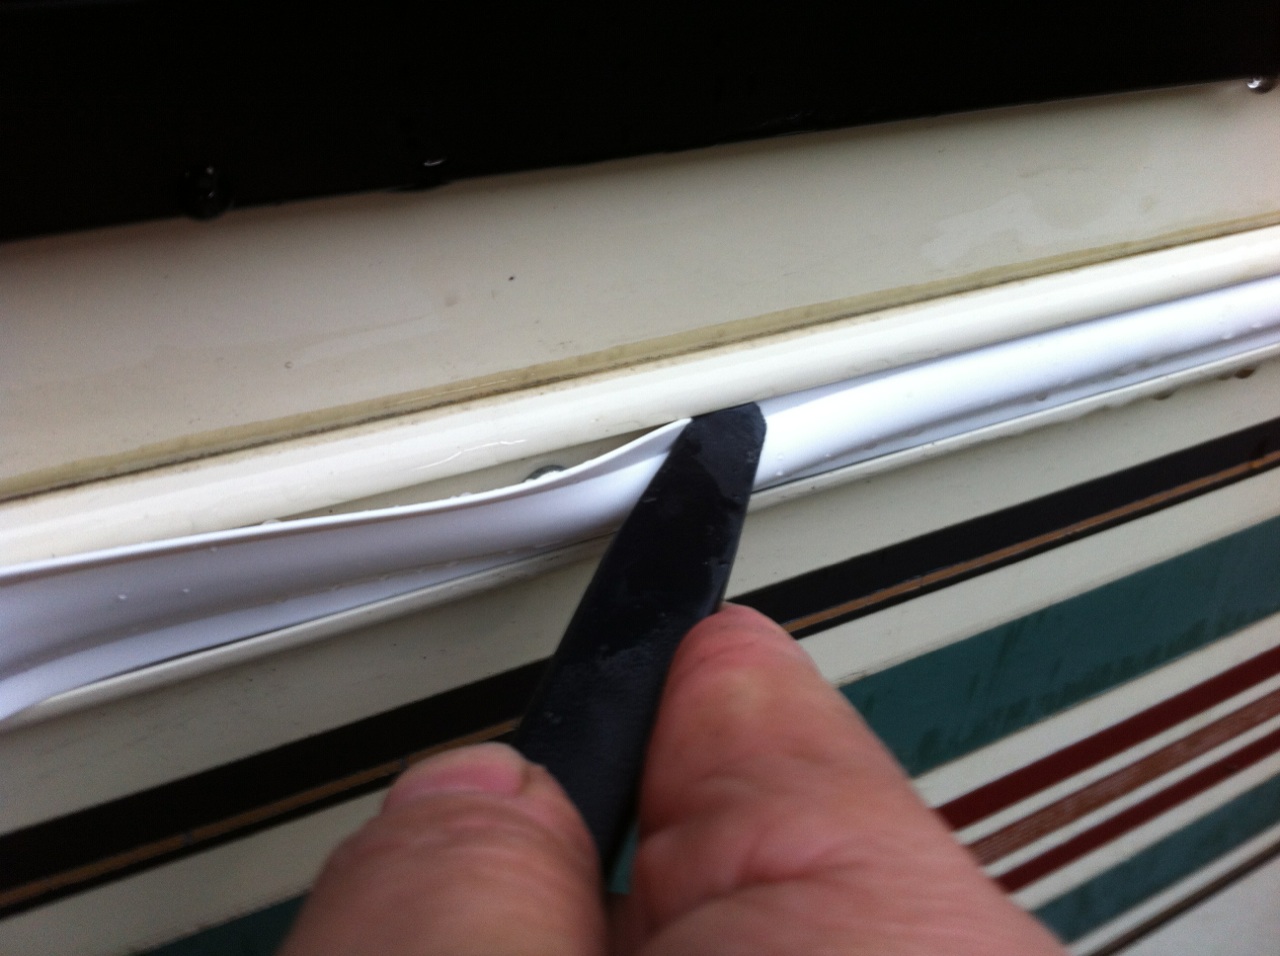
I learned that the trick is to place about a 12 inch run in the bottom of the channel and then run a plastic tool along the top edge. Worked like a charm. The key is to angle the tool in the direction you'll be going, it helps with keeping it in place, see photos. I still had problem in the corners and ended up have to cut notches on the inside part of the curves, still didn't look 100%. Probably a combination of cold temps and maybe poor product, I used "RV Designer" insert from Camping World. The plastic tool is something I picked up at Harbor Freight, they come in a pack of assorted sizes.

I learned that the trick is to place about a 12 inch run in the bottom of the channel and then run a plastic tool along the top edge. Worked like a charm. The key is to angle the tool in the direction you'll be going, it helps with keeping it in place, see photos. I still had problem in the corners and ended up have to cut notches on the inside part of the curves, still didn't look 100%. Probably a combination of cold temps and maybe poor product, I used "RV Designer" insert from Camping World. The plastic tool is something I picked up at Harbor Freight, they come in a pack of assorted sizes.
Moderator edit to re-size pictures to forum limit of 640px maximum size.
