cannesdo
Mar 24, 2014Explorer
Neo-angle shower removal and reinstall -- voila!
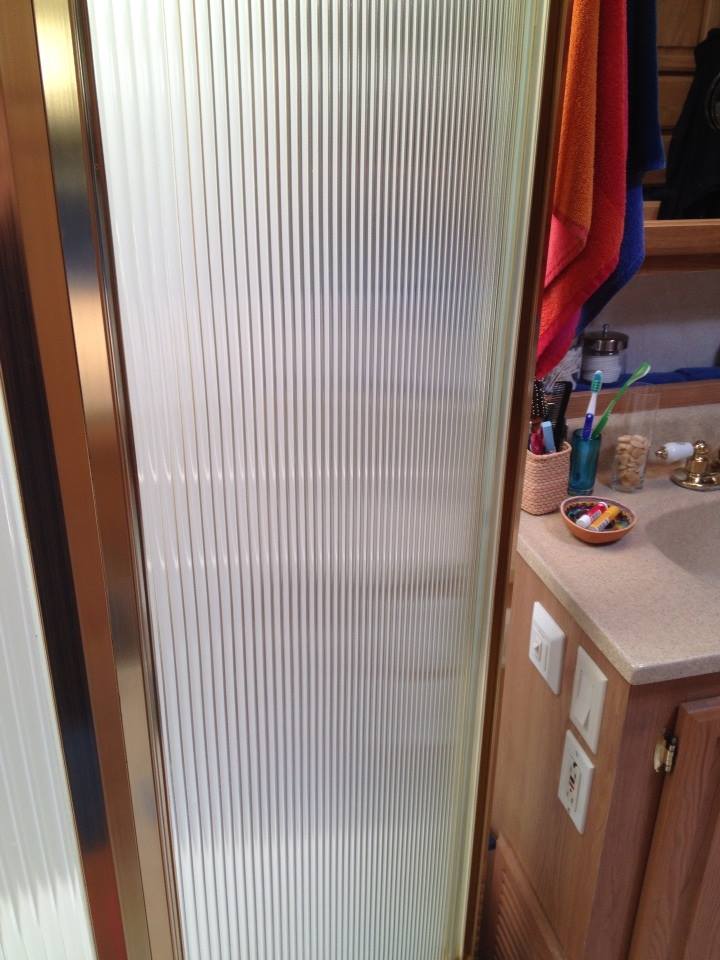
My neo-angle (corner -- with 2 side panels and a door) shower is 13 years old. It needed to be re-siliconed and was such a mess after all these years I decided to dismantle it completely, clean it and reassemble it, and -- while I was at it -- replace the glass with something I actually liked. Never been crazy about the gold frame but I decided if I had glass I liked I could deal with it. Thought I'd share what I learned from this adventure.
Removal: Mine had some vinyl glazing holding the 1/8" glass in place. Didn't realize what it was until after I had done a lot of cutting deep into the seams. Felt like it was glued in there. Took forever but I finally found one source of clear 1/8 vinyl glazing. In the end it didn't work. I managed to get 1" of the stuff into the frame with a lot of maneuvering and pounding but no was was I going to get even the short side of the side panel onto the glazing. I was replacing the glass I had with reed glass which was 1/16" thicker in places and whether that was the difference I don't know, but it was way too tight. My advice is to skip the glazing.
Note: The top angled piece that fits over the very top of all the panels is not screwed in. It pops off. Get the flat end of a screwdriver under there and just pop it off.
So I abandoned that idea and after a weekend scraping the old silicone off the frame and CLRing with abandon I set about creating folded paper spacers for the back side of the glass so that the glass would be centered and have some space for the silicone on both sides. I put the spacers every 6 inches or so around the underside of the panel, between the glass and the frame, then used blue painter's tape to tape it off. Cleaned the space for the silicone with alcohol then laid down the silicone, immediately ran my finger around it then lifted the tape off. It created a nice neat stream.
NOTE: Measure your glass well. And if it's not a tight fit in the frame make sure you square each panel before you leave it to dry. And just for fun (you'll see why later on) check to if the panels are squared. If not, take note of the angles and try to put them back together the same way.
The fun part started when I went to reassemble it. The door wouldn't open. I was convinced it was because I forgot to square the panels, flipped out for a little while, confirmed this with some reckless (and wrong) meaurements, spiraled to a dark place, but my glass was so snug it turns out they were fine. The shower backspash and base (all one piece) on the other hand -- were not. The geometry was all off. One panel sat right on the base and the other was 1/4 above it. I'm thinking now the panels weren't square before and when I squared them (accidentally) it threw everything off. I dunno. At this point I brought my neighbor over and he pushed in on the corners at the bottom while I tweaked the top. We found a way to position it so the door would open but we did have to drill a few new holes in the top and middle *facing into the shower)of the support bar that is screwed into the wall. We had to pull the top of the bar the fits over the bar screwed into the wall out about 3/8 inch to make the whole thing work. And we had to brace the bottom of the frame against the opposing wall while the silicone inside the shower dried.
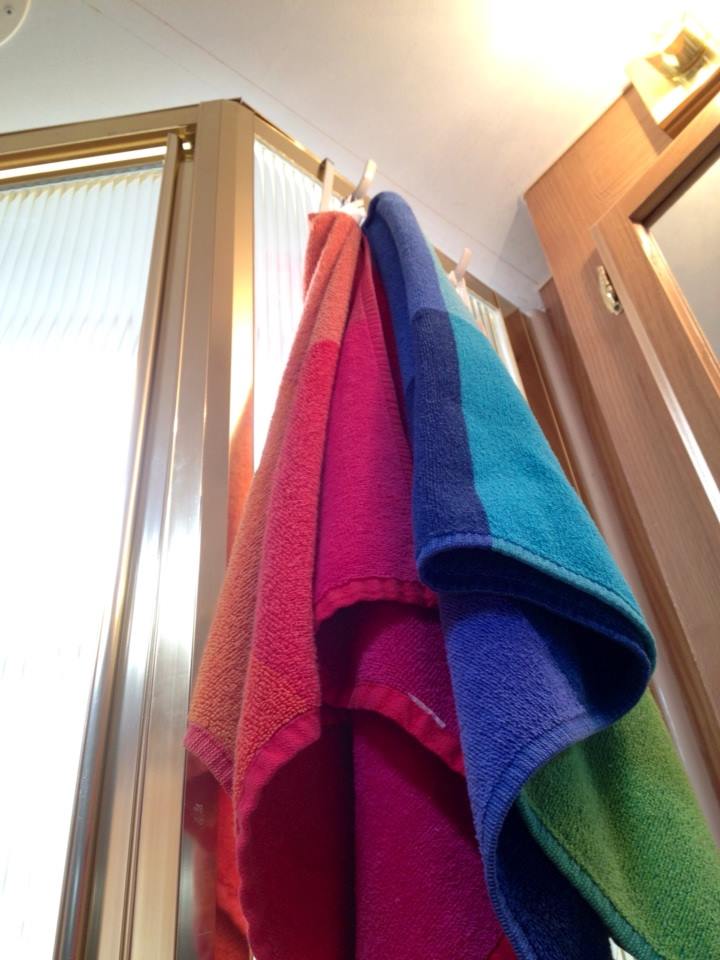
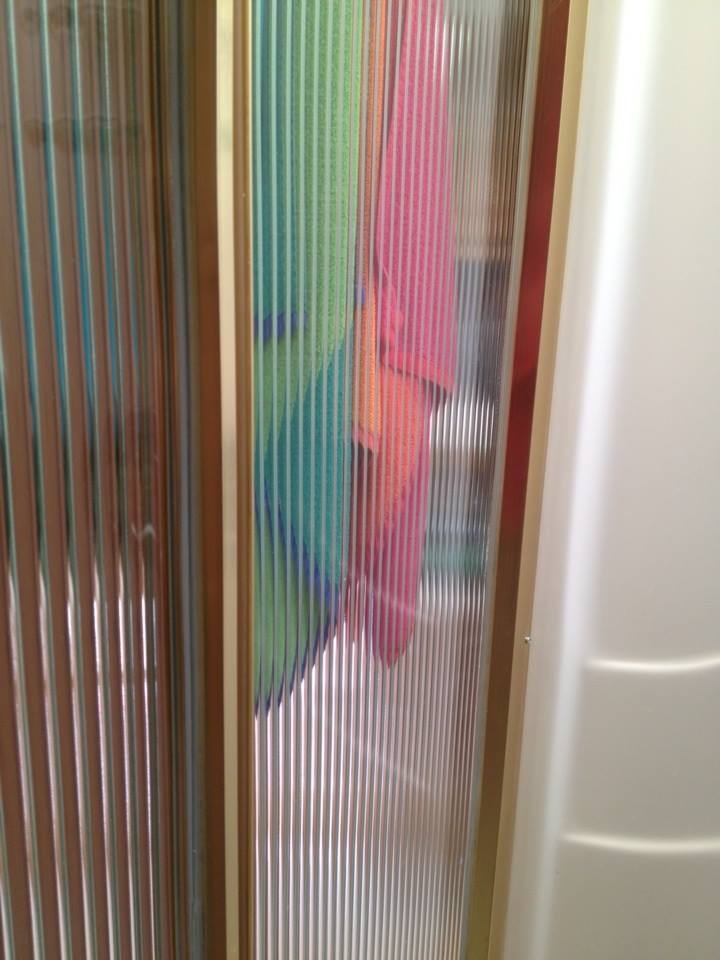
Attaching some pics. Very happy with the end result. Did it all myself except for the last bit of tweaking (118 lb woman). Pretty pround of my little self I have to say. Next I'm tearing out the carpet. I can't take it one more day.


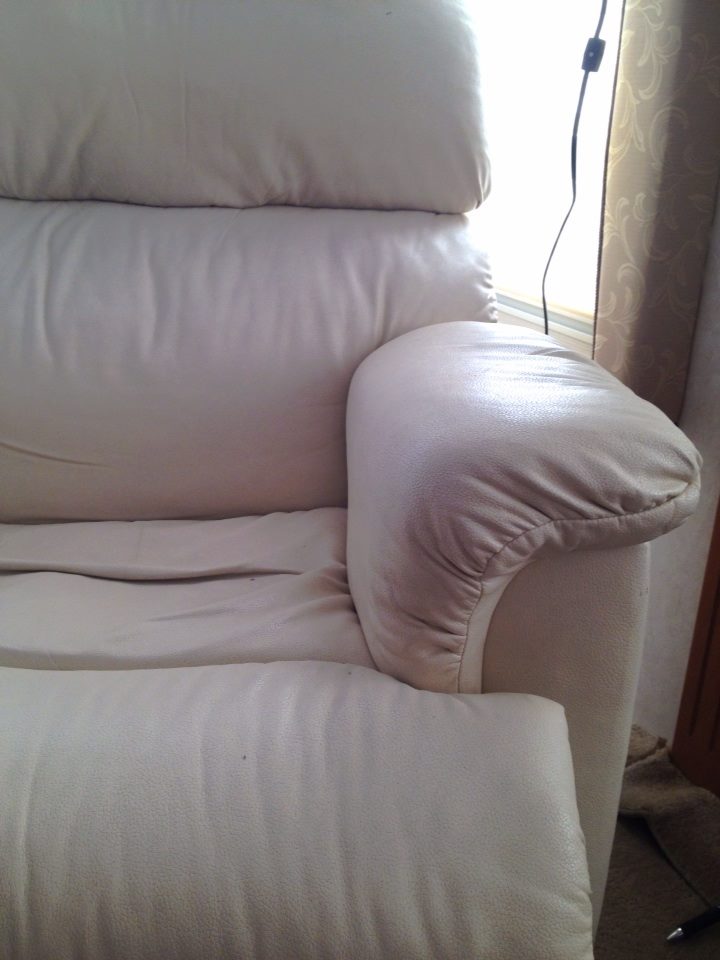
Currently in San Diego. By far the cheapest place to get tempered glass here is Discount Glass and Mirror near the Pyramid just off Miramar. Took a week to get it but they were much cheaper than anyone else. I also repadded the arms on my Flexsteel recliner today. Opened up a seam and pulled out what was in there, traced around them on new foam (1 1/2") and dacron and glued them back the ways the other were with some foam adhesive and reinserted, then stitched up the seam (the one at the very back that you can only see when the chair is full reclined. Happy with how that turned out as well. Guy at the upholstery place gave me a tip. Use a steamer to bring crushed foam back to it's original shape before tracing. Works great!

Removal: Mine had some vinyl glazing holding the 1/8" glass in place. Didn't realize what it was until after I had done a lot of cutting deep into the seams. Felt like it was glued in there. Took forever but I finally found one source of clear 1/8 vinyl glazing. In the end it didn't work. I managed to get 1" of the stuff into the frame with a lot of maneuvering and pounding but no was was I going to get even the short side of the side panel onto the glazing. I was replacing the glass I had with reed glass which was 1/16" thicker in places and whether that was the difference I don't know, but it was way too tight. My advice is to skip the glazing.
Note: The top angled piece that fits over the very top of all the panels is not screwed in. It pops off. Get the flat end of a screwdriver under there and just pop it off.
So I abandoned that idea and after a weekend scraping the old silicone off the frame and CLRing with abandon I set about creating folded paper spacers for the back side of the glass so that the glass would be centered and have some space for the silicone on both sides. I put the spacers every 6 inches or so around the underside of the panel, between the glass and the frame, then used blue painter's tape to tape it off. Cleaned the space for the silicone with alcohol then laid down the silicone, immediately ran my finger around it then lifted the tape off. It created a nice neat stream.
NOTE: Measure your glass well. And if it's not a tight fit in the frame make sure you square each panel before you leave it to dry. And just for fun (you'll see why later on) check to if the panels are squared. If not, take note of the angles and try to put them back together the same way.
The fun part started when I went to reassemble it. The door wouldn't open. I was convinced it was because I forgot to square the panels, flipped out for a little while, confirmed this with some reckless (and wrong) meaurements, spiraled to a dark place, but my glass was so snug it turns out they were fine. The shower backspash and base (all one piece) on the other hand -- were not. The geometry was all off. One panel sat right on the base and the other was 1/4 above it. I'm thinking now the panels weren't square before and when I squared them (accidentally) it threw everything off. I dunno. At this point I brought my neighbor over and he pushed in on the corners at the bottom while I tweaked the top. We found a way to position it so the door would open but we did have to drill a few new holes in the top and middle *facing into the shower)of the support bar that is screwed into the wall. We had to pull the top of the bar the fits over the bar screwed into the wall out about 3/8 inch to make the whole thing work. And we had to brace the bottom of the frame against the opposing wall while the silicone inside the shower dried.
Attaching some pics. Very happy with the end result. Did it all myself except for the last bit of tweaking (118 lb woman). Pretty pround of my little self I have to say. Next I'm tearing out the carpet. I can't take it one more day.


Currently in San Diego. By far the cheapest place to get tempered glass here is Discount Glass and Mirror near the Pyramid just off Miramar. Took a week to get it but they were much cheaper than anyone else. I also repadded the arms on my Flexsteel recliner today. Opened up a seam and pulled out what was in there, traced around them on new foam (1 1/2") and dacron and glued them back the ways the other were with some foam adhesive and reinserted, then stitched up the seam (the one at the very back that you can only see when the chair is full reclined. Happy with how that turned out as well. Guy at the upholstery place gave me a tip. Use a steamer to bring crushed foam back to it's original shape before tracing. Works great!

Moderator edit to re-size pictures to forum limit of 640px maximum width.